Happy Holidays Crafters! Beth here on the blog today sharing the quick and easy steps on how to make an unconventional Snow Globe Christmas Card featuring Dual Brush Pens and Adhesives from Tombow USA!
As you all know, I am not a traditional paper crafter. I like to take card making and scrapbook supplies and turn them into something entirely different. Once you give this Snow Globe Christmas Card, it can be hung on the Christmas Tree and becomes a dated keepsake ornament – a card and a gift in one!
Now on to my project!
Step One:
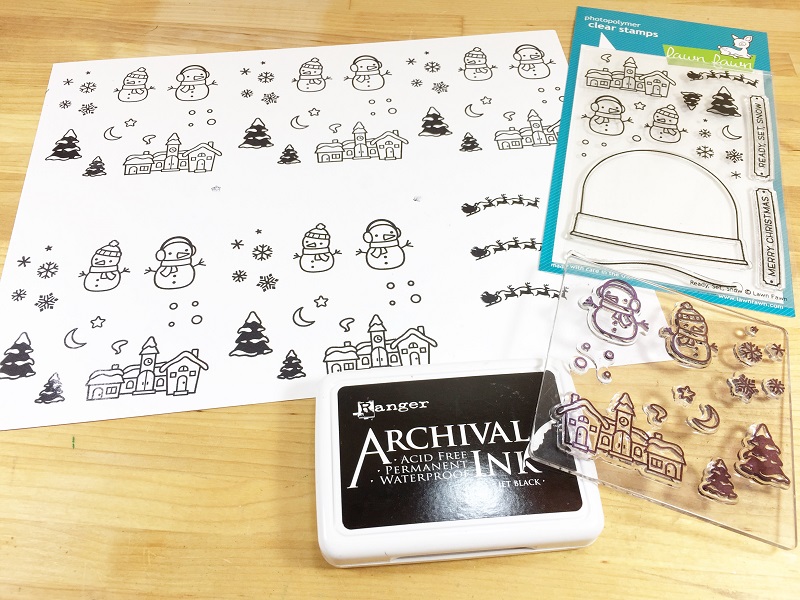
Stamp all images from the Lawn Fawn Ready, Set, Snow clear stamp set onto white card stock four times using black archival ink. Archival ink is permanent and will not bleed when colored with Tombow Dual Brush Pens. These Lawn Fawn stamps are clear, which allows you to line up and match the elements included with ease.
Step Two:
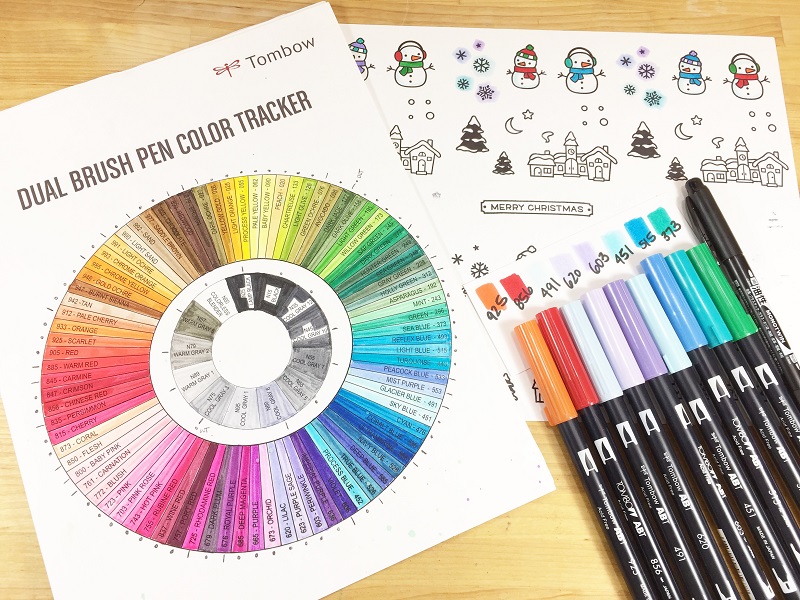
Select some Snow Globe friendly colors of Tombow Dual Brush Pens and COLOR! This is the part I love after a long day at work, so relaxing. I always use my Tombow Dual Brush Pen Color Tracker when selecting colors, then I make a color swatch sample in the corner of my stamp sheet to make sure I like the colors I have selected. If you don’t have a Dual Brush Pen Color Tracker, then you can download your copy HERE to print and color. I used 925; 856; 491; 620; 603; 451; 515 and 373. TIP: Fill in any places where the stamps did not fill in completely with Tombow MONO Twin Permanent Marker.
Step Three:
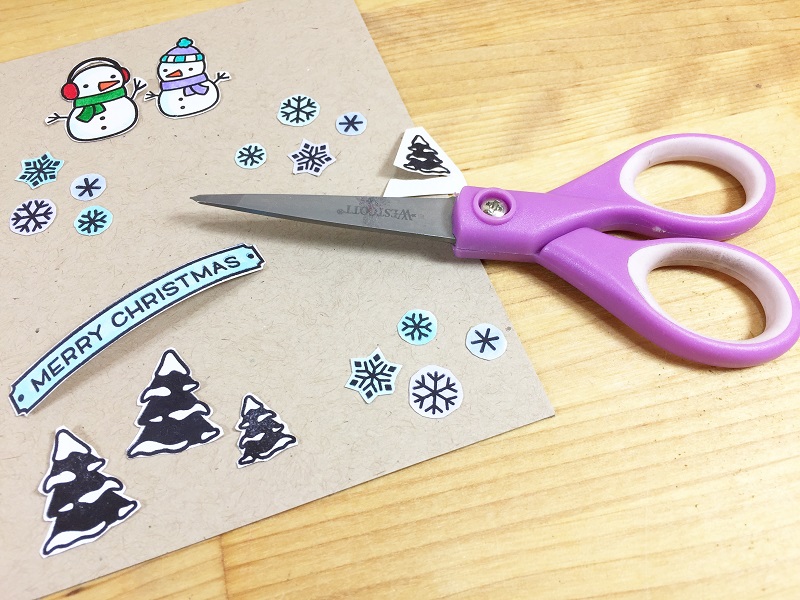
Once you are pleased with your colors, then the cutting begins! Fussy cut each element from the card stock, flip over, then cut lengths of 24 gauge black wire.
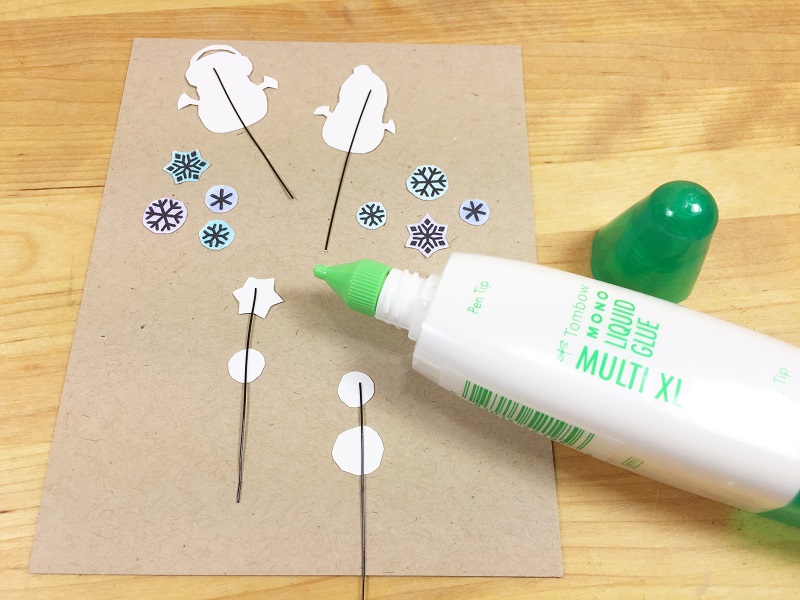
Attach wire to back of each element with Tombow MONO Aqua Liquid Glue. Set all aside to dry. Then insert each element into the Styrofoam Ball.
Step Four:
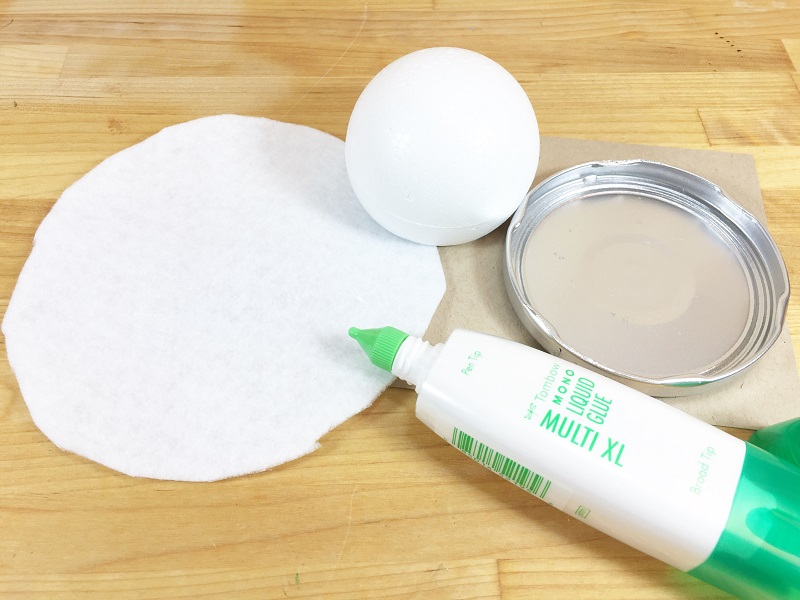
Create your Snow Globe! I selected a small, squat jelly style jar with a screw off lid. Cut a Styrofoam ball in half with a serrated knife and attach to lid with Tombow MONO Multi Liquid Glue. Rough cut a circle of Kunin Eco-fi® Classicfelt™ White, then attach to Styrofoam half ball with more Tombow MONO Multi Liquid Glue. Base coat jar lid with silver spray paint, let dry and apply a second coat, if necessary.
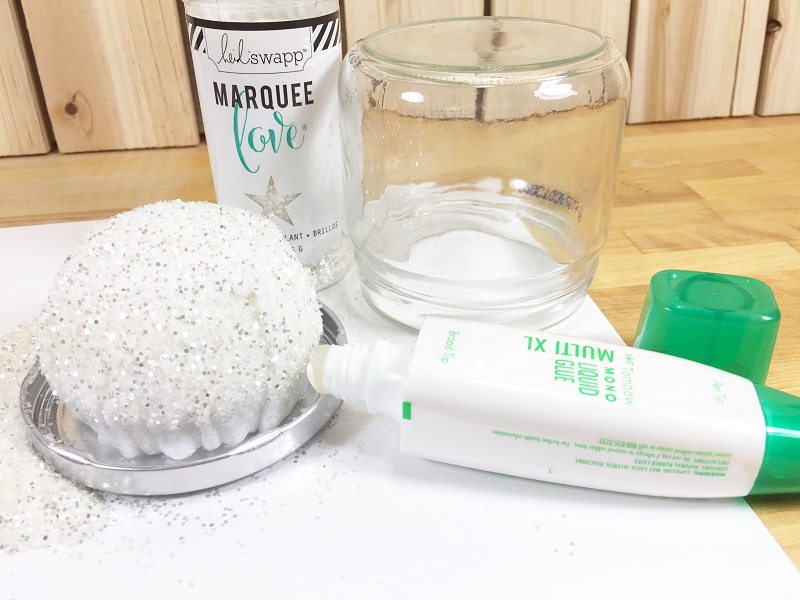
Apply an additional layer of Tombow MONO Multi Liquid Glue, then sprinkle liberally with clear glitter, shake off excess and let dry.
Step Five:
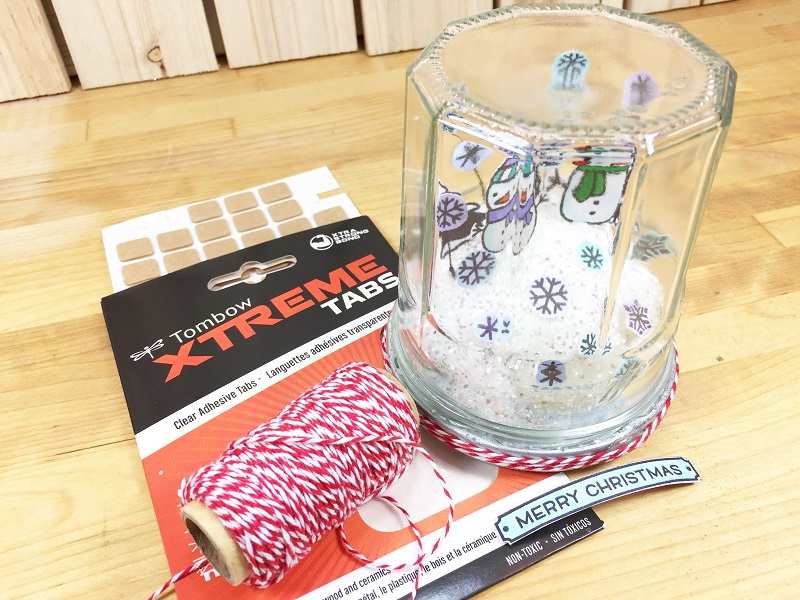
The Snow Globe couple looked cute, but the jar looked bare, so I embellished the jar! Cut out a flag from the sentiment included in this set colored in with Tombow Dual Brush Pen #451 and tied onto the jar with ribbon. The finishing touch is to attach a section of bakers twine to the base of the jar with Tombow Xtreme Tabs.
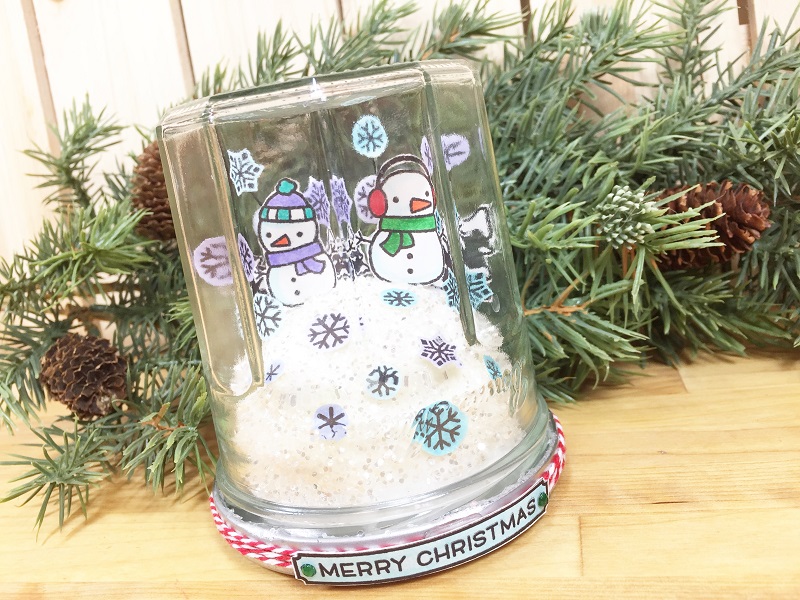
Here is a close up of the finished Snow Globe Christmas Card!
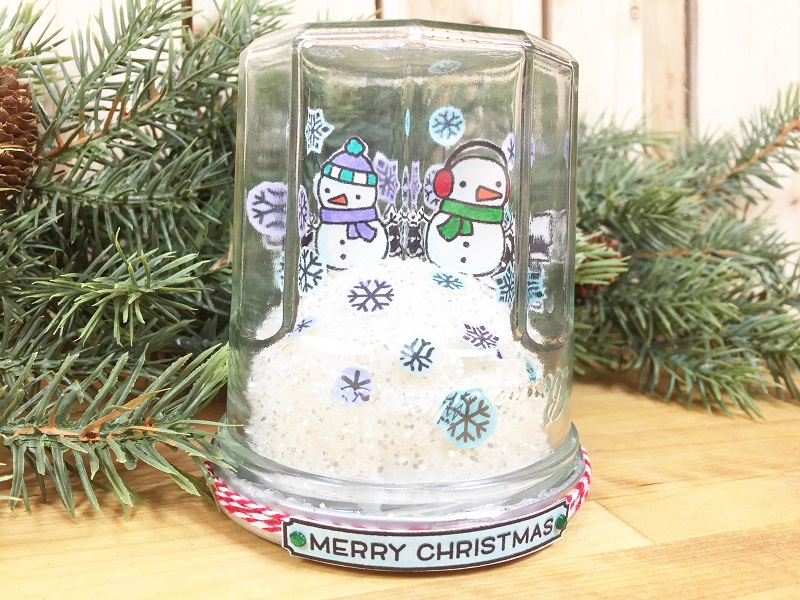
This Snow Globe Christmas Card goes together in about an hour and will make a fabulous greeting and gift when combined with a gift card for that special Relative, wonderful Teacher or thoughtful Neighbor.
Be sure to check out the Tombow Instagram for TONS more inspiration.
Now, our cute Snow Globe Christmas Card couple need names, so leave a comment below to let me know what you would name them!
Thanks for stopping by! -Beth

Very cute!! Great idea.