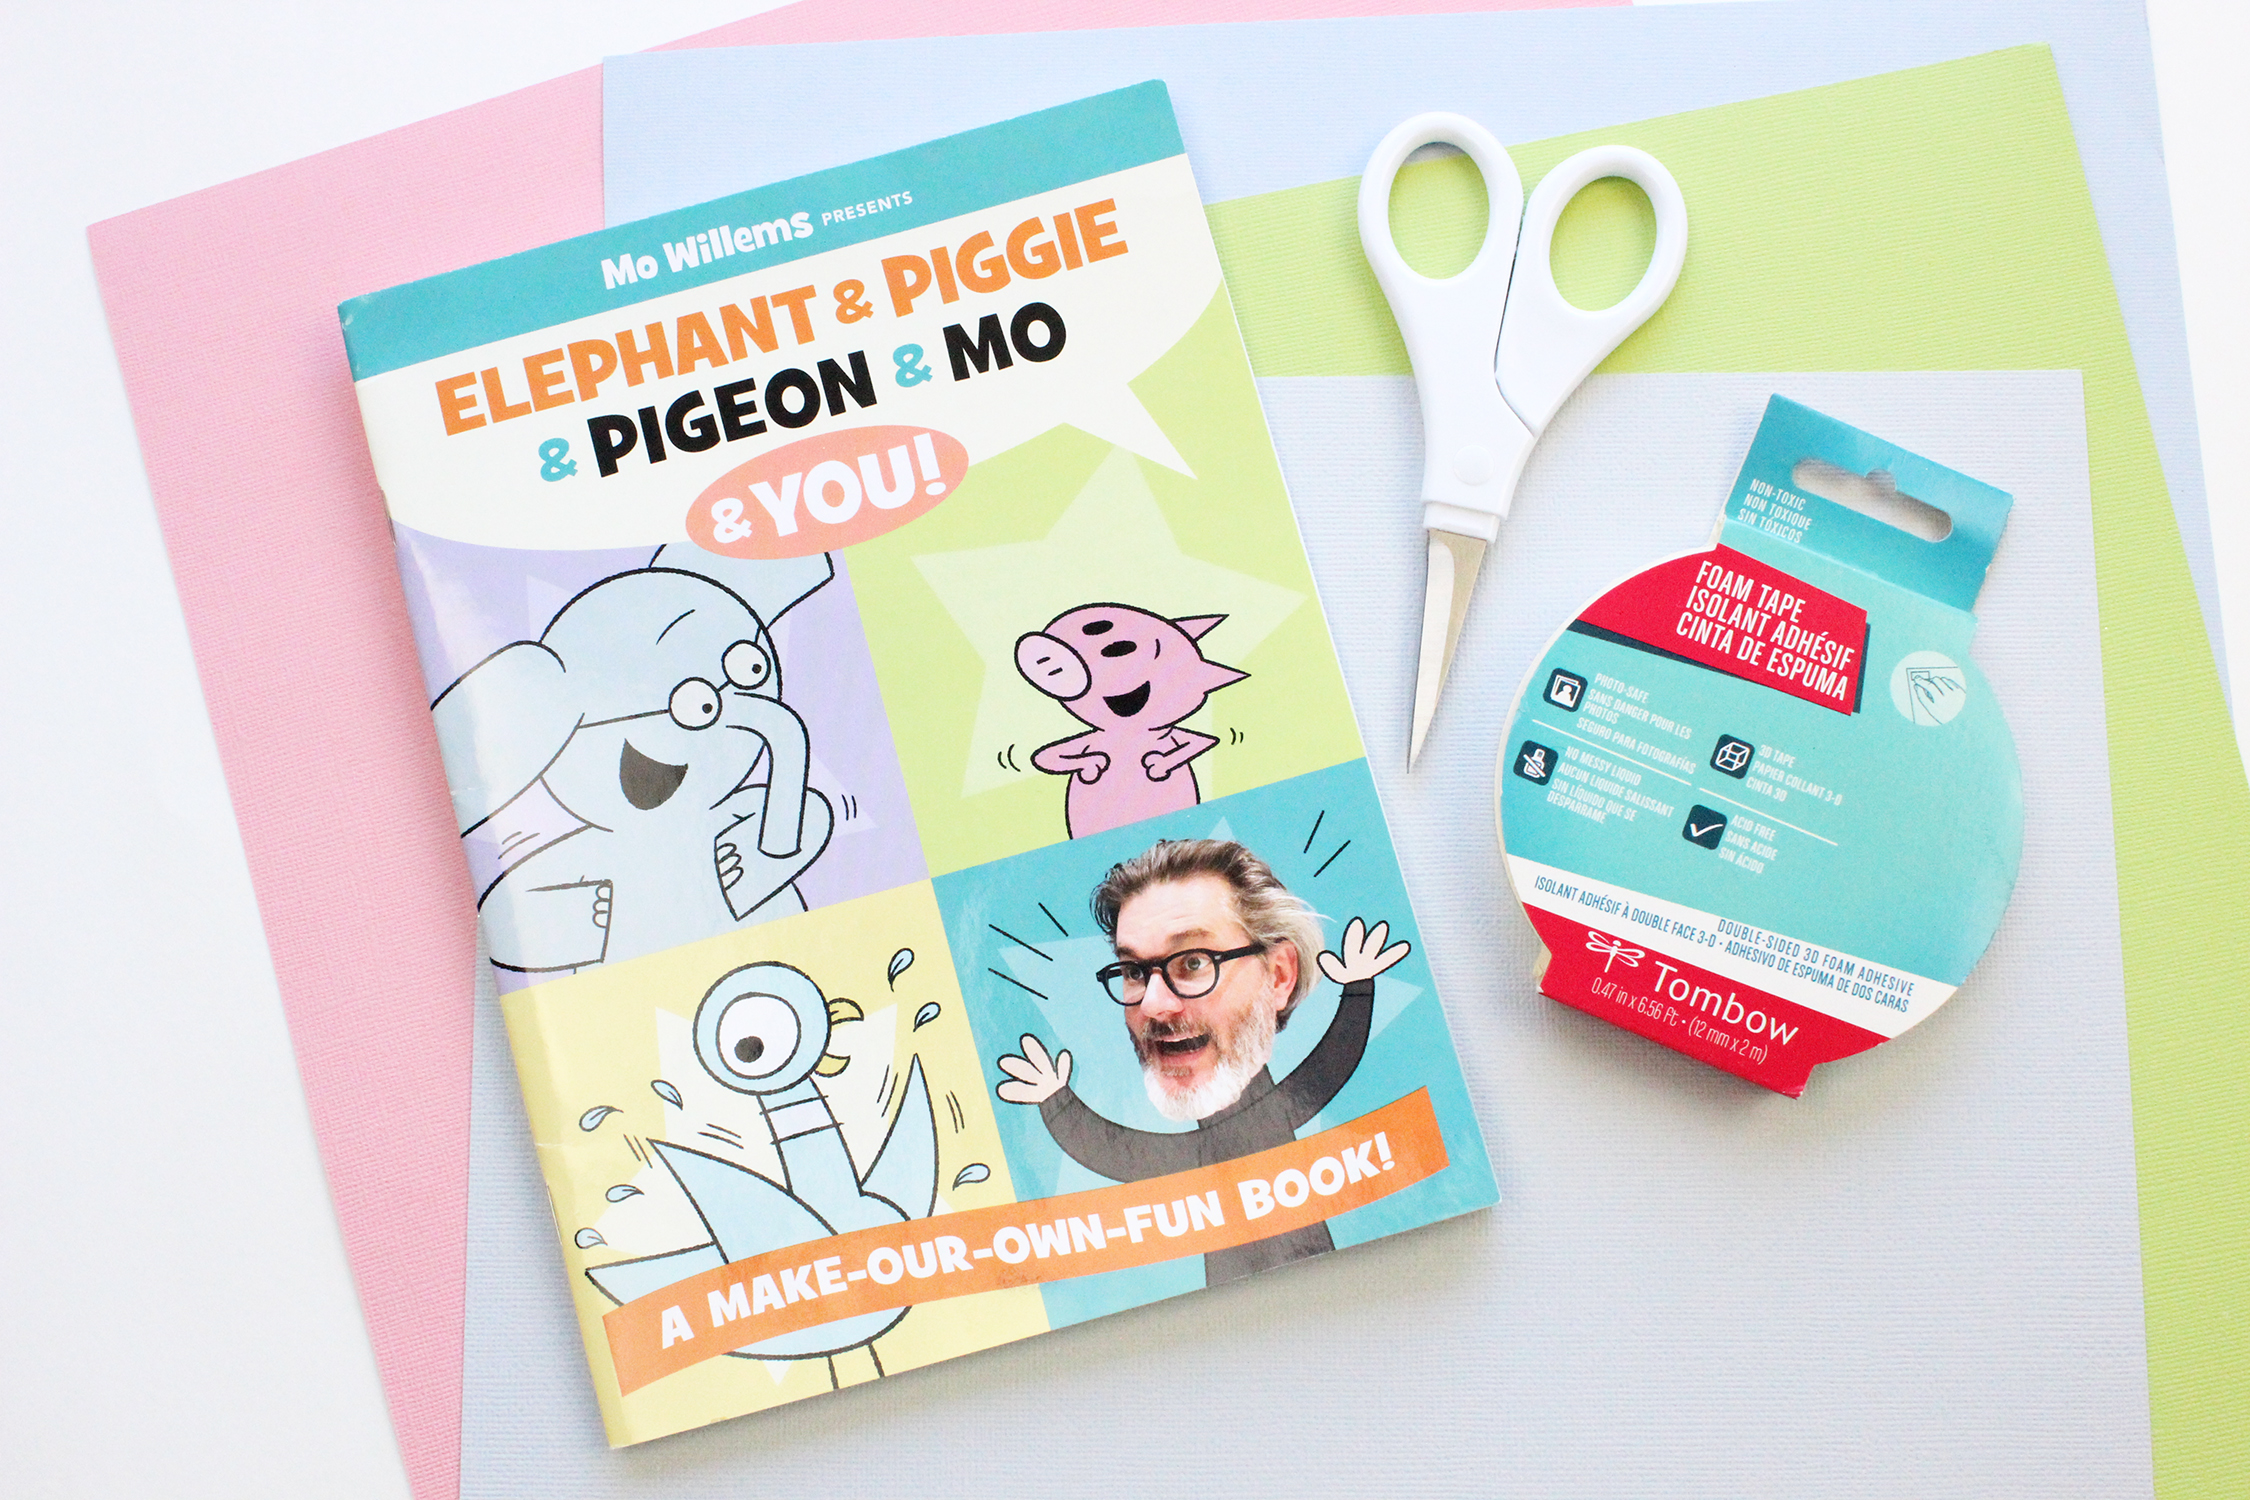
Hello! This is Jennie! March is National Craft Month! It’s also National Reading Month! I will be making a project that celebrates both occassions. My daughters are big Mo Willems fans. Right now, my youngest is obsessed with Elephant and Piggie. I decided to make a piece of Home Decor for her room.
What you need:
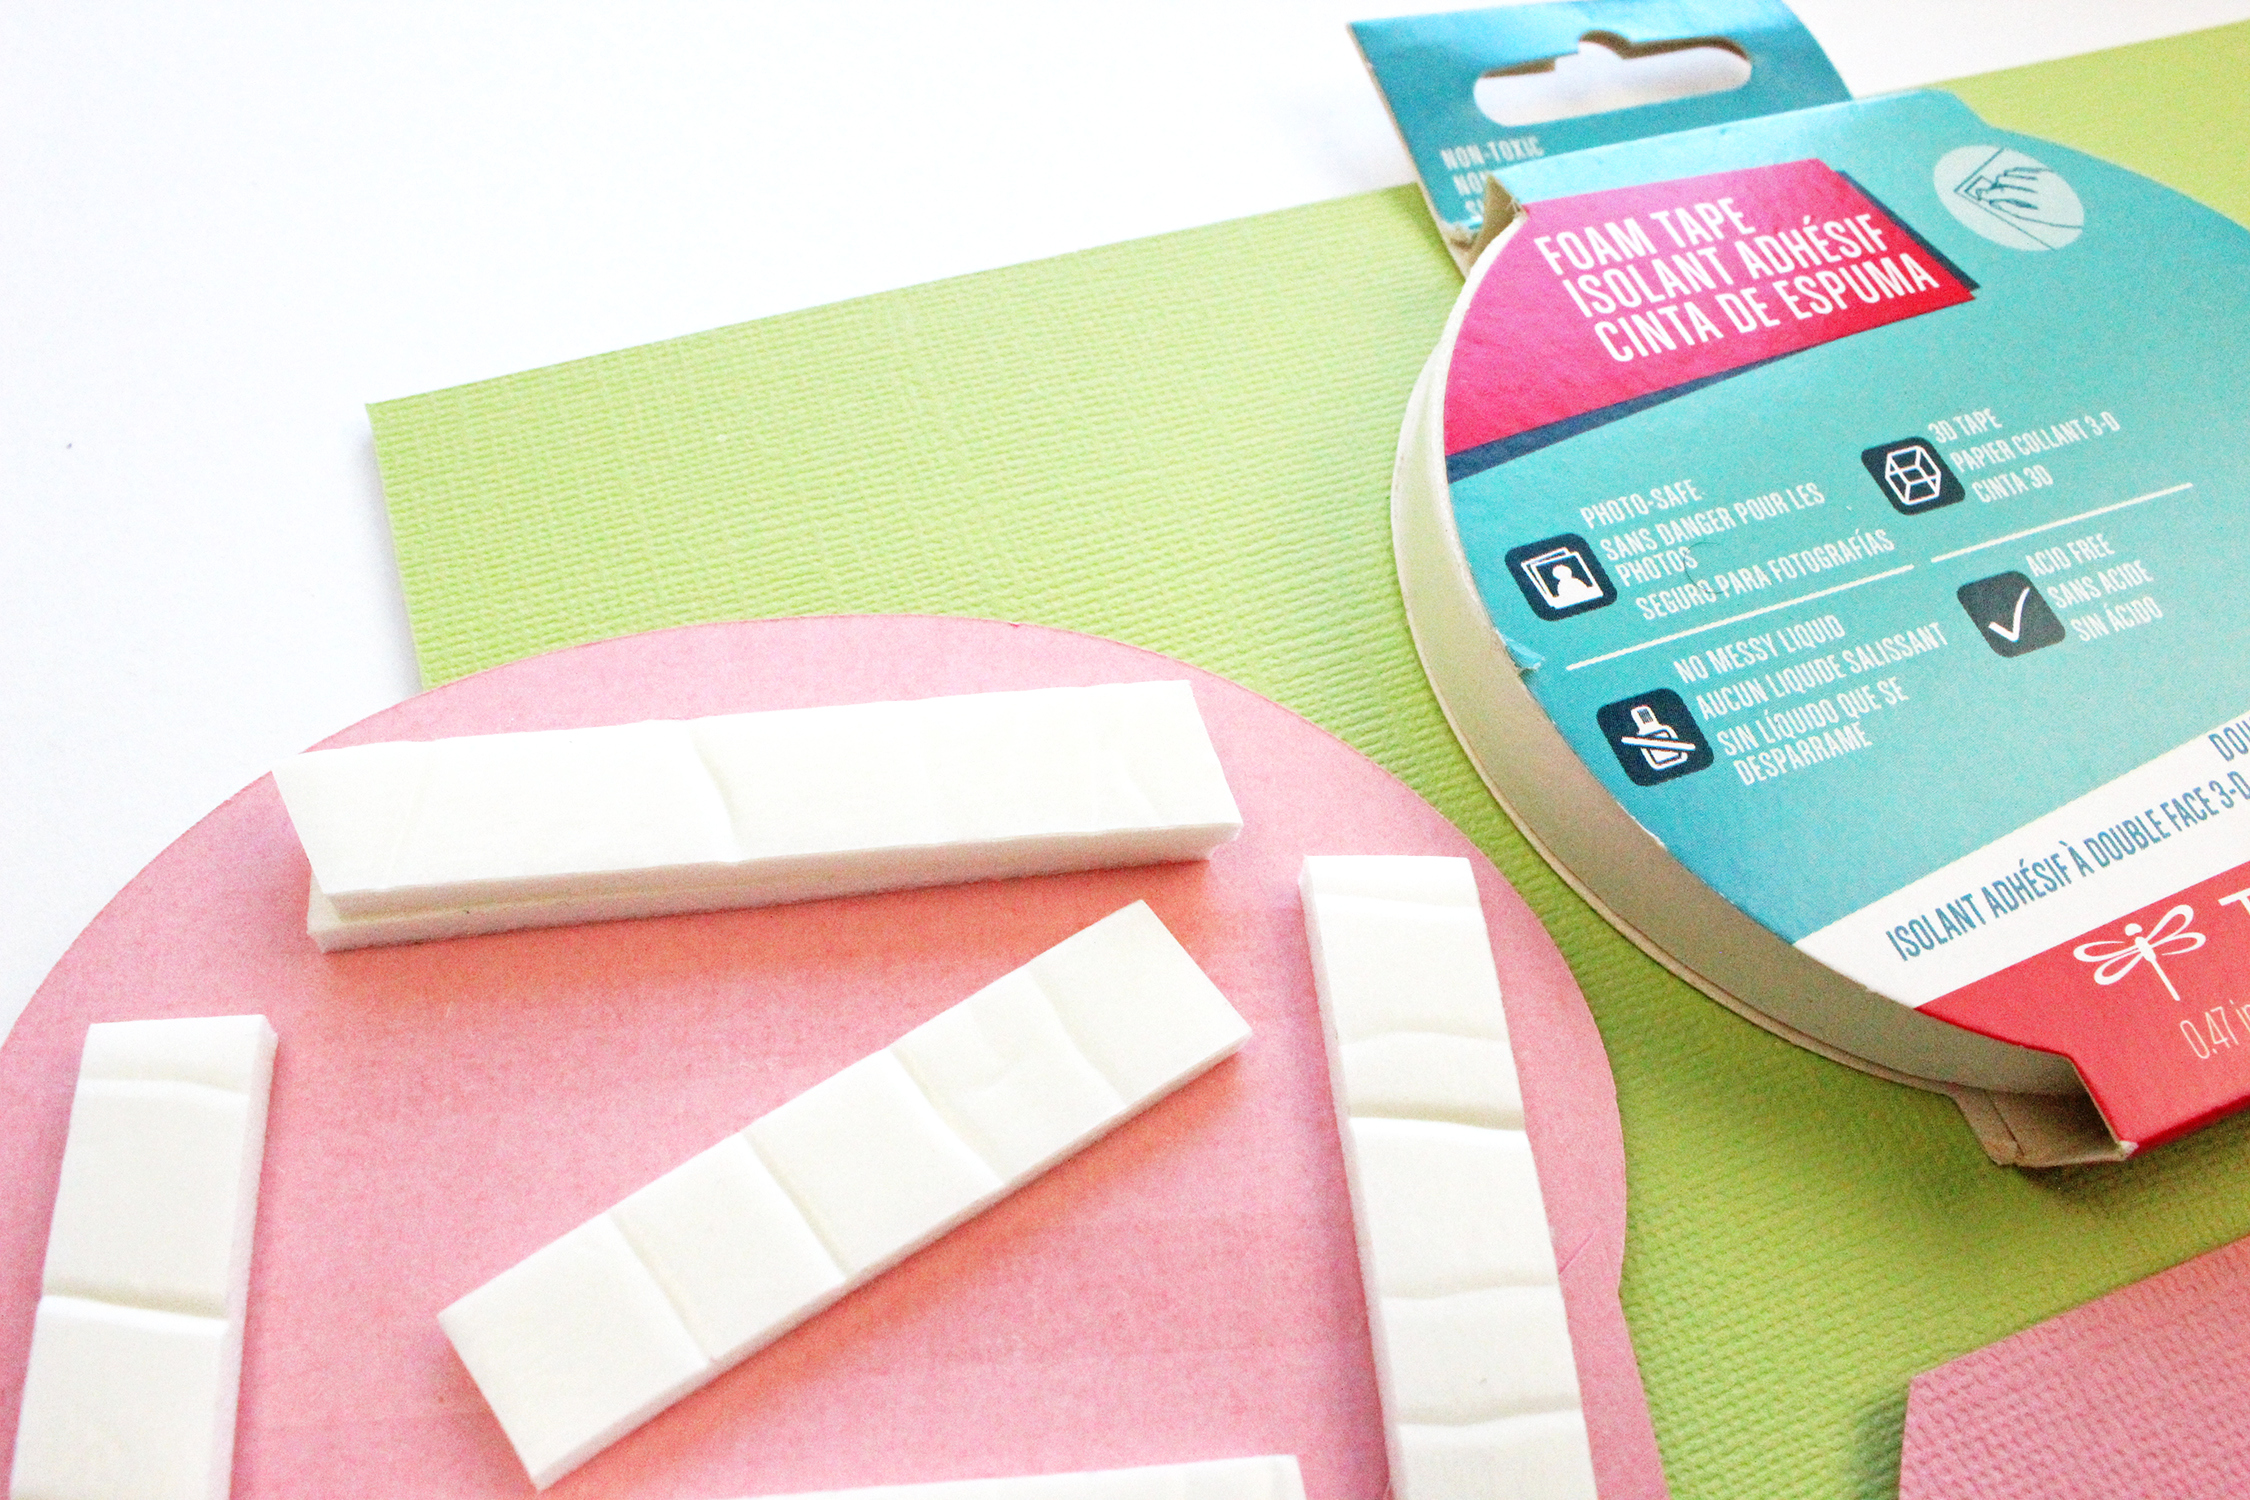
- Tombow Foam Tape
- Tombow Xtreme Permanent Adhesive
- Tombow Foam Tabs
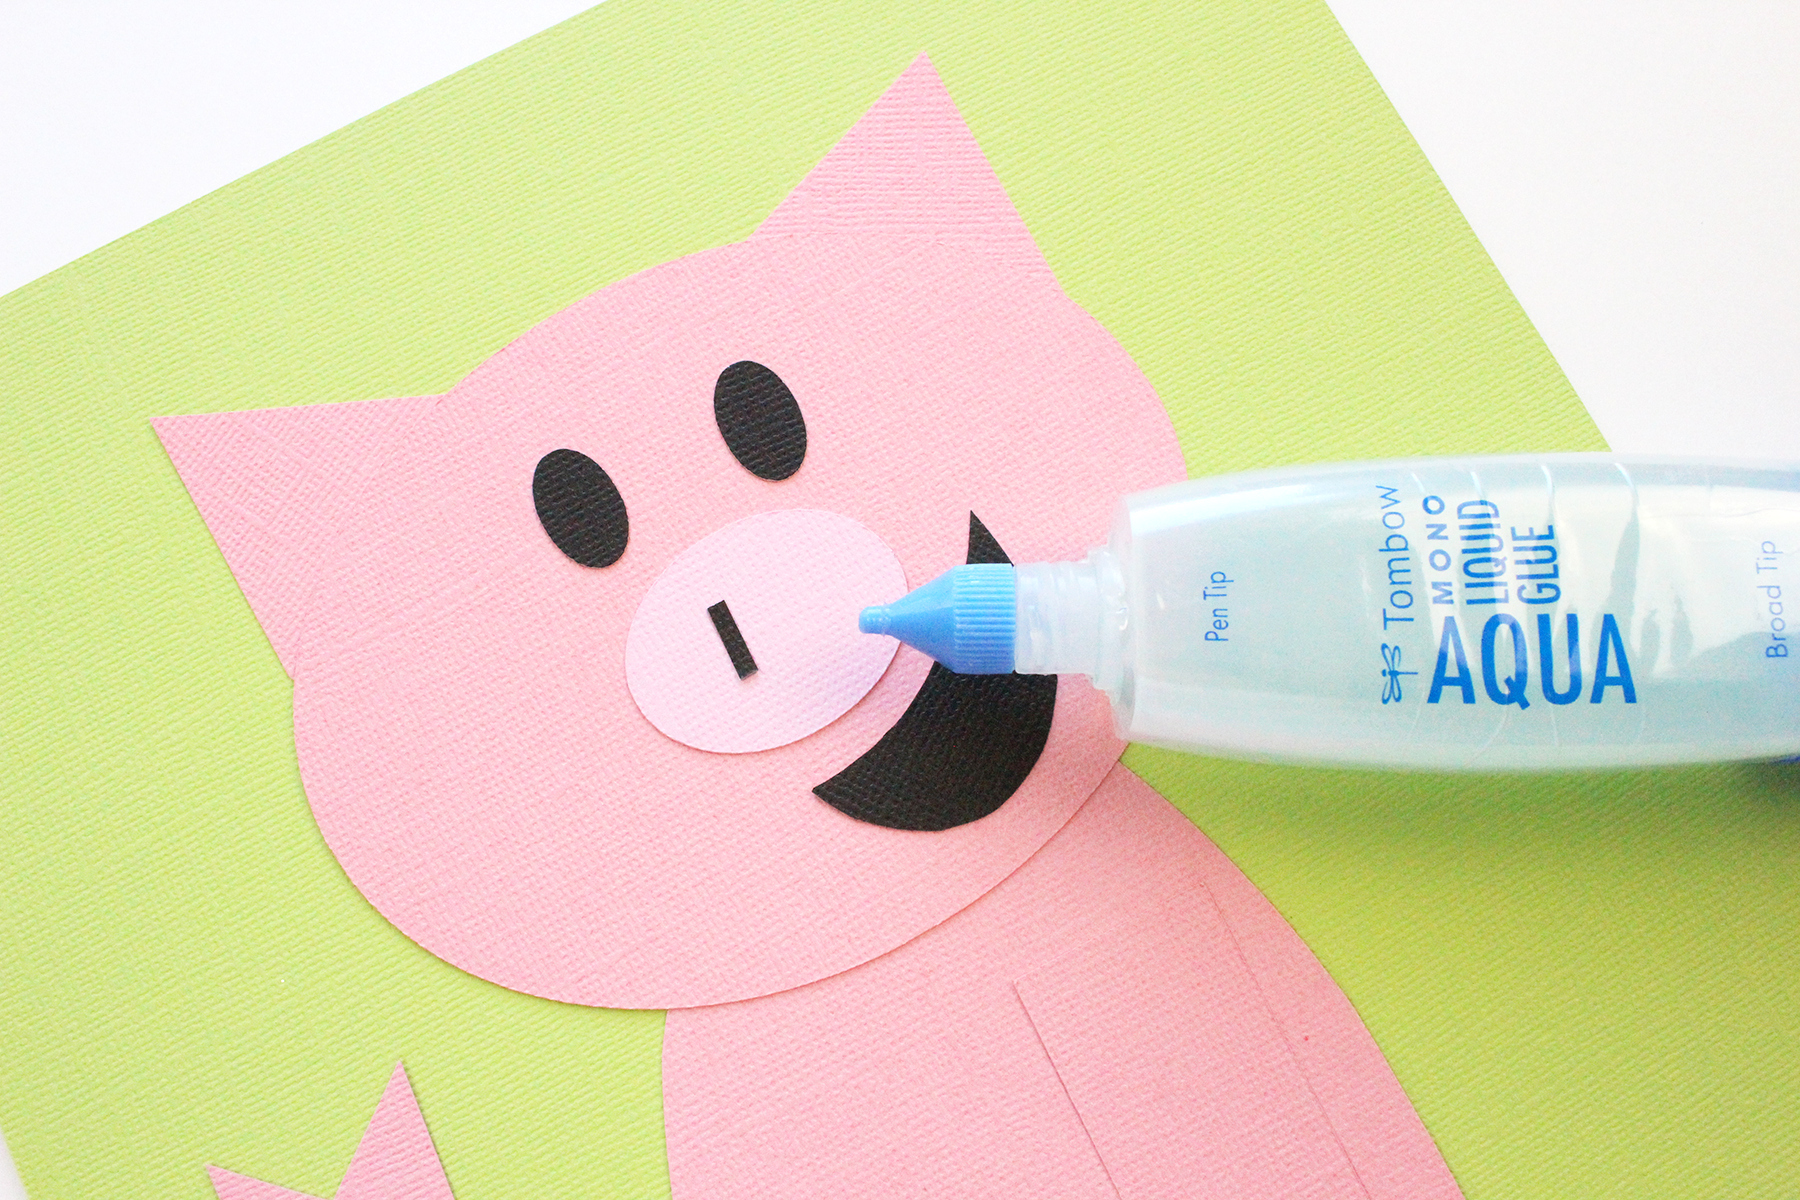
- Tombow MONO Aqua Liquid Glue
- Tombow MONO Removable Adhesive
- Cardstock
- Chipboard
- Scissors
- Elephant and Piggie Book or Online Images
Step One:
First, gather your cardstock. Study the characters and look for colors that are similar.
Step 2:
Second, draw the pieces of the characters. I followed these instructions but instead of drawing I used the software of my die cutting machine. These are really basic shapes, super easy to cut! You can even free hand these! 
Step 3:
Gather you pieces, Make sure you don’t lose them! Then set them aside. 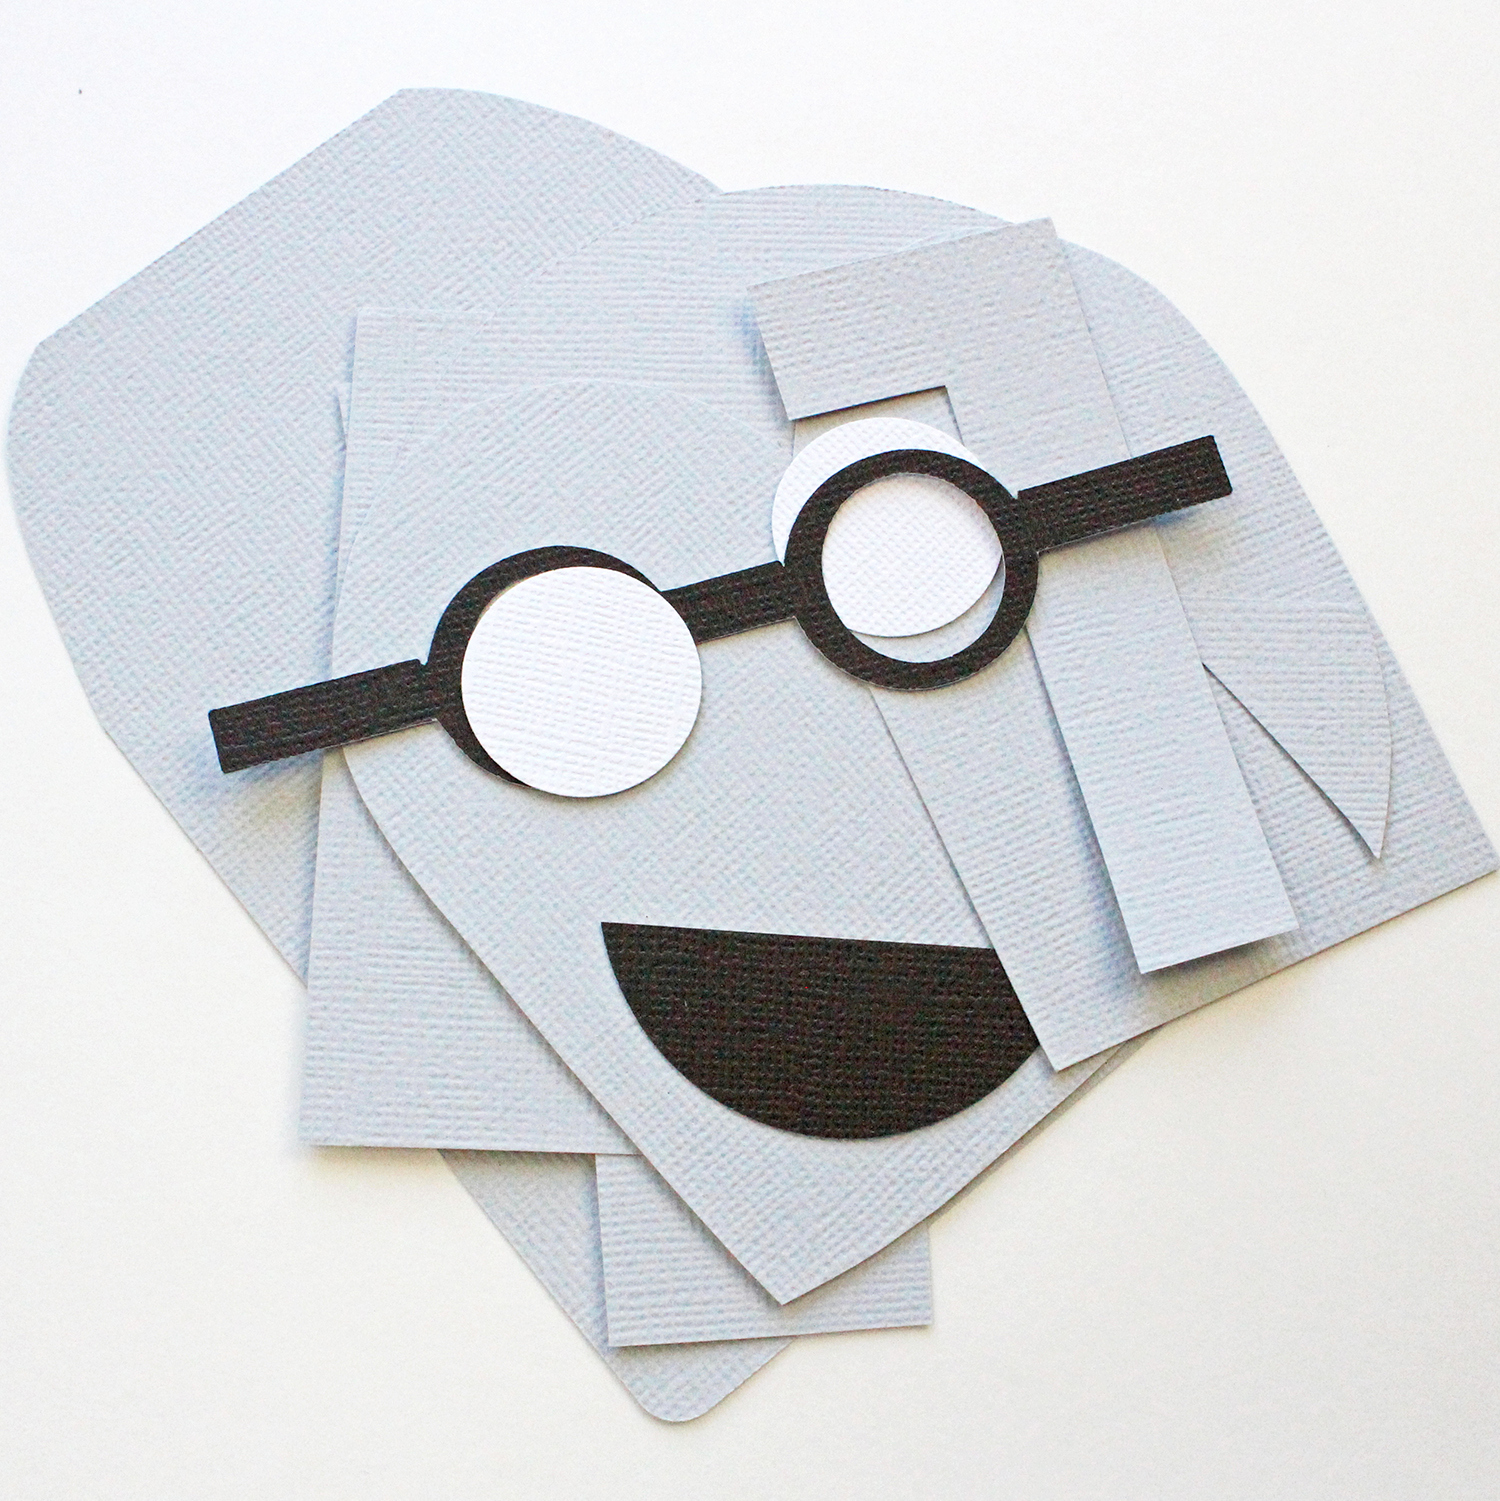
Step 4:
For the background I used a piece of chipboard. To cover it, I used cardstock. To glue it, I used the Tombow Xtreme Permanent Adhesive. Whenever you make something that will be handled by children use the Tombow Xtreme Adhesive. It’s the strongest Tombow adhesive runner. 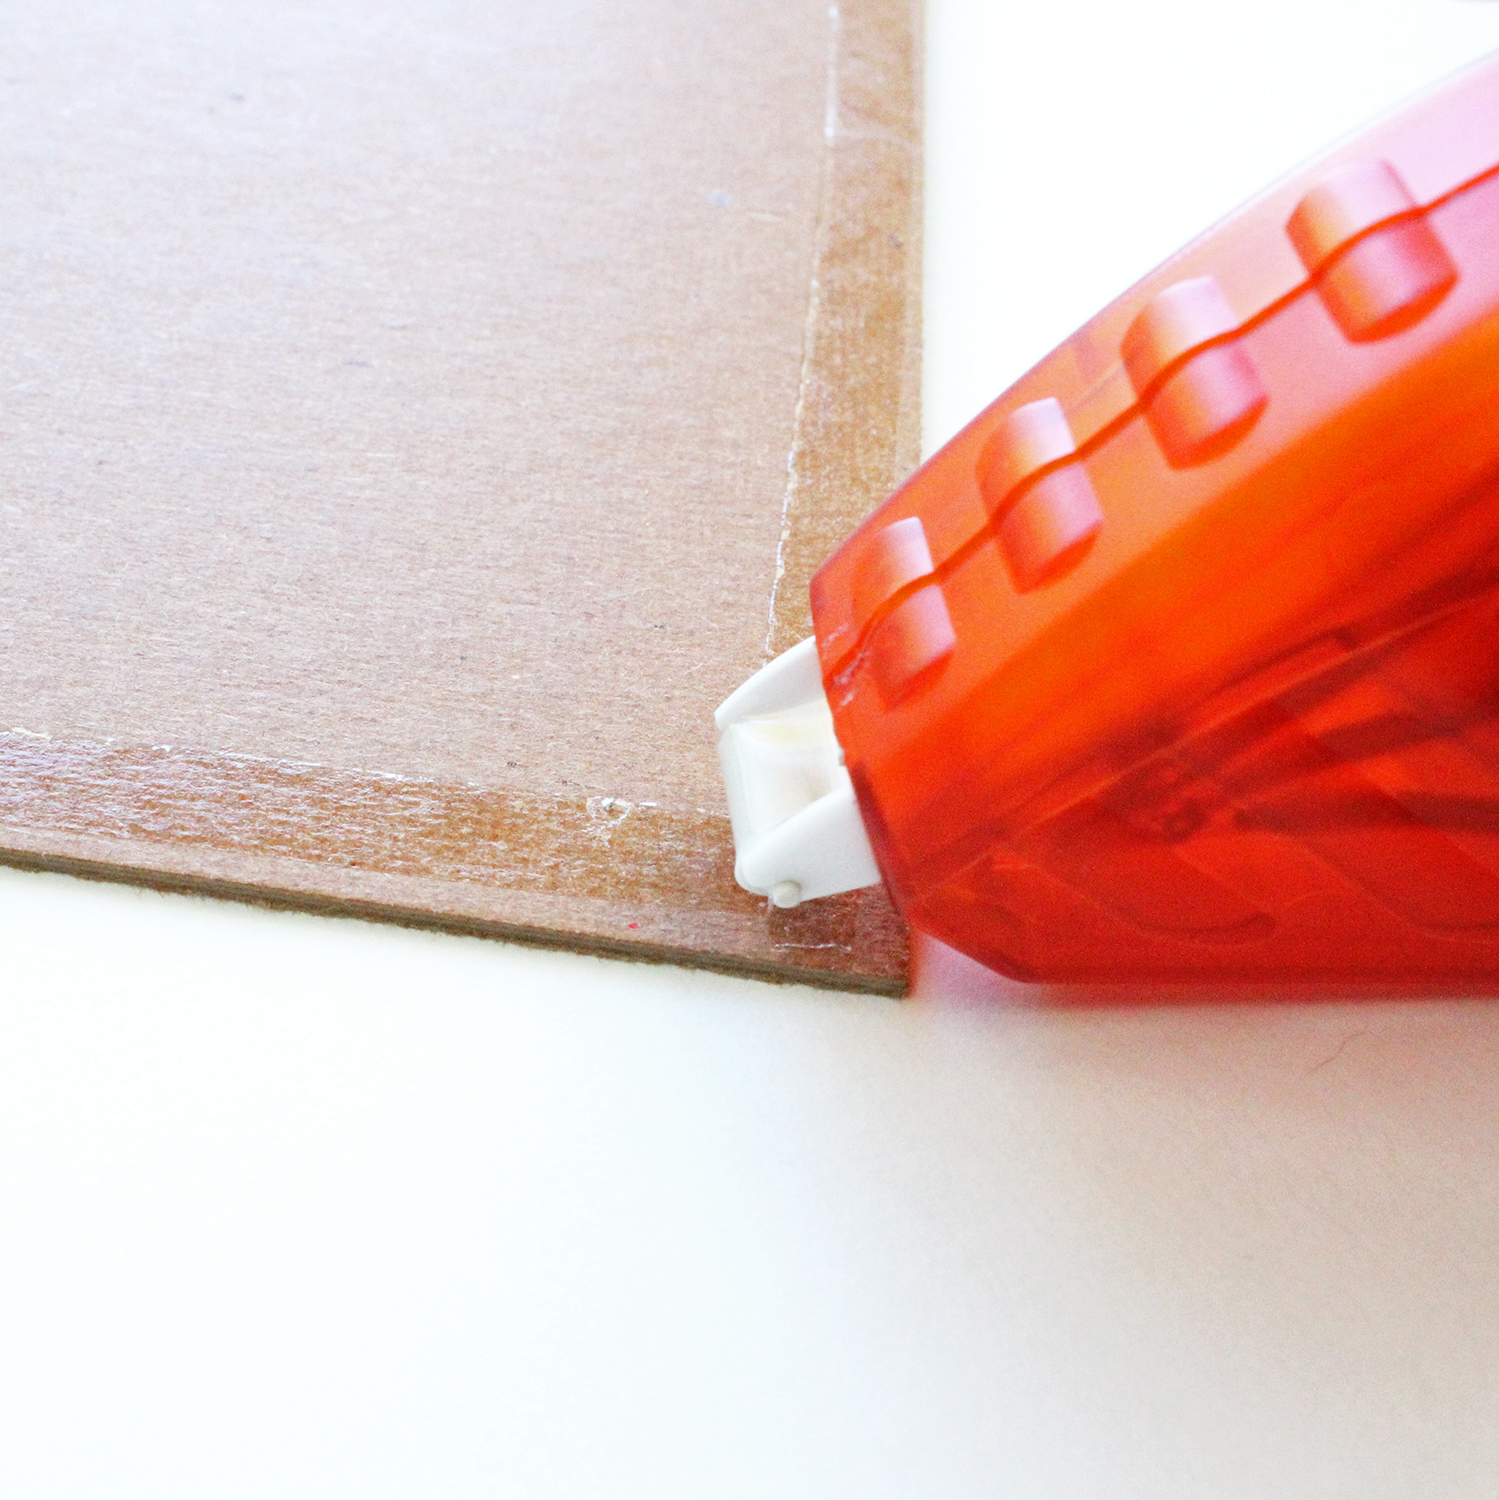
Step 5:
Next, assemble the character on top of your base. Use the Tombow MONO Removable Adhesive to glue the pieces. That way you can see how it fits on the space before you glue it permanently. You can also see which pieces will have Tombow Foam Tape. 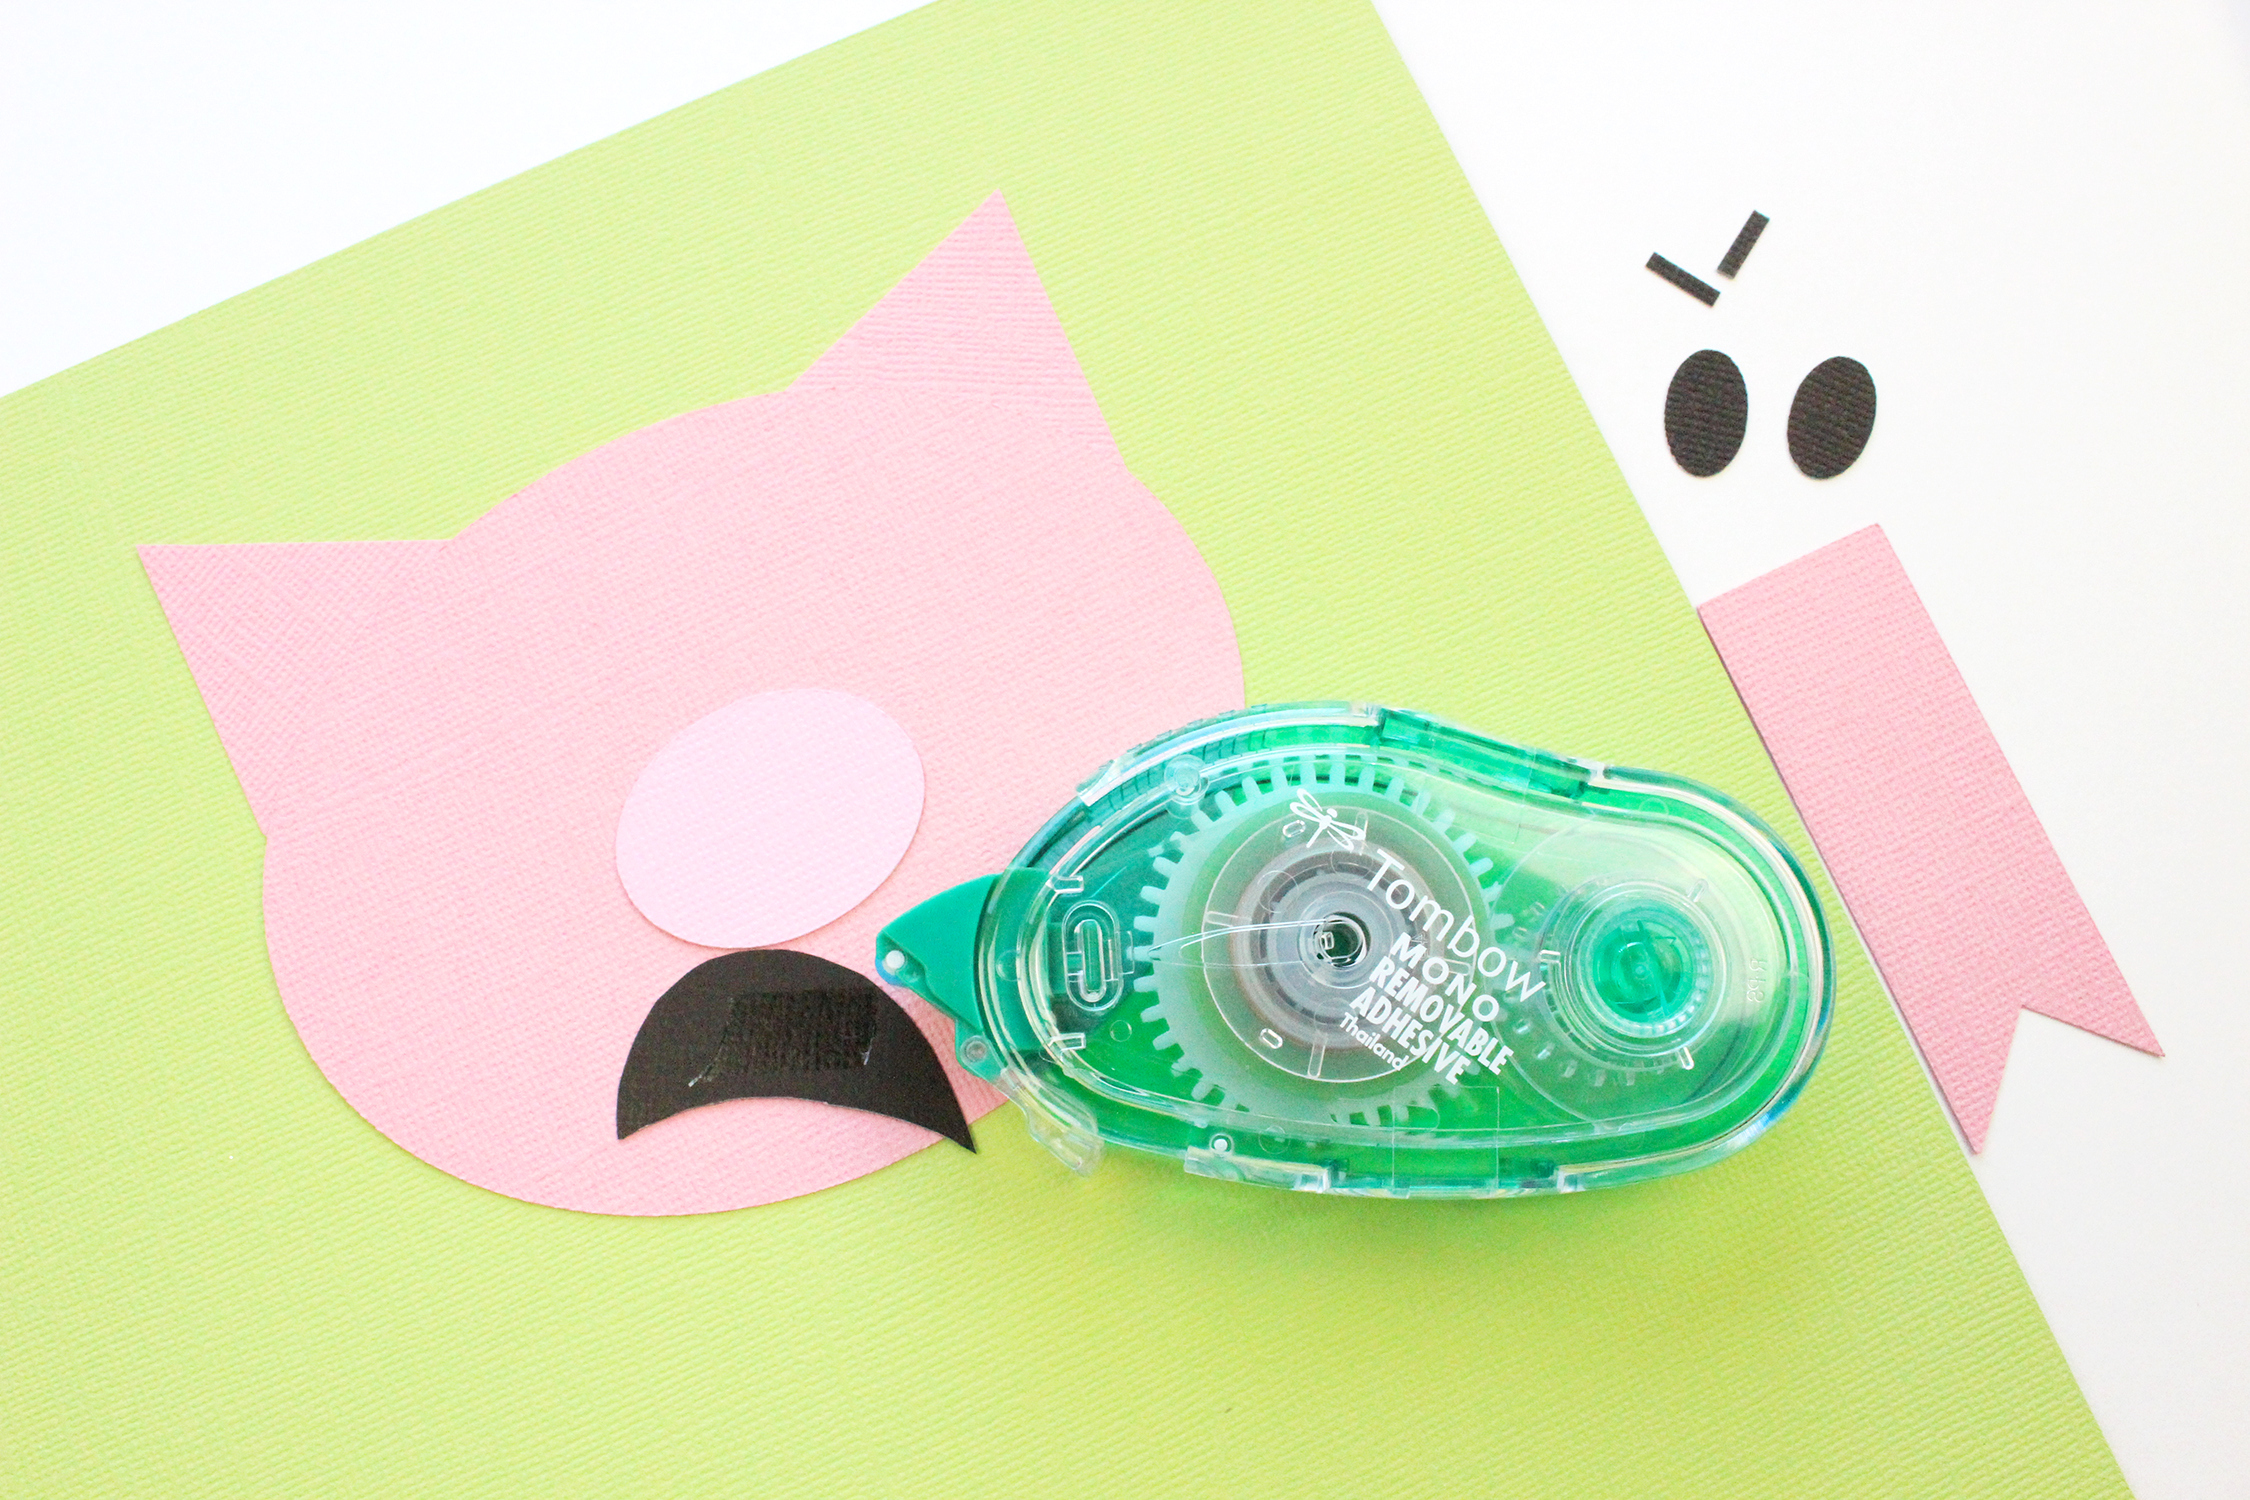
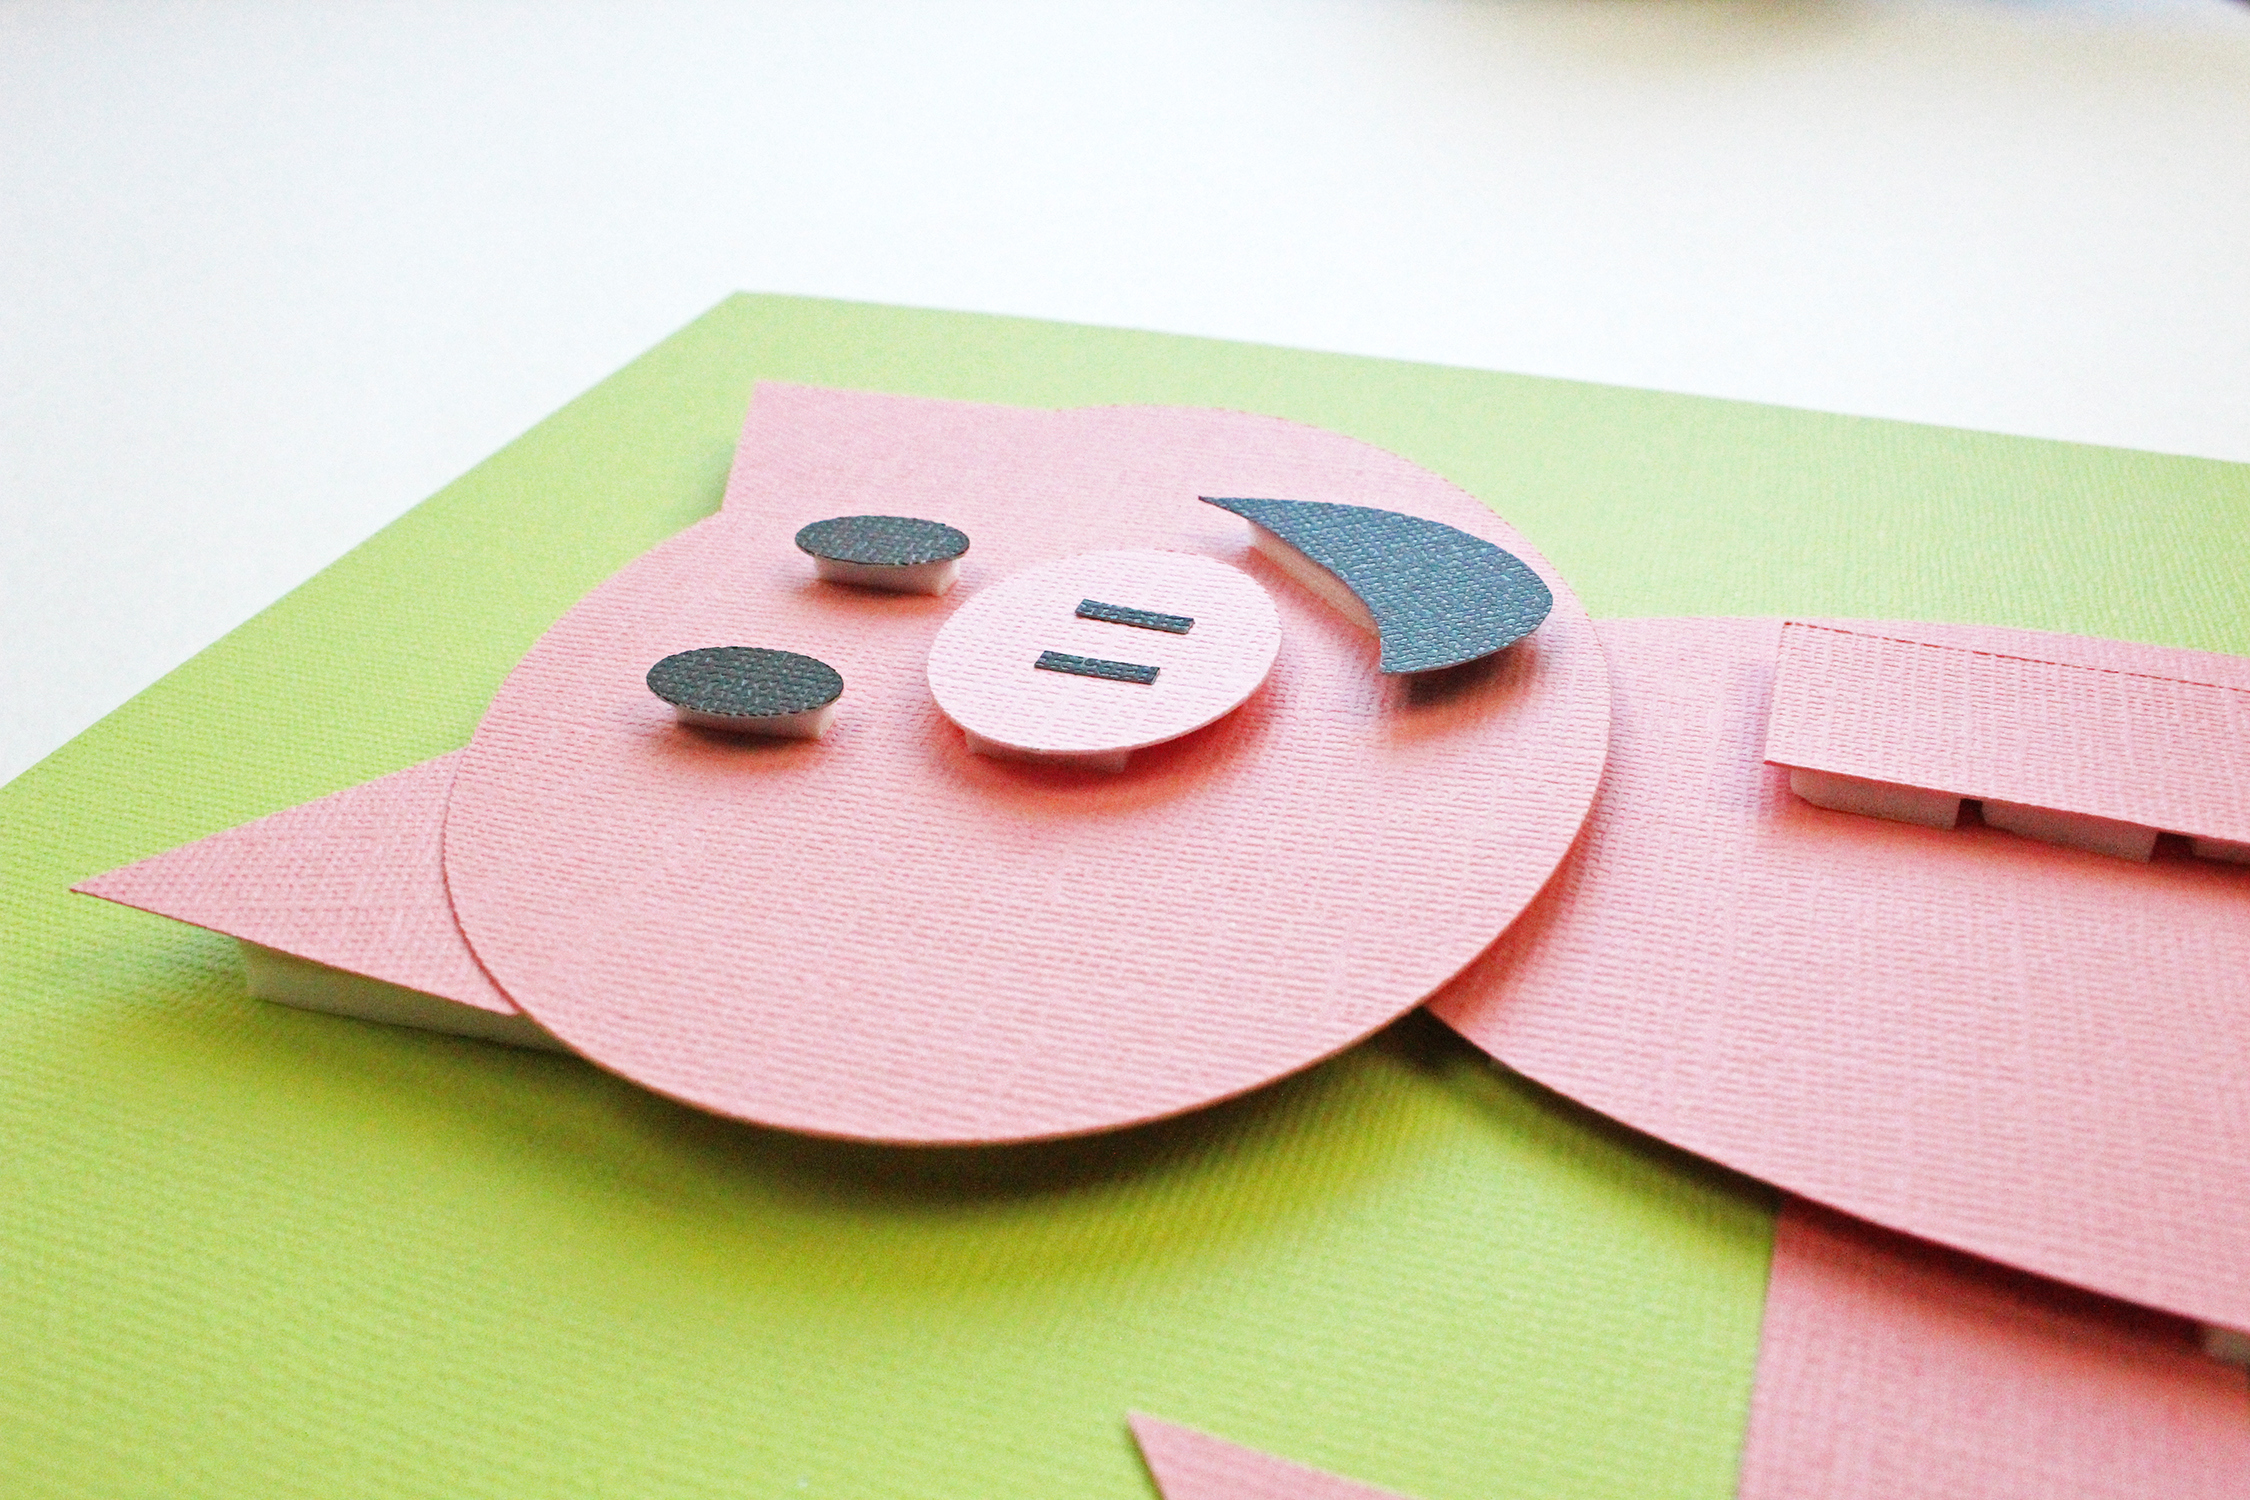
For smaller details like Piggie’s nostrils and Gerald’s eyes use the Tombow MONO Aqua Liquid Glue.
Step 6:
Finally, use the Tombow Foam Tape to give the characters dimension. In some parts you can even stack up two pieces.
Here they are! Elephant and Piggie look great together! 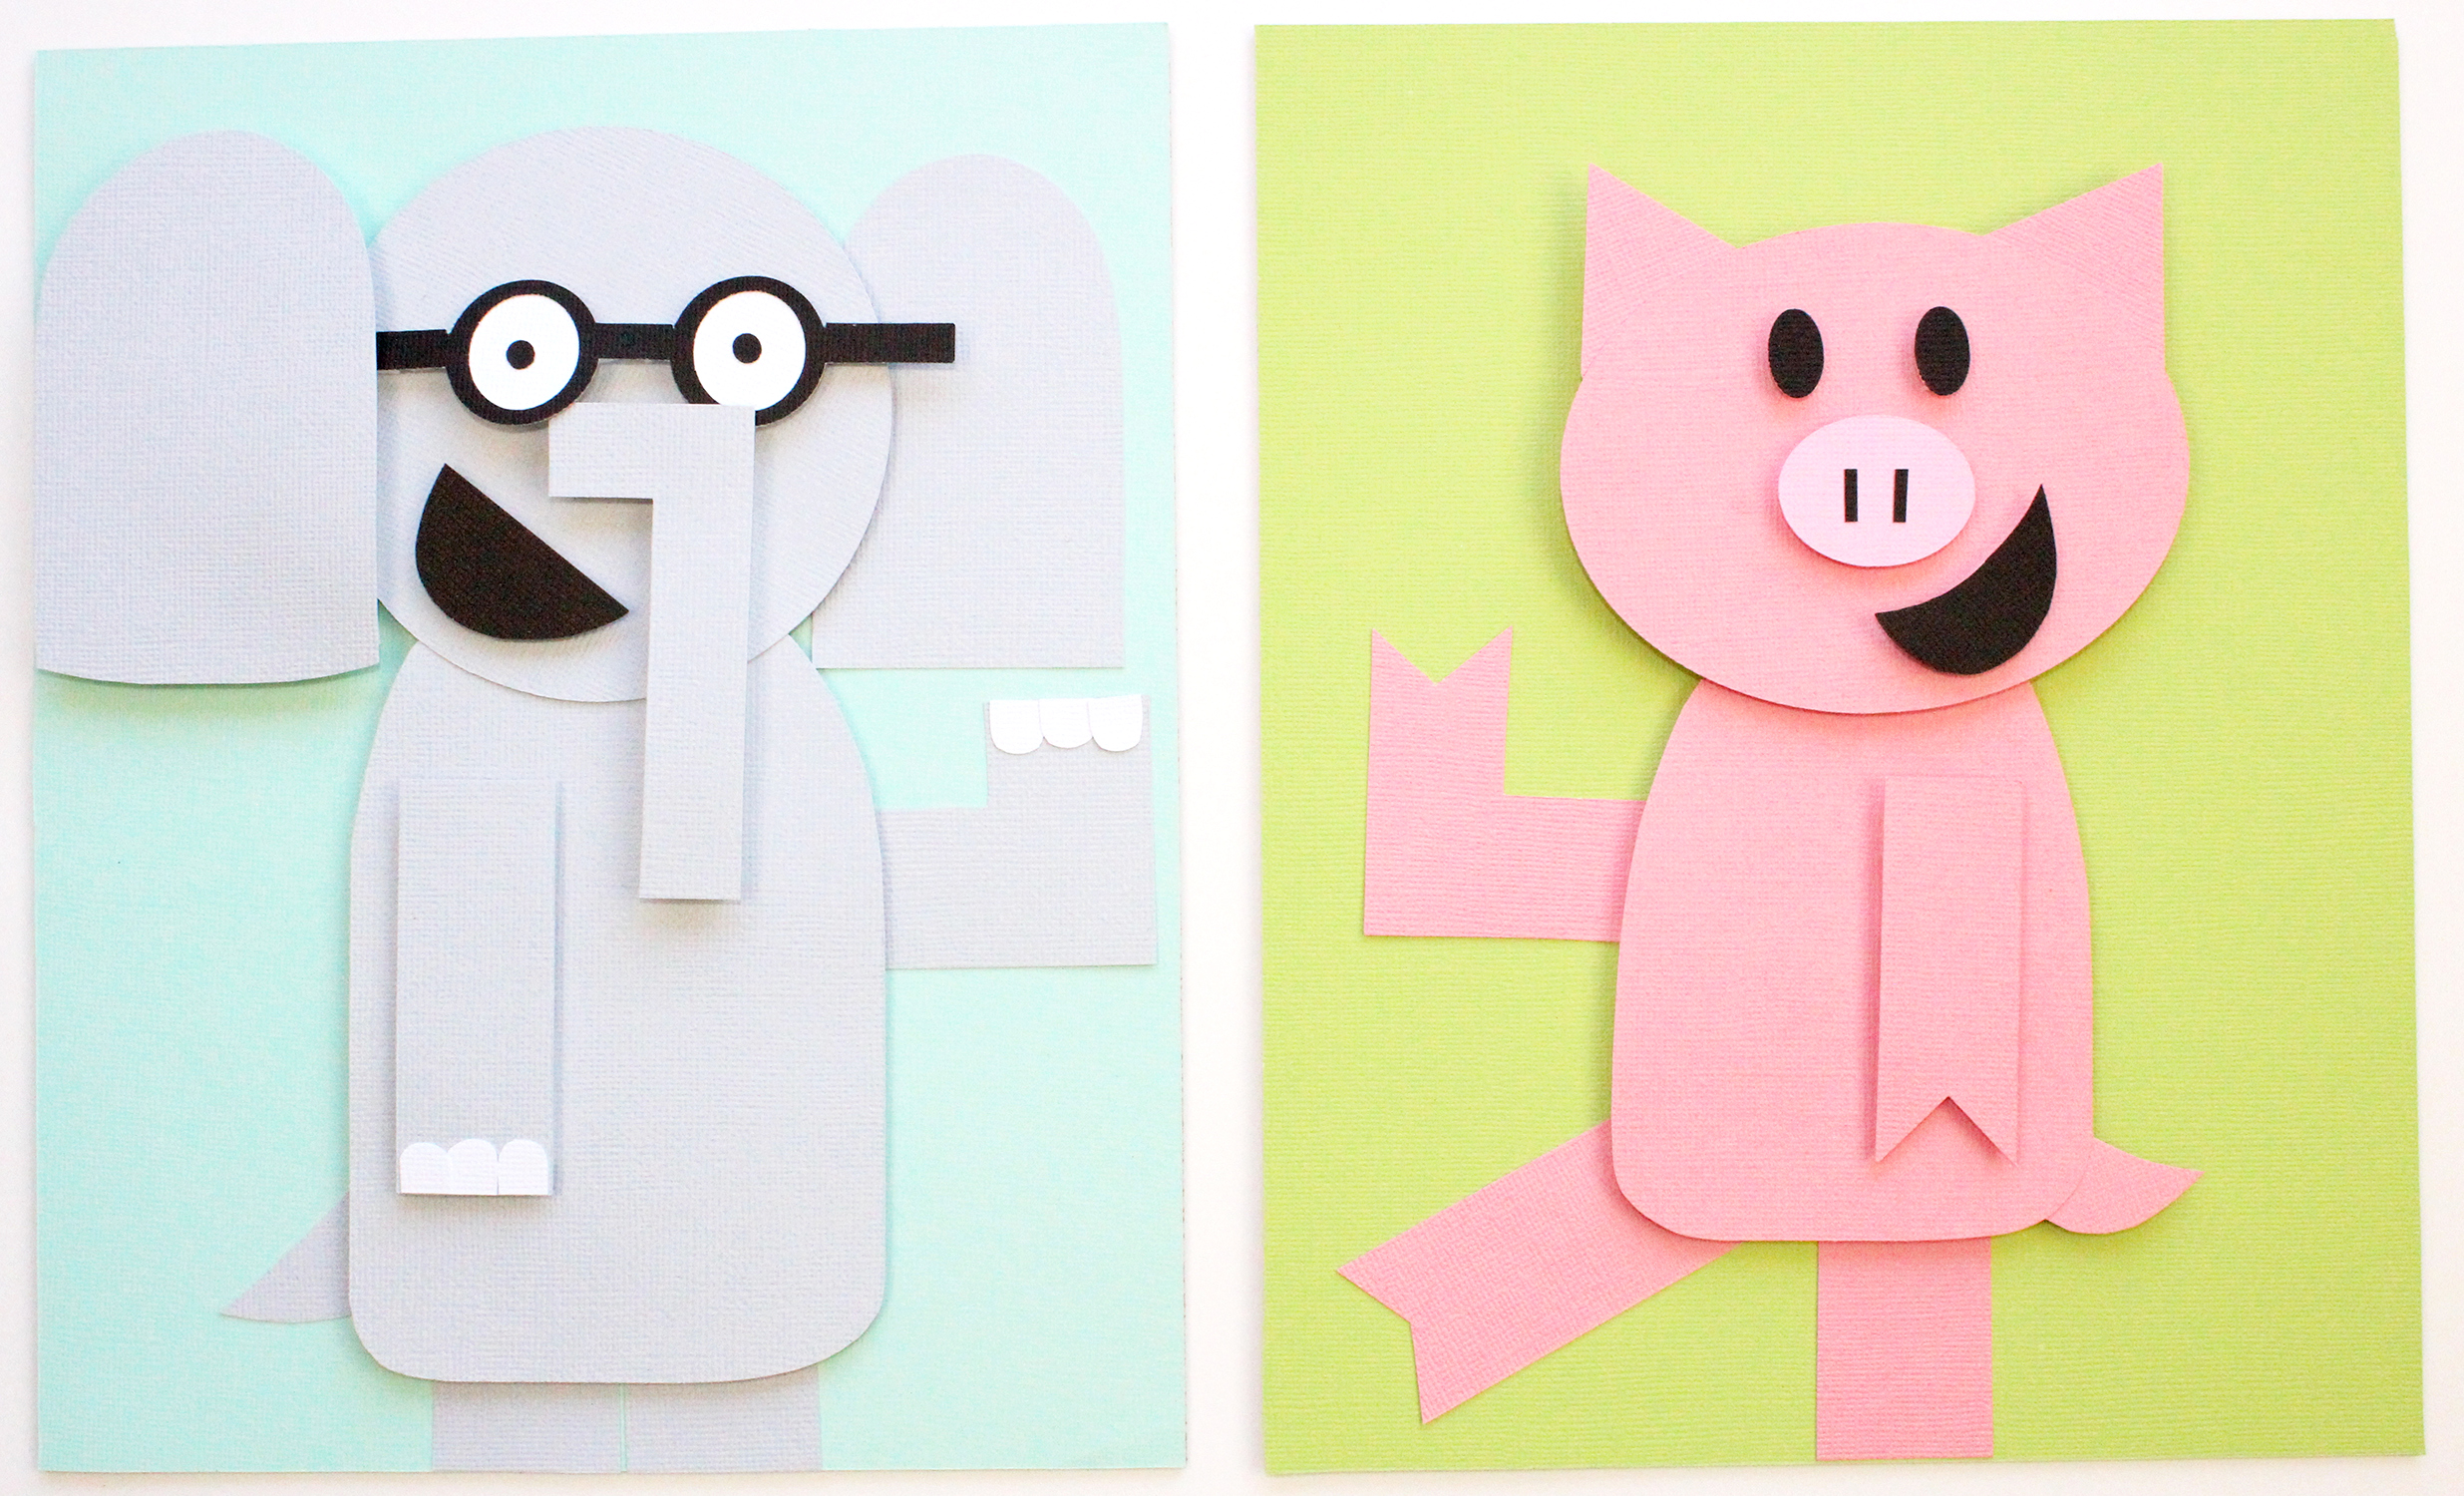
In this photo, you can see that some elements are glued to the back. I didn’t use Foam Tape for their legs.

The Foam Tape also helps you show which elements are closer to you. Like Gerald’s ears, the left one is closer so I used 2 Foam Tapes stacked.
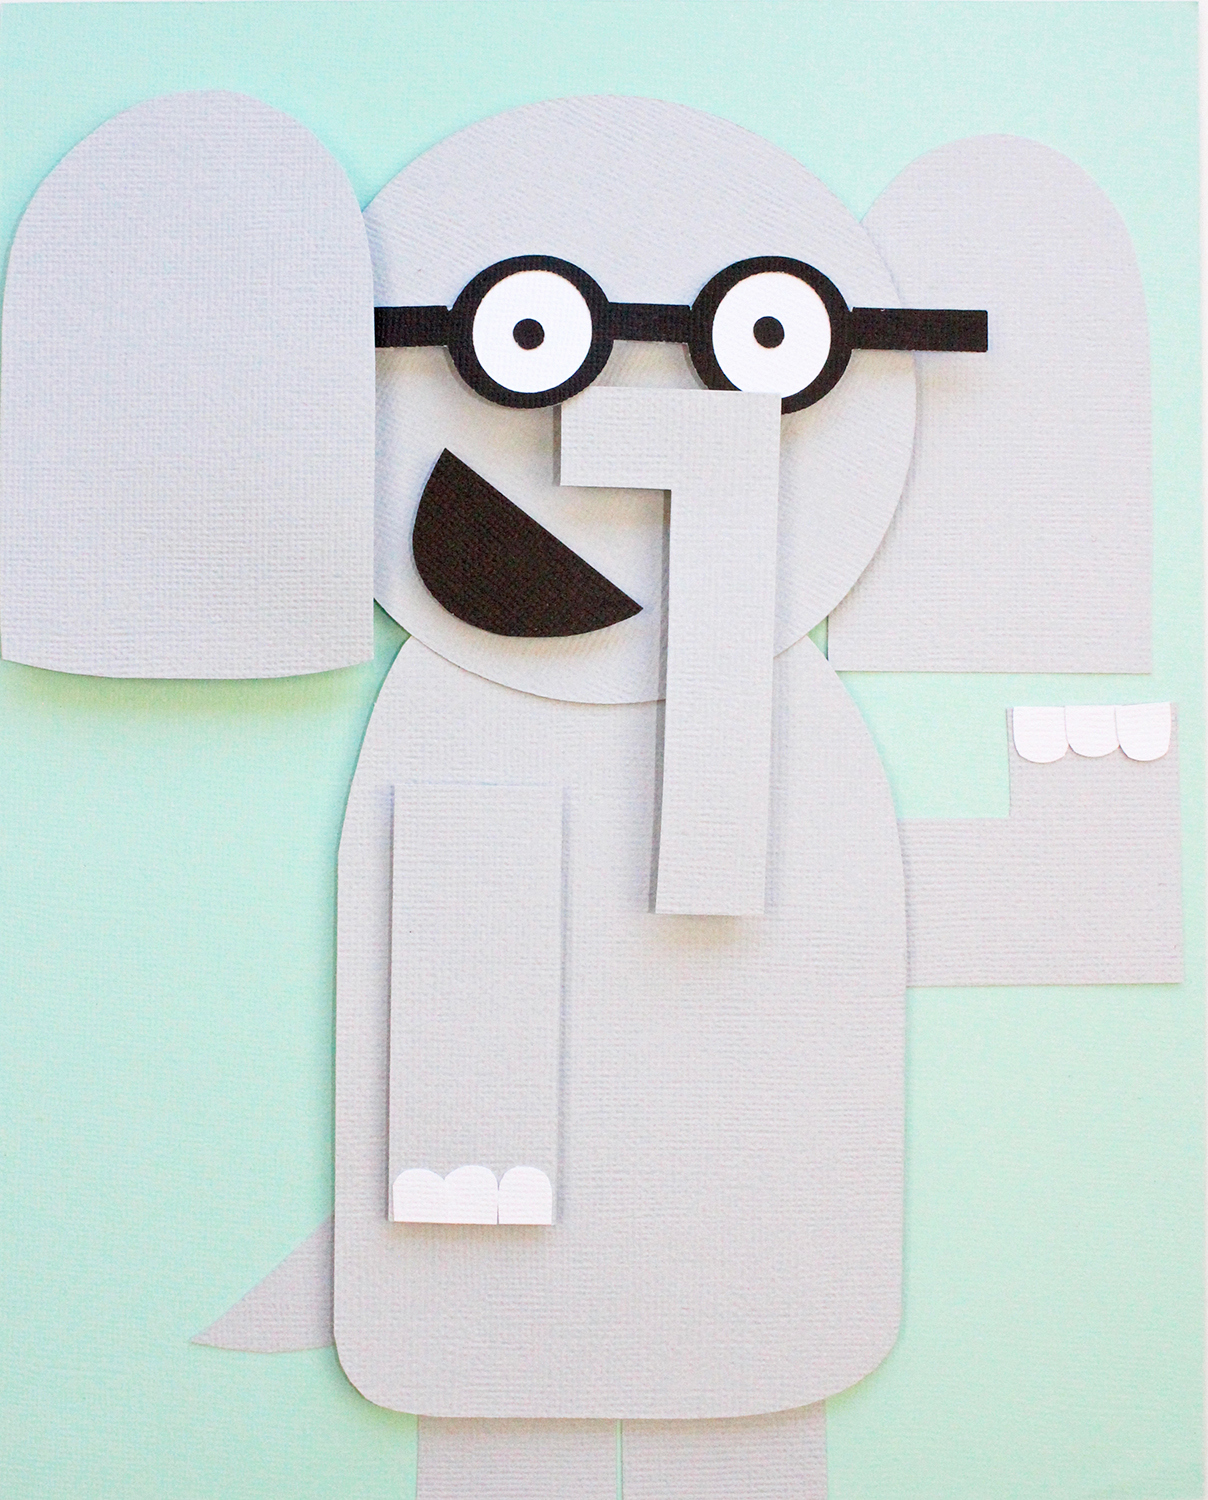
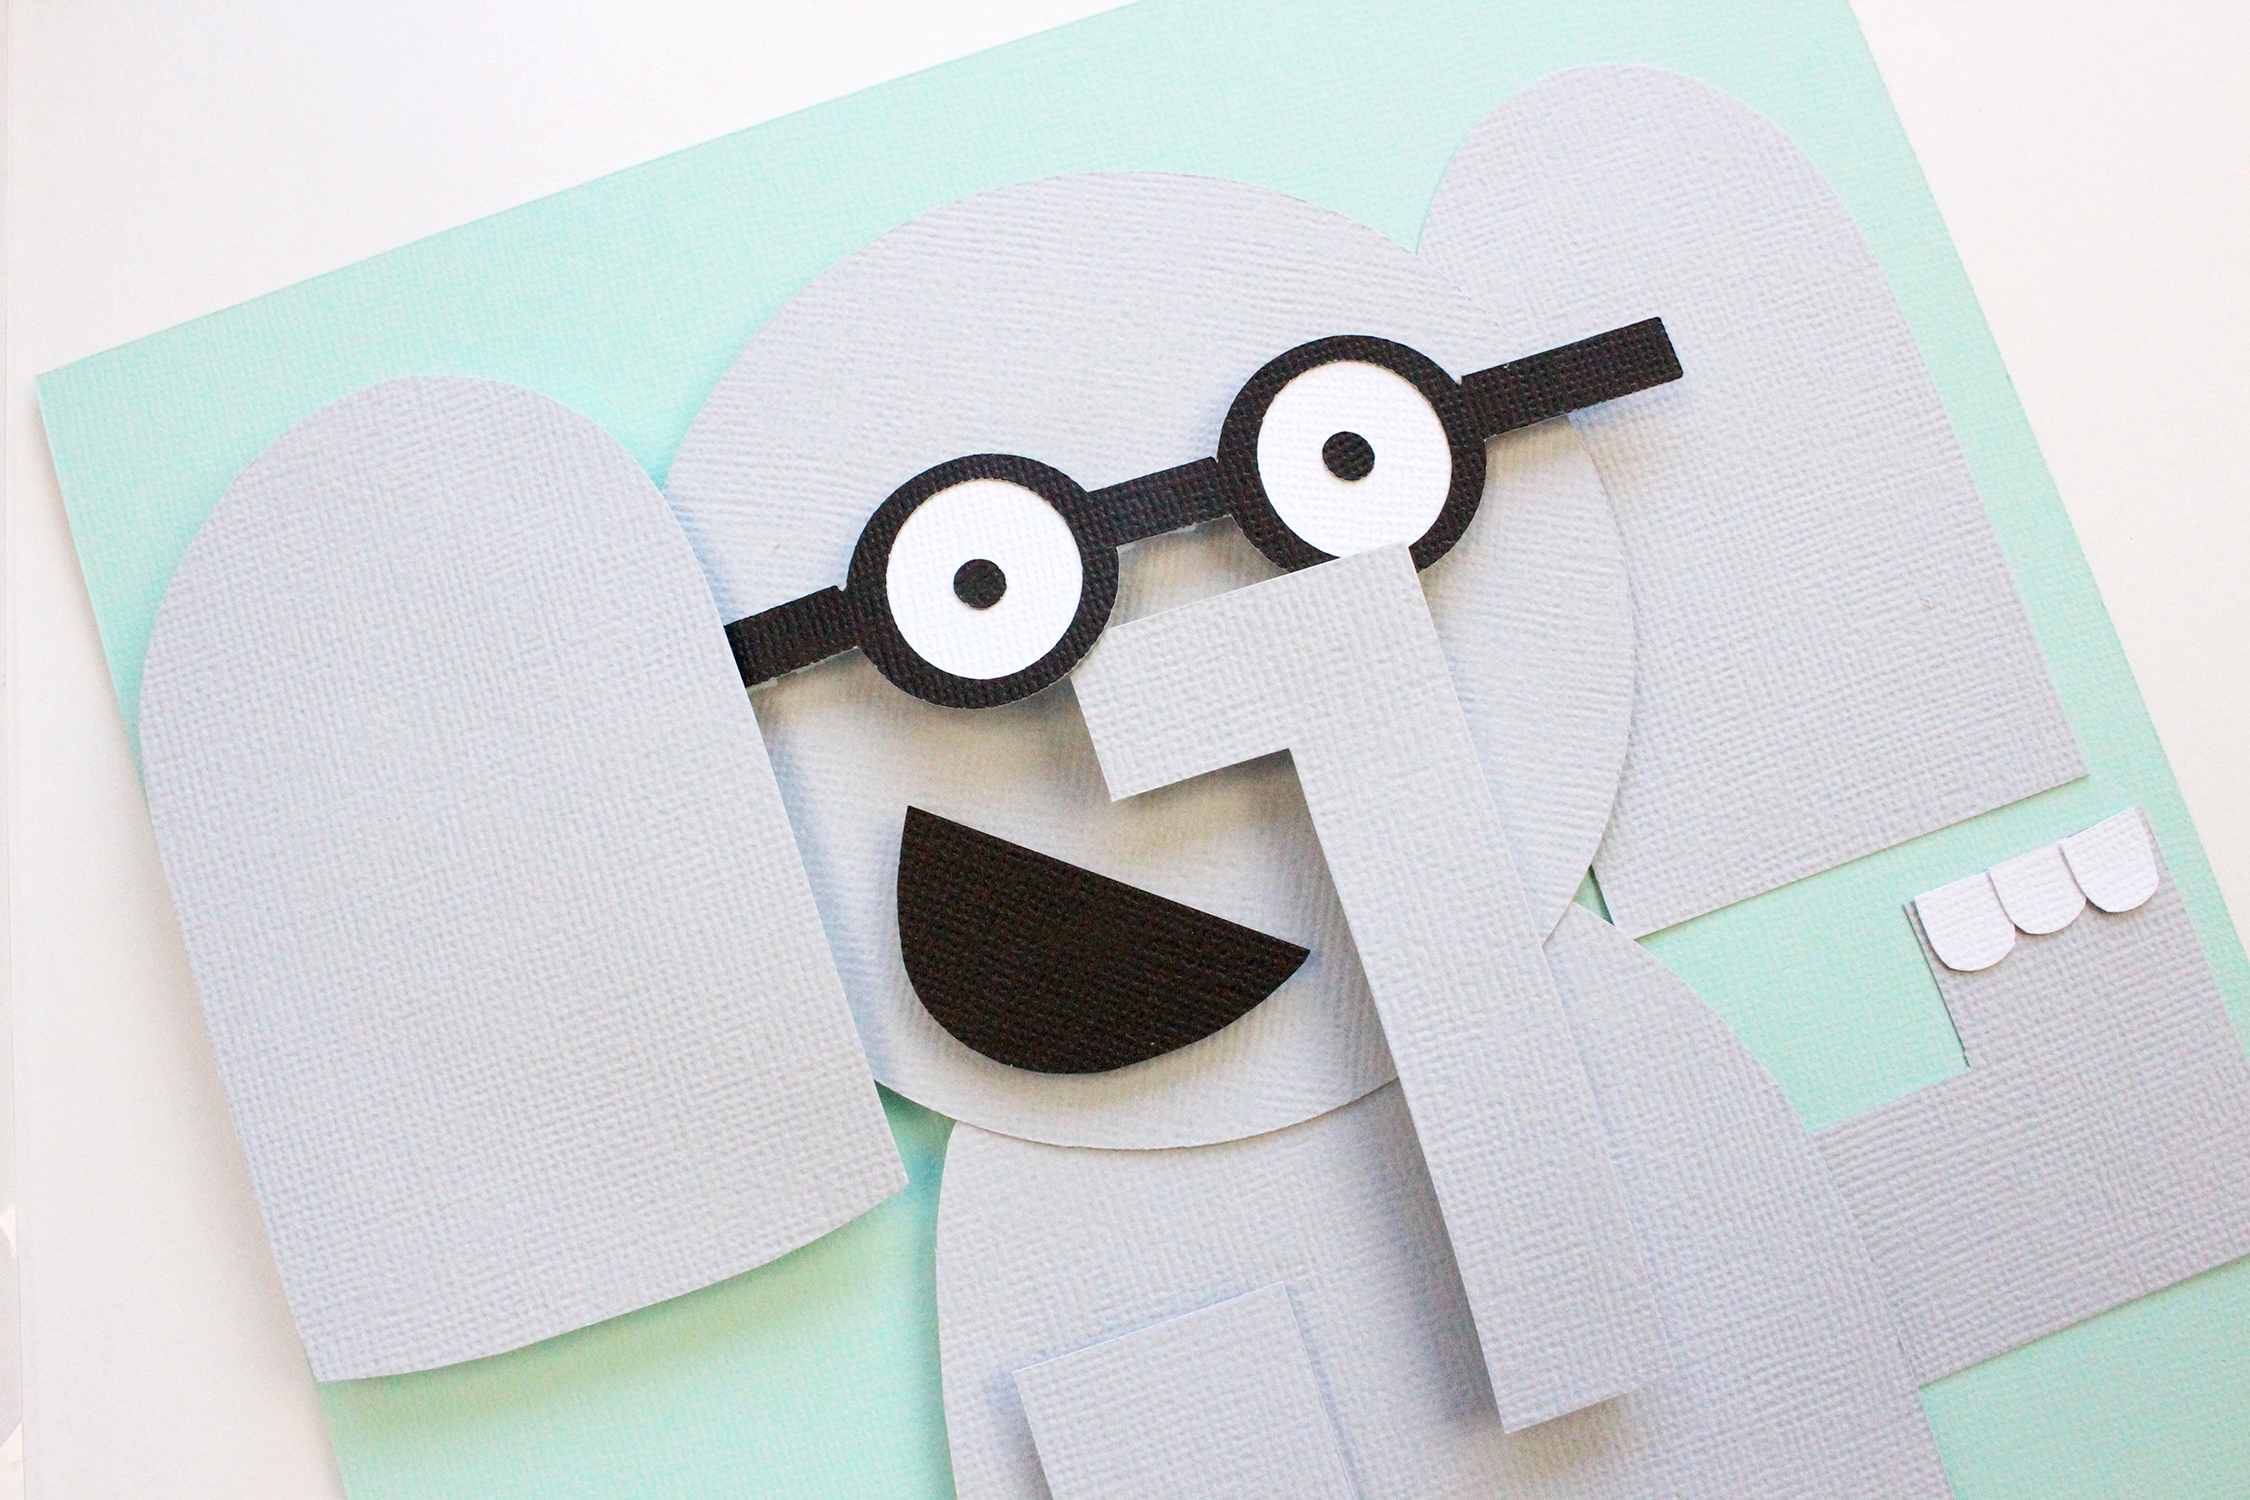
Here is a look at all the dimension in this project!
I hope you enjoy this project! Make sure you’ll give it a try! Happy March, crafty readers!

do you have the cut files made for this? would you be willing to share?!?! 🙂
Pingback: Zentangle Coloring Pages Printables – My Blog
wow I love how that looks!😃