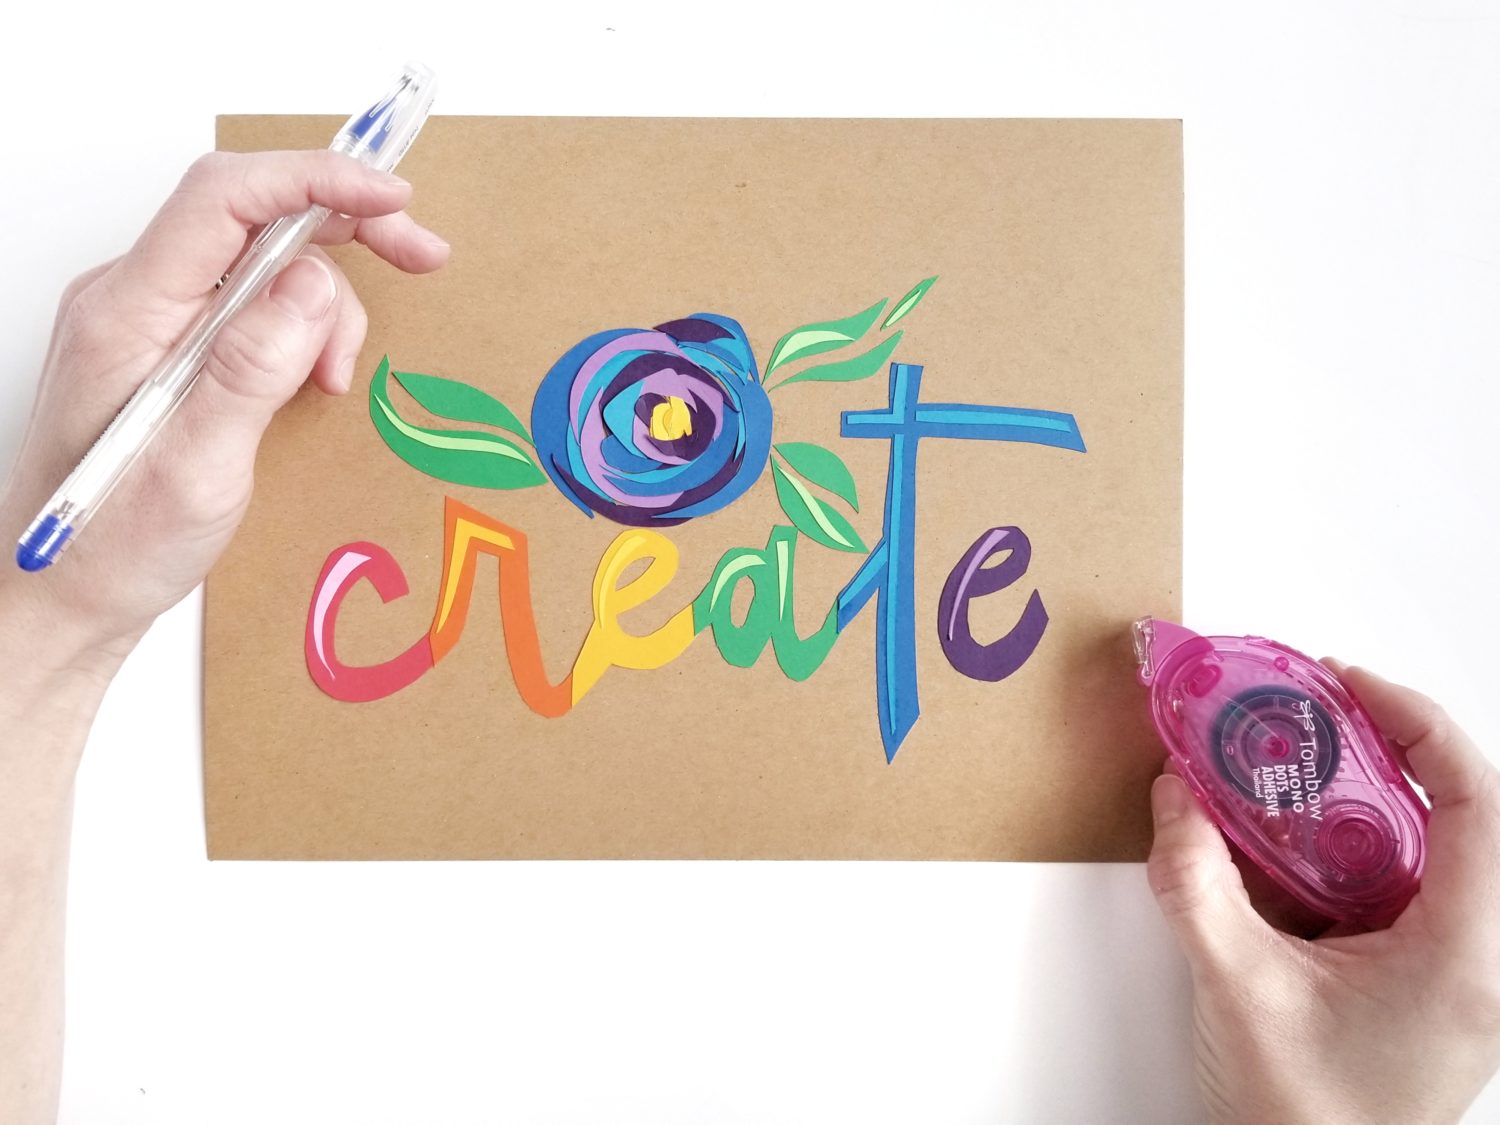
Hey, y’all! It’s Grace from Grace Anne Studio. Recently, I’ve been looking to try something new with my lettering and florals routine – enter Tombow adhesives and cut paper art.
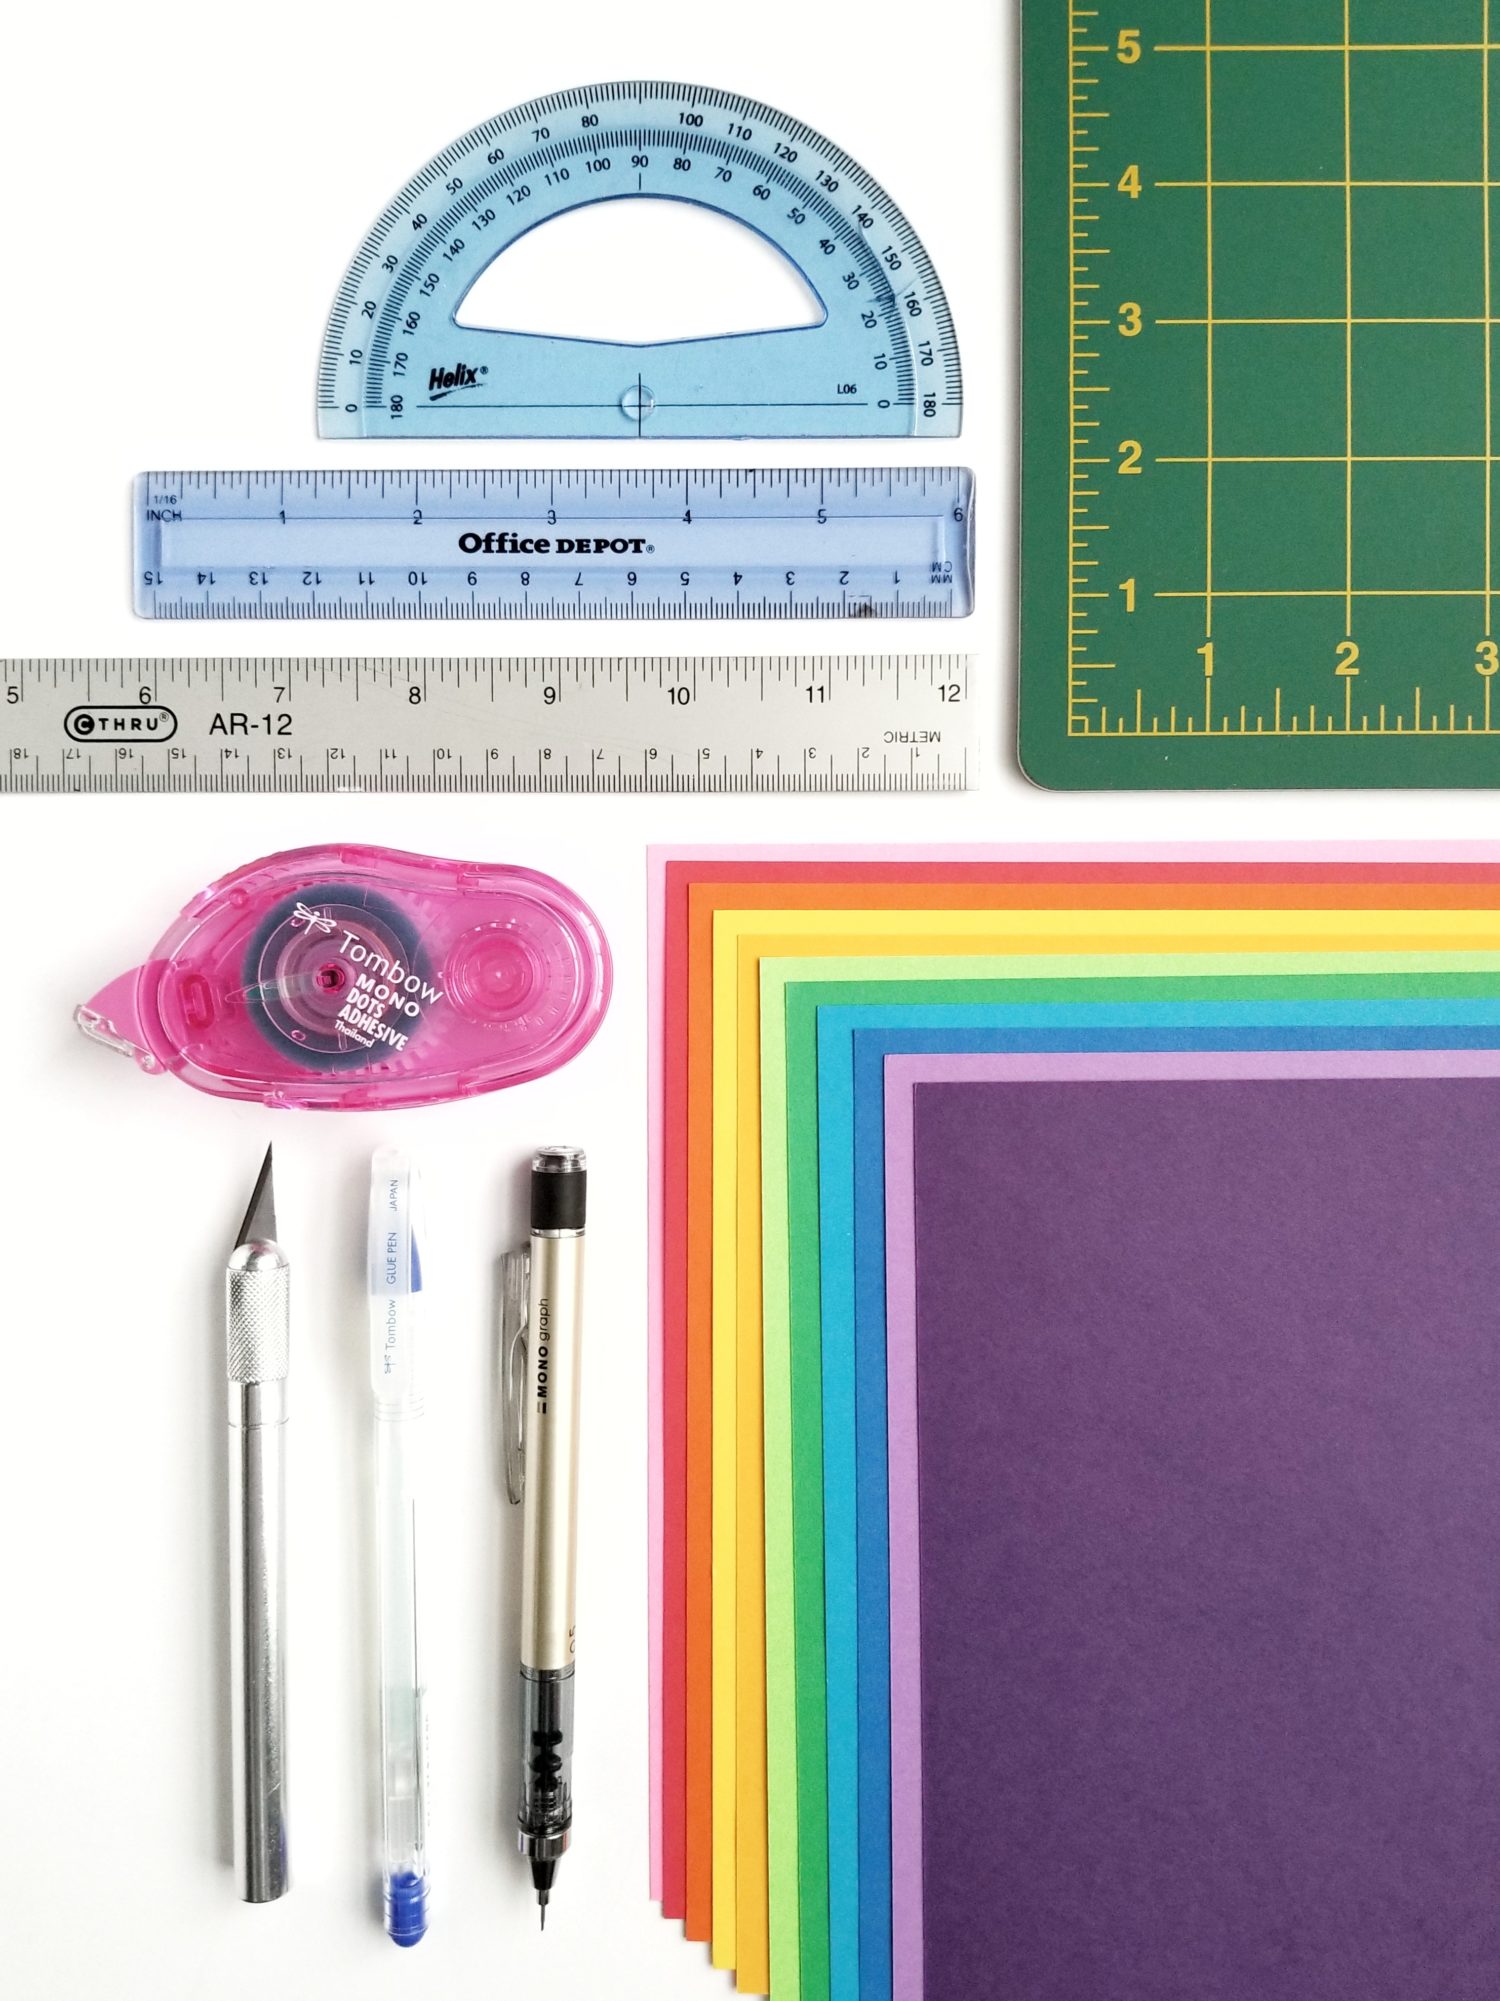
Supplies
- Tombow MONO Glue Pen
- Tombow MONO Dots Adhesive
- Tombow MONO Graph Mechanical Pencil
- X-ACTO knife
- Cardstock in various colors
- A solid, 8″ x 10″ piece of cardstock
- Cutting Mat
- Assorted rulers
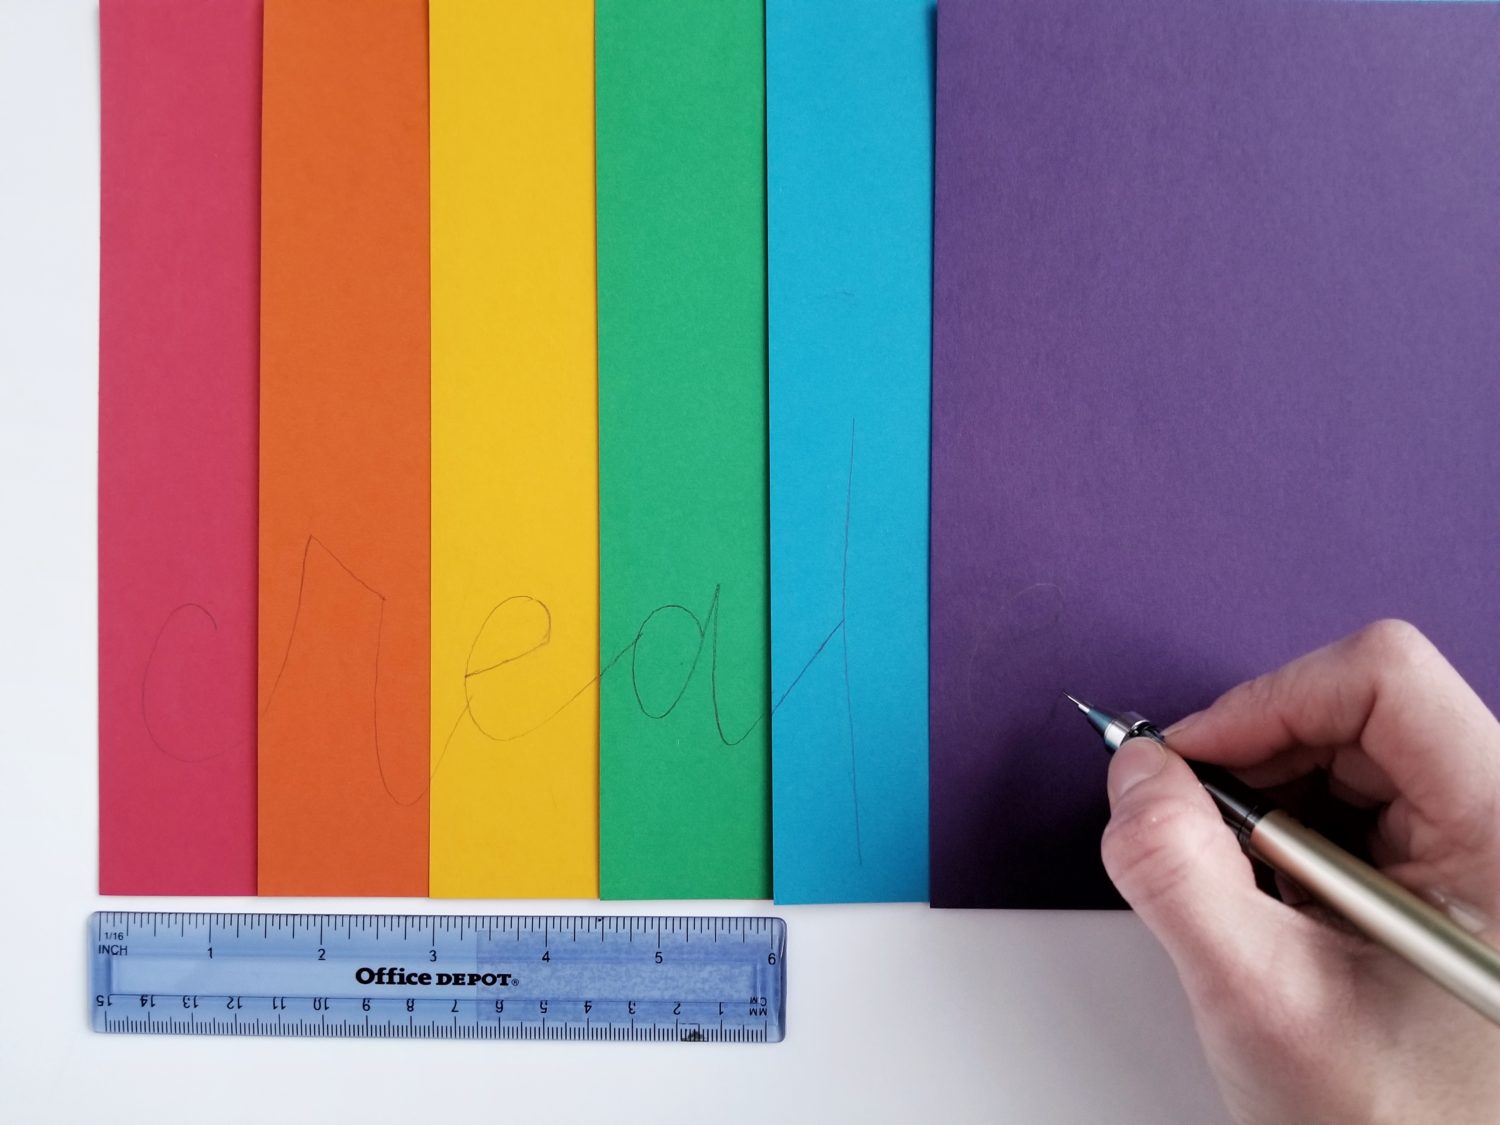
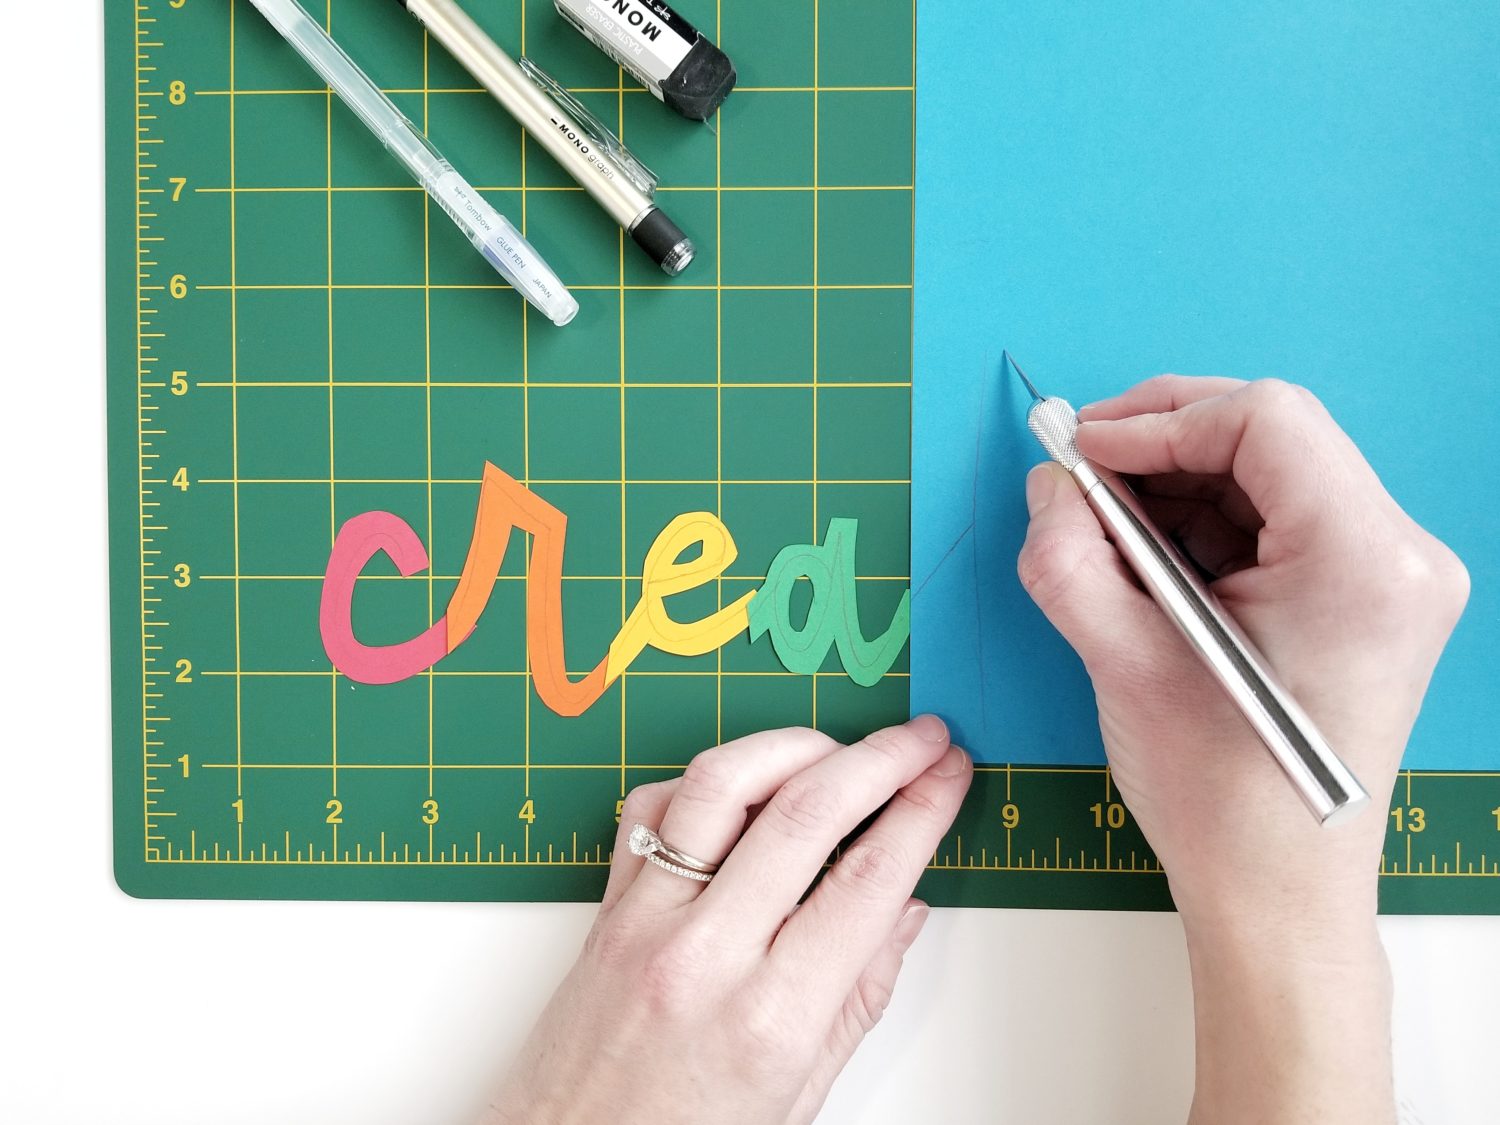
Step 1: Draw it
To get started with cut paper lettering, choose a word and use your pencil to draw each letter on the desired color of paper. I used my ruler to measure 1.5″ sections of darker shades of paper and then drew each letter just like I was lettering the word. This helps to keep the kerning (the space between each letter) consistent and helps to ensure your letter connections line up.
Step 2: Cut Base Letters
Place the letters on the cutting mat, and use your X-ACTO knife to cut out the letters. Be sure to add enough thickness on either side of the letter so there is room to place additional layers of paper and still see the base color. Then, erase your pencil marks.
TIP: Line your letters up as you’re cutting them out to keep a consistent thickness.
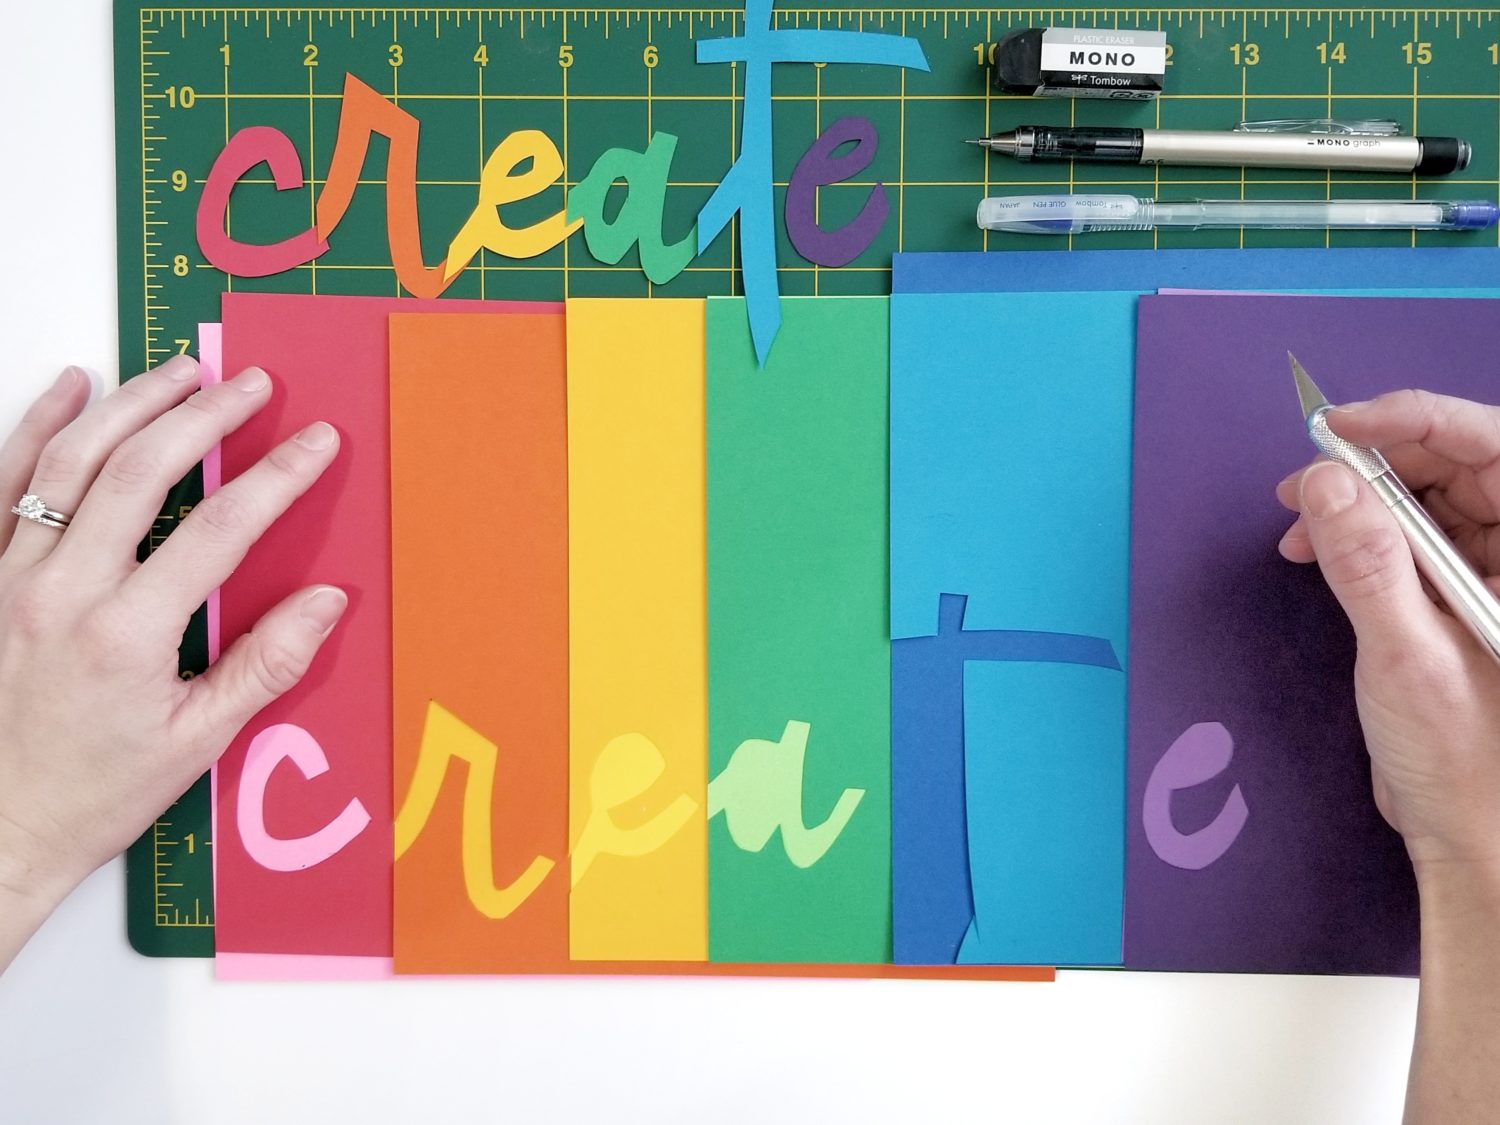
Step 3: Cut Highlights + Florals
Using your scraps from the base letters, layer them on a corresponding lighter color paper, and cut out some highlights for your letters. Using the paper scraps as a stencil allows you to easily cut highlights.
At this point, I also cut some curved shapes out of the scrap paper. Cut as many as you’d like, and be sure to cut various sizes. You’ll use these to create a cut paper flower later.
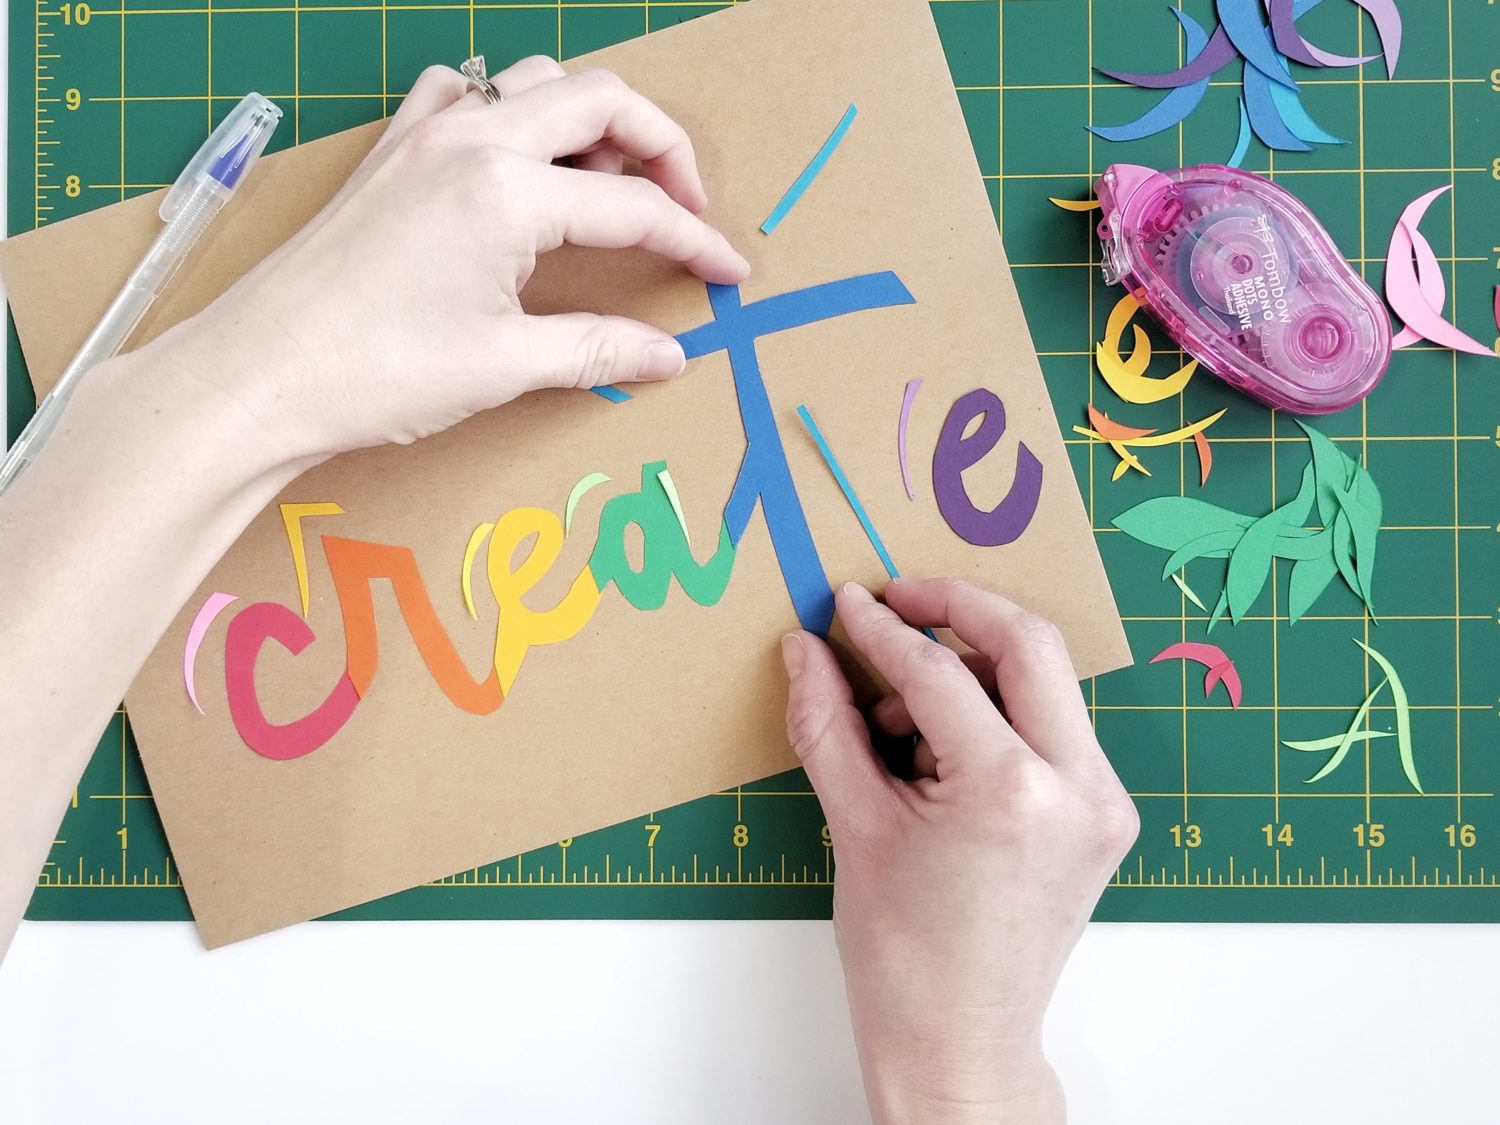
Step 4: Assemble Using Tombow Adhesives
Next, take your solid sheet of cardstock and arrange your base cut paper letters on it. Using another scrap piece of paper, flip each letter over and run the Tombow MONO Dots Adhesive over it. This allows you to cover the entire back of the letter without having any glue showing on your final product.
Then, place the letter on your solid cardstock and repeat for the rest of the word. I love the MONO Dots Adhesive because it is initially repositionable, but it sets to form a permanent bond. Once your base letters are assembled, use your Tombow MONO Glue Pen to attach the highlights. The glue pen is great for precision work!

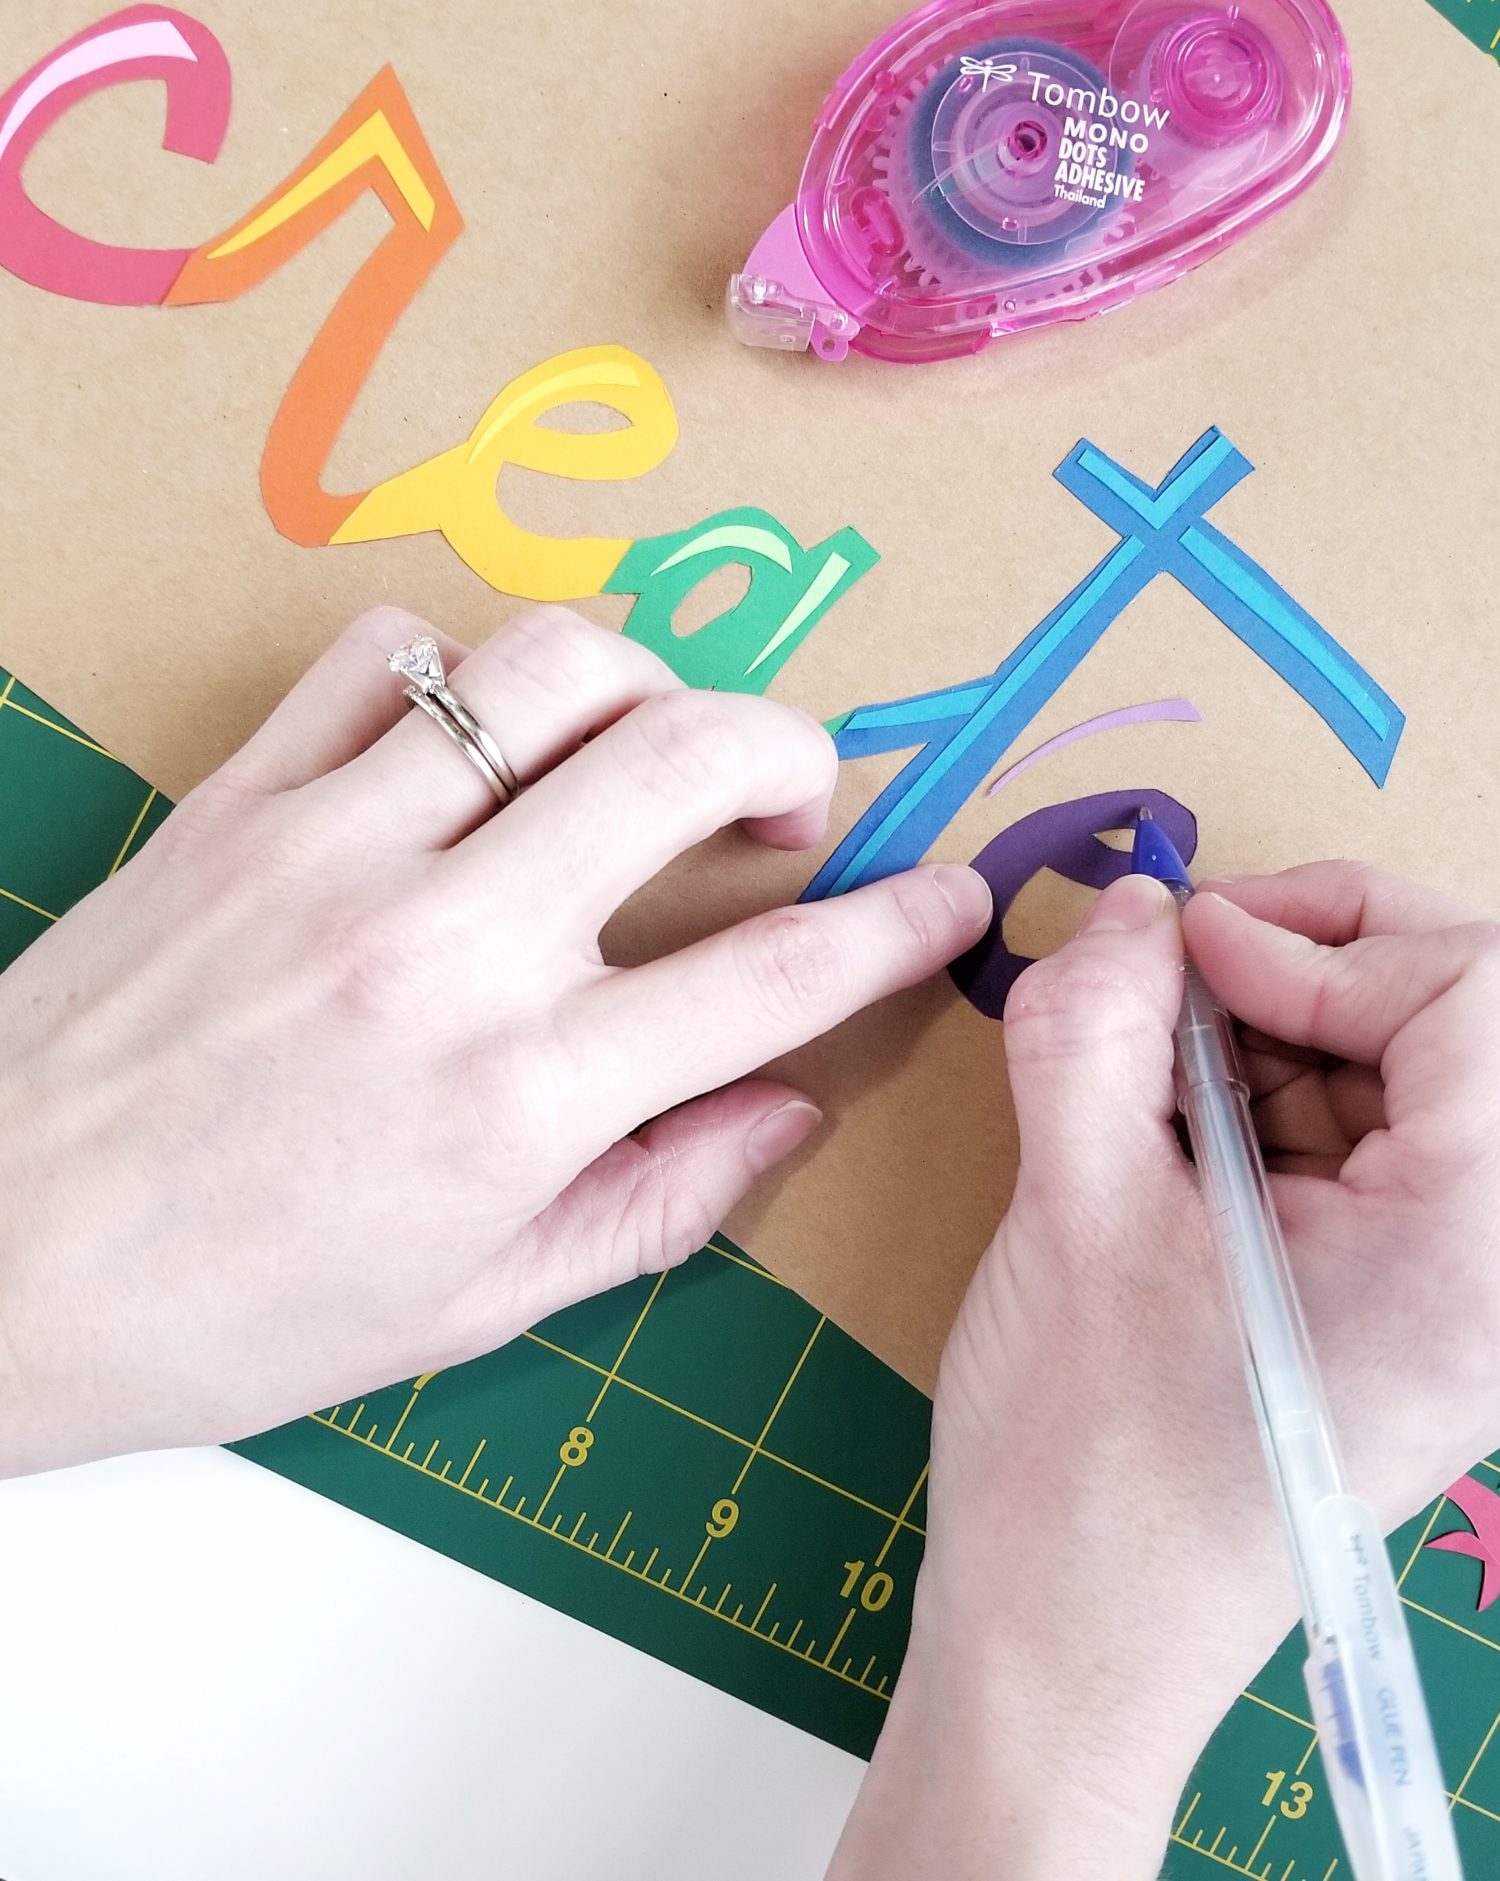
Step 5: Add Florals
Finally, take the curved cut paper from earlier and loosely arrange them with your lettering. Once you know how much area the floral art will use, you can apply a few strips of the MONO Dots Adhesive to the solid background page. Then layer your curved cut paper until it resembles a flower. I also used the MONO Glue Pen for precision work and applied the MONO Dots Adhesive to the backs of the leaves to avoid having excess glue on the final piece.
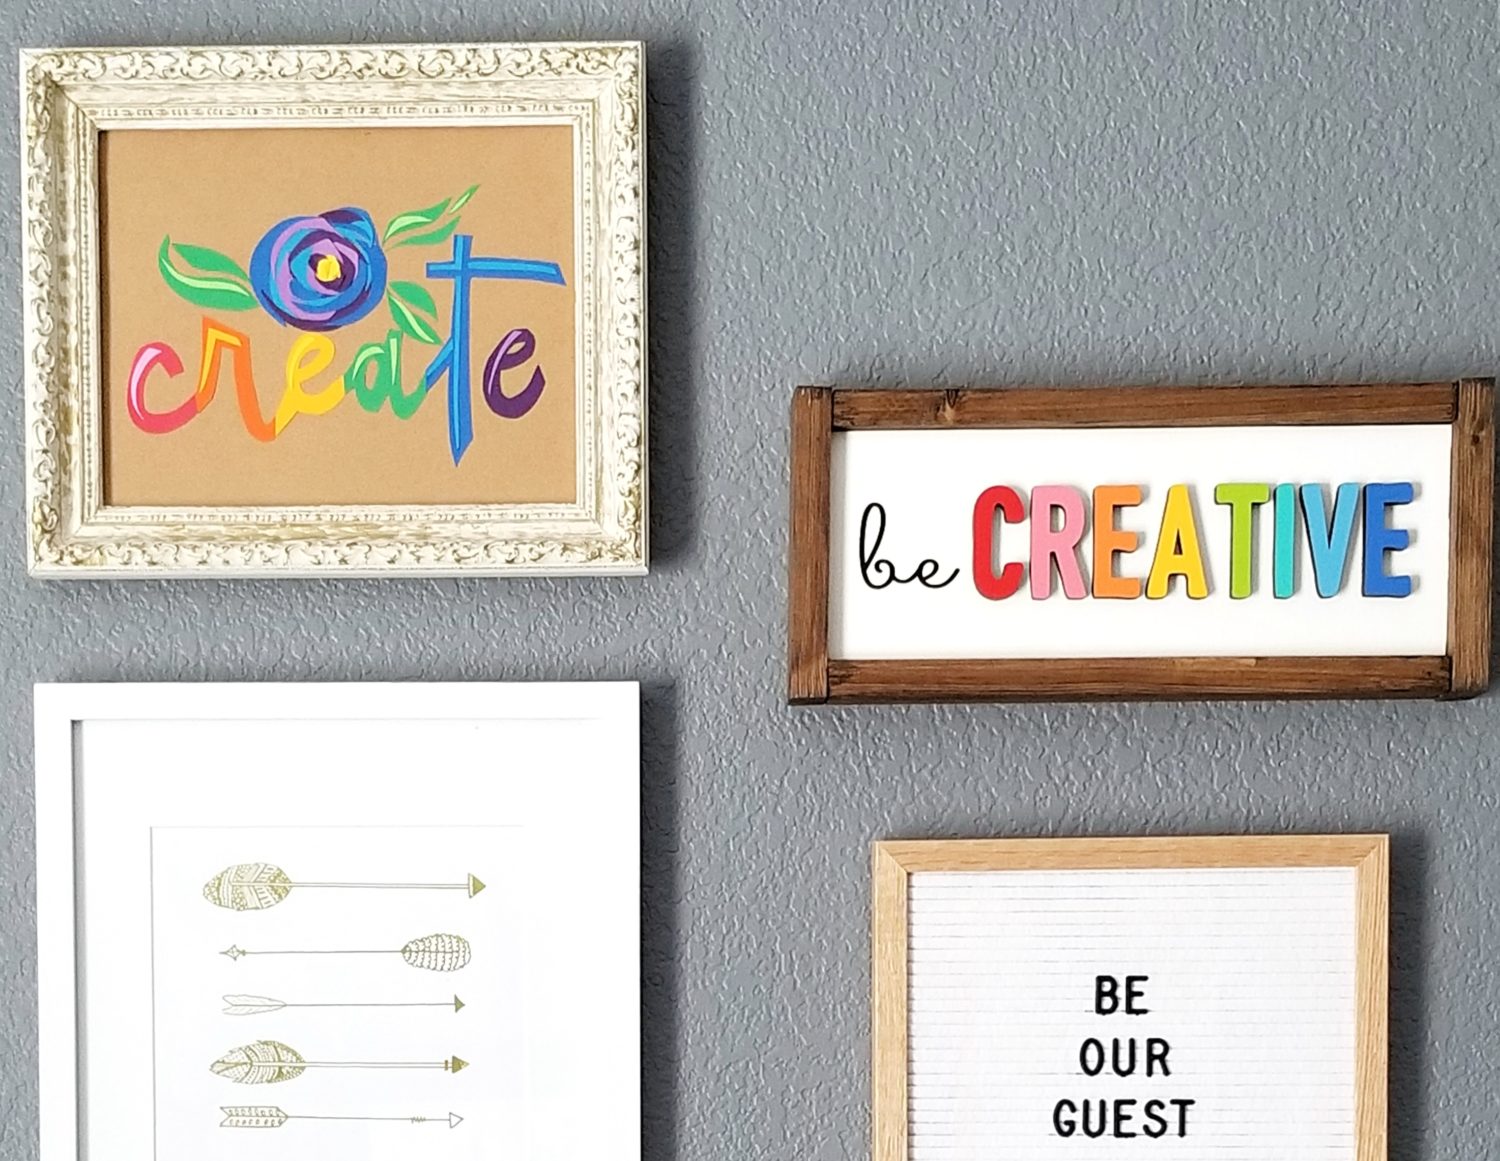
Step 6: Frame + Display
Last but not least, use some washi tape to secure the finished cut paper lettering and art into an open frame, and display it proudly! If you create some cut paper lettering or art, be sure to tag @graceannestudio and @tombowusa so we can cheer you on!
For more paper crafting check out DIY Paper Flowers with Smitha or Cute Colored Pencil Cards for Spring with Jessica!