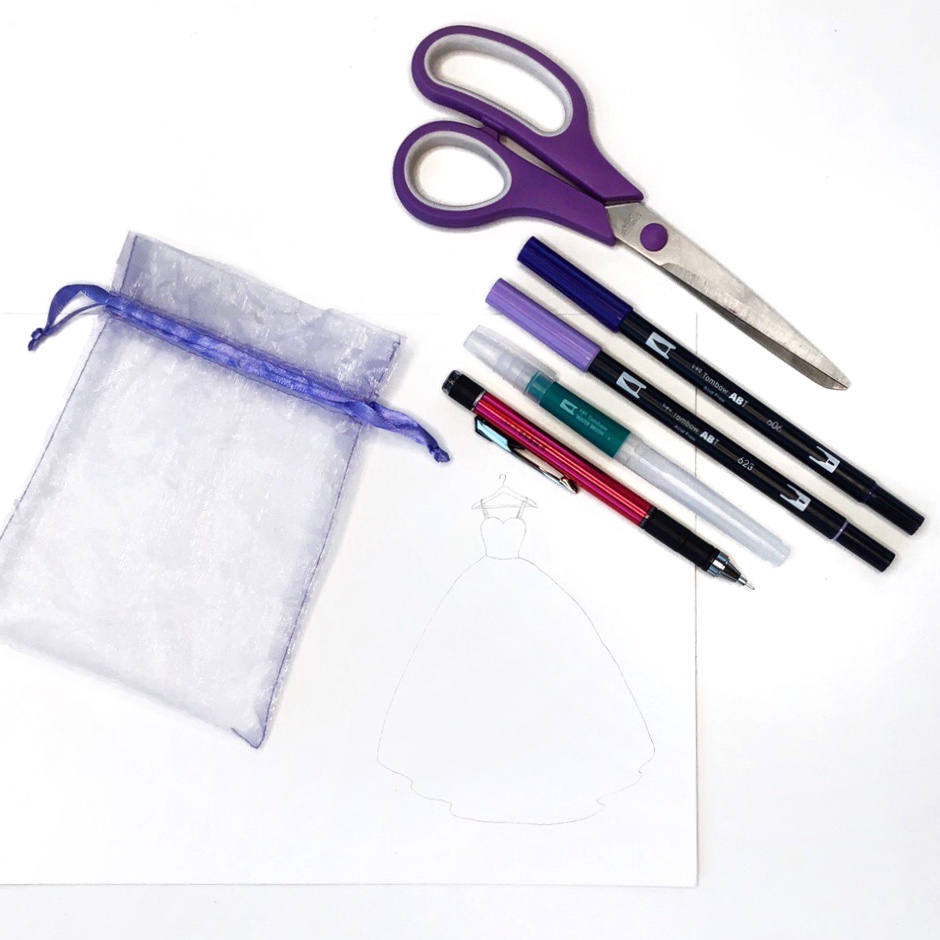
Hi, Jessica from BrownPaperBunny here! My inspiration for today’s project came from Grace at Grace Anne Studio. She does amazing blends in all the colors of the rainbow. So, I wanted to use some Dual Brush Pen blending to show you how to create a dress you could use on a card or as an art journal page. Here’s what you’ll need to get started.
Supplies:
- Tombow Dual Brush Pens (606 and 623)
- Tombow Water Pen (Medium Tip)
- Scissors
- Tombow MONO Graph Mechanical Pencil
- Watercolor paper or card
- Tombow MONO Multi XL Liquid Glue
- Tulle, gauze, or a mesh gift bag
Step 1: Adding Color
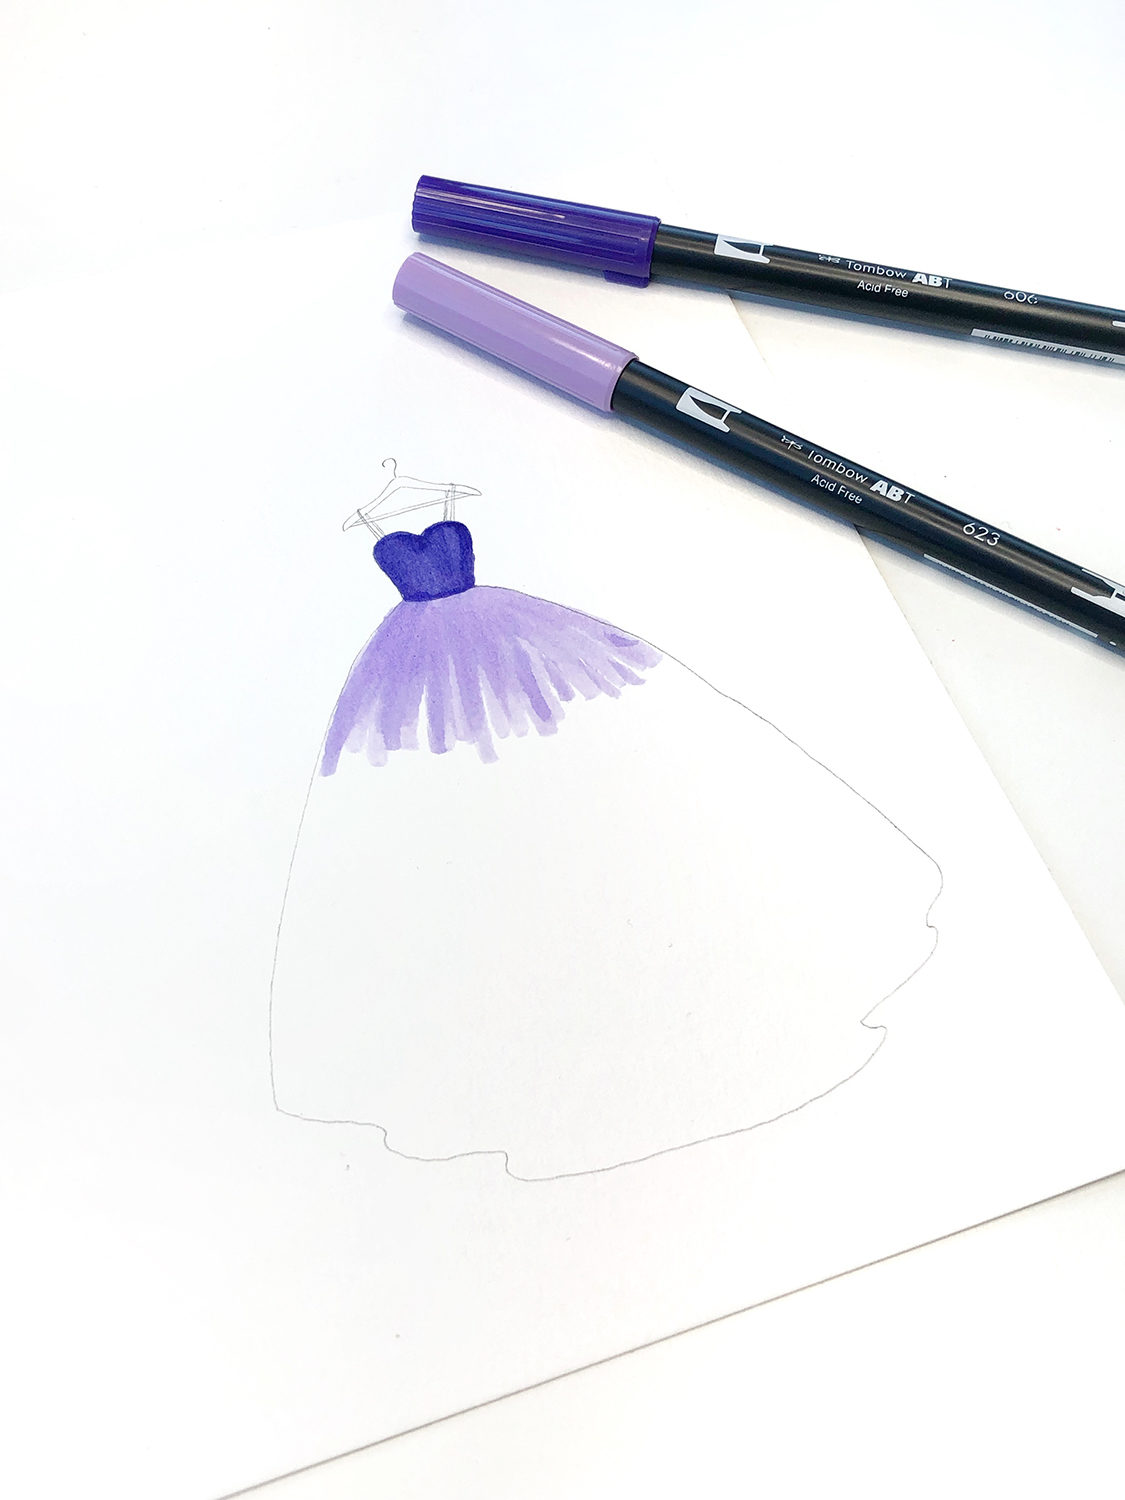
Using my MONO Graph Mechanical Pencil, I drew a simple dress outline. Next, I started adding two tones of purple with the brush end of the Dual Brush Pens.
Step 2: Blending With Water
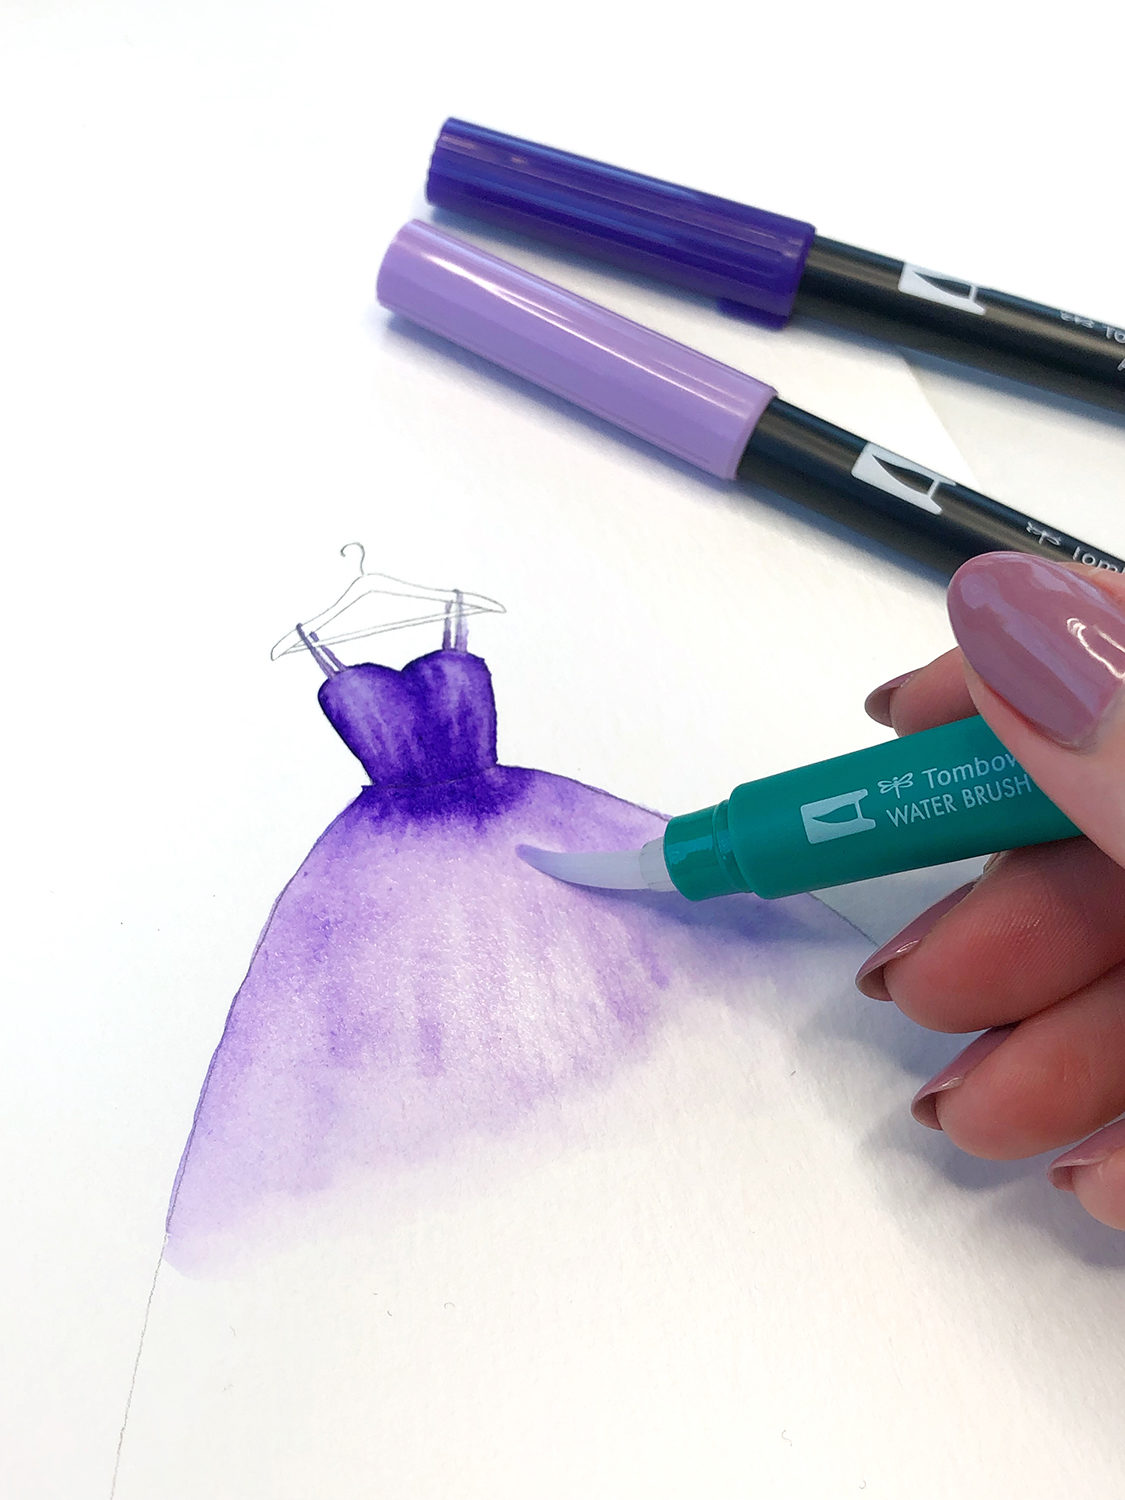
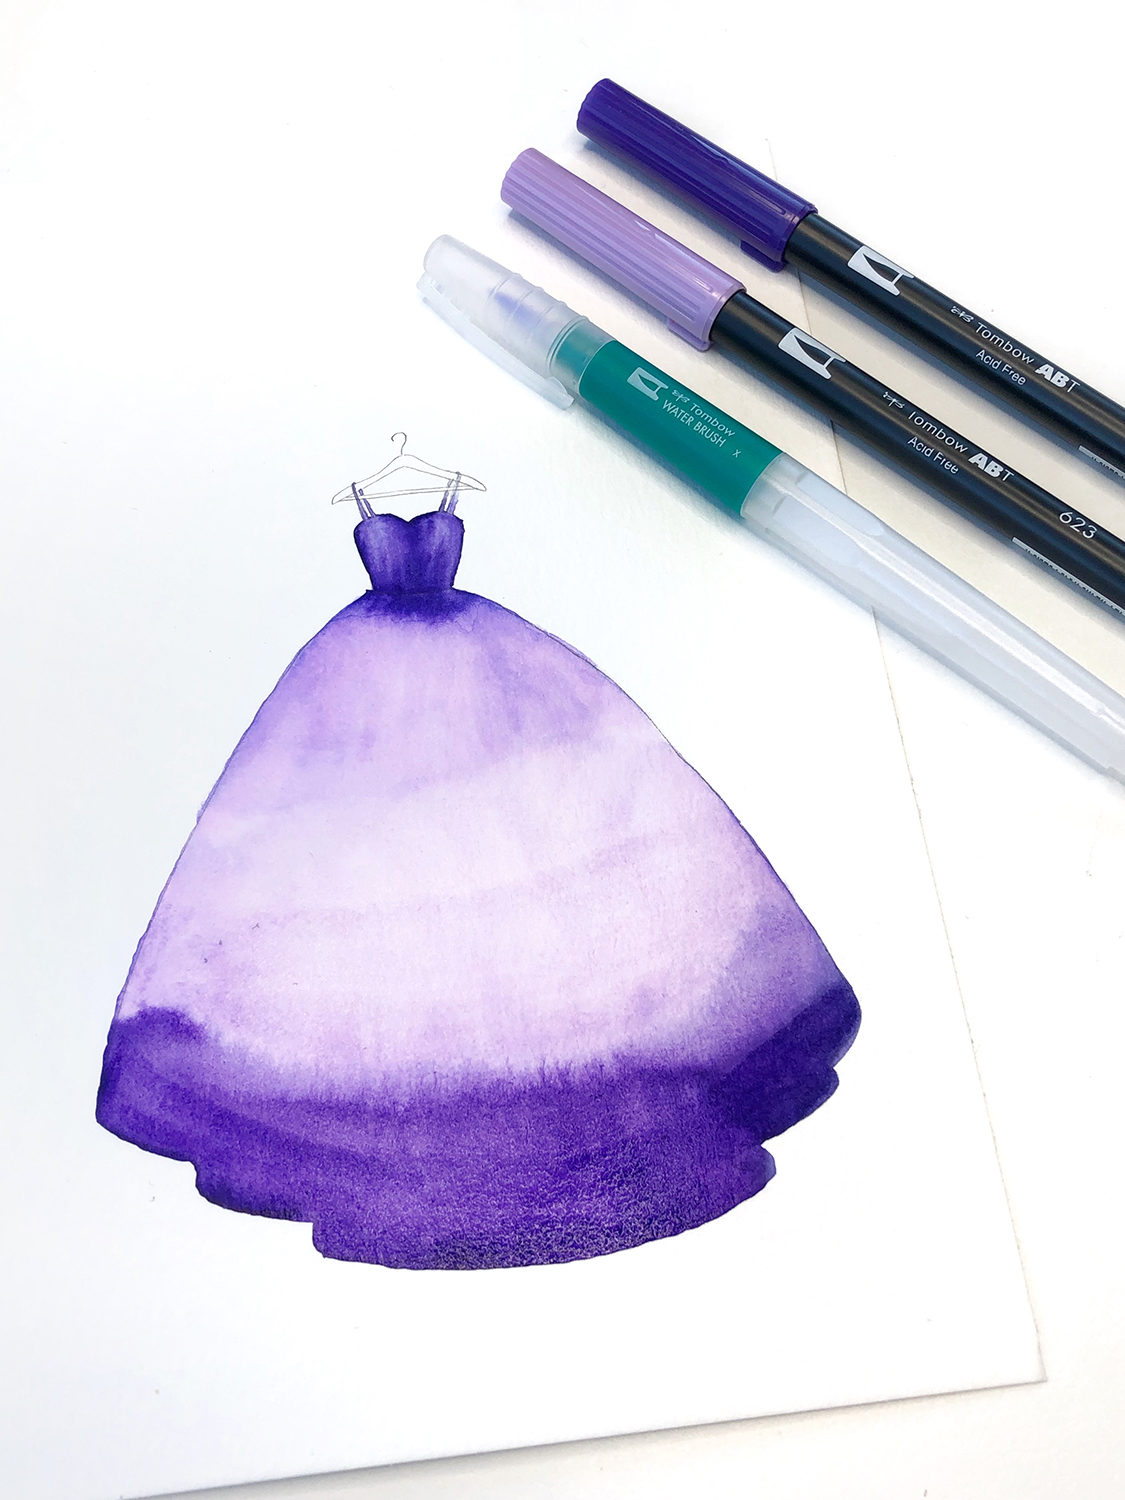
Once the color was added to the dress, I began to blend it using the new Tombow Water Brush (available in the latest Tombow VIP Club box). The cool thing about Dual Brush Pens being water soluble is that if you don’t like how they blend the first time you can re-wet it and try again! I used the Water Brush to blend the two shades together and smooth any lines I had in the ink.
Step 3: Adding Material
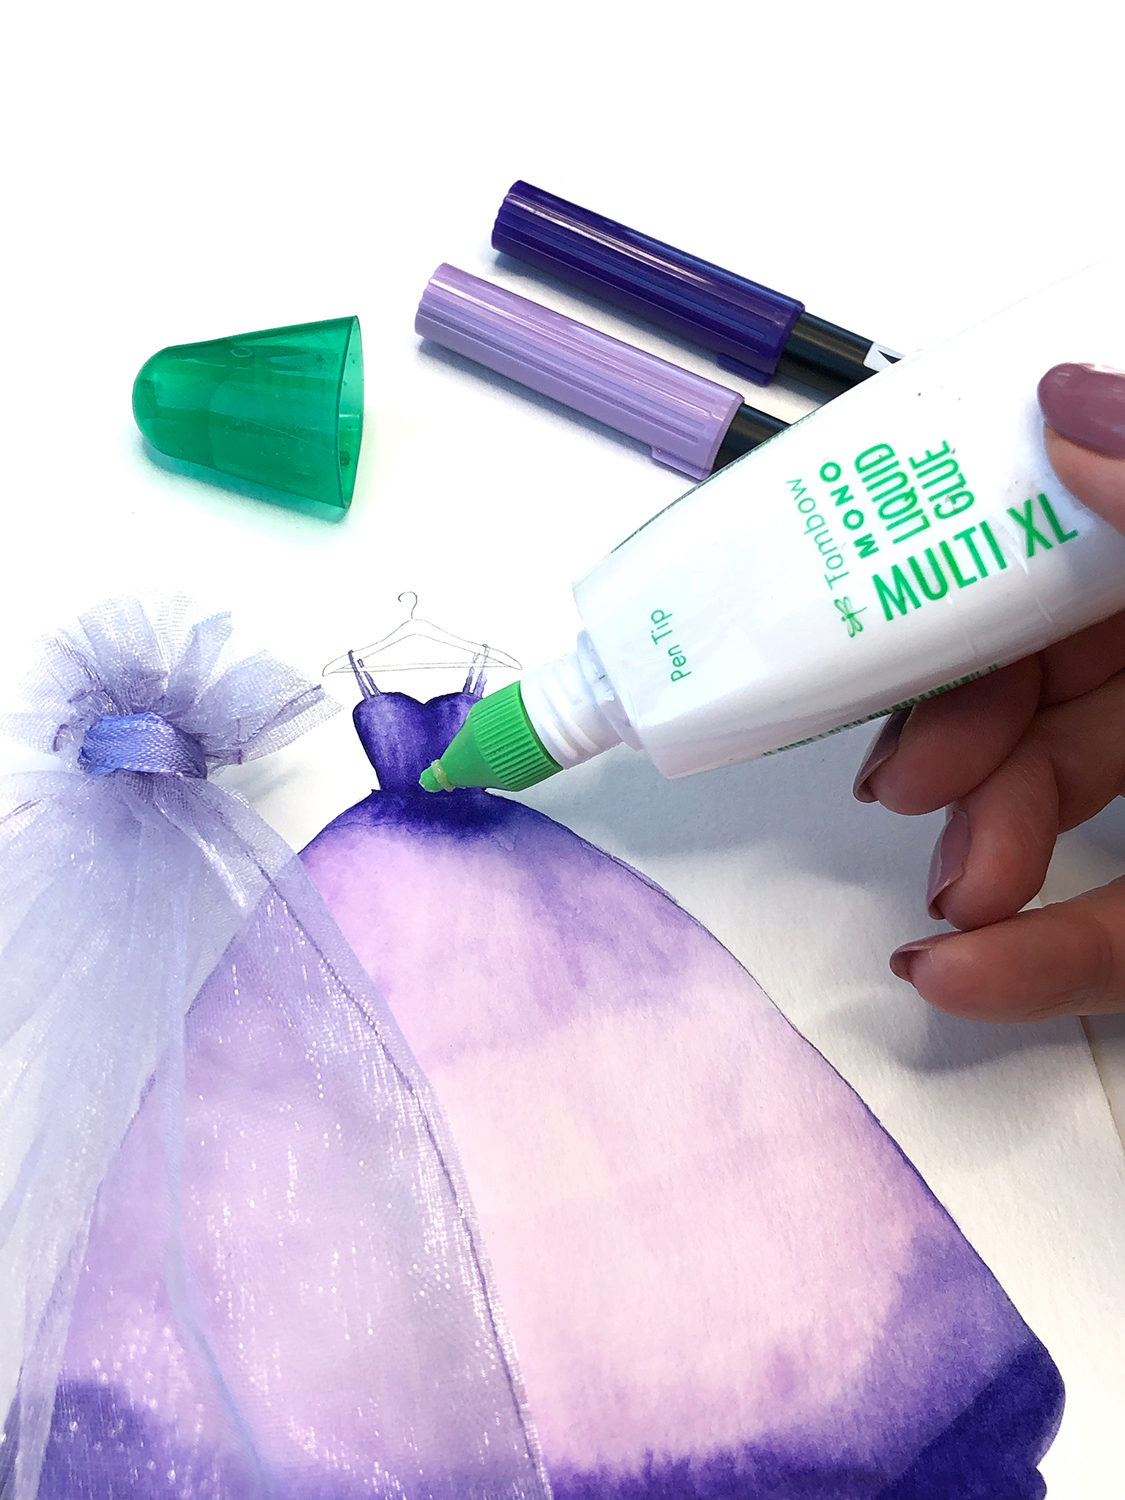
Once the ink was dry, I used MONO Multi XL Liquid Glue to stick a mesh gift bag on top of the dress. Once the glue had set, I used scissors to trim the edges so that it fit the shape of the dress underneath.
Step 4: Write a Message
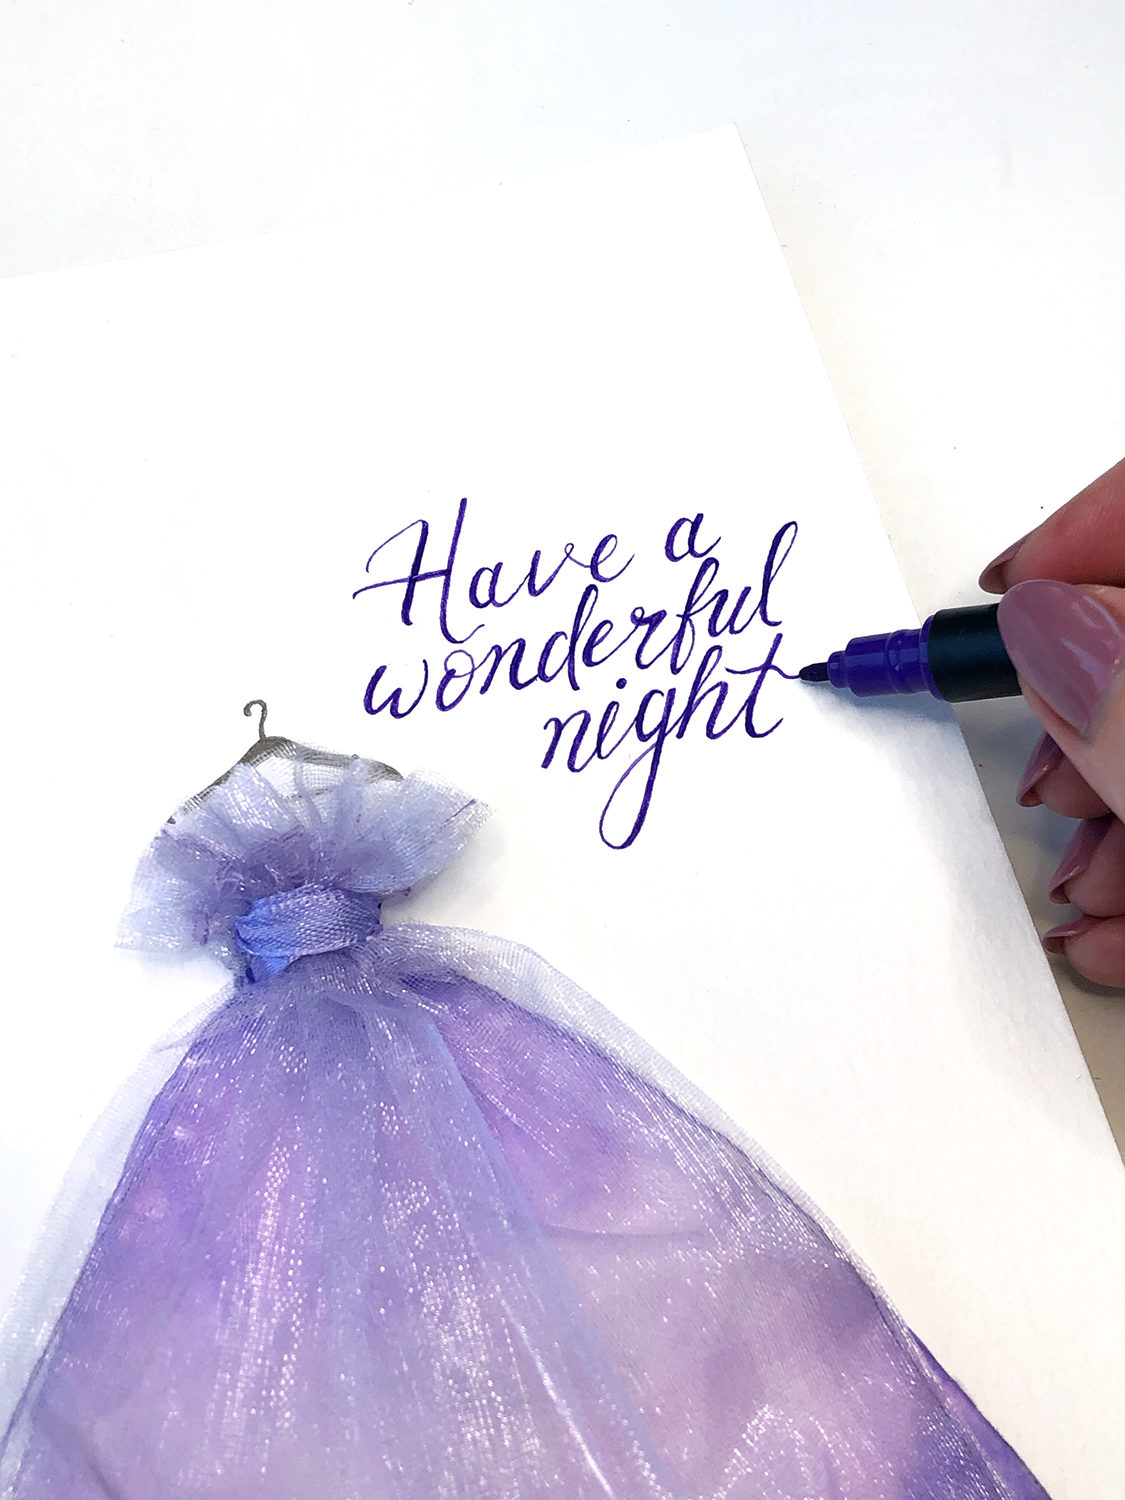
Using your Dual Brush Pens, write a message on the front of the card. You can use either the brush tip or the bullet tip. My card was fairly small, so I used the bullet tip to create some faux calligraphy.
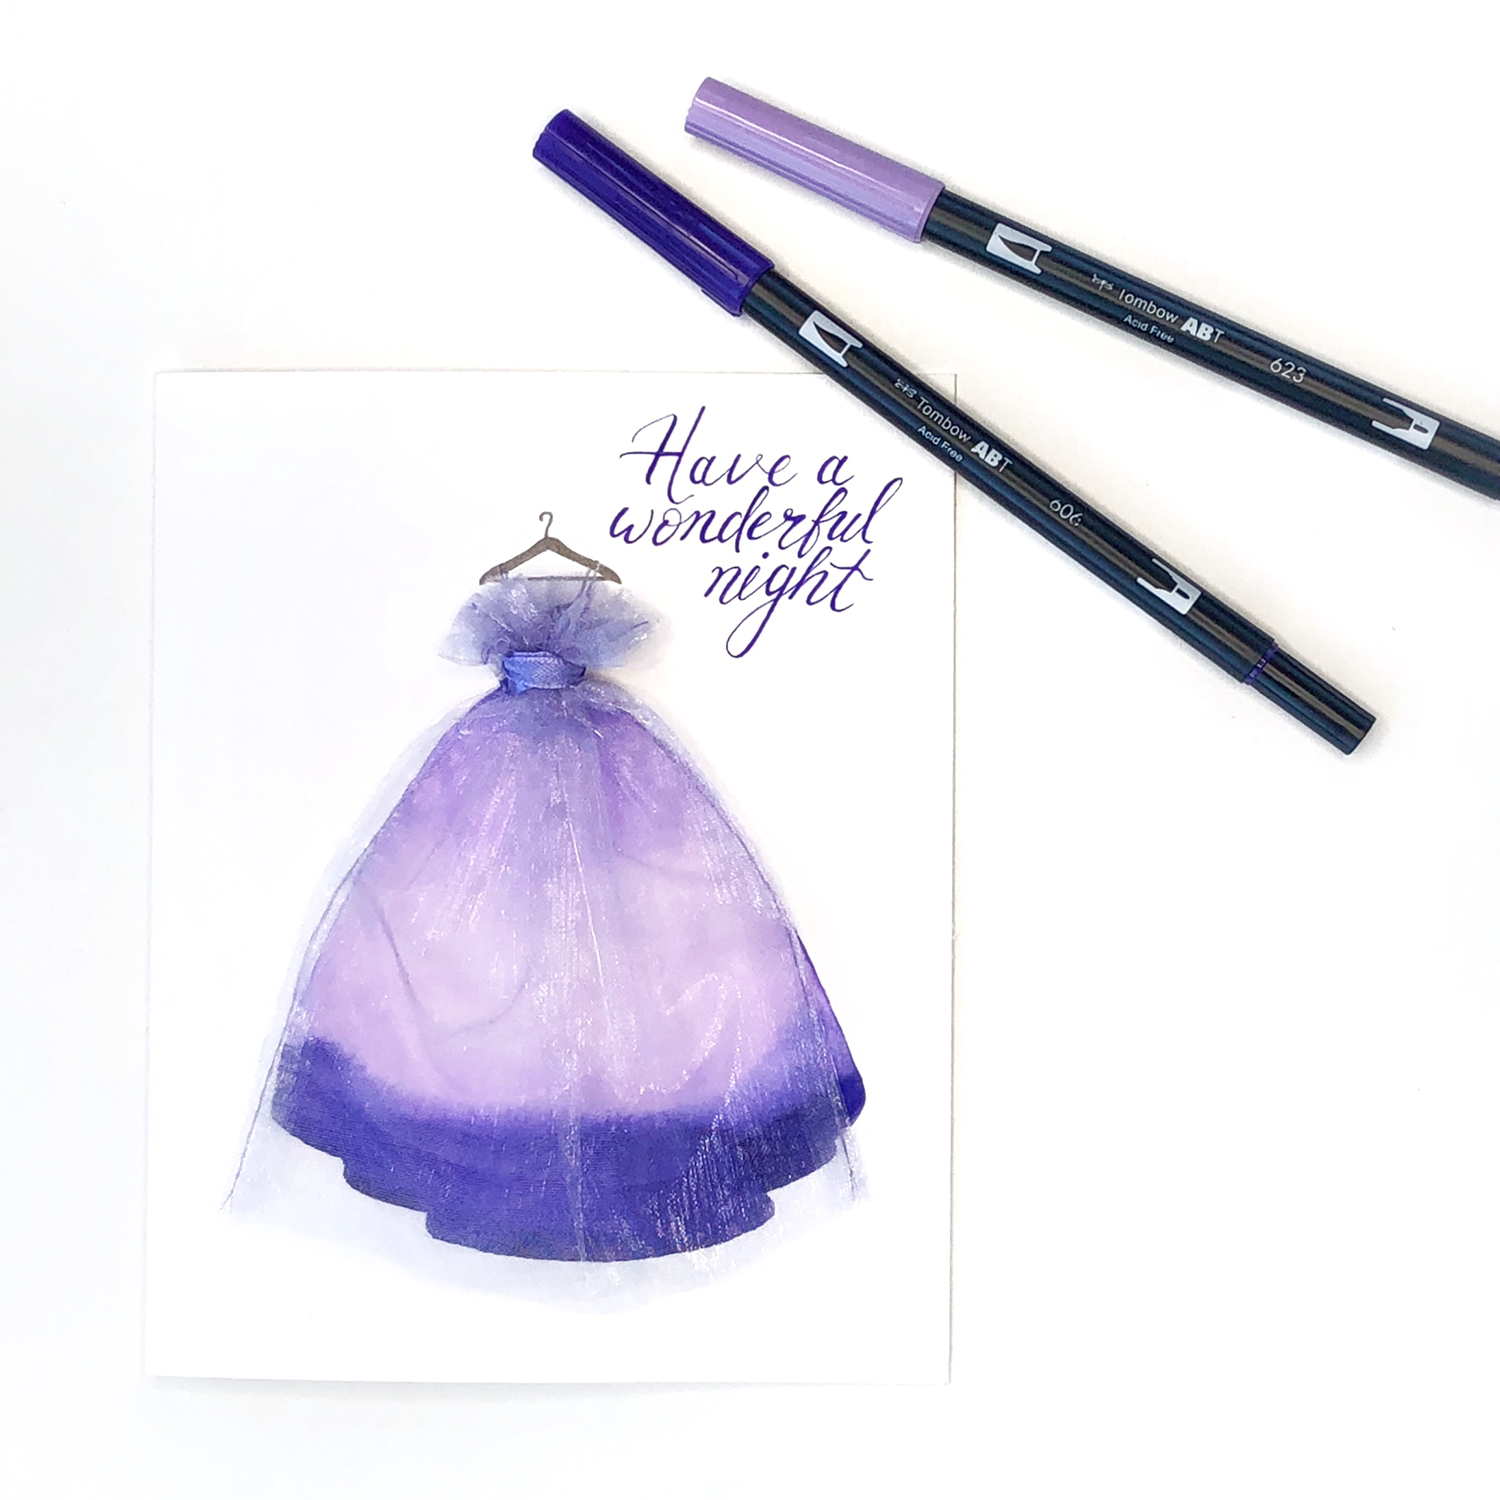
There you have it, a blended dress card that would make a fun prom, wedding, confirmation, or birthday card.
We’d love to see your Tombow creations, so tag @TombowUSA and @BrownPaperBunny on social media!
Gorgeous!
So creative!