Have you ever created a birthday tracker before? Hey everyone, it’s Mandy from @a_heartened_calling here, and I may be bad at remembering birthdays! Anyone relate?! Today’s project is inspired by my forgetfulness – I’m going to show you how to create a fun birthday tracker!
This week we are teaming up with Michael Roger and using their new Decomposition Dot Grid Notebooks. They are PERFECT for creating a birthday tracker! Michael Roger creates eco-conscious dot grid notebooks (and other products!) in some very fun patterns like Chocolate Chip Cookies, Coffee (ummm yes please!), and Monarch Migration. The dot grid notebooks come in different sizes, are either spiral, sewn or stitched, and are even printed with soy ink (how cool is that?!!) For today’s birthday tracker I will be using the Oysters Spiral Bound Decomposition Dot Grid Book. This notebook is 9.75″ x 8″ which makes it fantastic for a year’s worth of birthdays! Let’s get started!
MATERIALS
- Tombow TwinTone Marker Set, Pastels
- Michael Roger Decomposition Book
- Tombow MONO Drawing Pen, 3-Pack
- Tombow MONO Drawing Pencil 3H
- Tomobw Dual Brush Pens 569 and 020
- Ruler

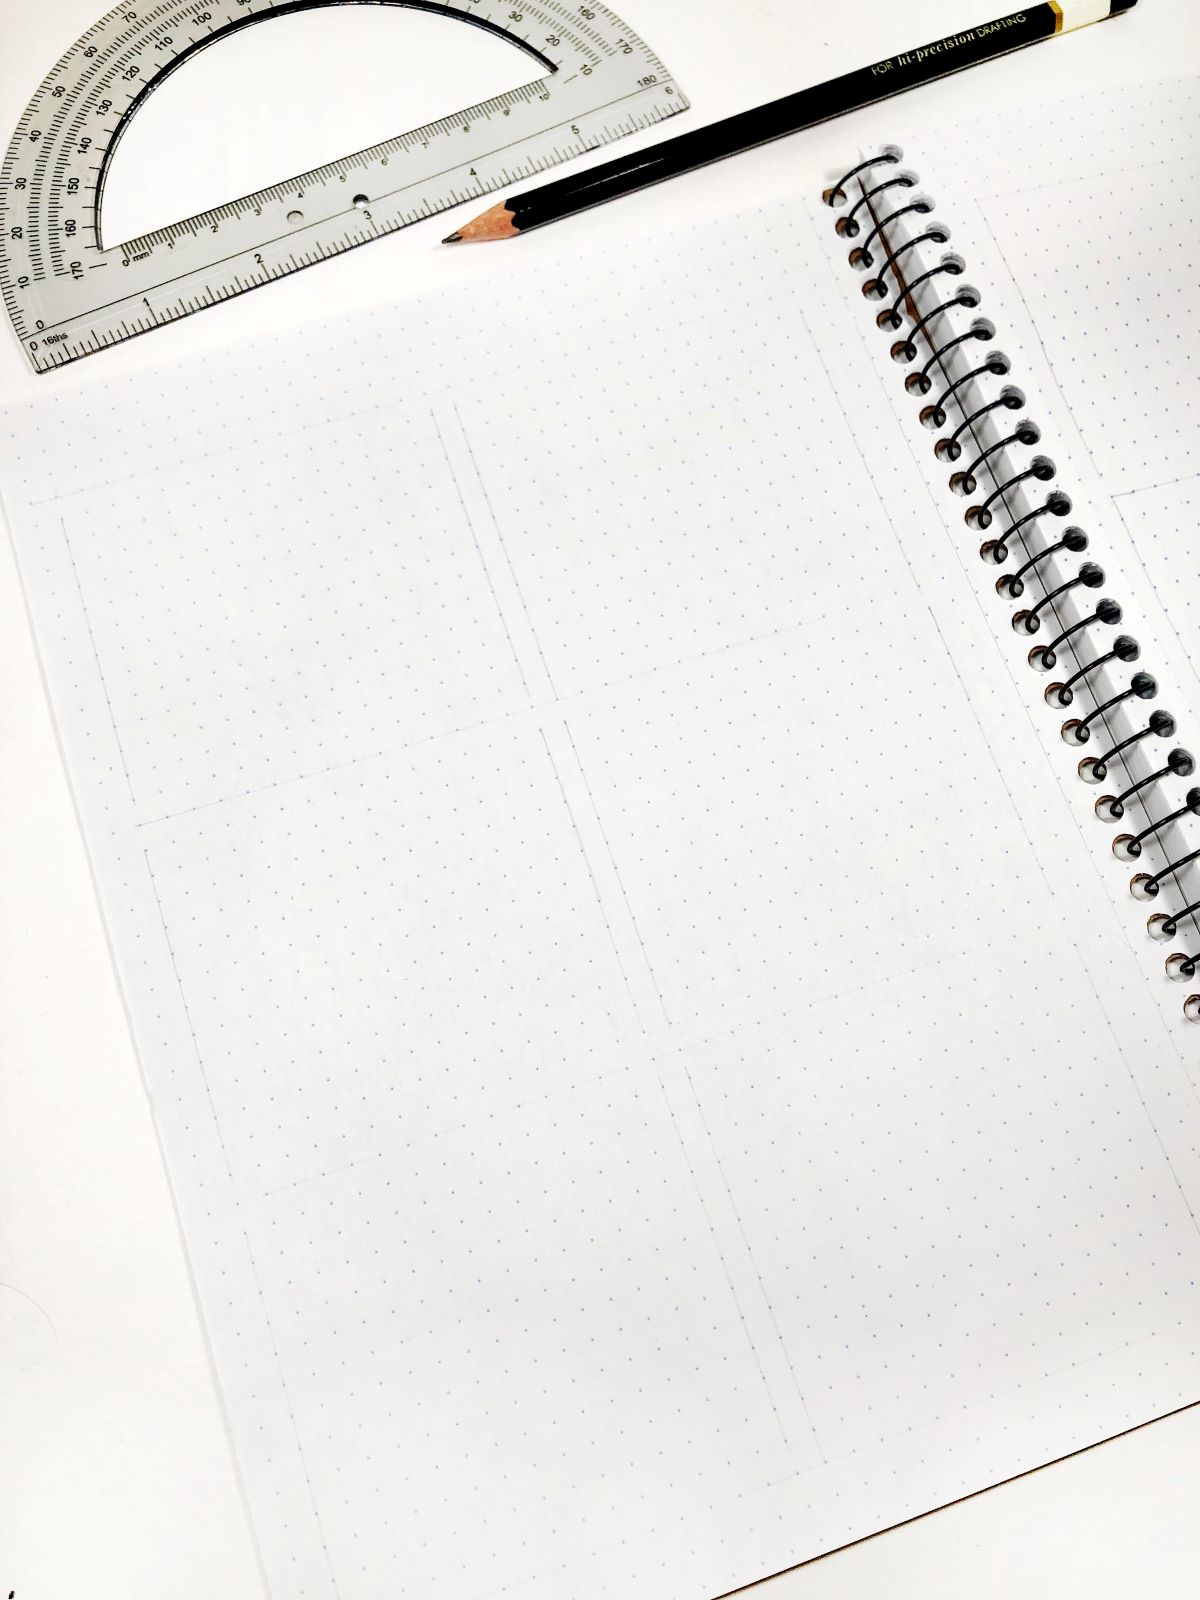
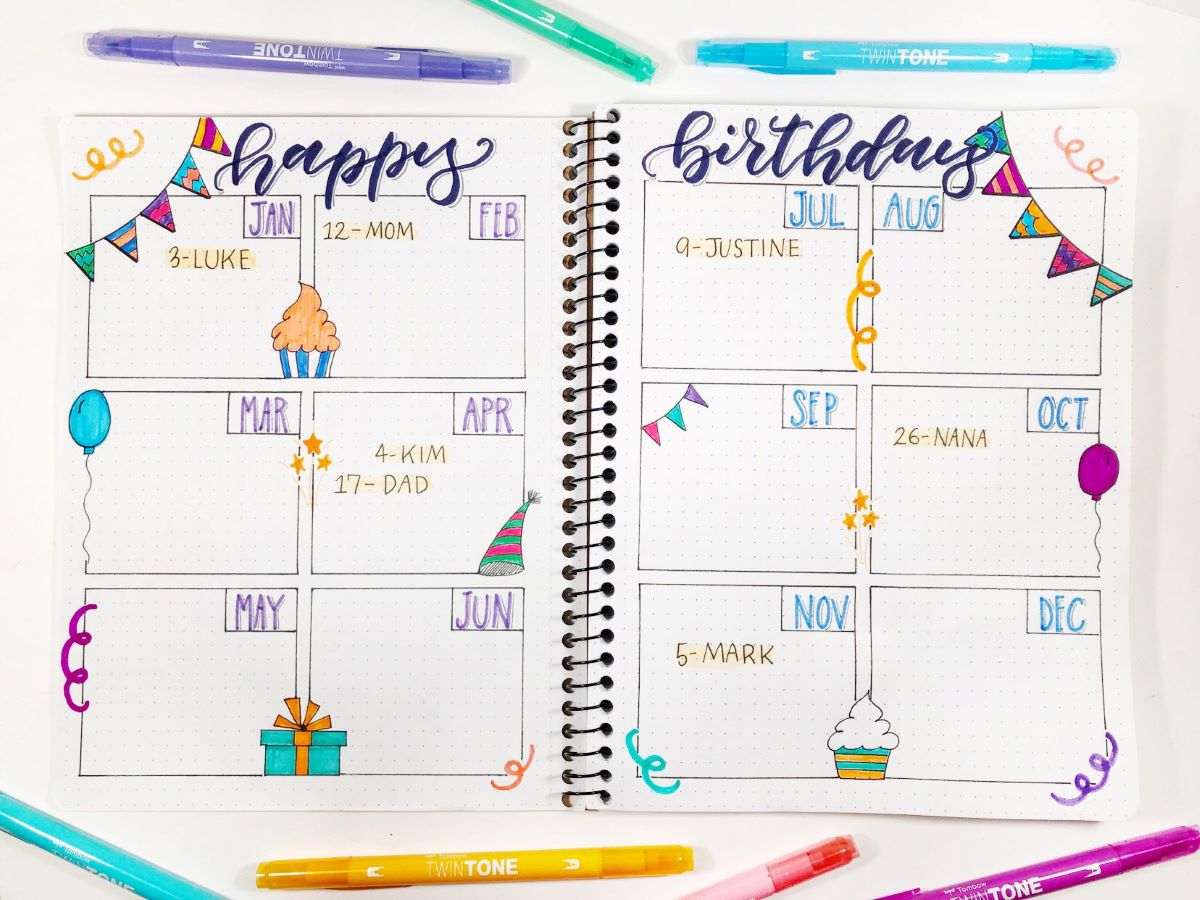
STEP 1 – Sketch The Month Boxes
Since this birthday tracker is for a whole year, we will be using 2 full pages for the spread. Using a ruler and the MONO Drawing Pencil 3H on the first page, mark out areas at the top for the header, then 6 boxes that are the same size. For this look I counted down 6 rows from the top for my header “happy.” Then I counted 14 rows down for my first box, then 16 columns across. So each box is 14 down, 16 across. Keep a row and column between each box. Repeat for the second page. These boxes are your birthday months.
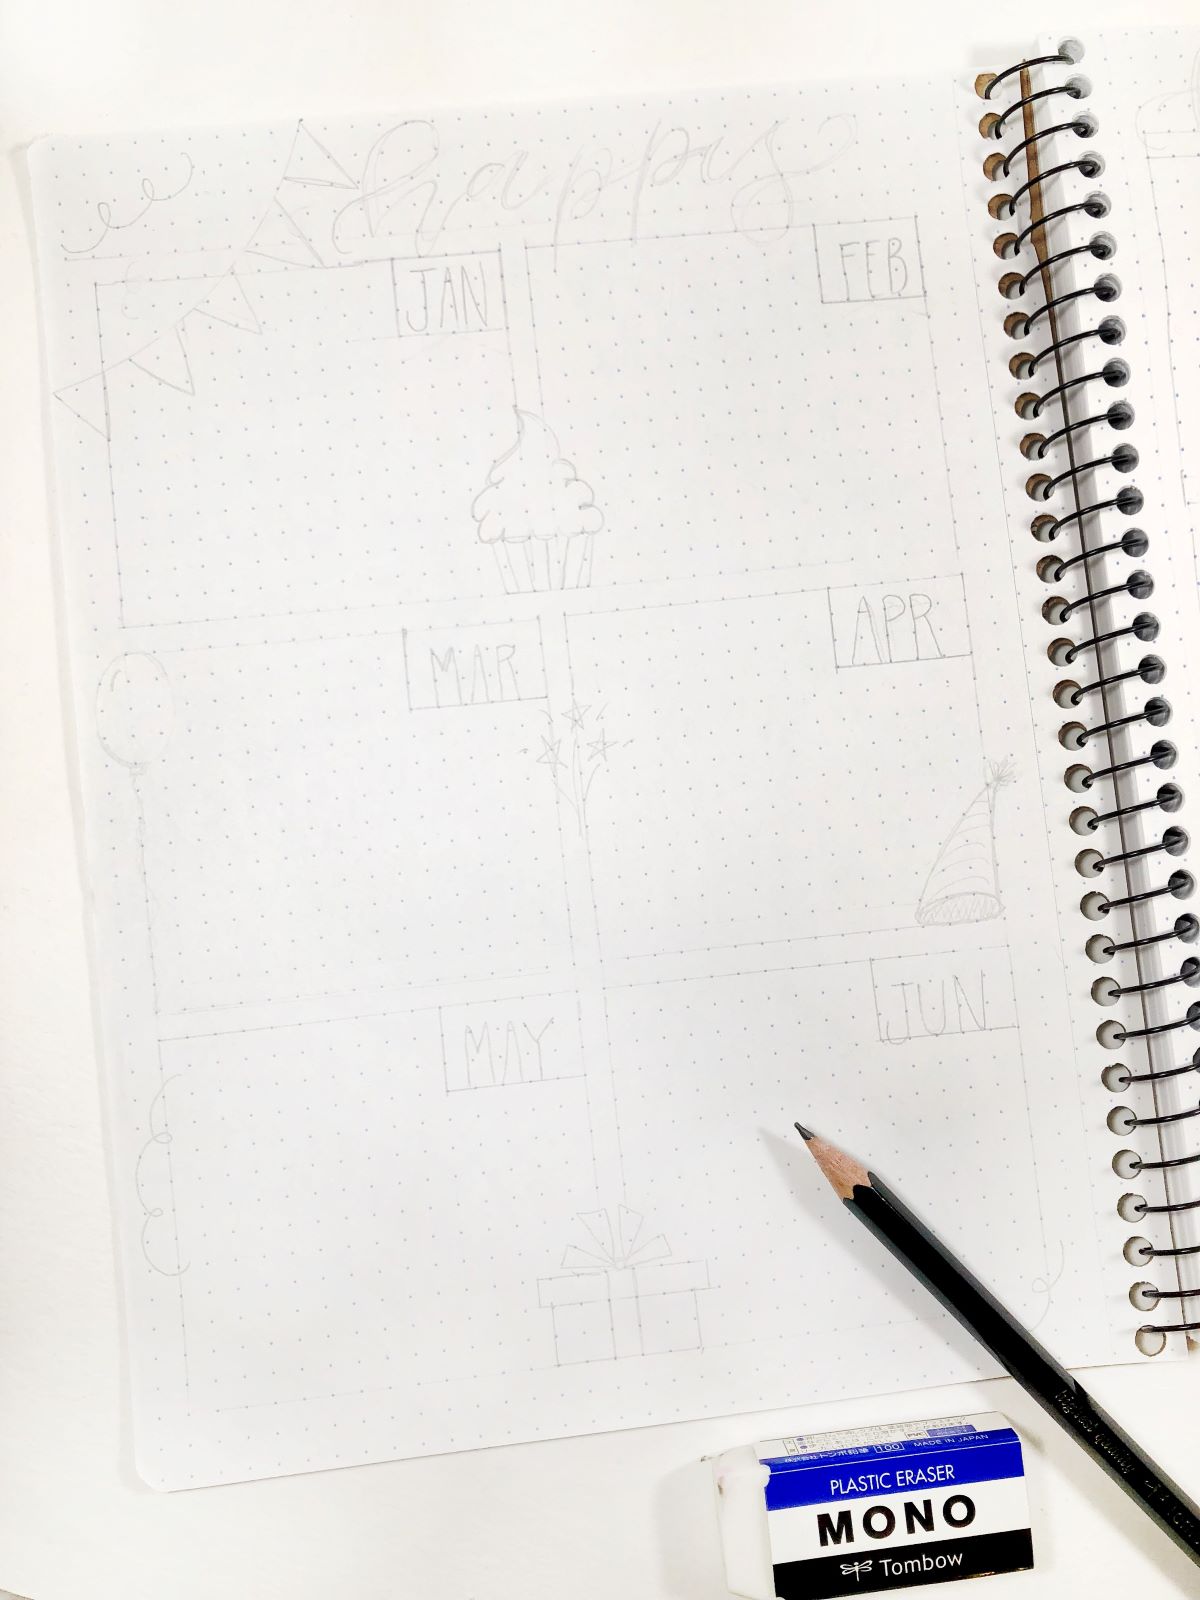
STEP 2 – Sketch Out The Design
Using the MONO Drawing Pencil 3H, sketch out your design for your birthday tracker. Letter out “happy” at the top of your first page. Letter out the month names for the first half of the year. Then add lots of fun birthday doodles everywhere.
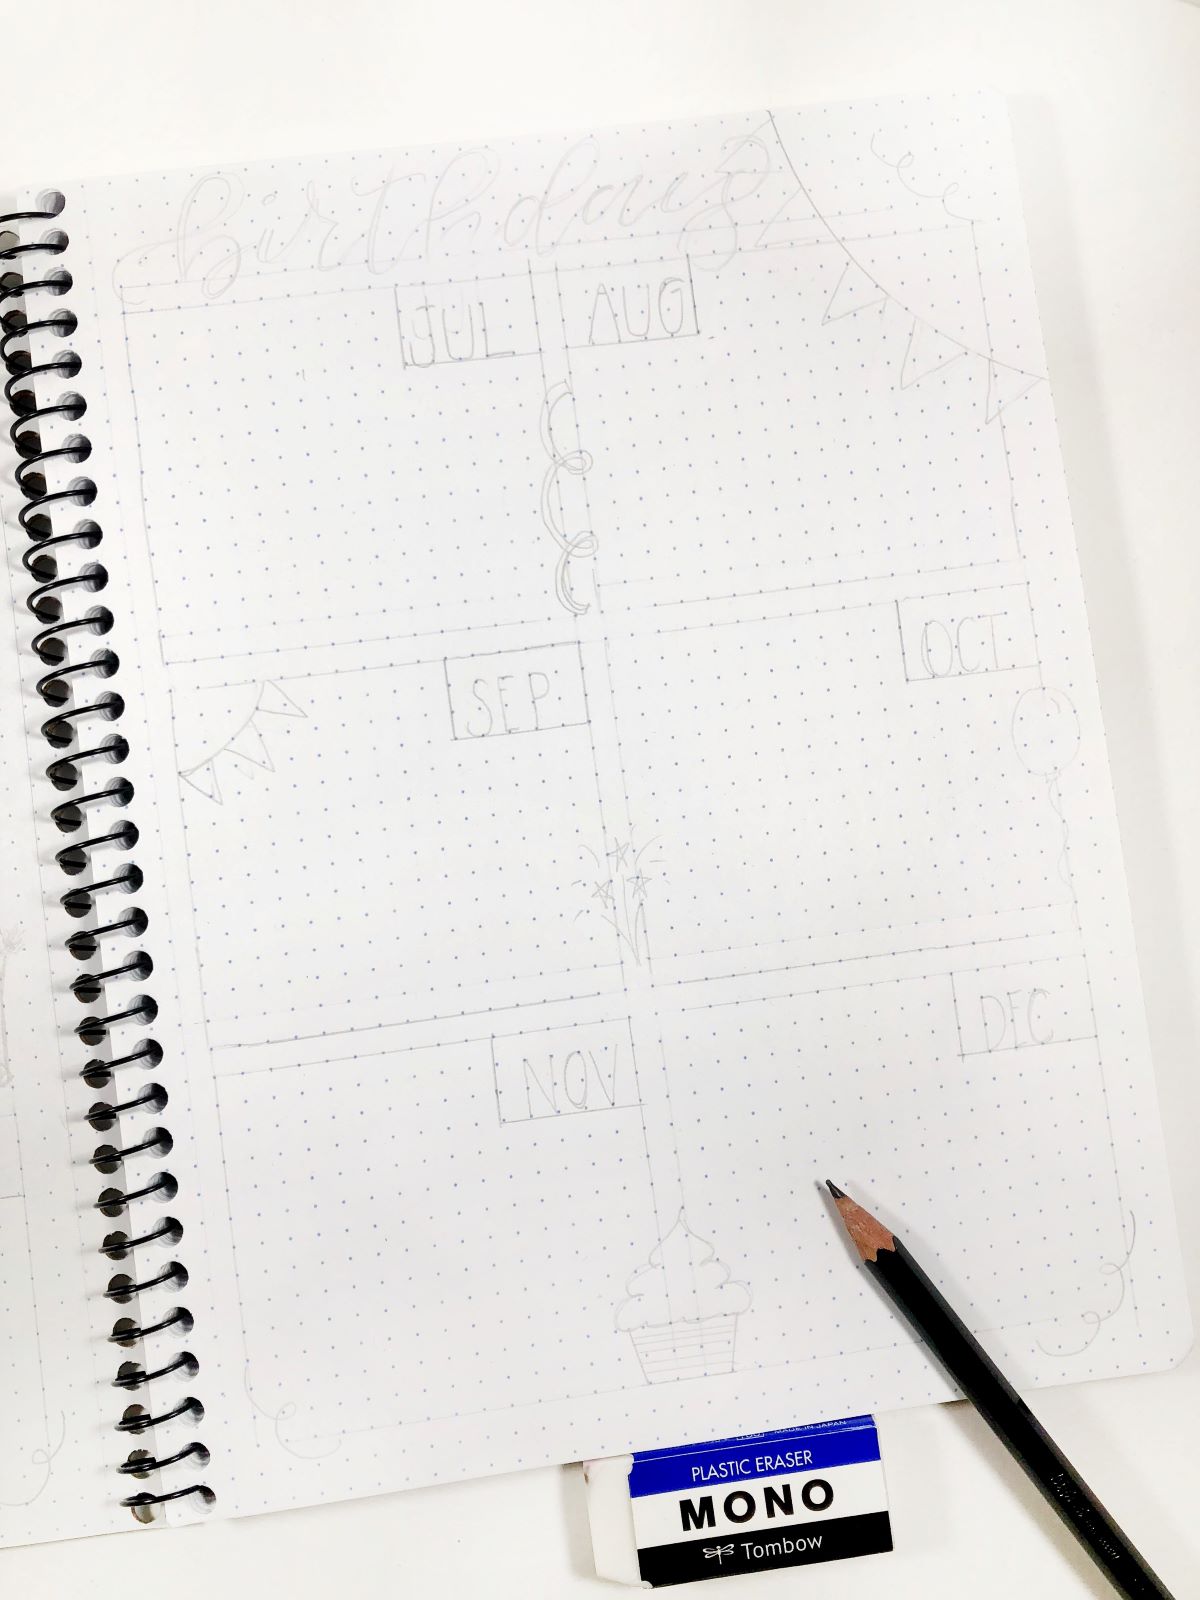
Repeat for the second page, lettering out “birthday” at the top.
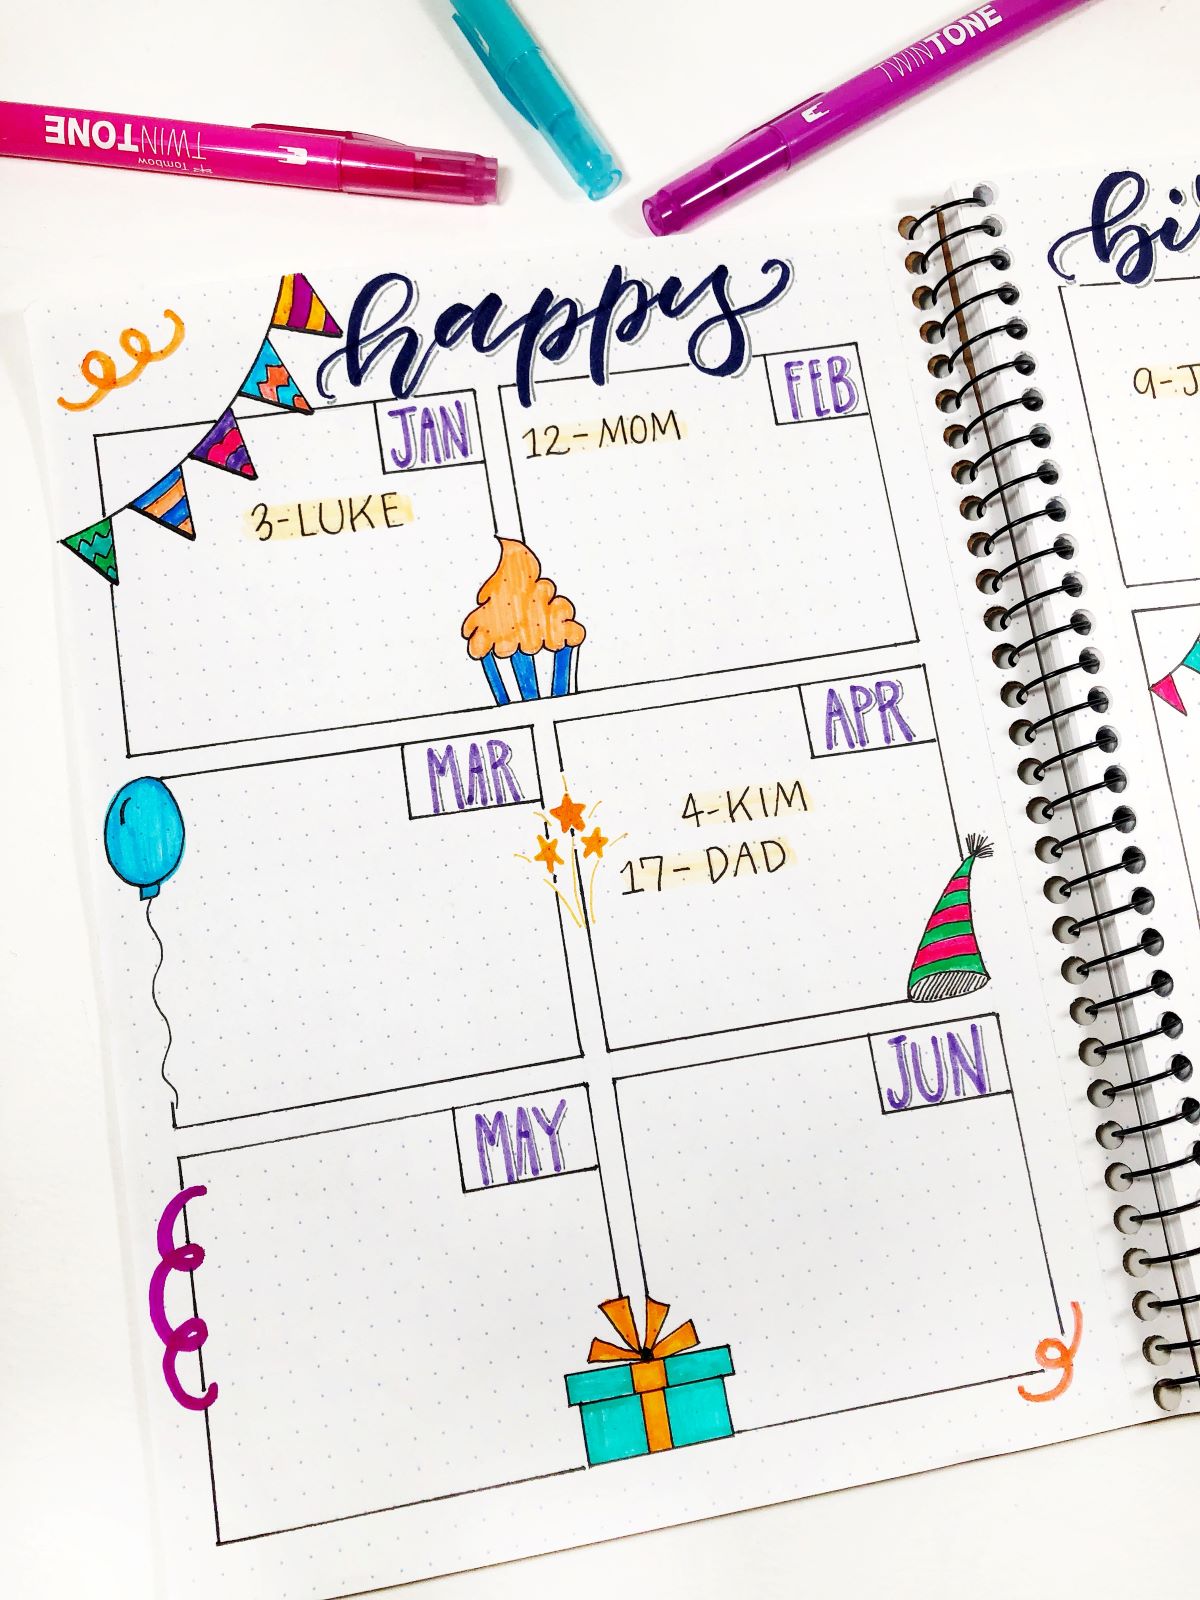
STEP 3 – Add Ink & Color!
Here’s the fun part, time to add color to your birthday tracker!!! Using the MONO Drawing Pens, outline all your boxes and doodles, and write out the birthdays of everyone. Use Dual Brush Pen 020 to color over each name and date. Next use Dual Brush Pen 569 to letter out “happy” and “birthday.” Then use the Pastel TwinTone Marker Set to color in all your doodles and write the names of the months. Erase any remaining pencil lines with the MONO Plastic Eraser.
Repeat for the second page.
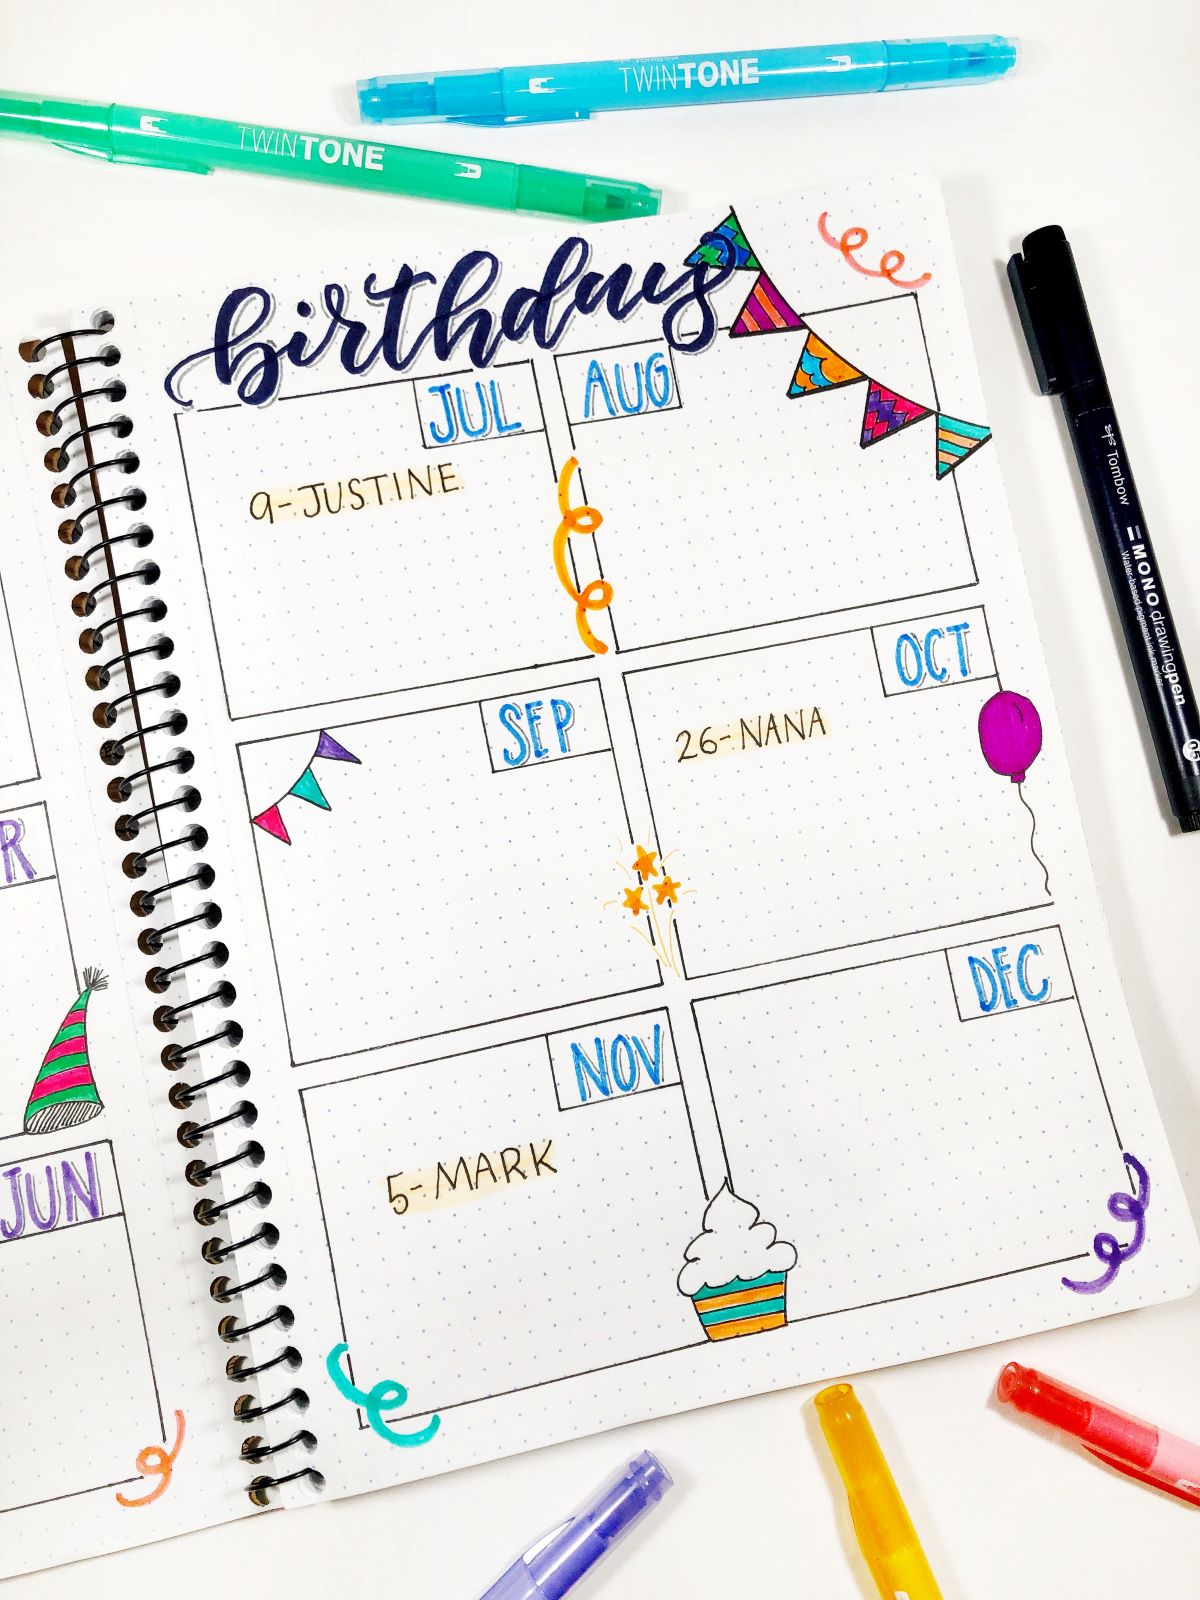
Your birthday tracker is finished!
I hope you enjoyed learning how to create a birthday tracker! If you’d like more journal inspiration, check out these posts!
- 1950s Inspired Bullet Journal Headers with Grace
- DIY Spring Bucket List Journal Spread with Katie
- How to Start an Art Journal with Jessica
See you next time!!
Mandy
Pingback: Watercolor Birthday Card Tutorial - Tombow USA Blog