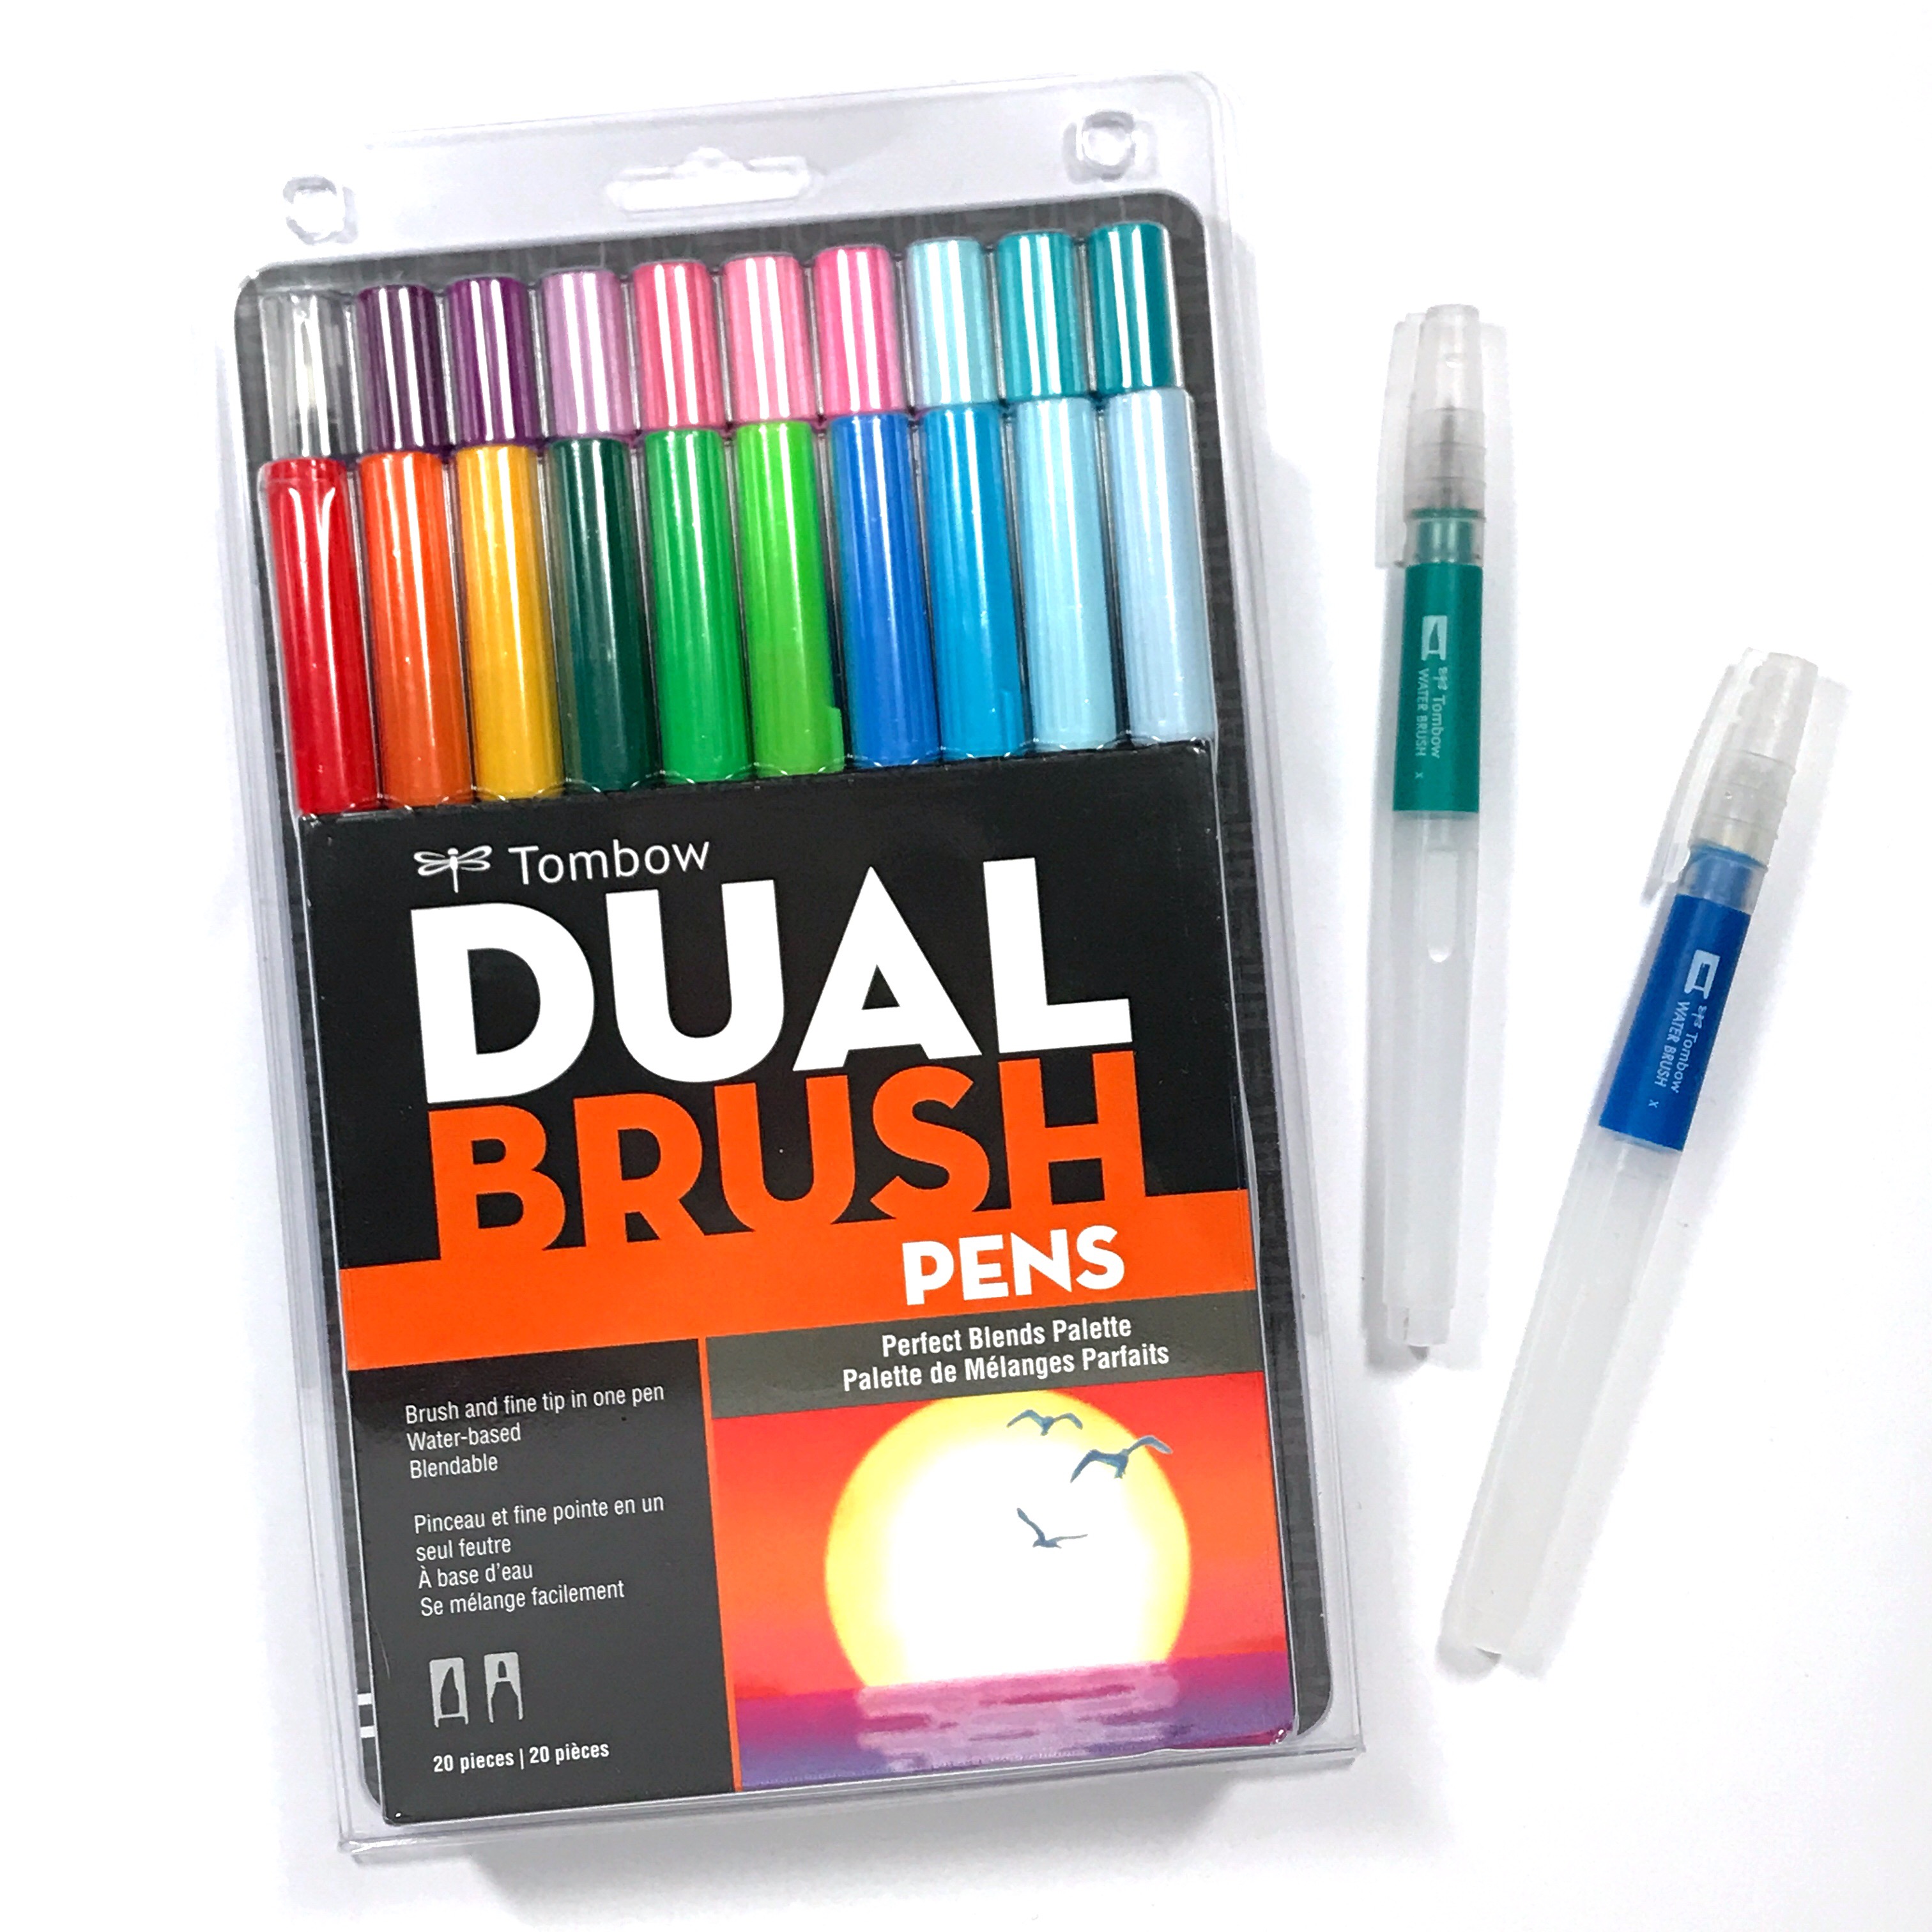
Hi friends! Dani from @popfizzpaper here today sharing a winter watercolor handmade card featuring the Tombow Dual Brush Pens Perfect Blends 20 pack! Y’all, I love this pen set! It’s one of my favorite new releases of 2019 from Tombow. Of course the colors included create beautiful blends within their respective color groups. However, did you know that this set is the perfect watercolor palette? In this pack, you have every color you need to create infinite options. I’ll share some tips and tricks below. Let’s get started!
SUPPLIES:
- Tombow Dual Brush Pens Perfect Blends 20-pack
- Mixed media or watercolor paper
- Washi tape
- Plastic bag
- Tombow Water Brushes
- Stamps and stamping block
- Permanent ink pad
- Glitter paper
- Scissors
- Tombow Foam Tape
STEP 1
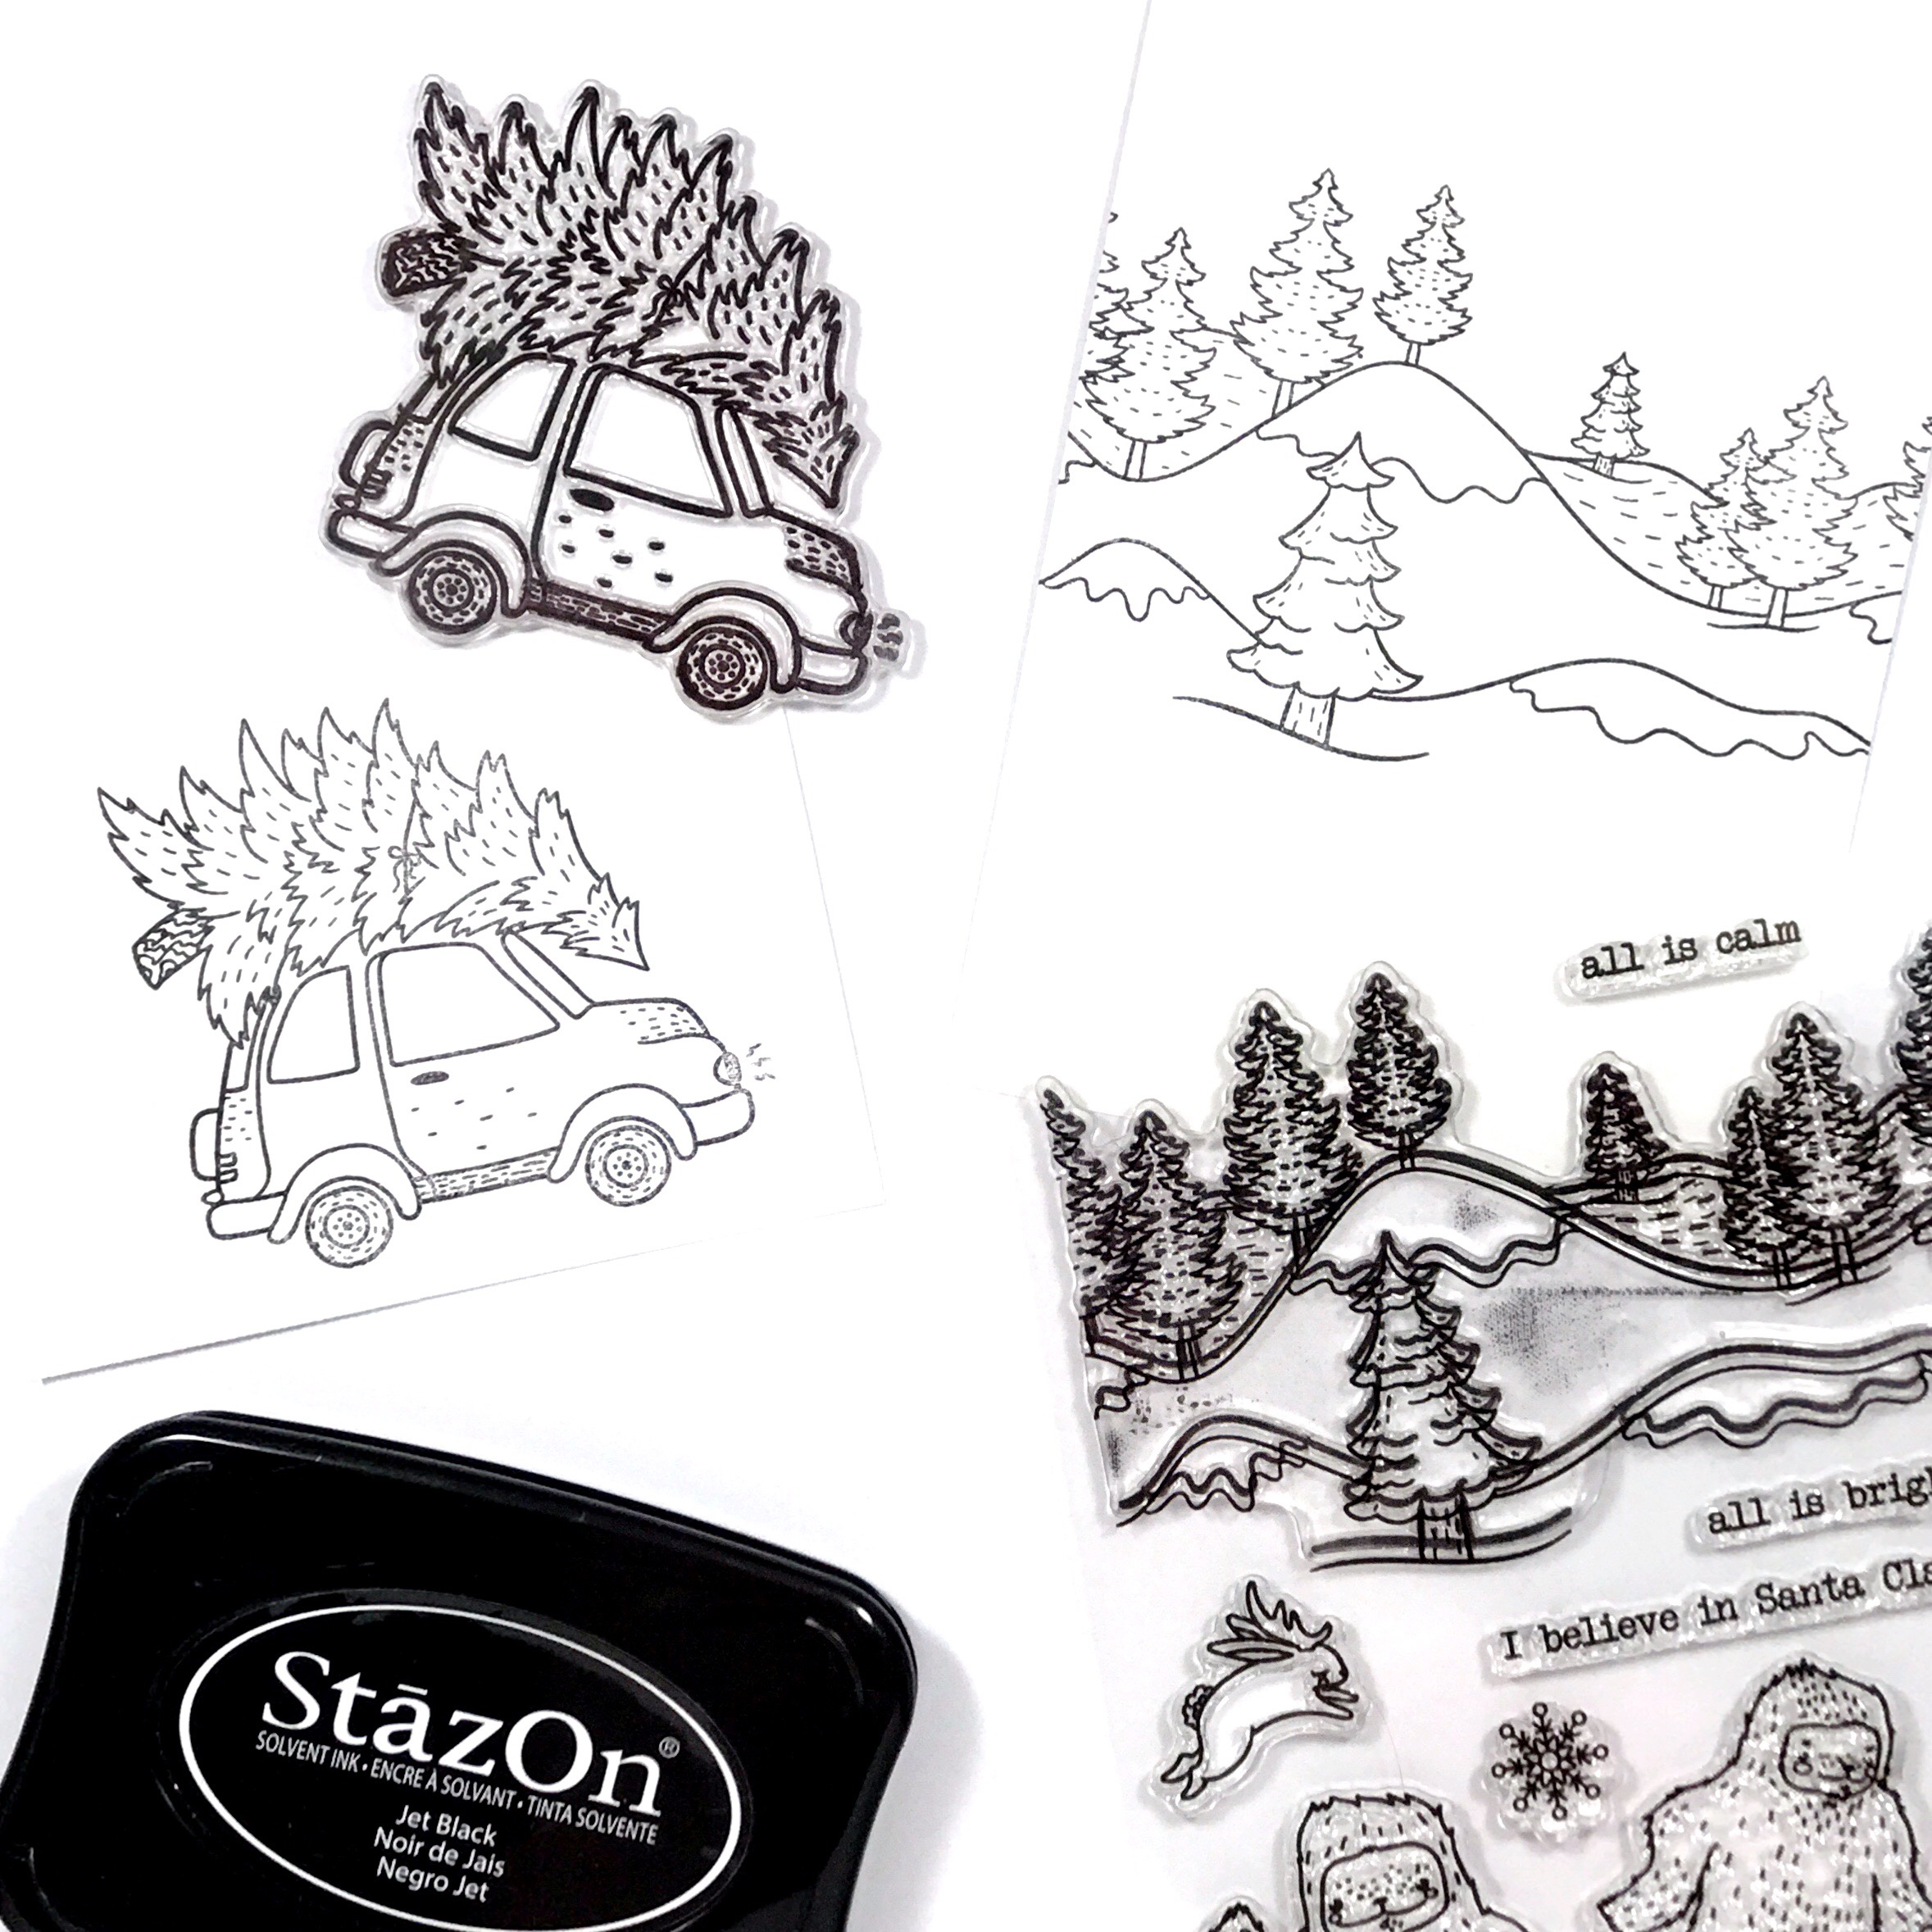
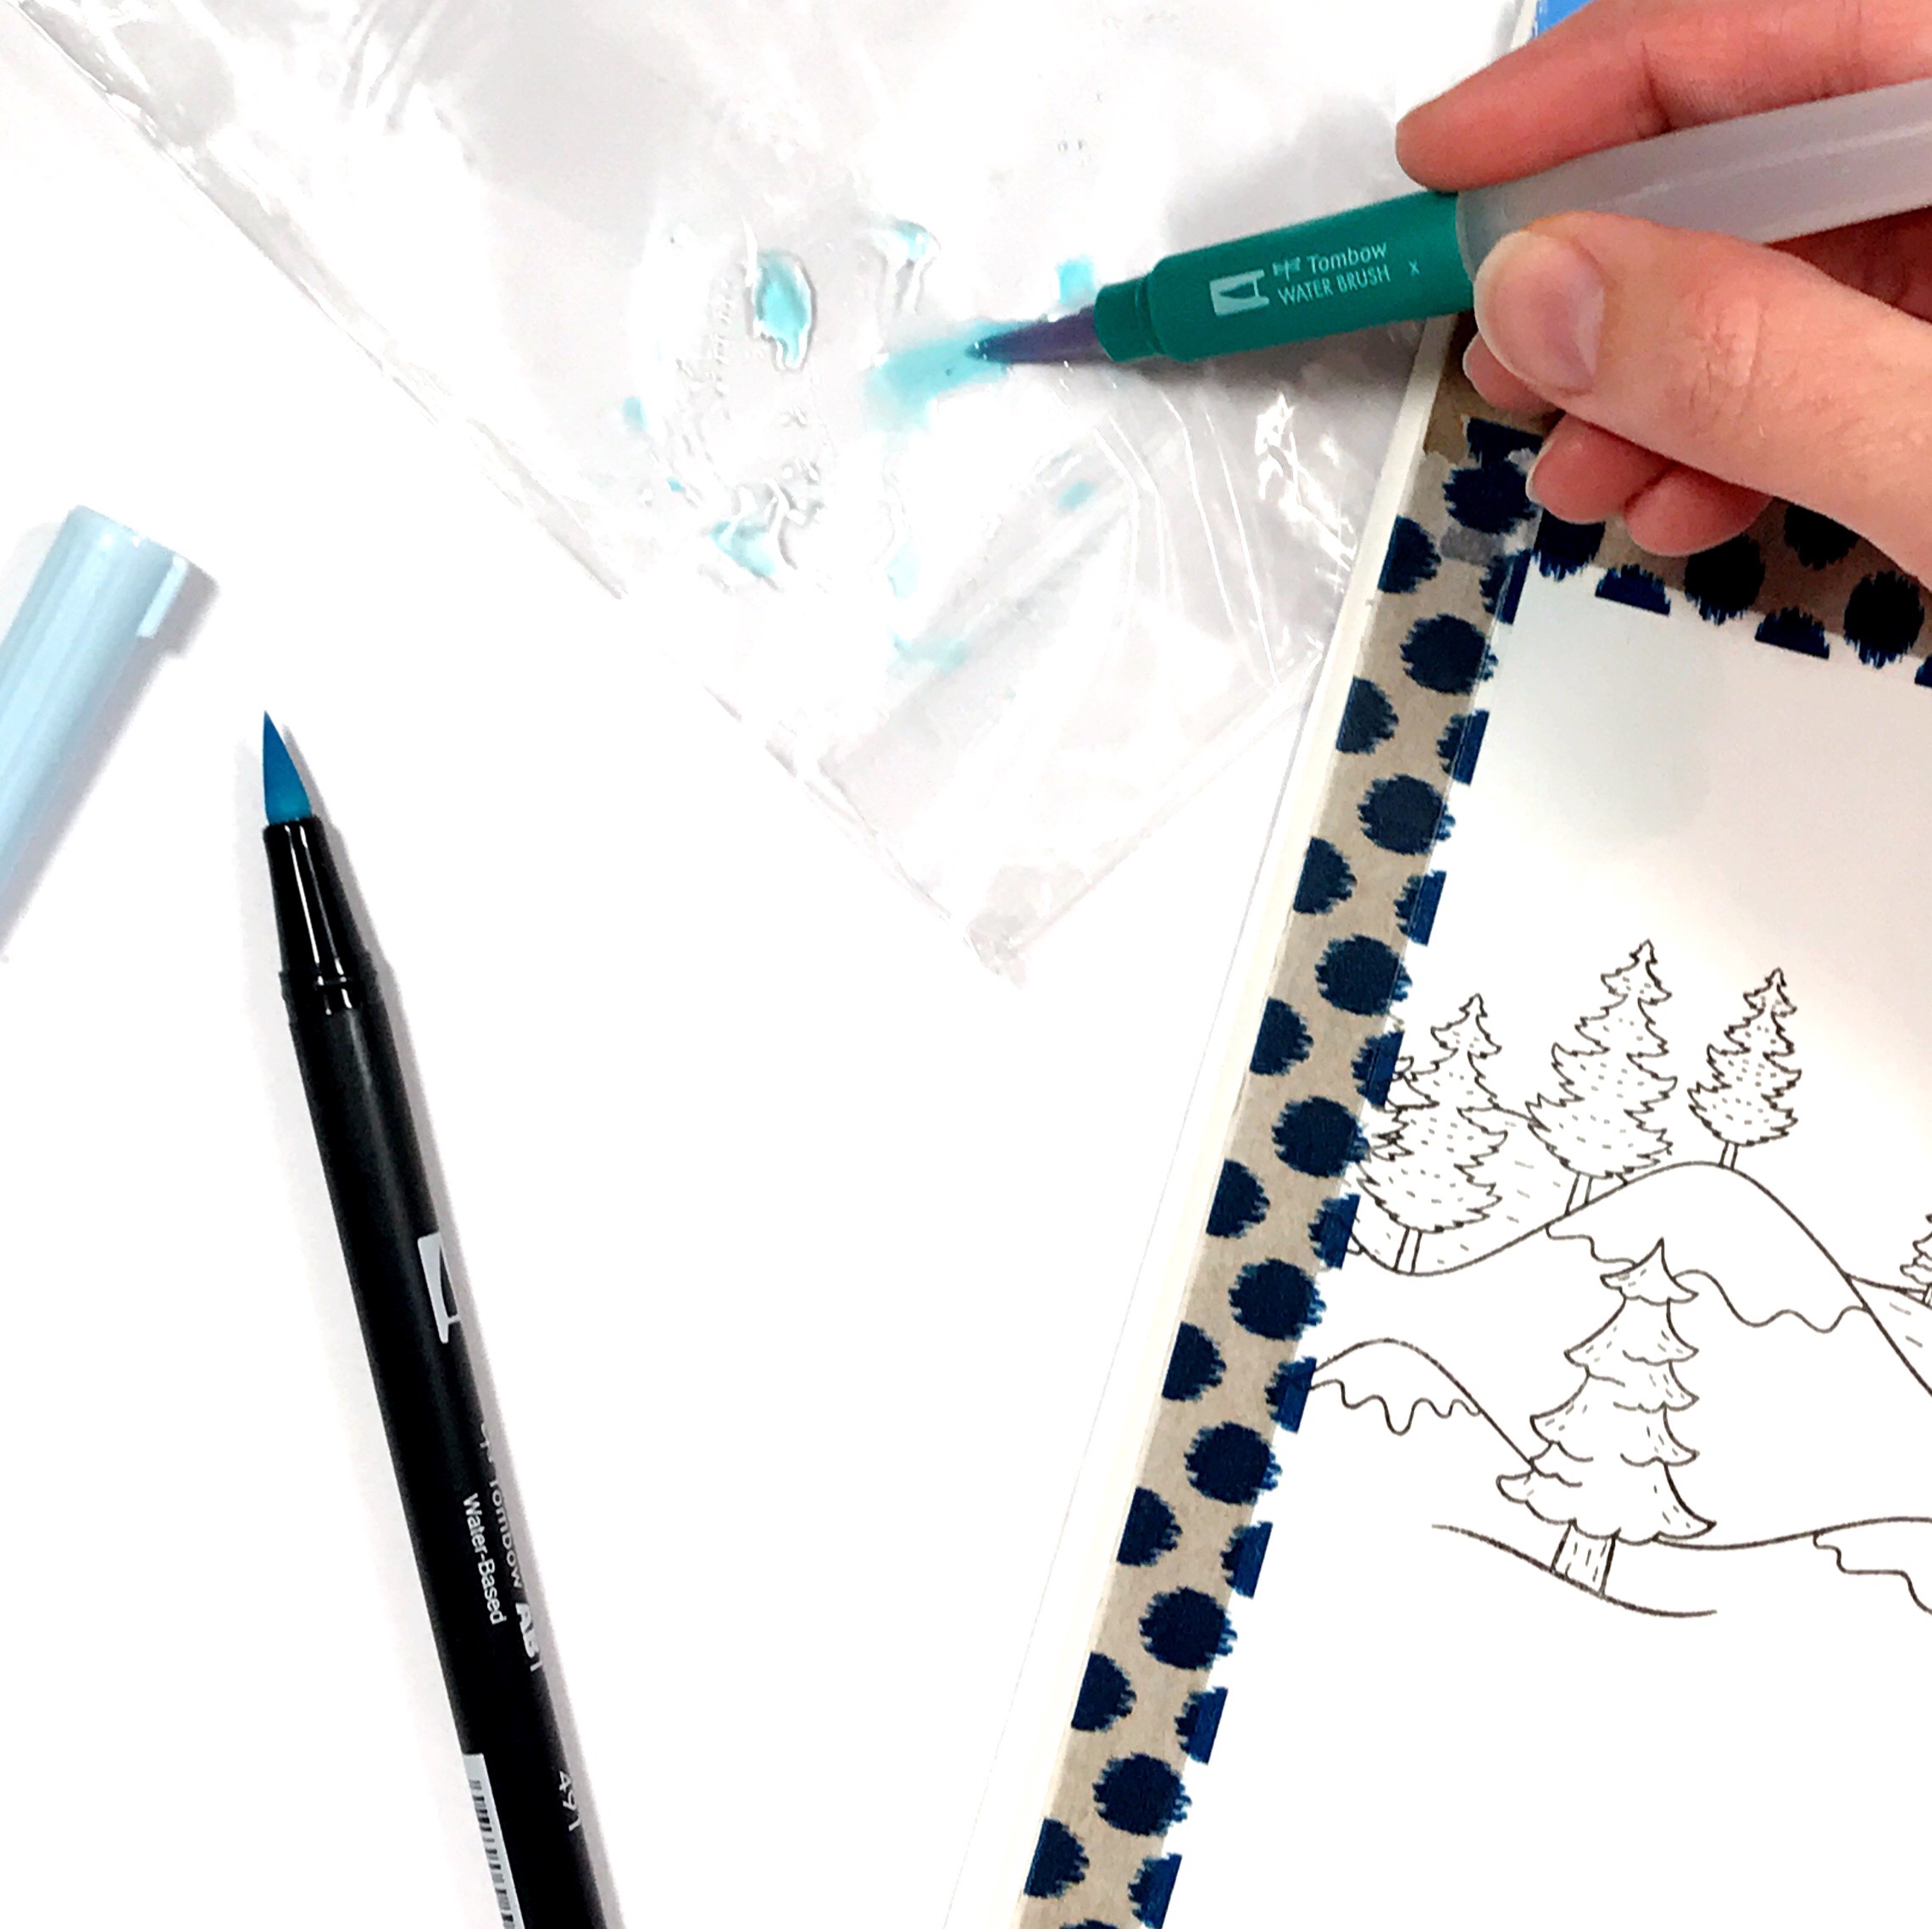
To begin, stamp out your images onto the paper. I stamped my scene on a panel that is the same size as my card base. The car is on a scrap piece. Before we add color, tape down your papers to a board with the washi tape. Use just enough washi tape around the edges of the paper to keep the border thin (see photo below). The washi tape will help keep the paper from warping when moisture is added to it.
TIP: Dry the colors completely before moving on to the next color.
STEP 2
Apply some of the Tombow Dual Brush Pen ink to a plastic bag or a Blending Palette. Then, use a Water Brush to pick up the ink and start filling in your stamped images. To avoid an “outline” look, work from one side of the image to the other. This way you’re always blending into a wet edge.
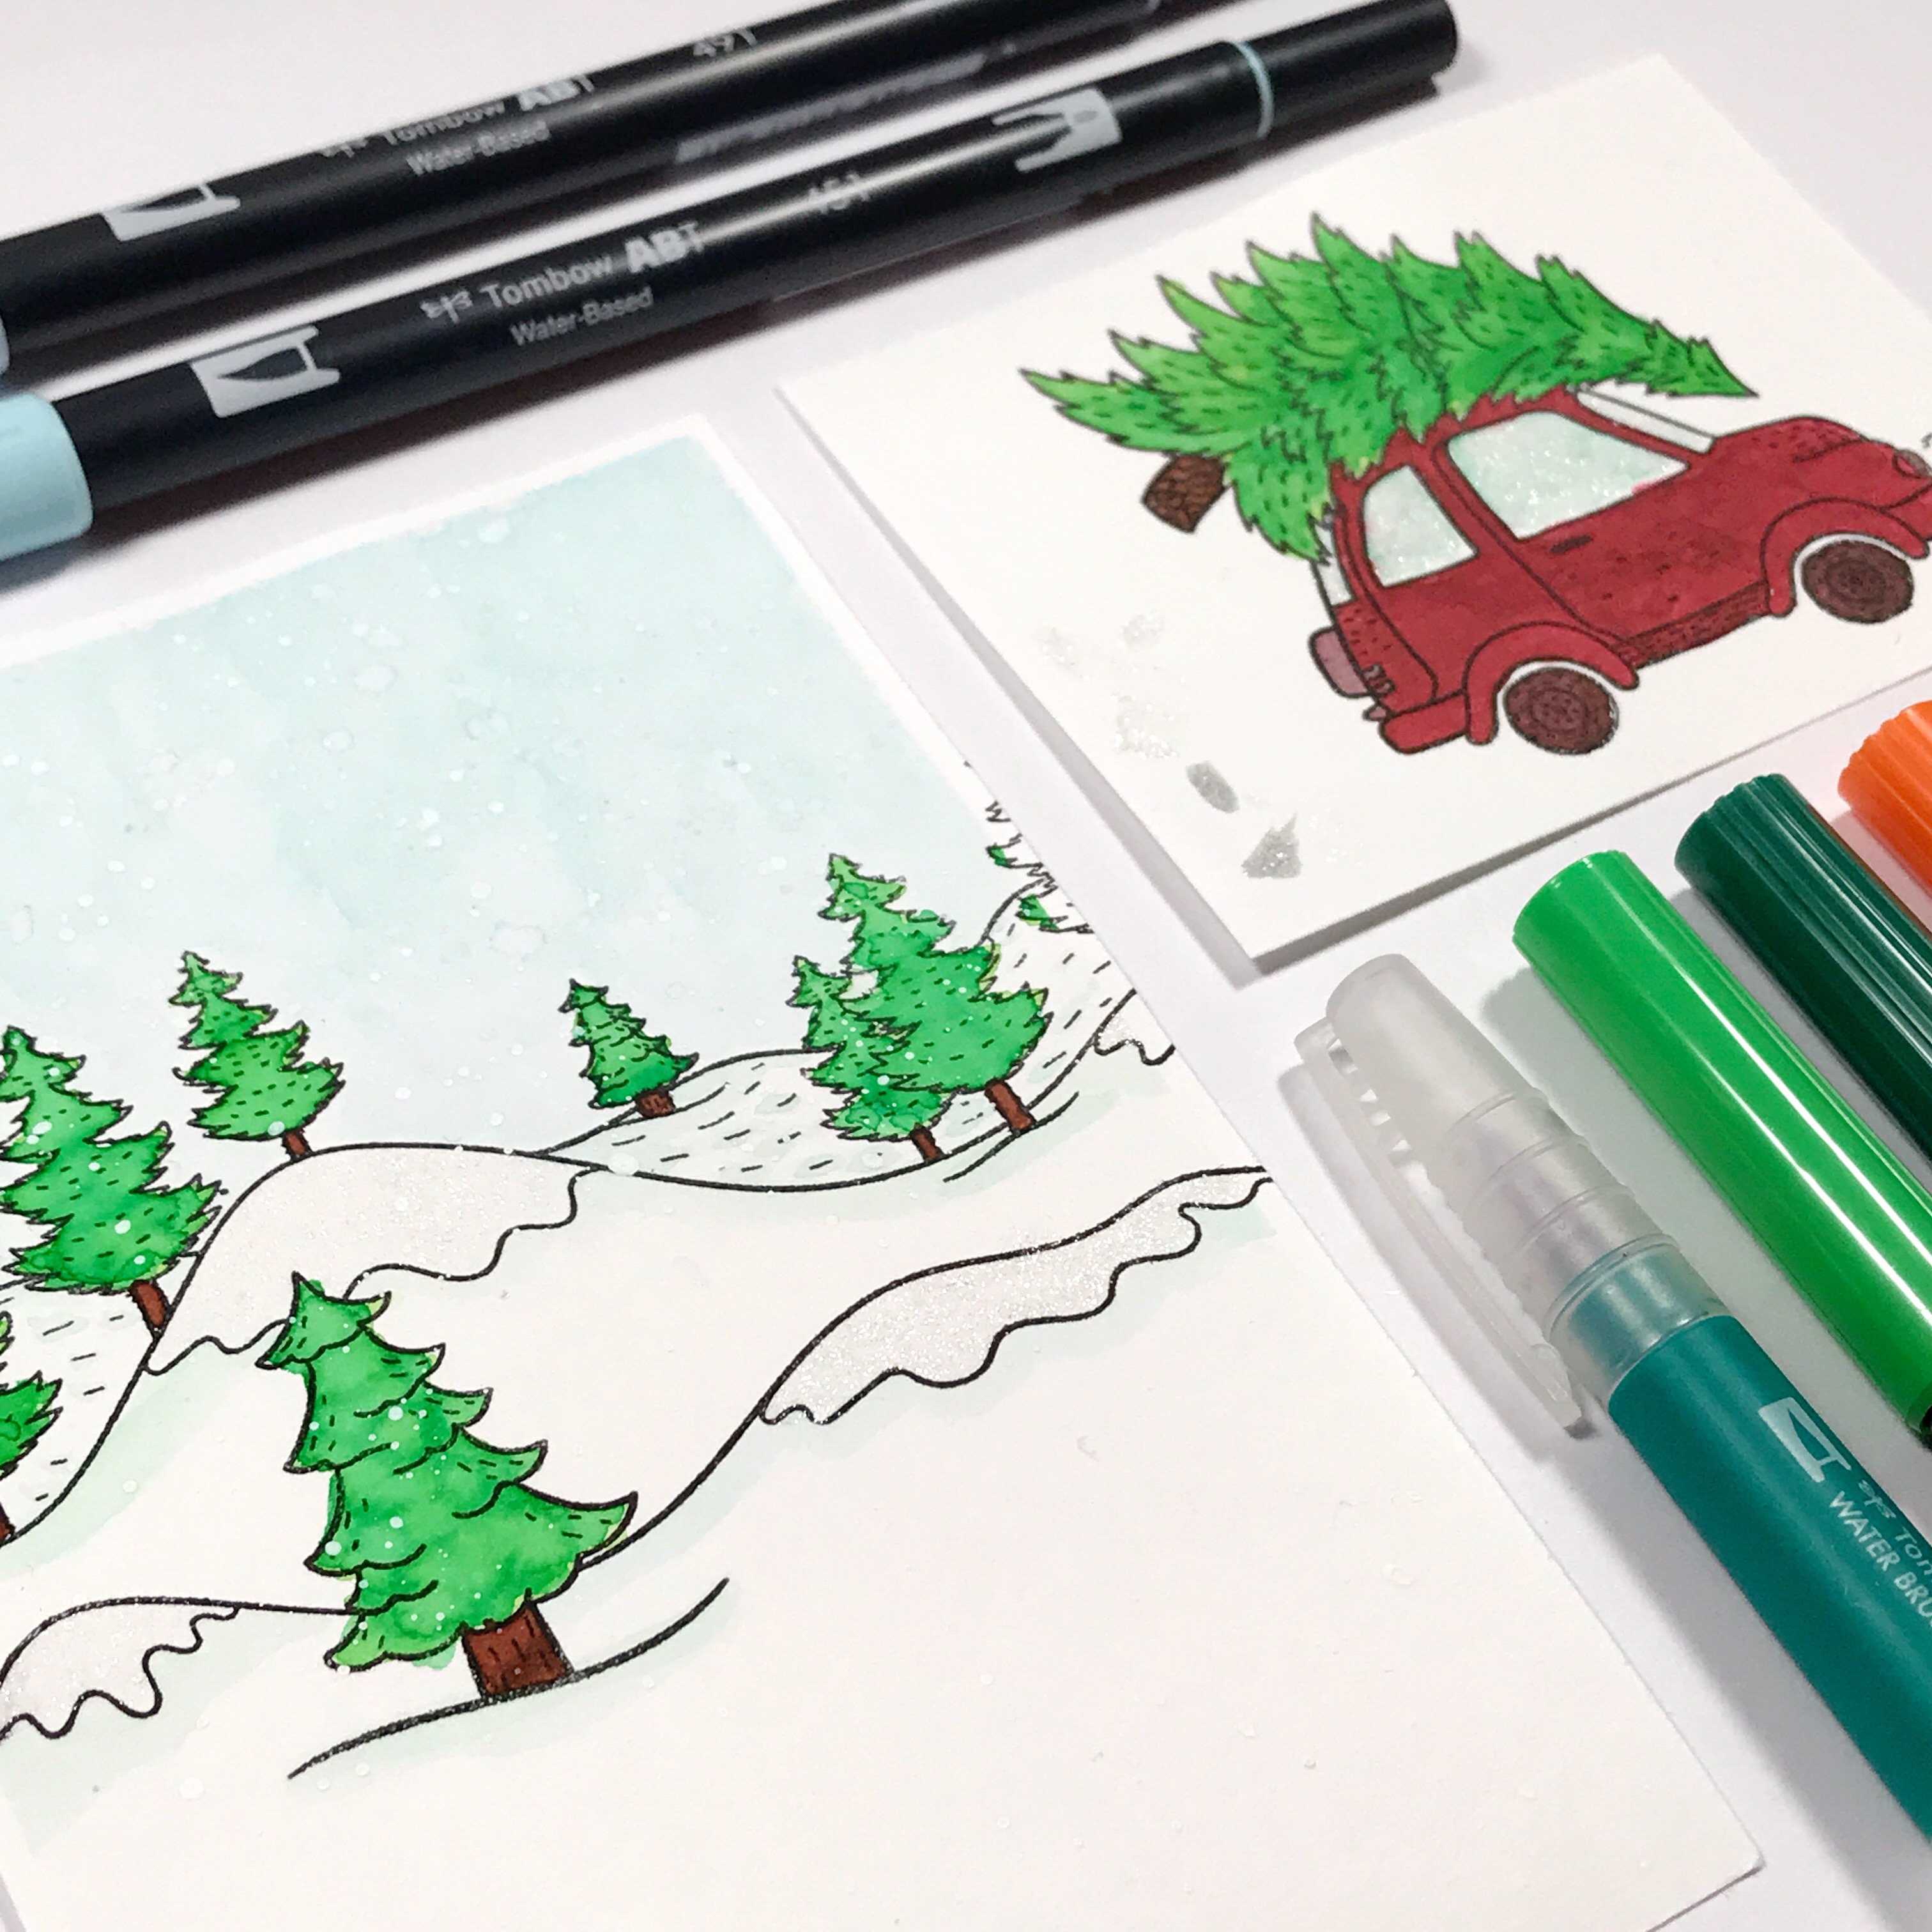
To create different tones of colors, try mixing in a similar shade that’s darker. For my trees, I started with a layer of the middle shade of green and let it dry. I then mixed the middle green with the darkest one in the set to create a harmonious green watercolor shade that wasn’t too dark and jarring.
STEP 3
For deeper shades like brown or dark red, we can easily mix on our own with the Dual Brush Pens included in the Perfect Blends Set. The brown of the tree stumps is just an equal mix of the dark purple and the yellow, layered up a couple of times. So quick and simple! To tone down the brightness of a color, like the gorgeous red in the set, add a bit of the brown watercolor we just whipped up. Start with a little and add until you like the color. I wanted a dark rusty red for the car I stamped, so I added a decent amount of brown. The wheels are a mix of brown and the dark purple.
TIP: Create a color swatch chart with all the colors of the set to see the incredible range of colors you can create. Check out this post of mine to see how to make one!
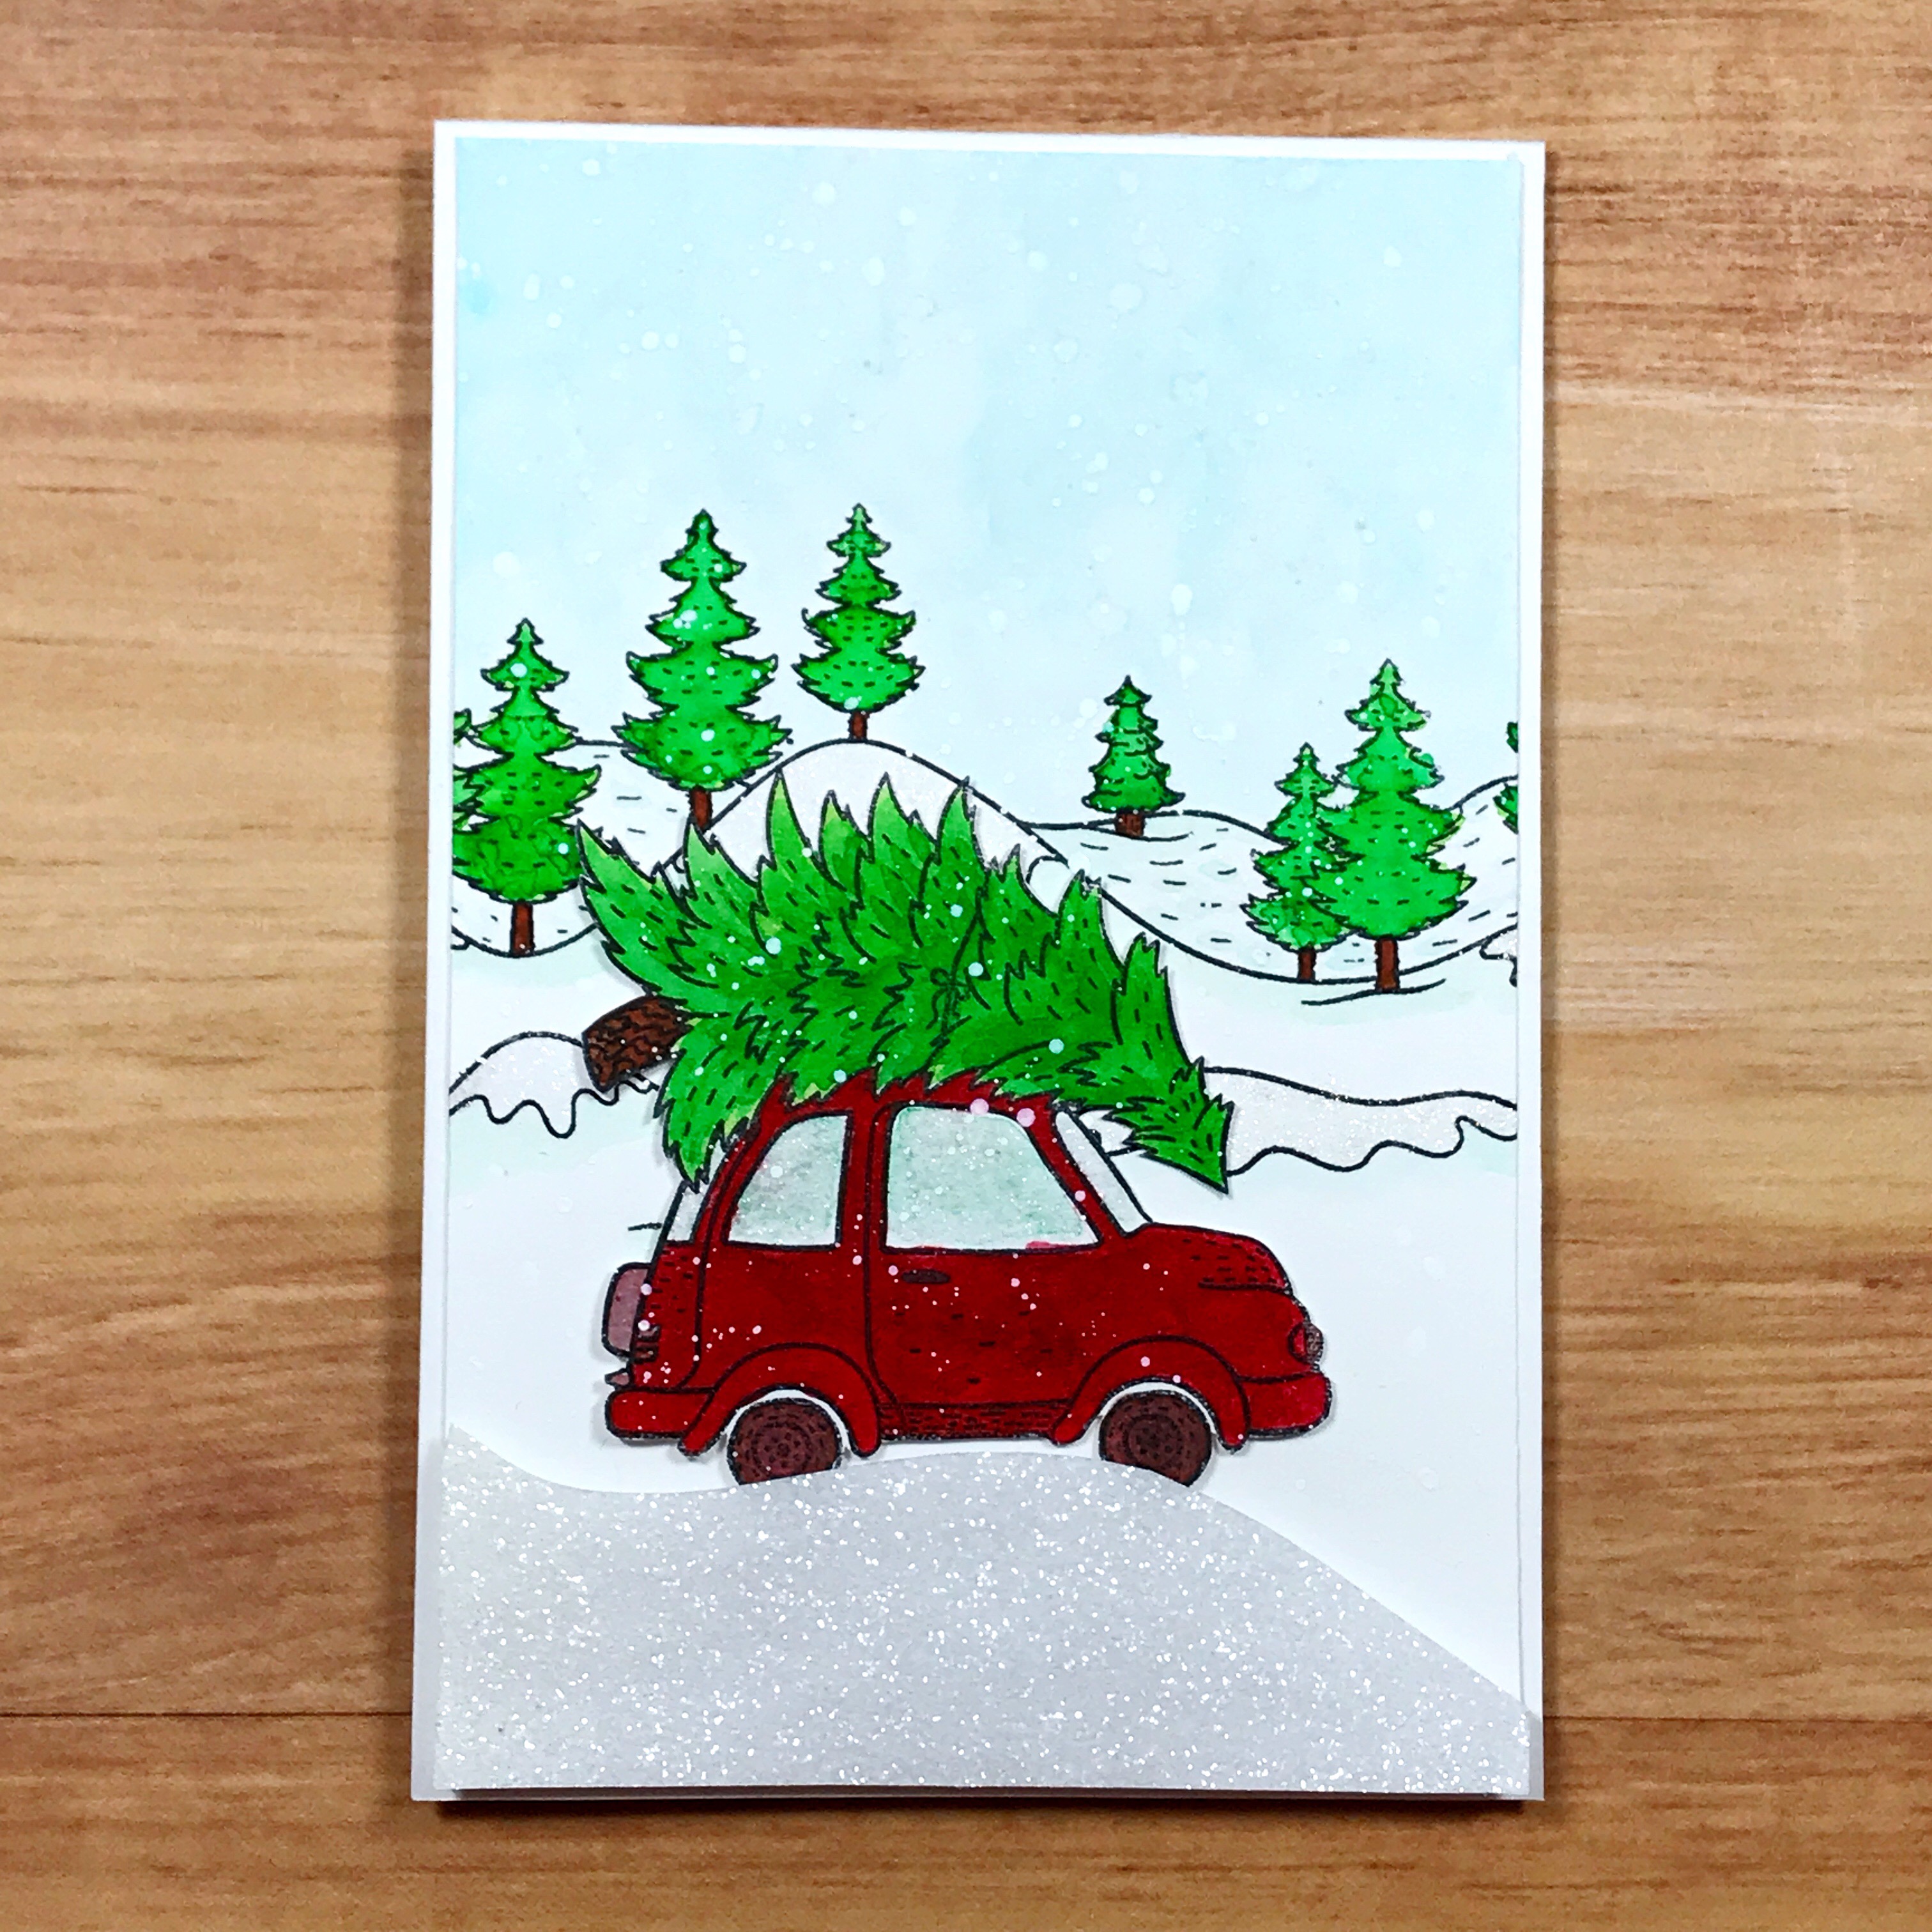
To finish off the card, add some speckles of white paint for the snow. I used glitter paper and my watercolored pieces with Tombow Foam Tape to assemble my card. Do you like it?
I hope you enjoyed my watercolor tutorial today! Do you like creating holiday cards? Please tag @popfizzpaper if you try my tips for yourself – I would love to see! For more tips, tutorials and exclusive crafty content from me, make sure to check out my Crafty Club!! See you there!