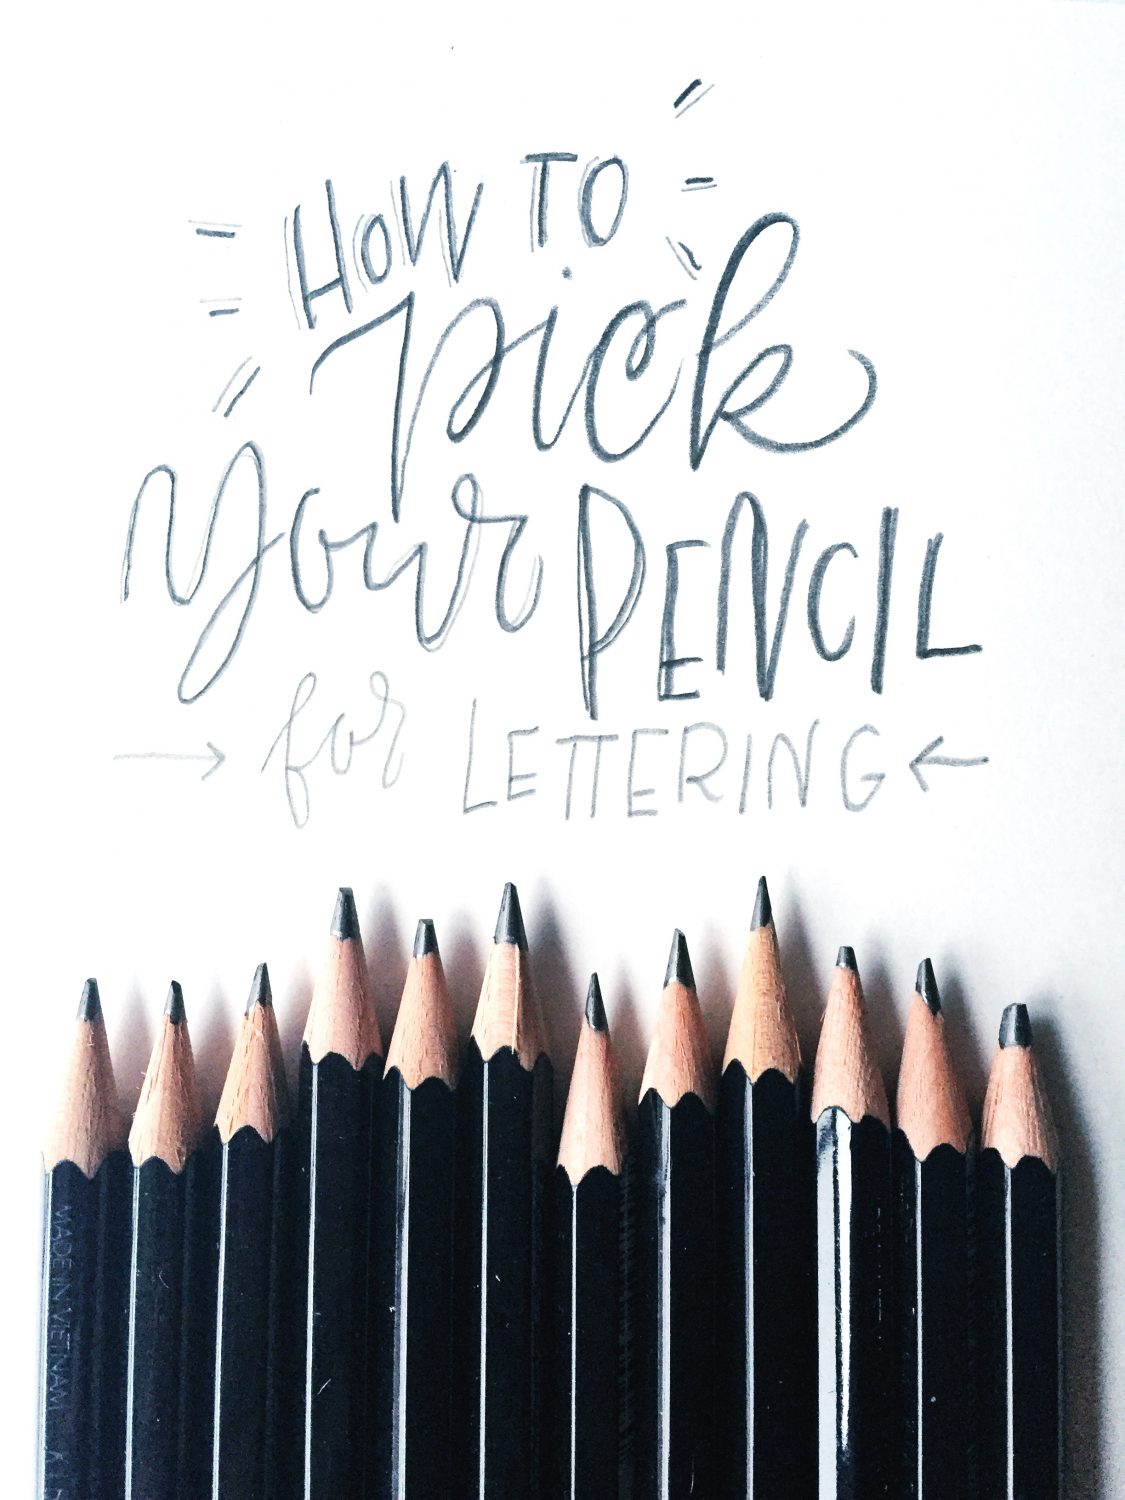
Have you ever wondered how to pick the best pencil when you are doing a lettering project? There are so many different kinds of pencils out there and it’s not always clear which is the best to use in specific situations.
Hello lovelies, it’s Lauren or “Ren” from Renmade Calligraphy here, and I’m so excited to share some background knowledge on the different kinds of pencils and what types of projects are best for each type. It was nearly a year into lettering that I discovered the power of the pencil and how it can help create more polished, neat, and complete pieces while also being a great tool for learning and practice!
THE PERFECT PENCIL SET
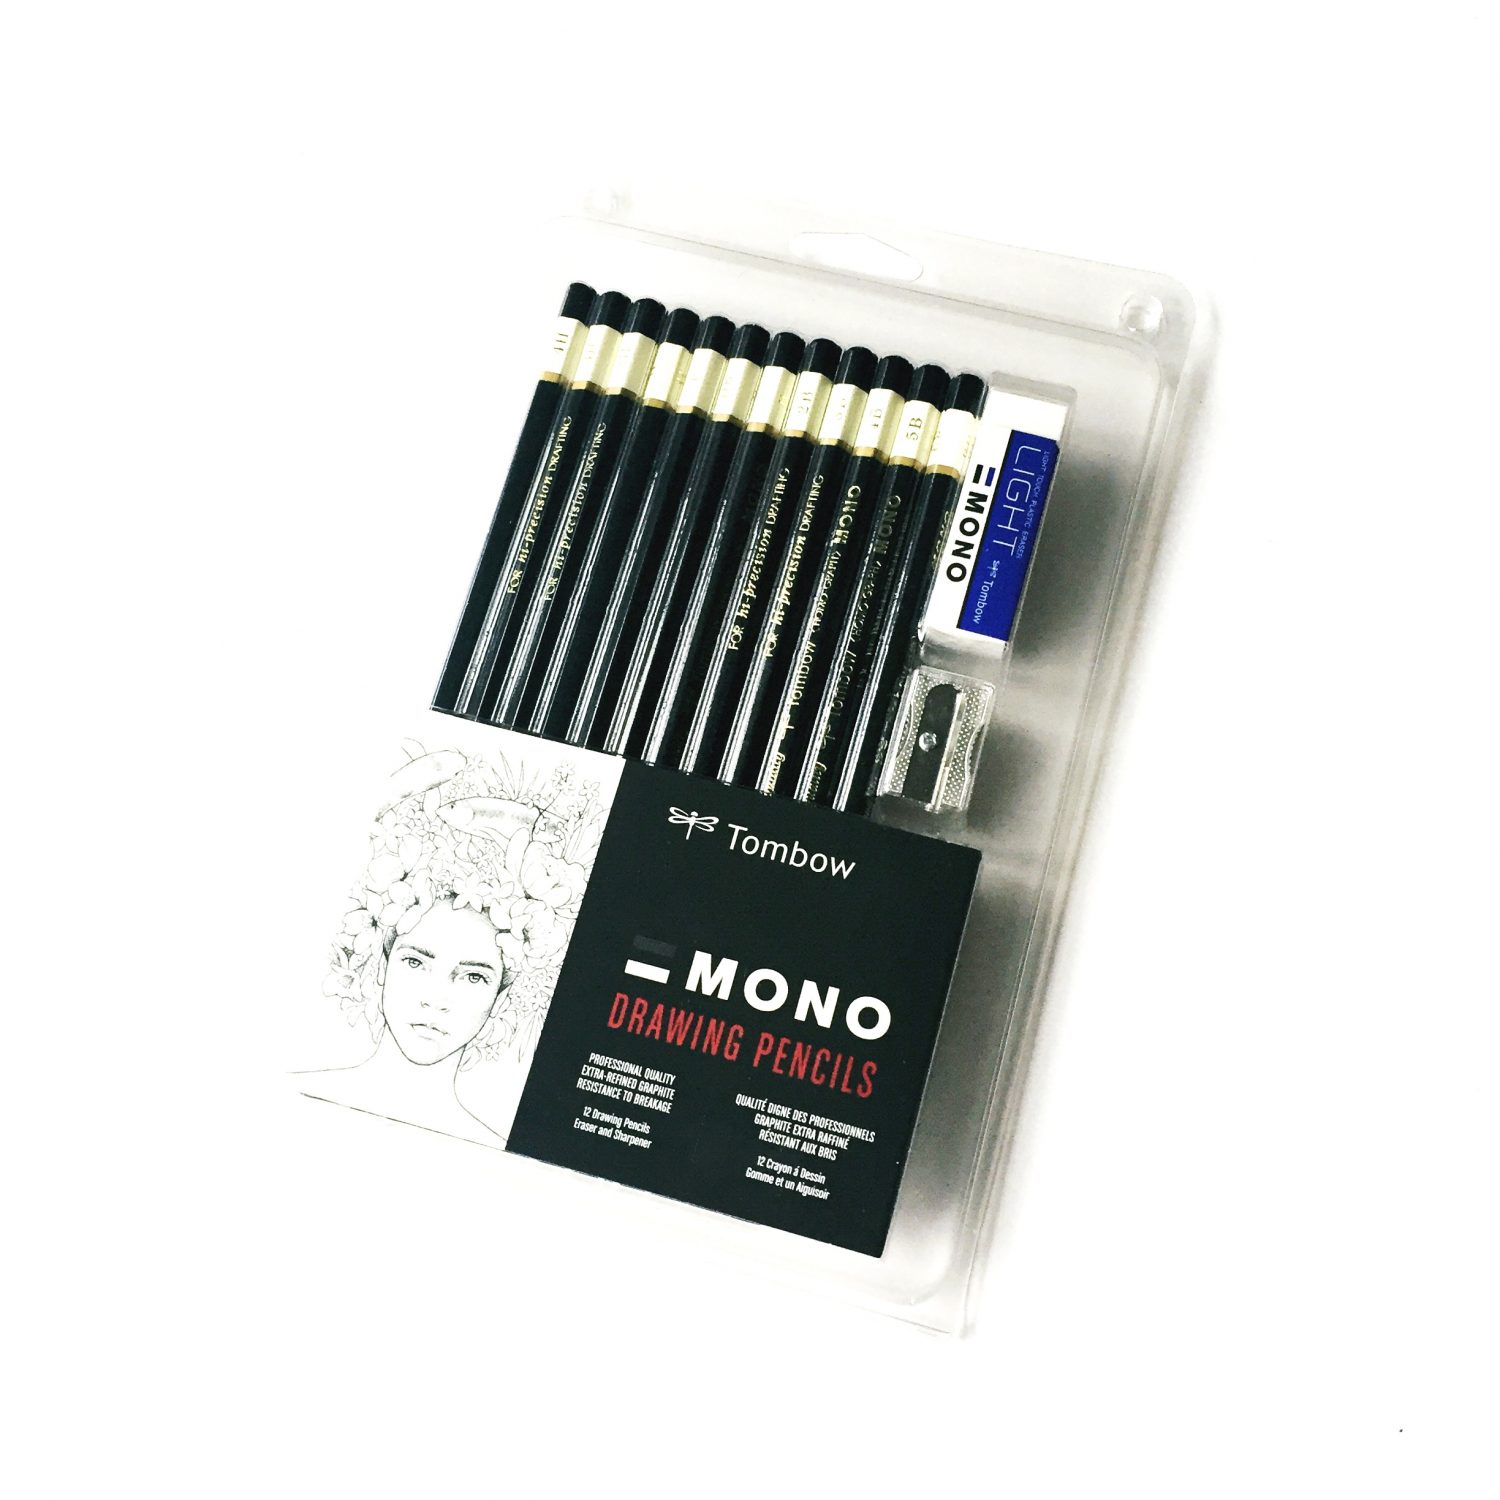
The new Tombow Mono Drawing Pencil Set is a must-have for any lettering artist! I often get asked by other letterers which kind of Tombow Mono Drawing Pencil that I use… and it’s not always easy to answer because I use ALL of them, but I use different degrees of pencils for different tasks and projects.
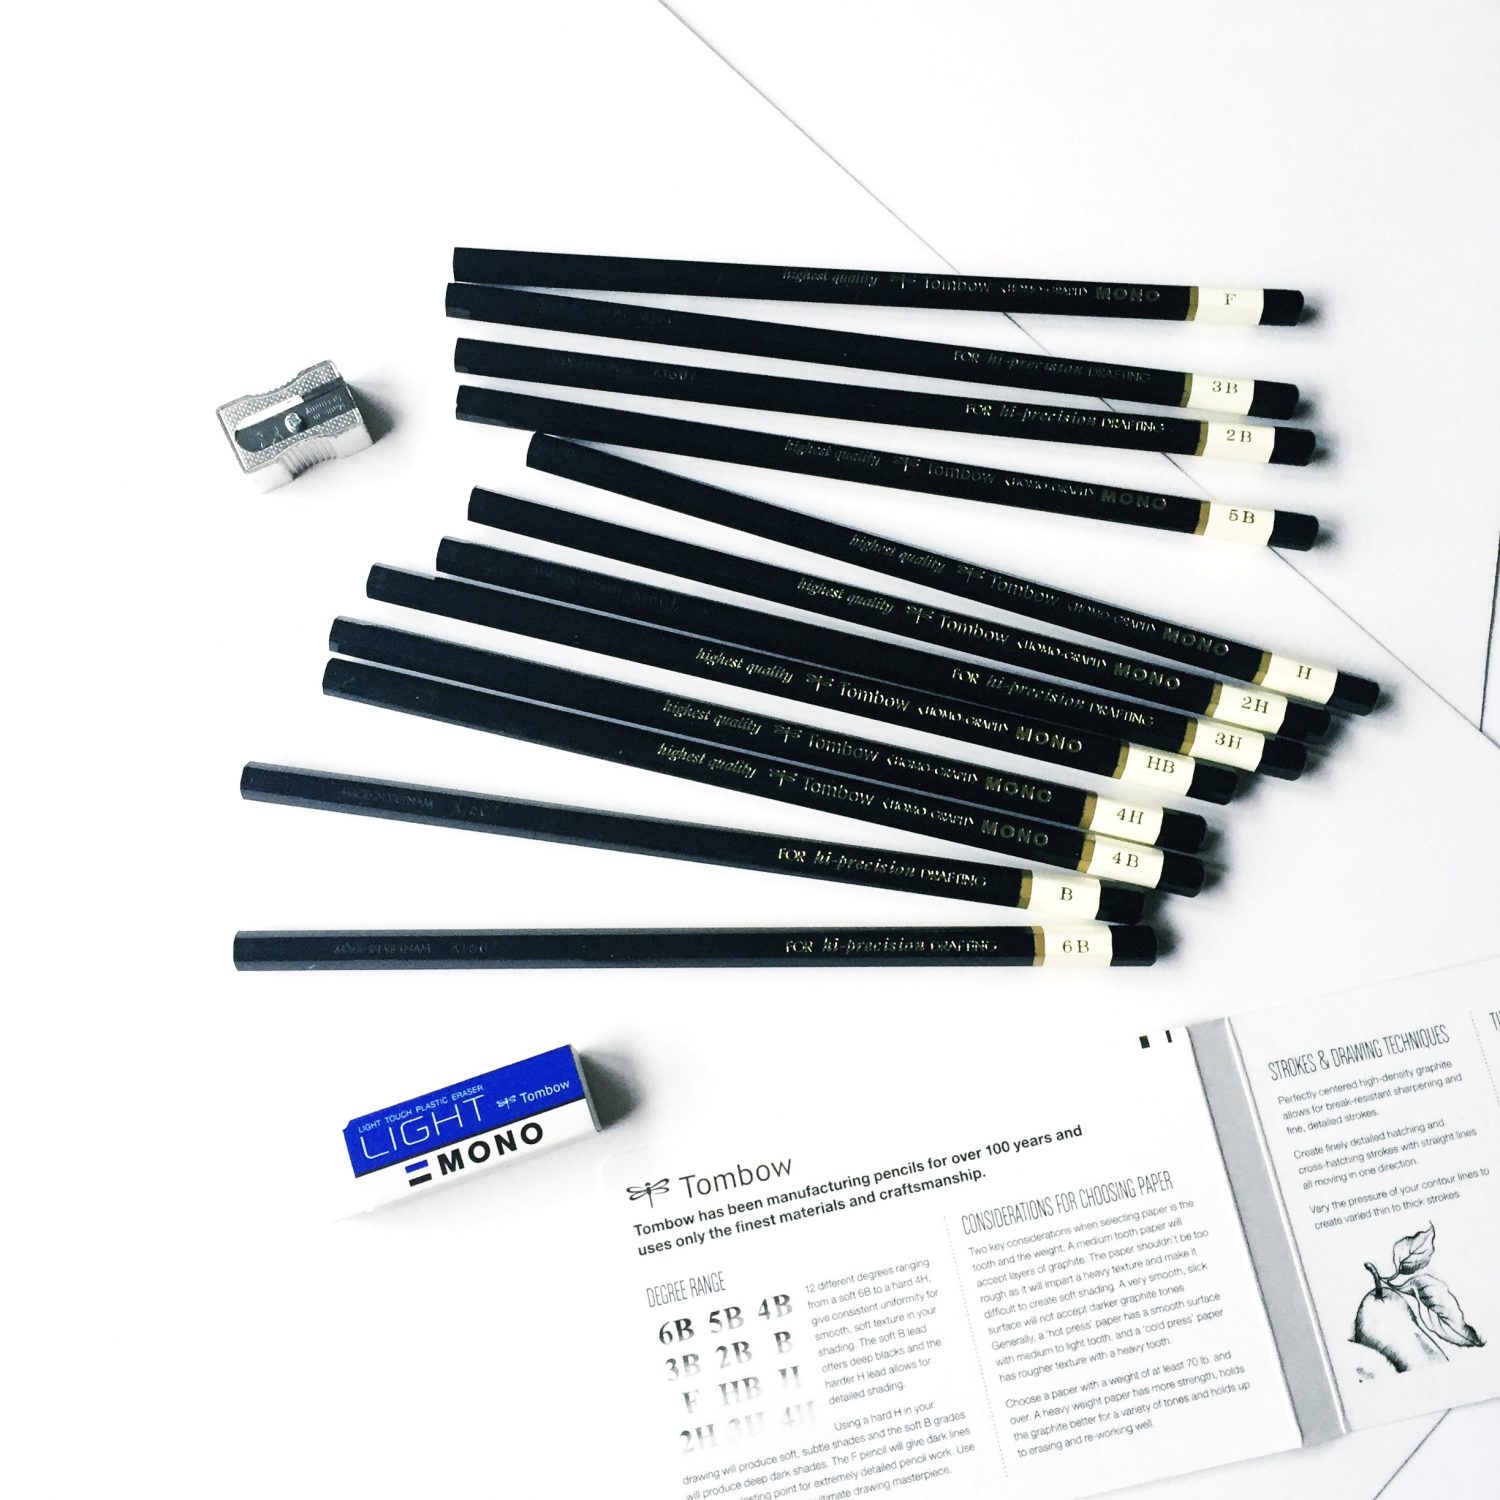
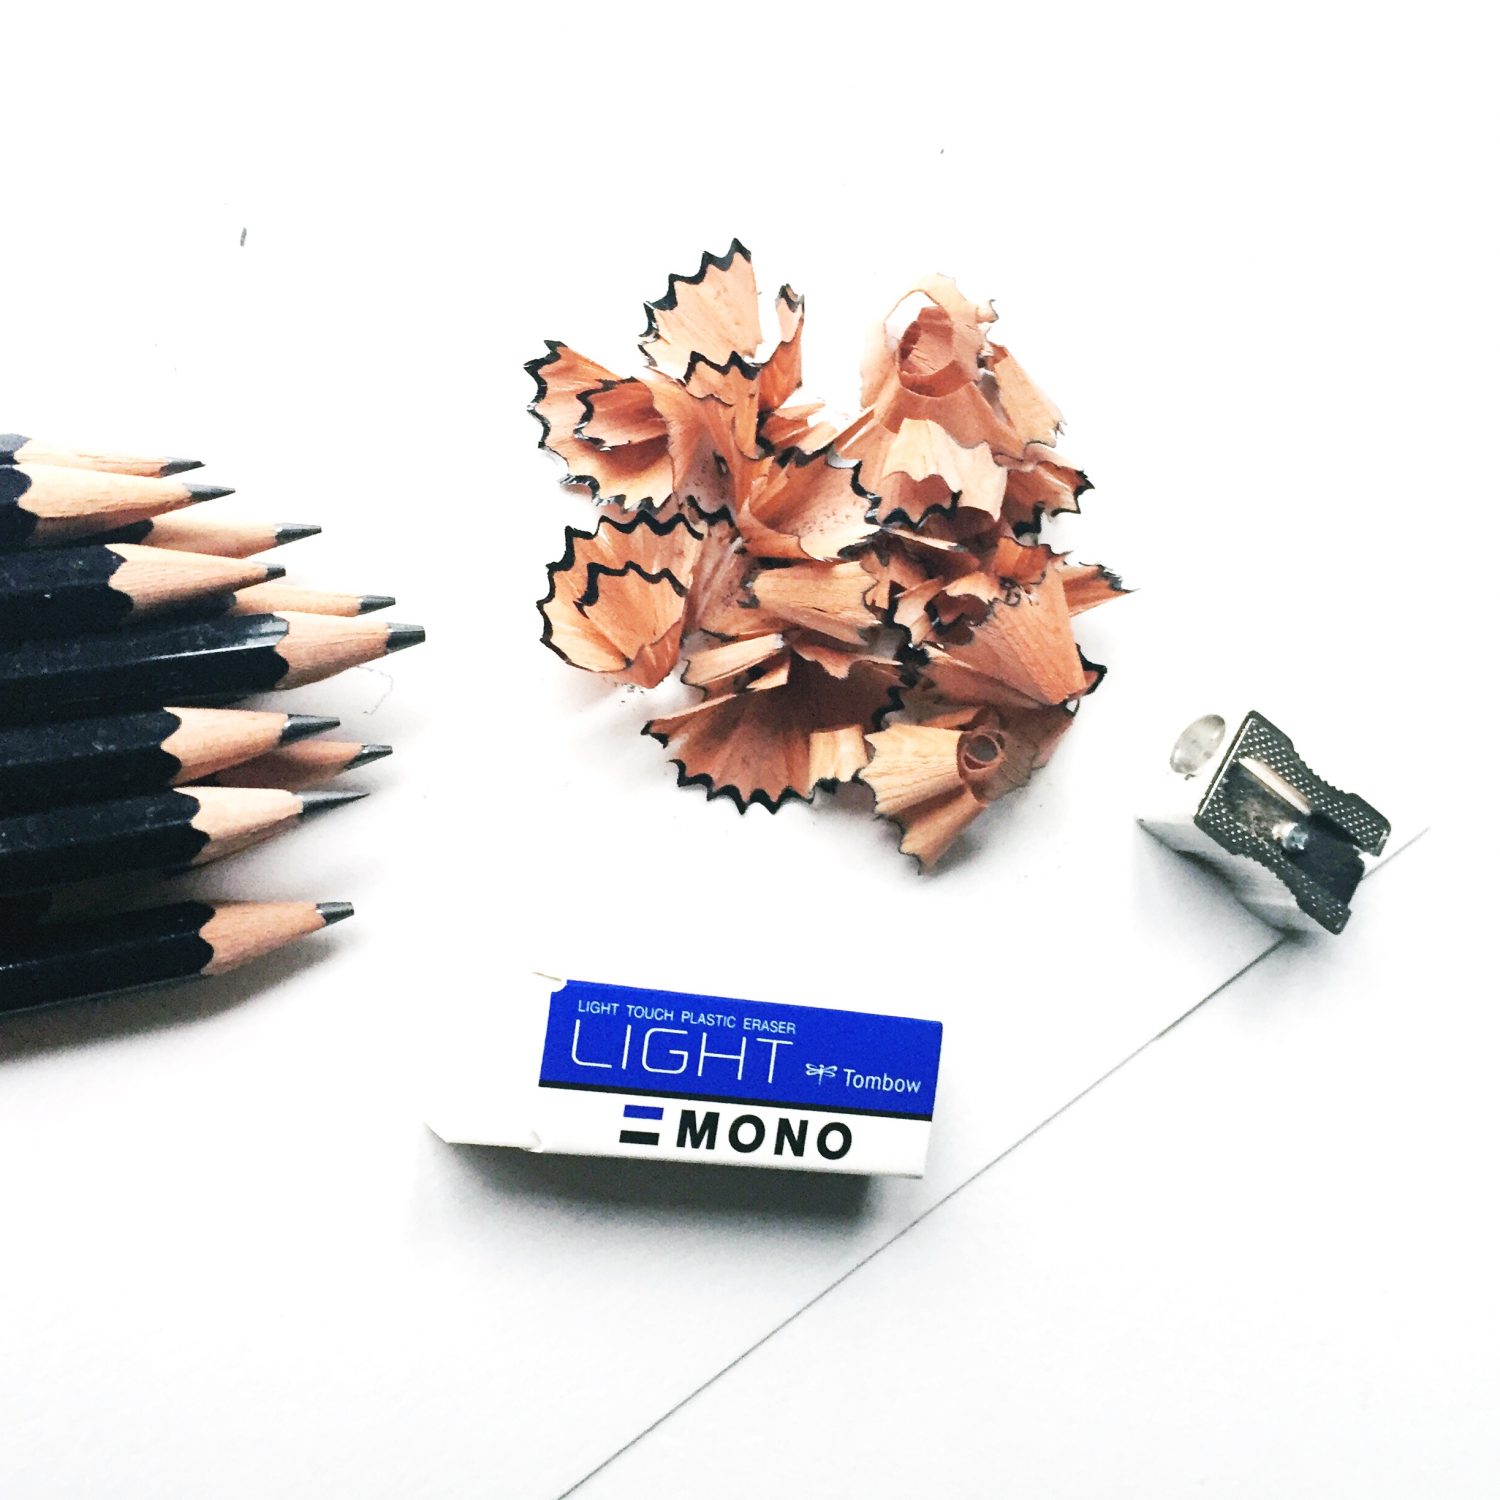
When you open up a Tombow Mono Drawing Pencil Set, you will find 12 different Tombow Mono Drawing Pencils, including 6B, 5B, 4B, 3B, 2B, B, F, HB, H, 2H, 3H, and 4H. The pencils come unsharpened with a metallic sharpener and the Tombow Mono Light Touch Plastic Eraser. Make sure to open up the inside of the packaging to reveal a synopsis of the kinds of pencils in the pack and techniques for using them artistically.
KNOW YOUR PENCILS
The best way to know what pencil to pick for a certain lettering project is to really KNOW your pencils. I’ll be honest, in the beginning I didn’t realize that there were different kinds of pencils. When I needed to use one I would sharpen one that I randomly pulled from a box. When I received my first pack of Tombow Mono Drawing Pencils and saw that there were different degrees of hardness that caused each pencil to produce a different shade and effect, I was hooked! Also, if you are a lefty, you will definitely want to check out these pencils, because they don’t smudge!
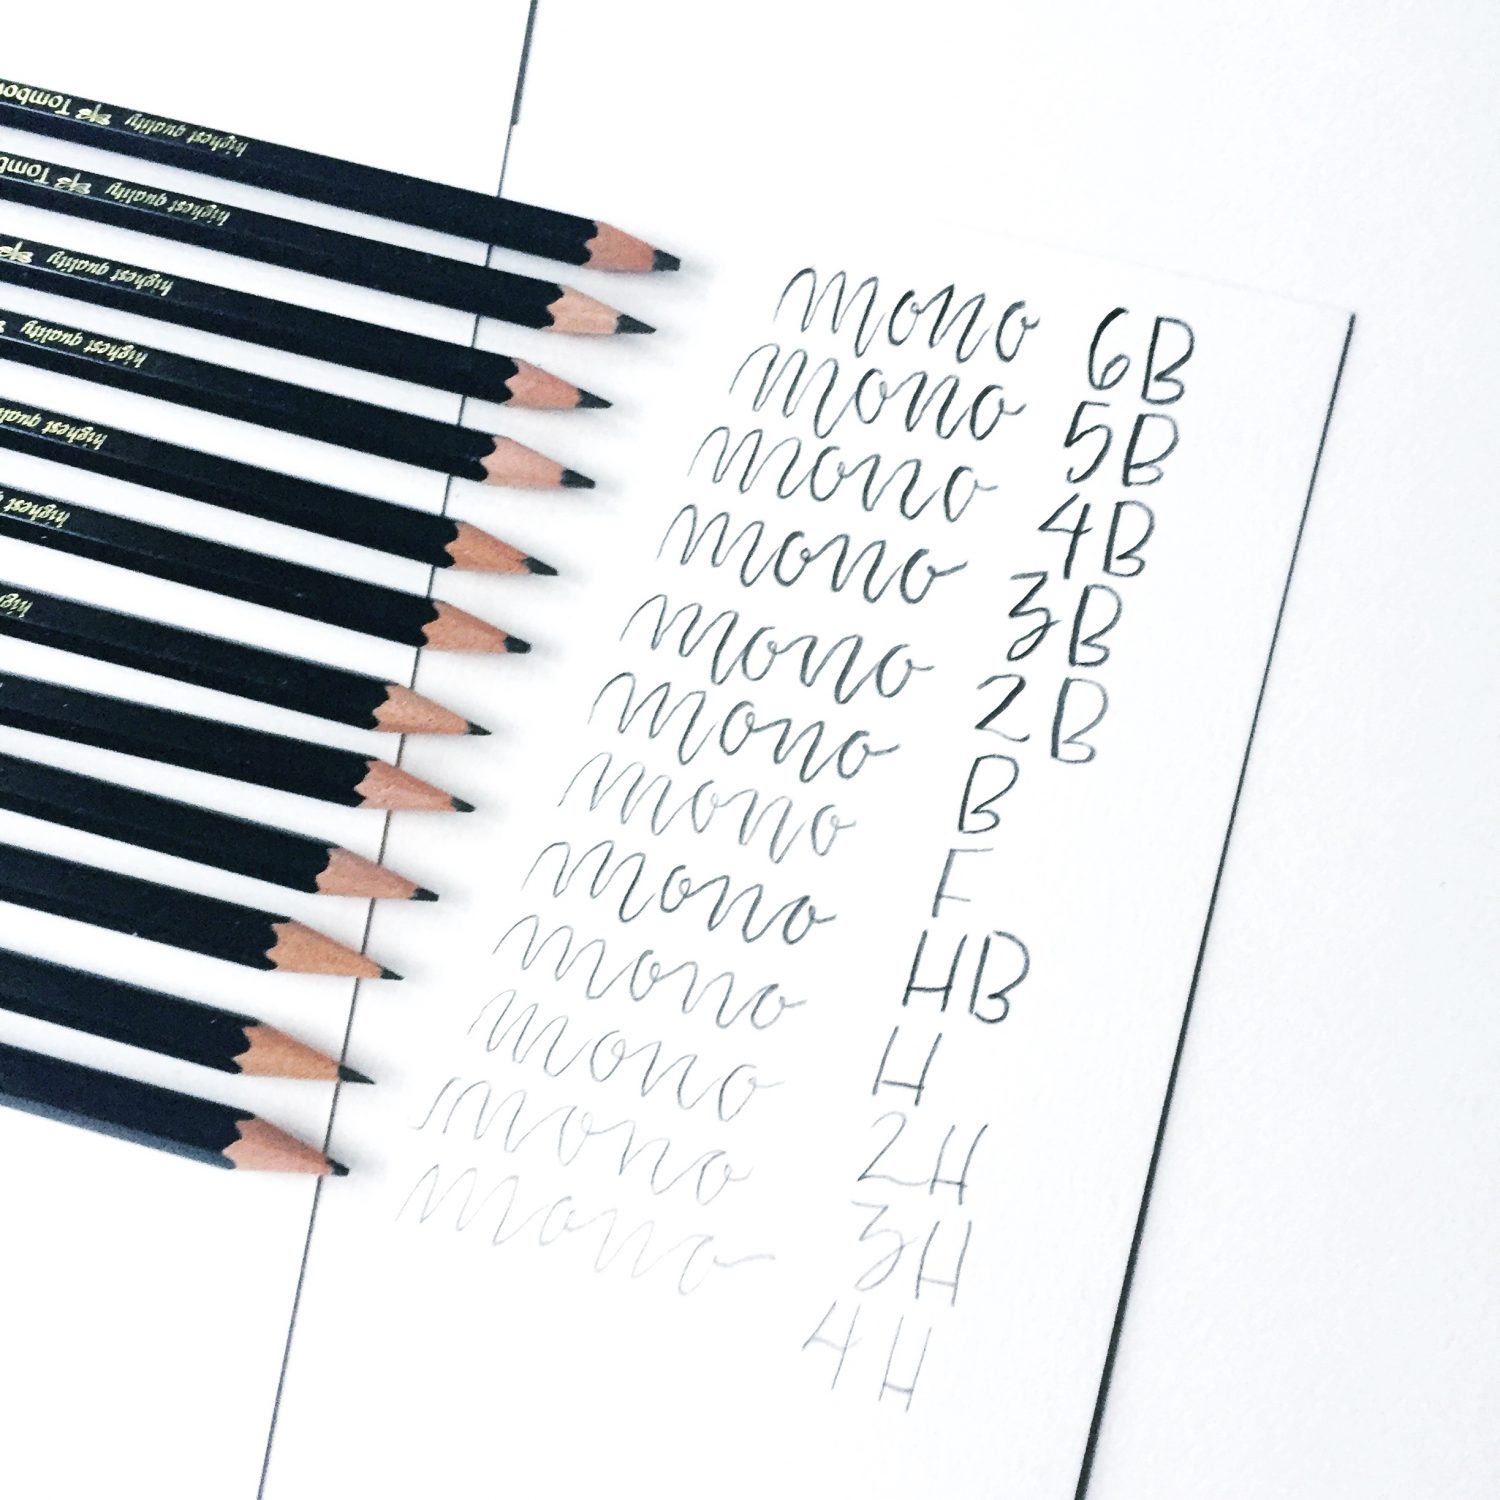
I love that the pencils are all labeled with a specific level of hardness, but I didn’t really know what this meant exactly until I sharpened all of the pencils and gave each a try. The pencils are made of graphite and super easy to sharpen because the lead doesn’t break. The degree range of the Tombow Mono Drawing Pencils in the set are 6B, the softest lead that produces the thickest and darkest lines, through 4H, the hardest lead that creates thin and light lines that are easy to erase. The soft B Leads of the 6B, 5B, 4B, 3B, 2B, H, and HB offer deep blacks. The F pencil creates dark lines that are long lasting but able to create intricate details. The H pencils are harder and are more precise while creating lighter lines.
The best way to get to know each pencil and it’s look is to write a sample of each pencil in order of hardness so it’s easy to decide which pencil you want to grab for a specific lettering task.
PENCILS & LETTERING PRACTICE
When starting lettering or calligraphy, I always recommend starting with a pencil. All of the pencils in this set are FABULOUS for lettering practice, but different degrees of hardness are better for specific types of practice.
WHEN LEARNING LETTER FORMS: Grab any of the MONO Drawing Pencils in the H degree range (HB-4H) or the F pencil. These pencils have harder graphite tips that will be perfect for forming precise shapes. Any type of lettering or calligraphy requires a certain amount of preciseness and consistency in strokes. When trying a new style or trying to perfect a specific letter form, the harder tips are great for focusing on the shape and consistency of the letters you create.
WHEN PRACTICING APPLYING PRESSURE TO CREATE CALLIGRAPHY: Using the MONO Drawing Pencils in the B degree range (6B-B) is the best. When using a brush pen is difficult or you don’t want to waste ink, picking up any of the B pencils is great to practice applying pressure for thick downstrokes and removing pressure for thin upstrokes. The lead in these pencils is soft enough to produce dark lines with thick downstrokes and thin upstrokes without their tips breaking. These pencils are also great when using practice sheets made for smaller brush pens, like the Tombow Fudenosuke Hard and Soft Tip Brush Pens.
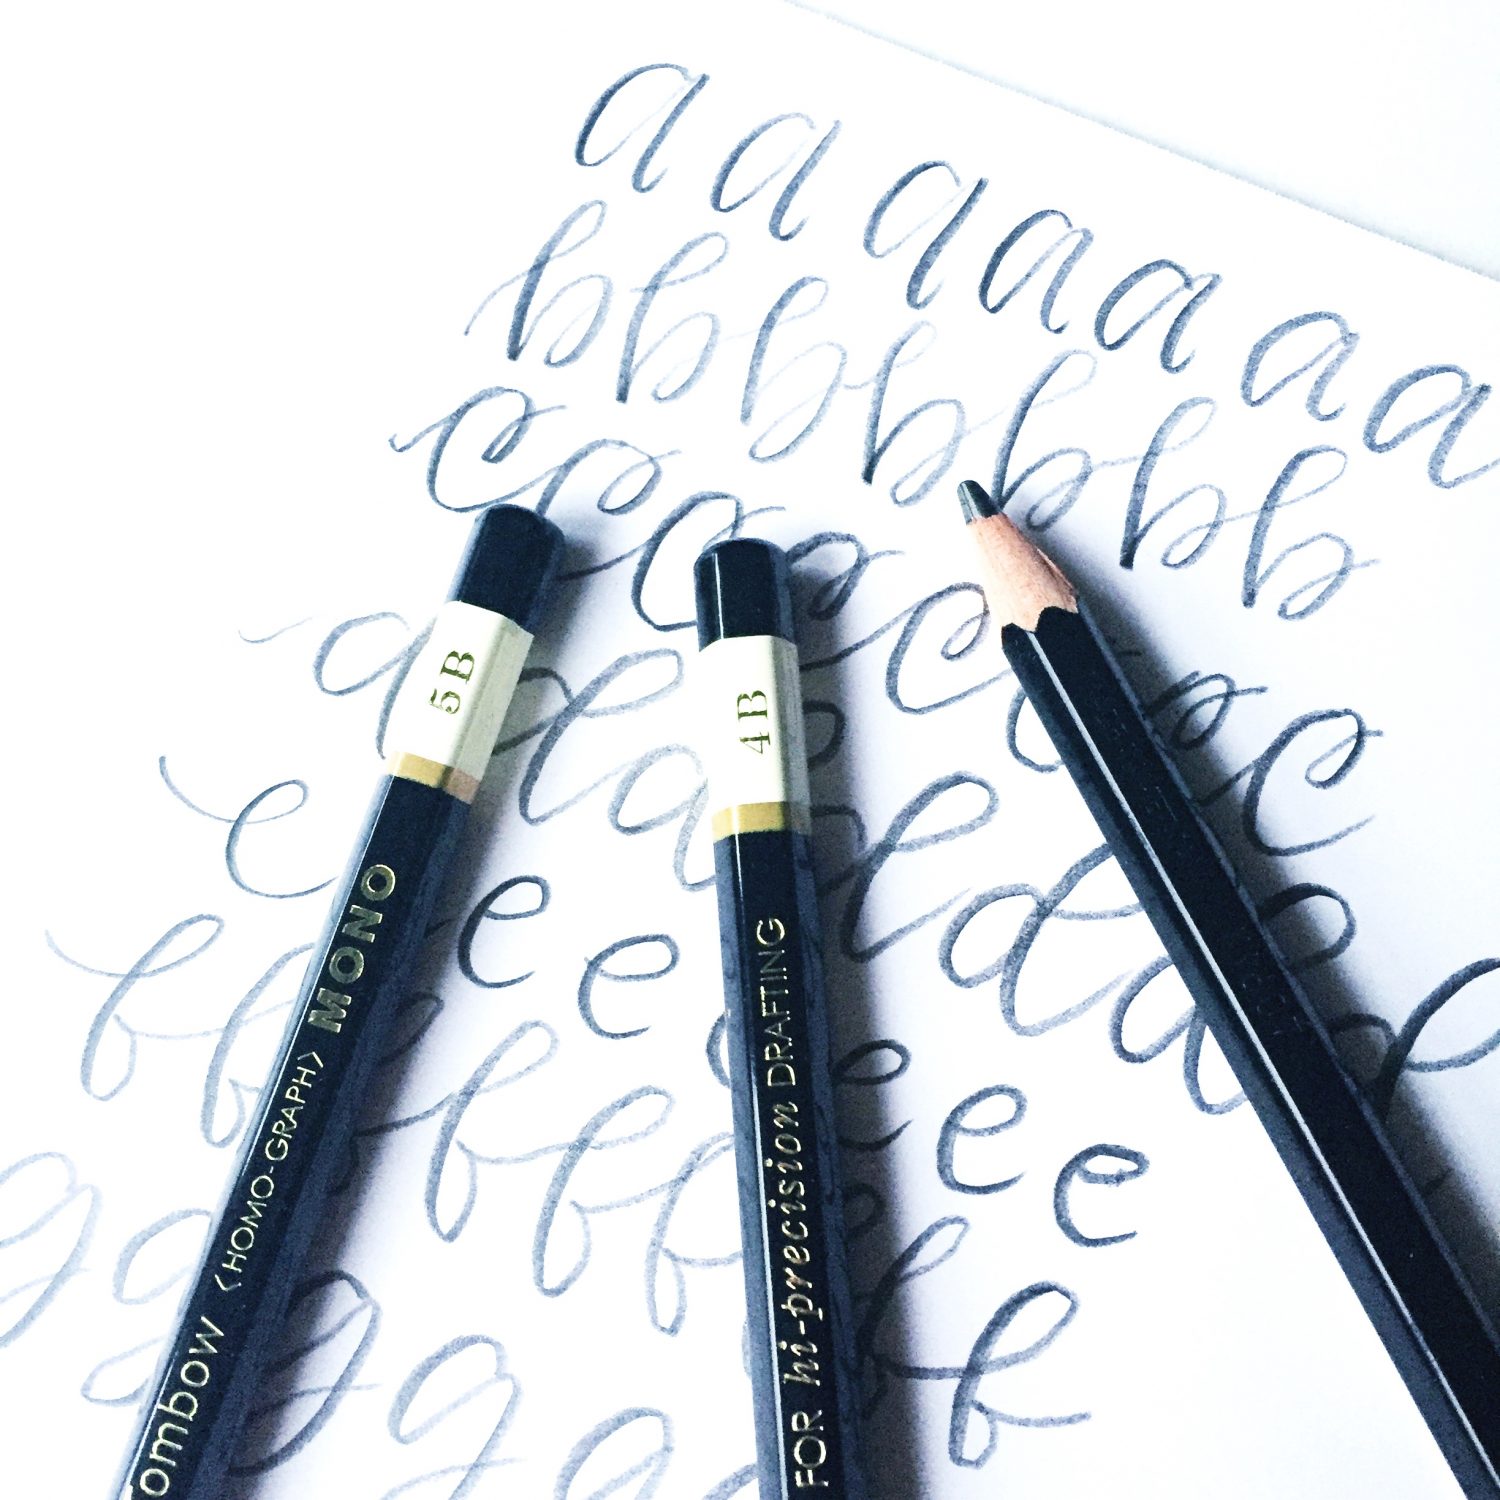
Tombow Mono Drawing Pencils are also fabulous for practicing, because they are so precise and easy to locate mistakes and areas for growth and focus. It is easy to pick up on inconsistencies when using a pencil and it’s also easy to remove and correct when you have the Tombow Mono Light Touch Plastic Eraser handy. Erase your mistakes and try again… easy peasy!
PENCILS & SKETCHING
Sometimes as a letterer we want to go straight to brush pen and final paper when creating a final piece, but sketching is so important. When you sketch out your ideas it not only saves paper and time before putting ink to paper, but it also helps you pay close attention to the composition of your piece and allows you to make changes to your first idea before making it final. Both H and B drawing pencils are great for sketching.
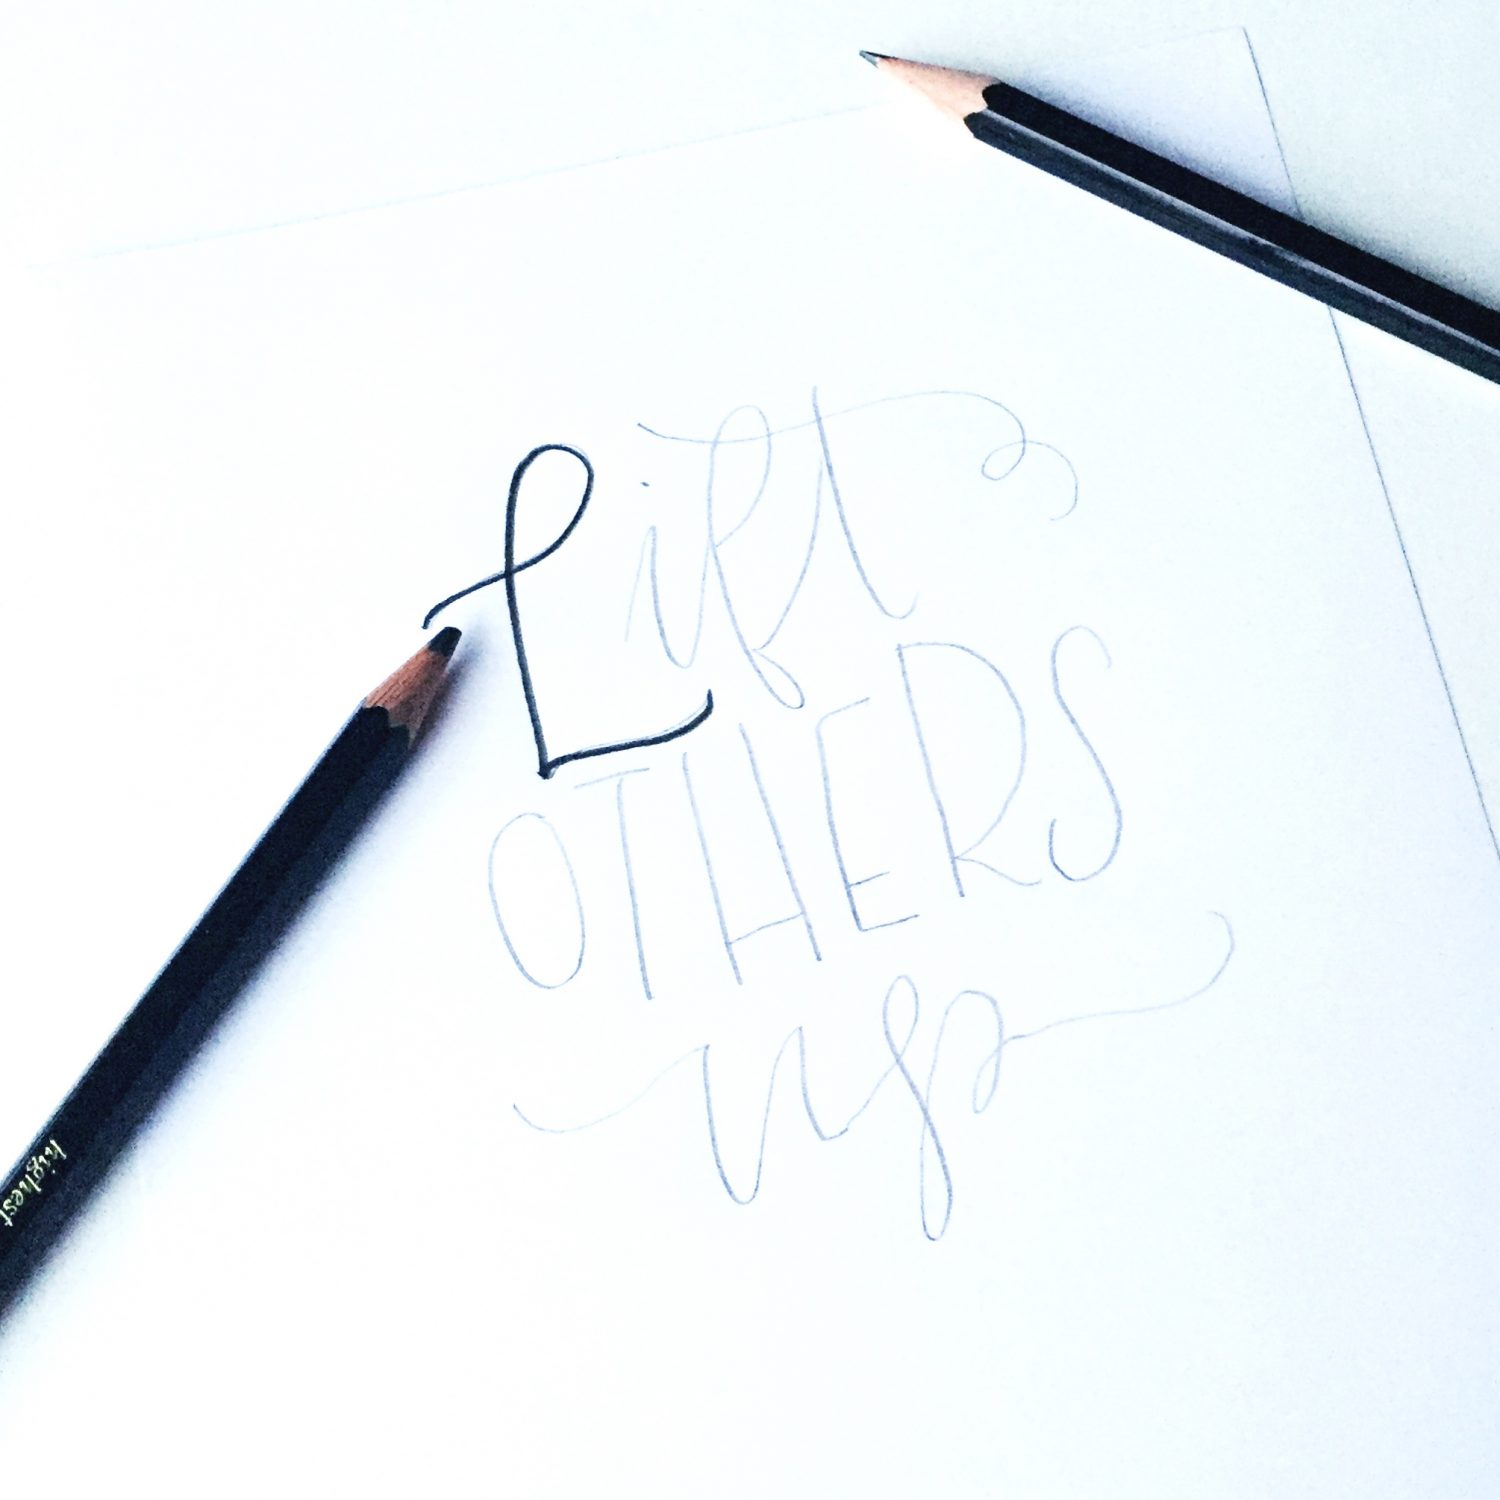
INITIAL SKETCHES AND NEW IDEAS are perfect creations for the H degree range pencils (H-H4). I often pick up the 4H for a new sketch because it produces lighter and precise lines that I find easy to erase with the Tombow Mono Light Touch Plastic Eraser.
FINAL SKETCHES that are ready to go on a light table to create a final piece are usually created with my B range pencils (B6-B). When I am happy with a design idea and ready to take it to the next level, I love to go over my initial sketch with an 5B or 6B pencil to create dark lines.
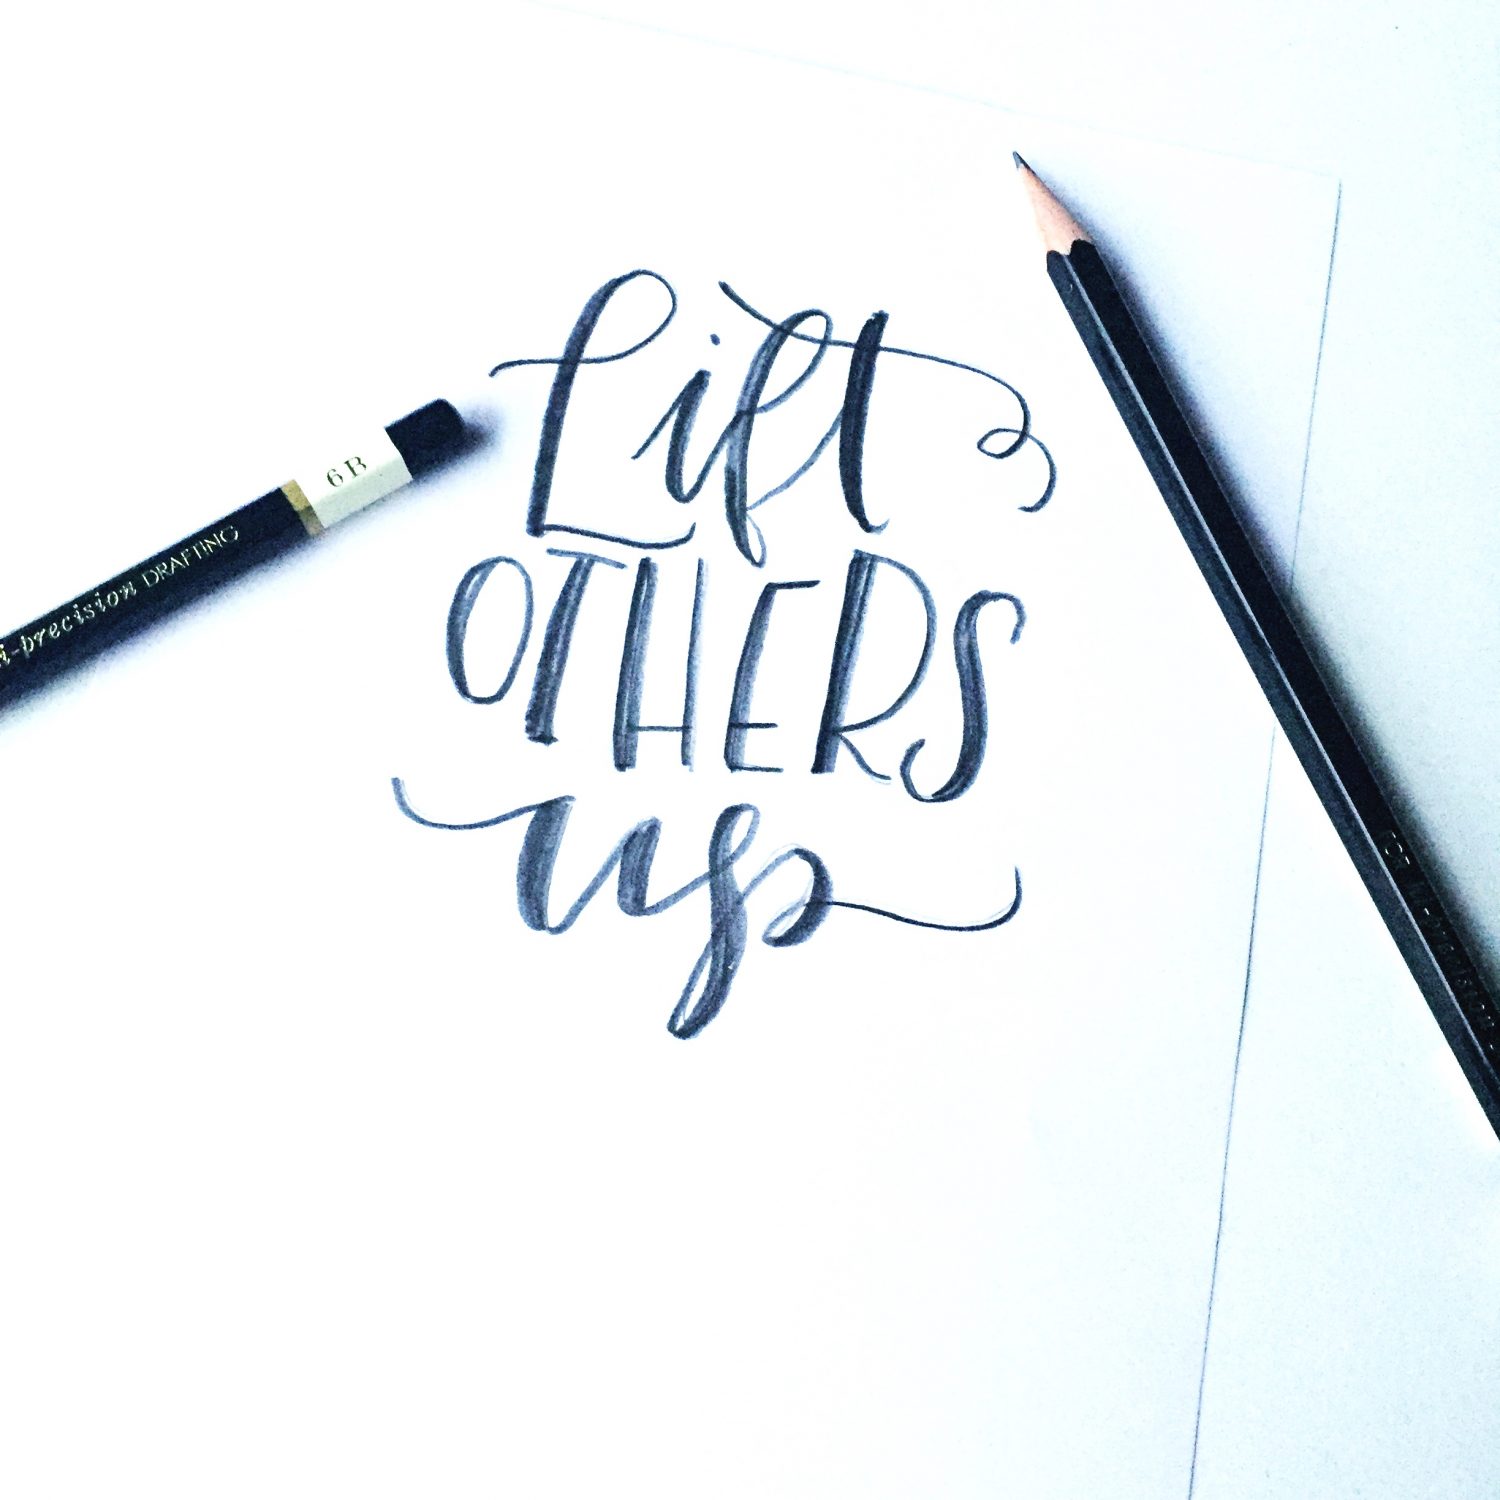
I continue using the 5B or 6B Tombow Mono Drawing Pencils to create faux calligraphy, drawing in thicker downstrokes to get the effect of the brush pen or lettering tool that I will choose to make the final project. These lines are very dark, do not smear, and show up perfectly under mix media paper on a light table.
PENCILS & ENVELOPE ADDRESSING
As a calligrapher, one of my very favorite projects is addressing envelopes for parties, events, or special notes. Sometimes, picking up a pen without sketching out an address can be a bit unsuccessful and often leads to wasting envelopes and time. Sketching out the outline of an envelope is a great way to make sure that each name and address will fit and look amazing. I often choose to sketch addresses with the 4H pencil, because the light lines are easy to remove with the Tombow Mono Light Touch Plastic Eraser, which is also perfect for envelopes of all kinds, because it’s light touch is very gentle for all kinds of paper.
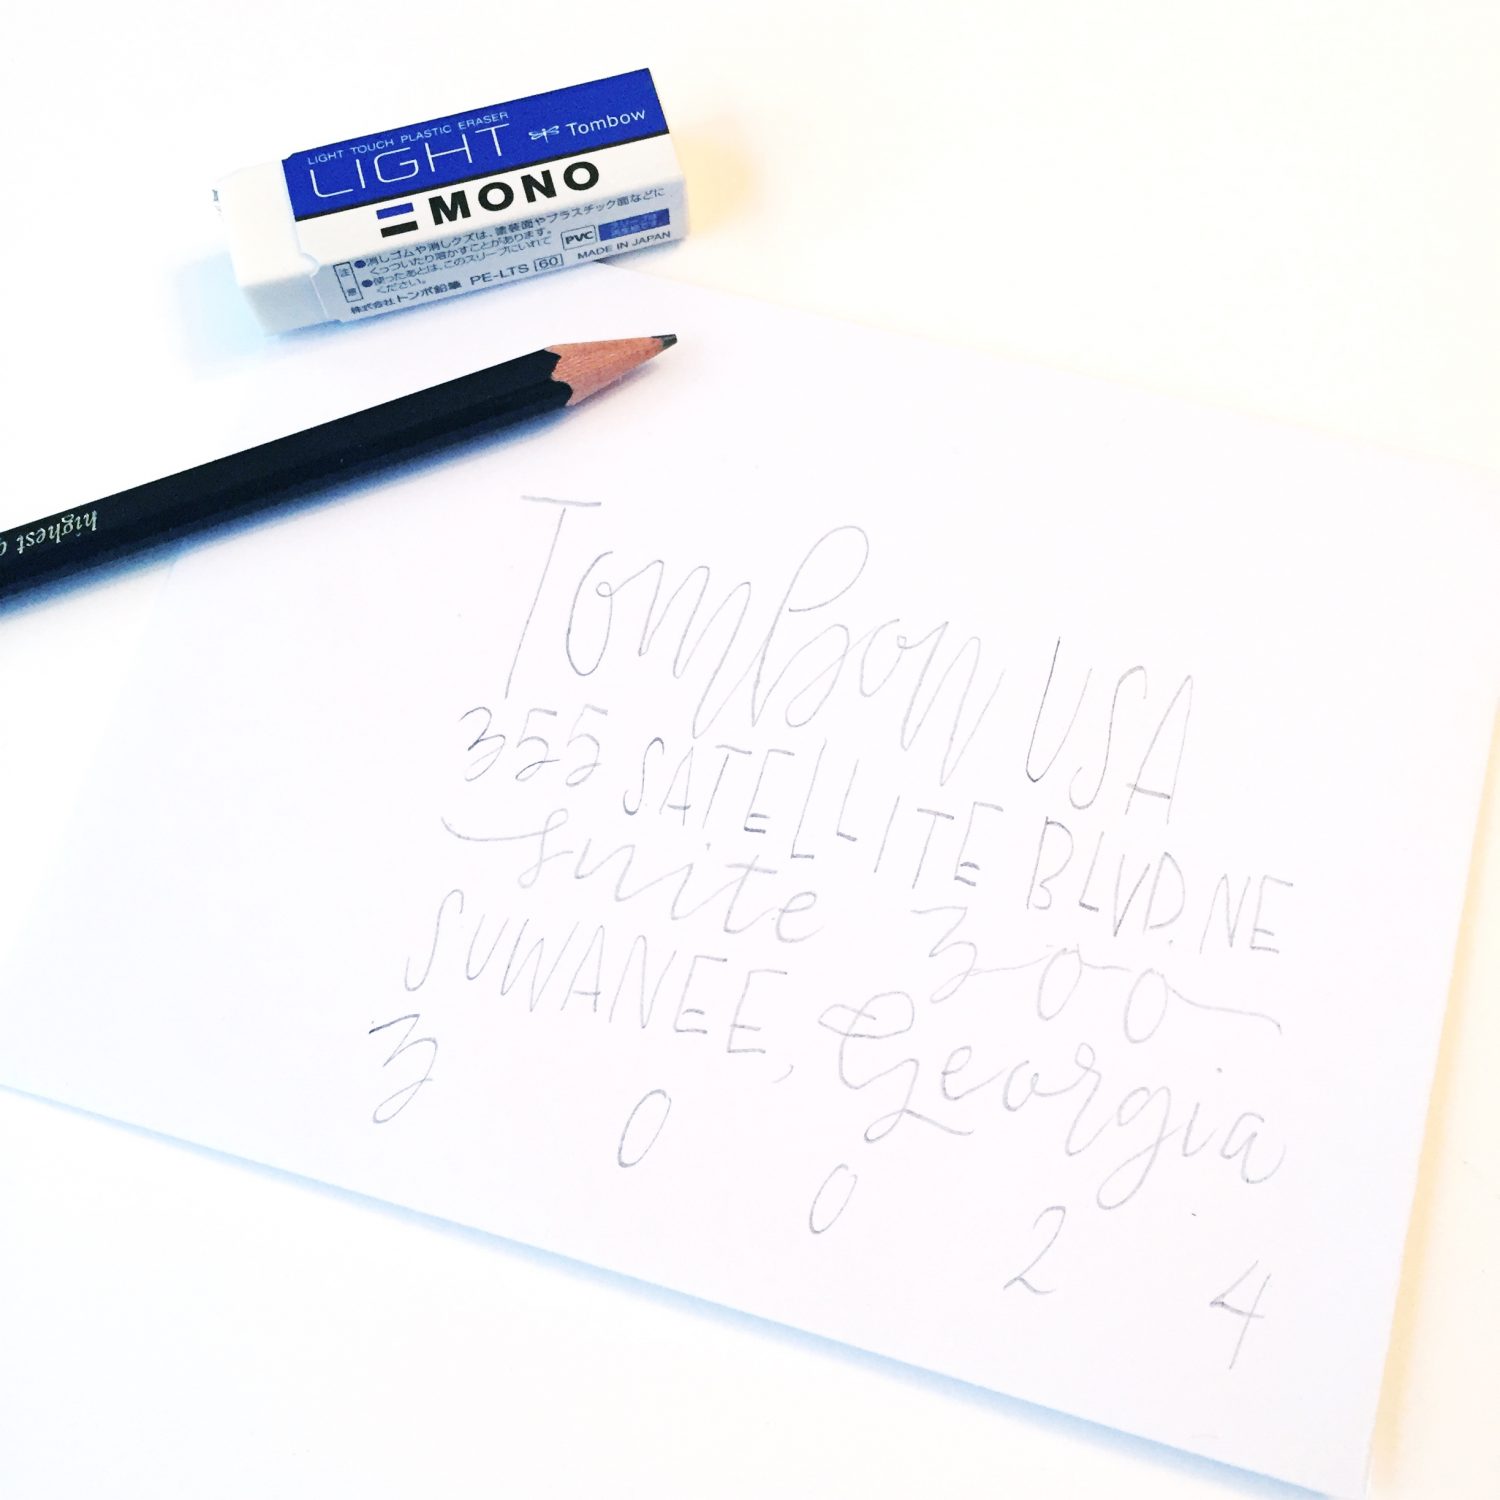
After I create an address that I am happy with, I then write over the pencil with the Tombow Fudenosuke Hard Tip or Soft Tip Brush Pen. The light pencil lines of the 4H Tombow MONO Drawing Pencil hide behind the dark ink of the brush pens.
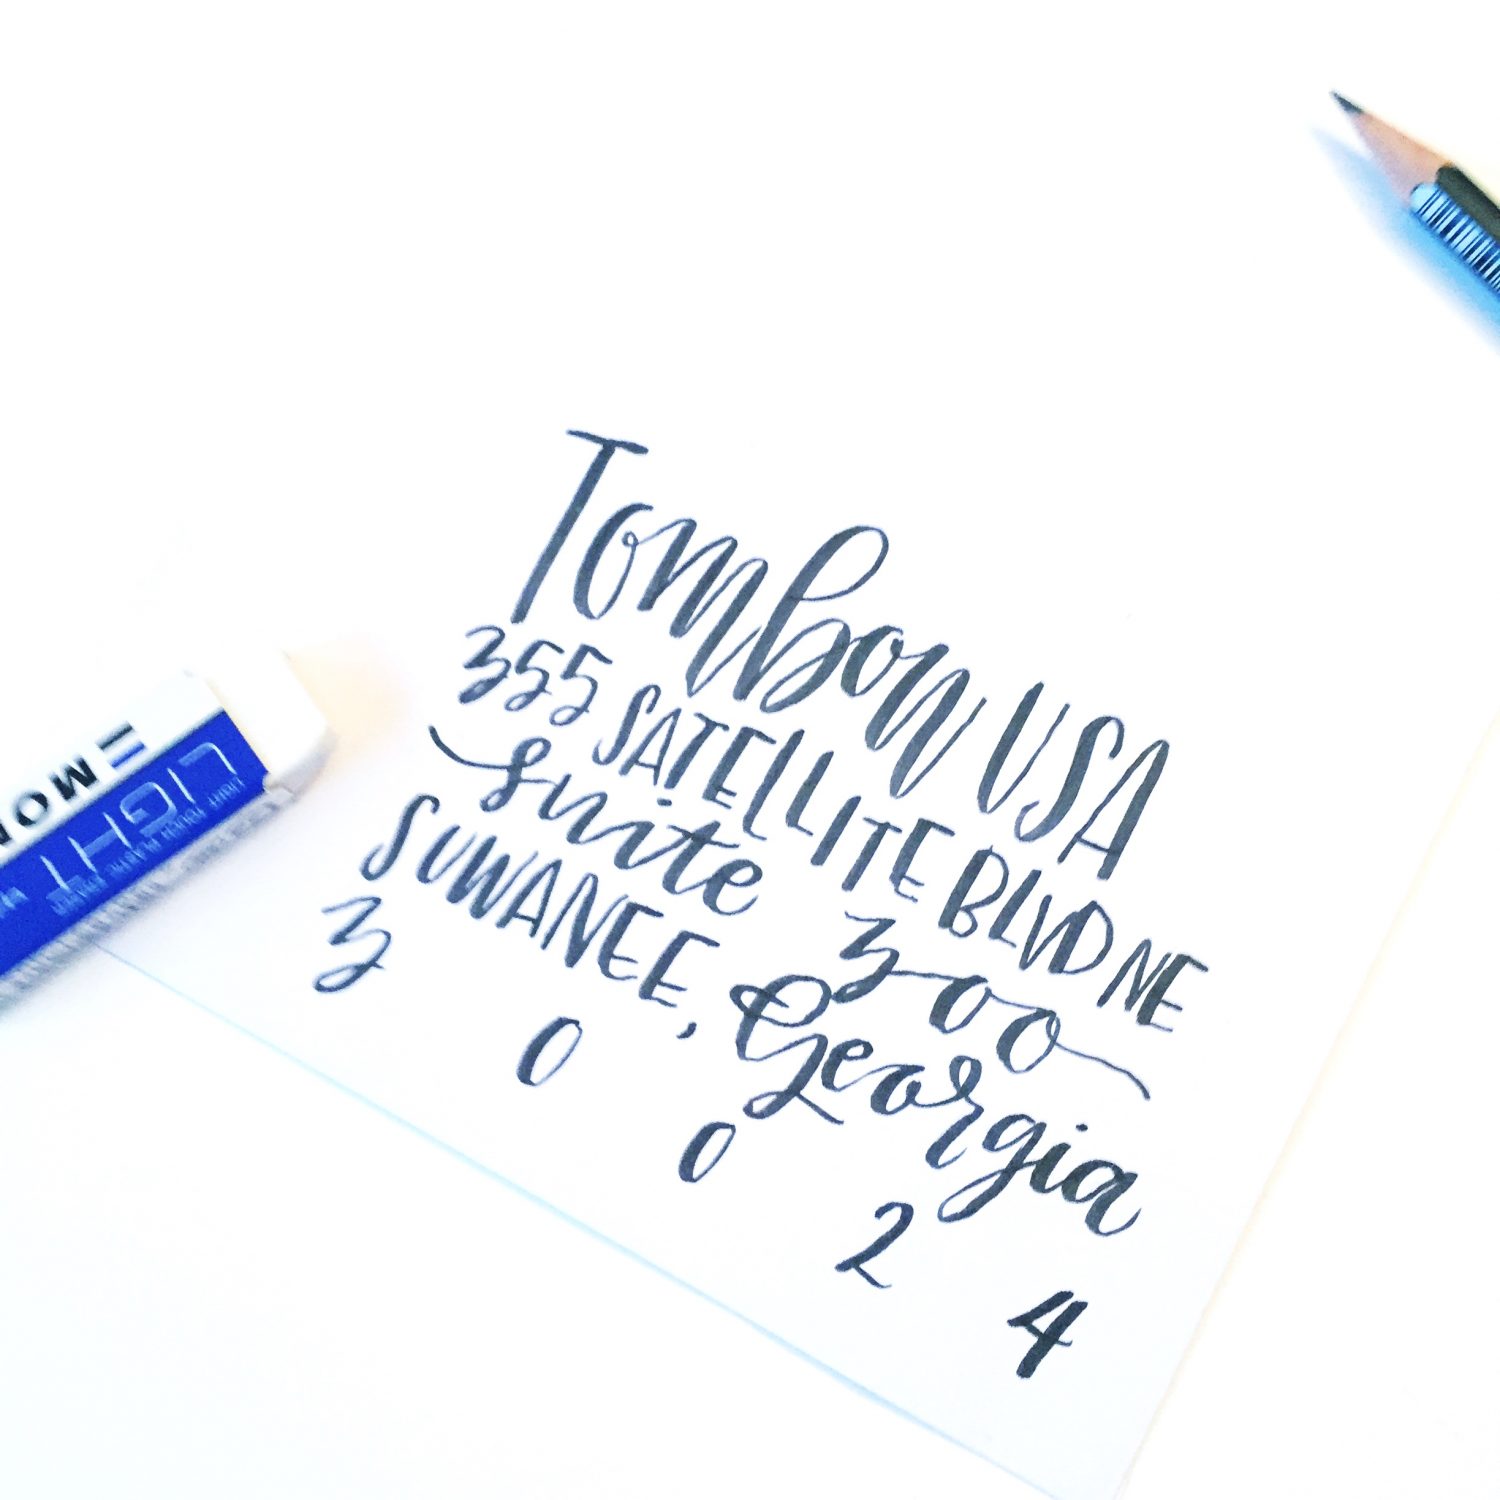
After the address is complete, erasing all of the pencil lines that stick out from the inked address is super easy with the Tombow Mono Light Touch Plastic Eraser, which creates a clean and perfectly imperfect look to any envelope.
WHAT ABOUT PENCILS &…
Now that you know all of the ways that I use the Tombow MONO Drawing Pencil Set, are you still wondering what pencils are better to use for certain projects that I didn’t mention? Let me know in the comments below! Also, don’t be afraid to try out the different kinds of pencils for yourself. The more you practice lettering with them, the more familiar you will become on your pencil picking preferences. However, NEVER FEAR, because if you have a PROJECT IDEA, there is DEFINITELY a PENCIL to go with it!
Thanks so much for reading and learning about how to pick your pencils when working on lettering projects. I hope you find all kinds of fun ways to use the AMAZING Tombow MONO Drawing Pencil Set in your lettering and artistic adventures. For more lettering tips and tricks follow @tombowusa and @renmadecalligraphy and check out my blog at www.remadecalligraphy.com. Want to be a part of a lettering community where you can share and learn from other letterers? Check out The Letter Lovelies . All products shown in this post are ready for you to purchase on tombowusa.com.
Happy Lettering!
Ren
Thank you so much for this, Ren!! I have been banging my head against a wall trying to figure all of this out, and have avoided buying any pencils (outside of a mechanical pencil) because I have been so clueless! Now I can’t wait to get ahold of these pencils!! ??
Thanks so much for this. I am just learning and going through ink and pens galore…..practice, practice & practice is the one constant in calligraphy tutorials. Pencils are great…I just tried it and loved it.
Pingback: 3 Ways to Master Pencil Calligraphy - Tombow USA Blog