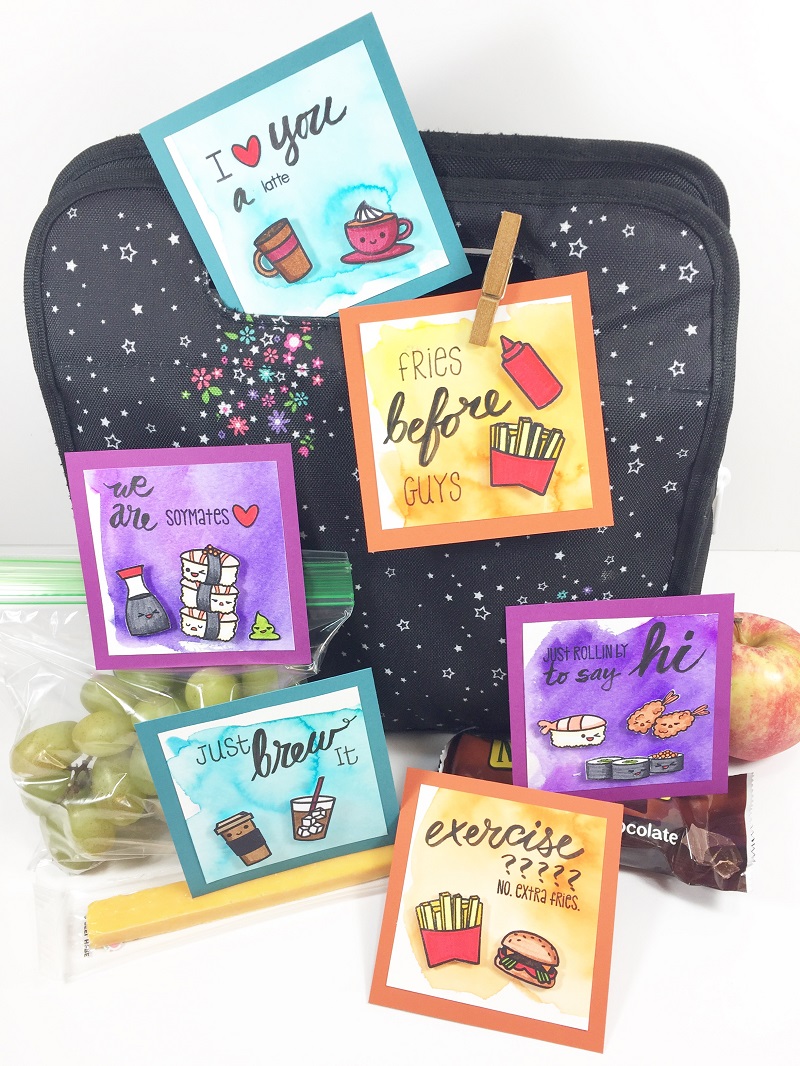
Good Morning Tombow fans! Beth here on the blog today to share some fun Lunch Notes 3 ways featuring Sweet Stamp Shop and, of course, my favorite Tombow products. Sweet Stamp Shop generously sent us some pretty awesome photo-polymer clear stamps, stickers and dies to create with.
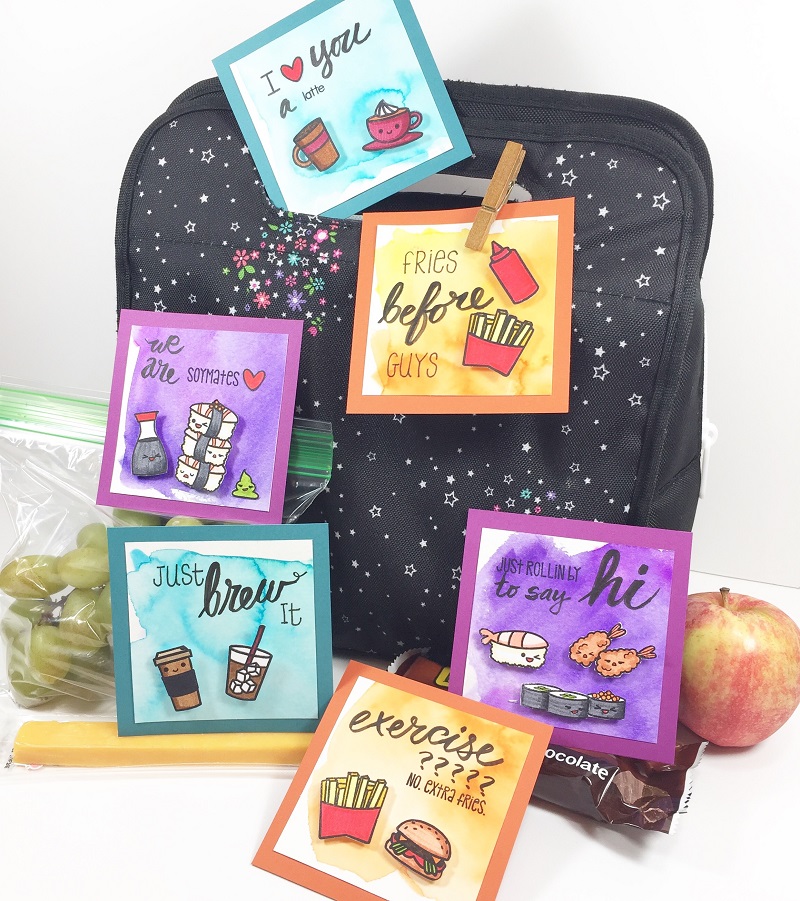
The cute food images I received in the Burger Night, Cuppa Coffee and Sushi Fun stamp sets were just screaming to be made into punny lunch notes, so here’s how I made them.
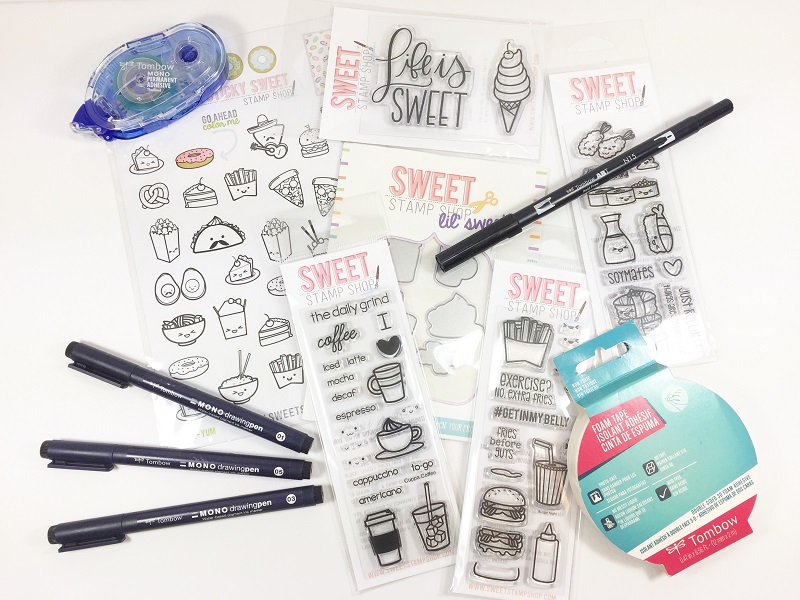
Step One: Stamp
Line up the images you want to use on an acrylic stamp block and stamp on to white cardstock with archival ink, which is waterproof, so it won’t smudge during the coloring process. Repeat as many times as needed.
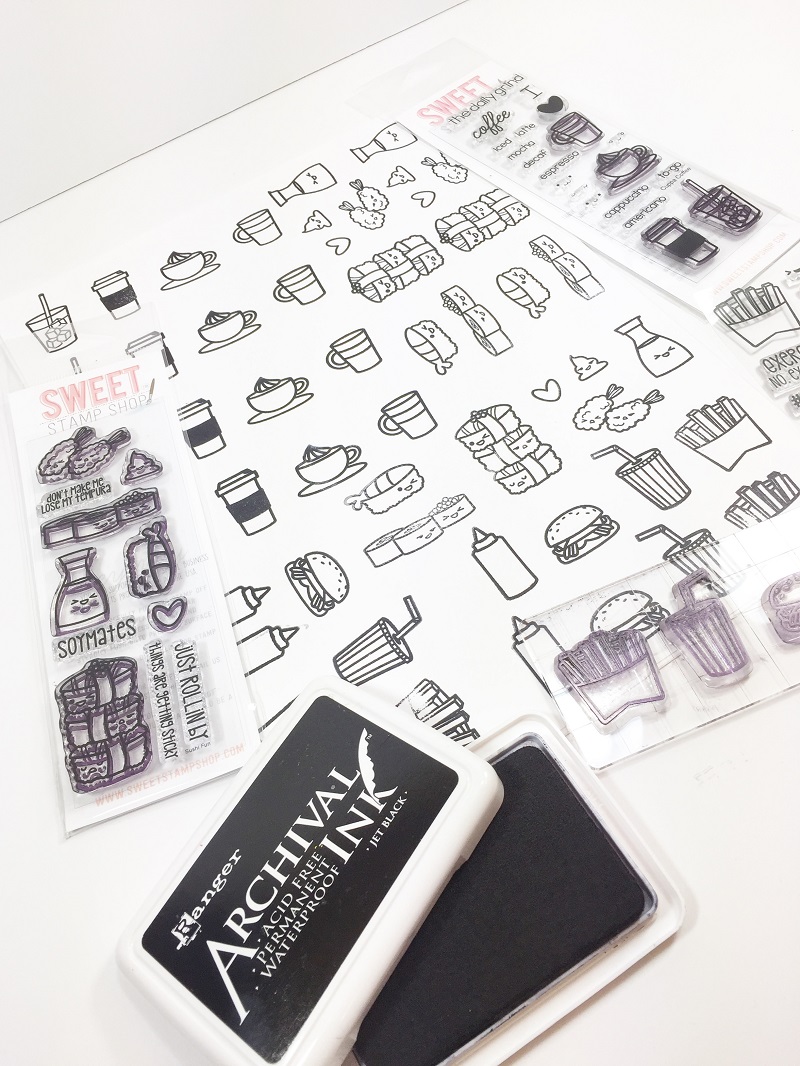
Step Two: Clean-Up
Now, I am not a professional stamper, so sometimes some of my images don’t come out as crisp as I would like. MONO Drawing Pens to the rescue! I used the 01 to fill in the stamped images that were not complete.
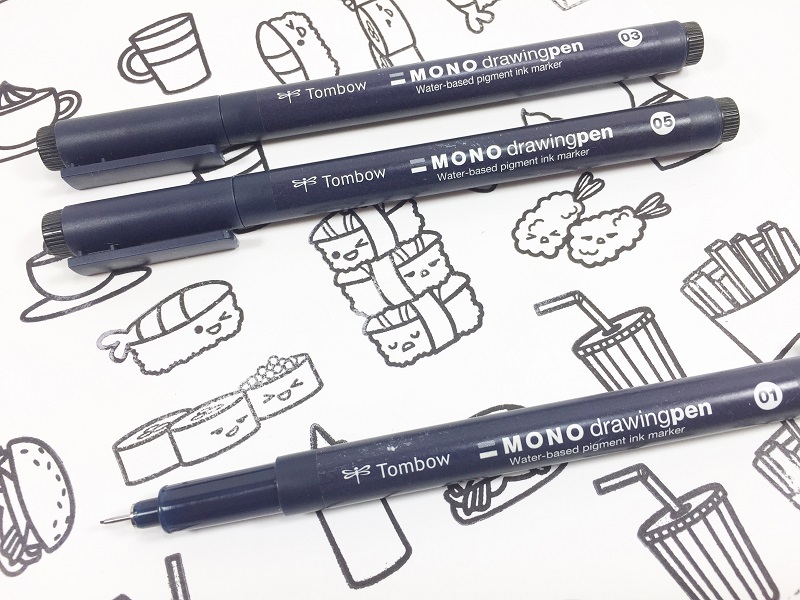
Step Three: Coloring
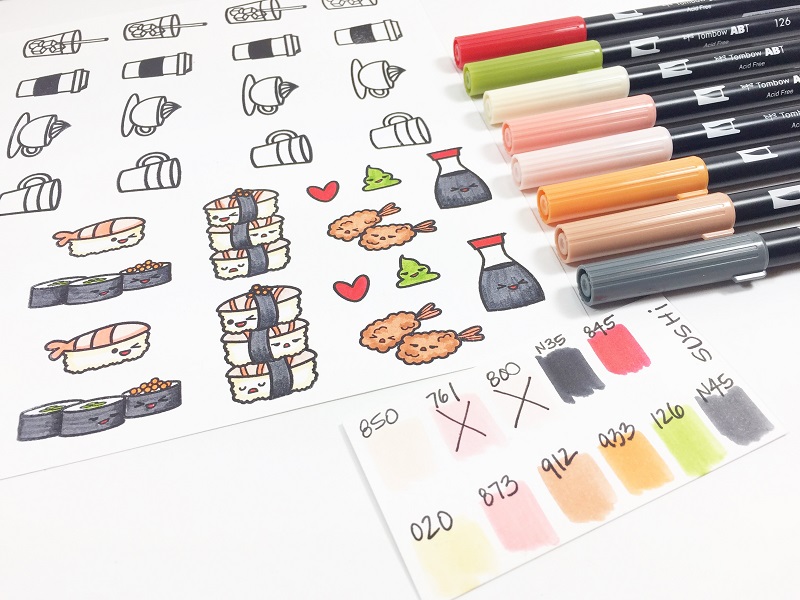
Next, comes the really FUN part – coloring! I used small scraps of white cardstock and my Dual Brush Pen Color Tracker chart to create the perfect color scheme for the Sushi Fun images. Tombow Dual Brush Pens 020, 850, 873, 912, 933, 126, 845 and N45 were the ones I selected. Label each color swatch with the pen number and then mark an X through any that won’t work.
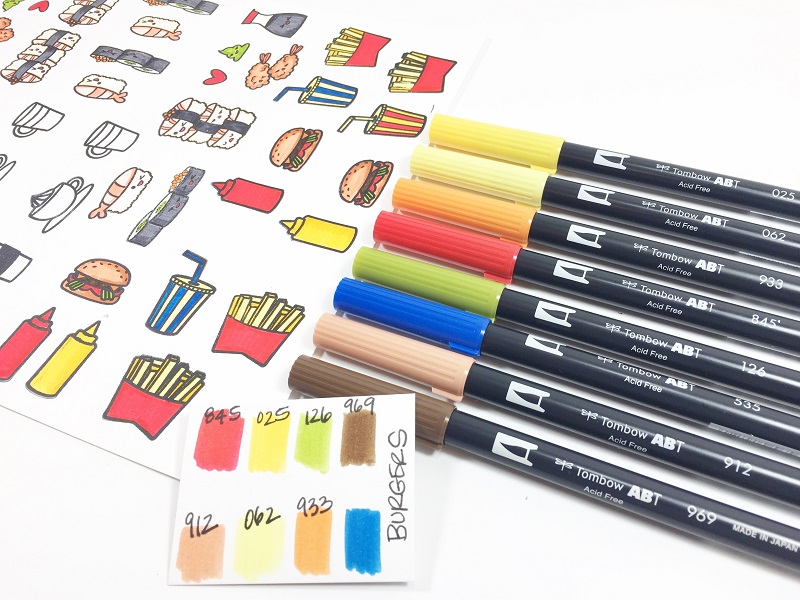
For the Burger Night images I repeated the step above and selected Dual Brush Pens 025, 062, 912, 933, 126, 969, 845 and 535.
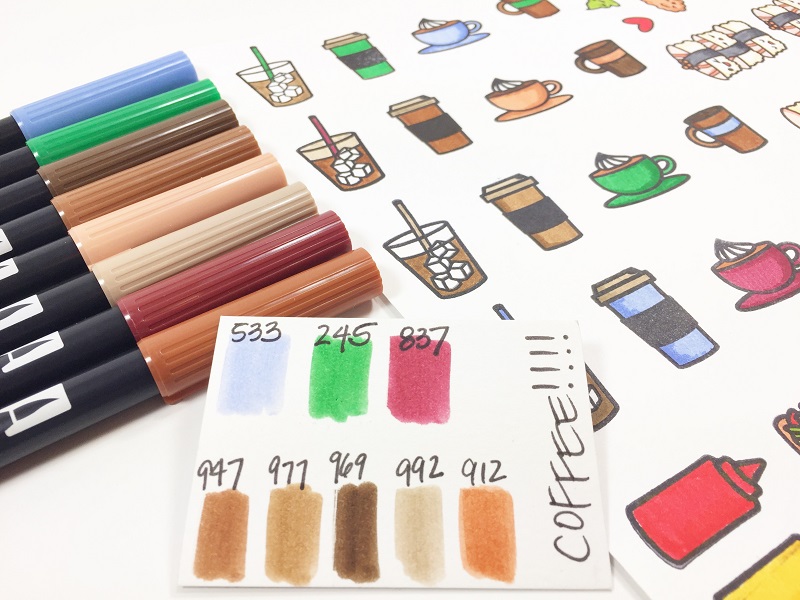
For the Cuppa Coffee images I selected Dual Brush Pens 533, 245, 837, 912, 947, 969, 977 and 992. Play around with the colors until you get the combination that works for you. I tried the green and the blue, but settled on the burgundy color to accent the coffee images.
Step Four: Assembling
Create watercolor backgrounds for the lunch notes by scribbling different color combinations of Dual Brush Pens on Strathmore 90 lb. Watercolor Paper, blend slightly with clean water and a large paintbrush. Set aside to dry. Fussy cut the images you are going to use on your punny lunch notes with a small pair of sharp scissors.
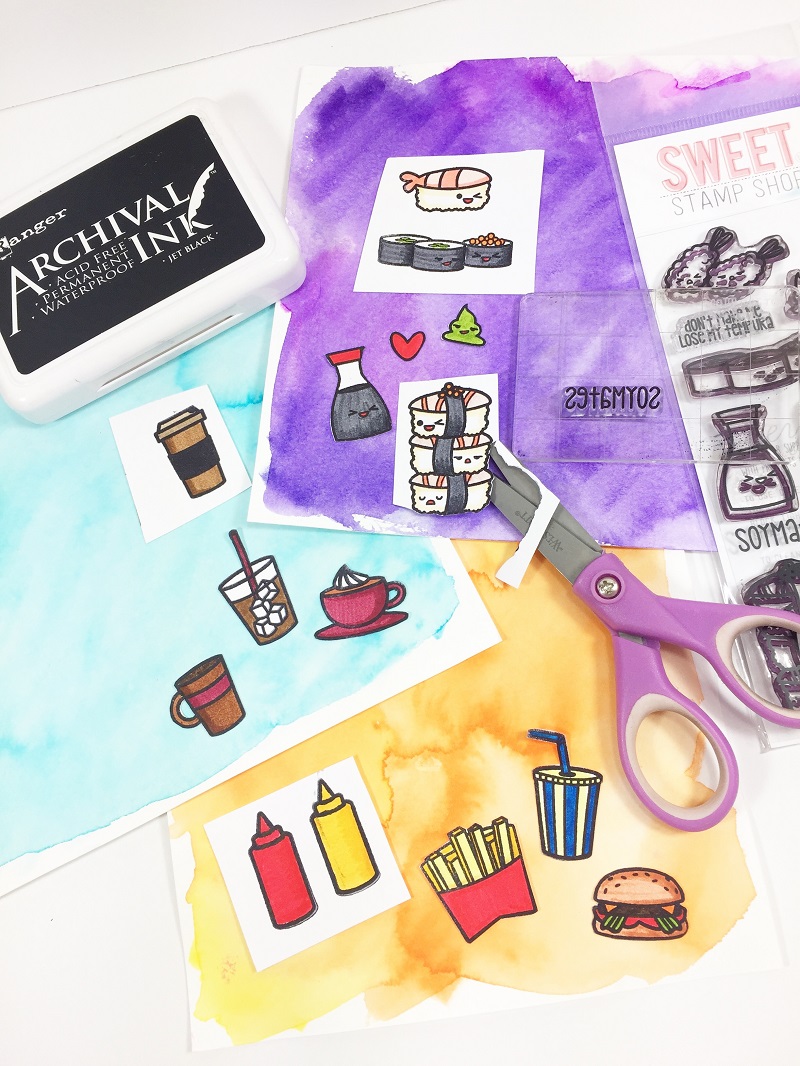
Once dry, cut the watercolor paper into 3″ by 3″ squares and the coordinating colored cardstock into 3.5″ by 3.5″ squares. Attach with Xtreme Permanent Adhesive. The watercolor paper is heavy and since the Xtreme is 5 times stronger than regular adhesive, it will hold tight! Use Tombow Foam Tape to give dimension to the main images and Xtreme to attach the smaller images.
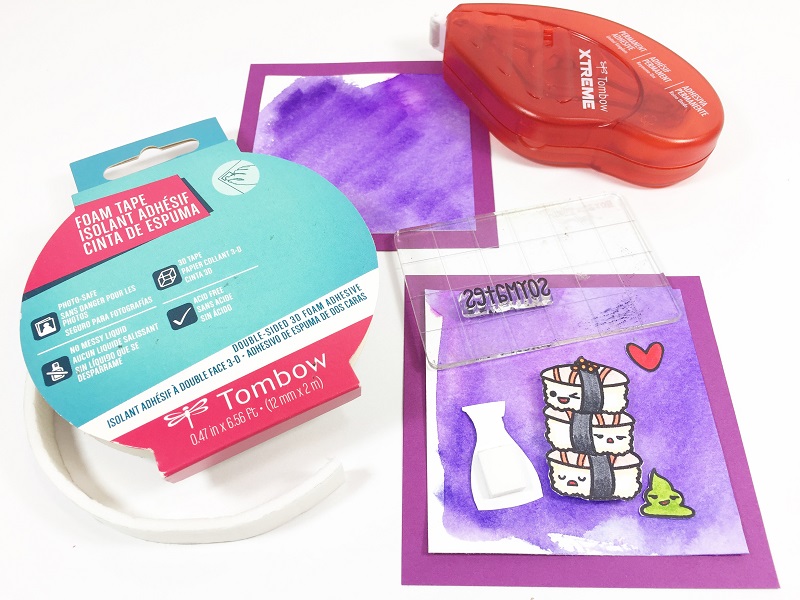
Step Five: Embellish
Use a combination of stamped and hand lettered words to complete the punny message on your lunch notes. I used the Fudenosuke Brush Pen, Soft Tip to add the hand lettered words to the stamped words. The sentiments that come with the Sweet Stamp Shop sets make the humor pretty easy!
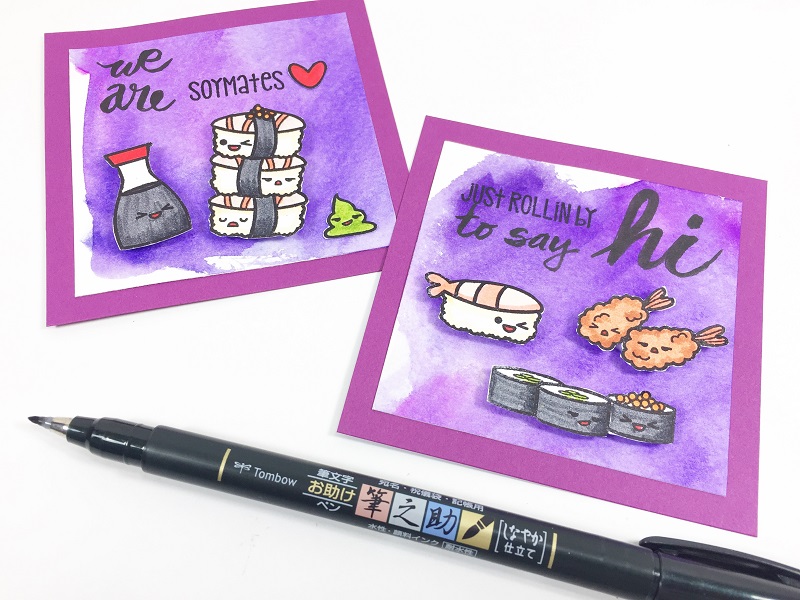
I just LOVE the combination of the thin lines from the MONO Drawing Pen 05 with the thick lines of the Fudenosuke Brush Pen Soft Tip. I duplicated the font from the stamp sets in my own hand printing to complete the punny sentiments.
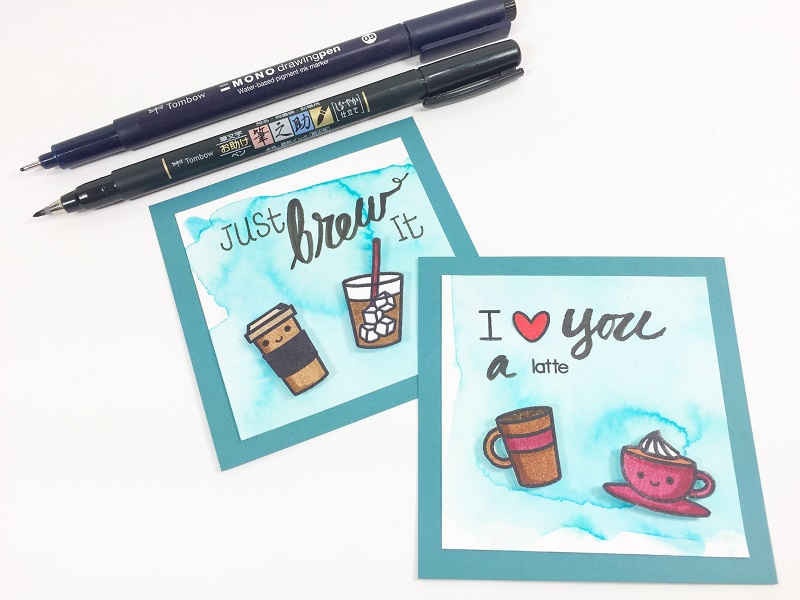
Here’s a quick tip if you want to use only part of a stamped sentiment – cover the part you don’t want to ink with tape, ink, then carefully remove the tape and stamp on your project.
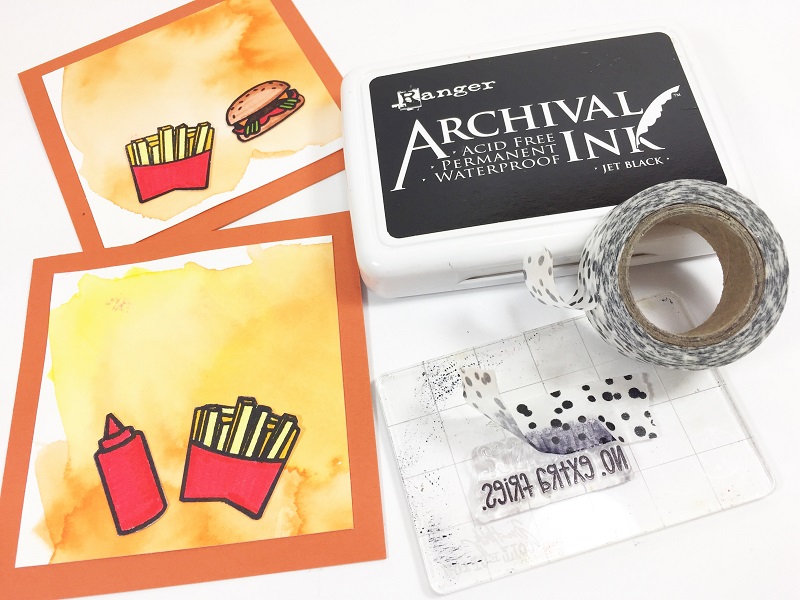
I hope that you have enjoyed my Lunch Notes 3 Ways and that you will use my project as a jumping off point to showcase YOUR Tombow creativity. For even more inspiration, check out Dani’s Lunch Notes HERE, Lauren’s SSS Organizing Tips HERE and Smitha’s SSS Cute Tag HERE.
Follow @tombowusa and @sweetstampshop on Instagram for tons more inspiration! Tag #sweetstampshop and #tombowusa on social media so we can see what you have created!
Thanks for stopping by!

These are so cute, Beth!!
These are sooooo adorable, Beth! I want to go back to school just to receive these awesome notes. I would definitely look forward to having lunch everyday knowing that I had these to read. <3
These little notes are truly adorable!! And it seems so simple to do thanks to your great explanations.