Hi crafty friends! Dani from @popfizzpaper here today sharing a crafty handmade card tutorial. It’s National Craft Month, so what better way to share your craftiness with your friends than by sending them a cute card! Tombow makes the best adhesives, so today I’m sharing 3 of my favorites with you and how you can use them in your own card making. I even have a full process tutorial video below this post if you want to see my tips in action. Let’s get started!
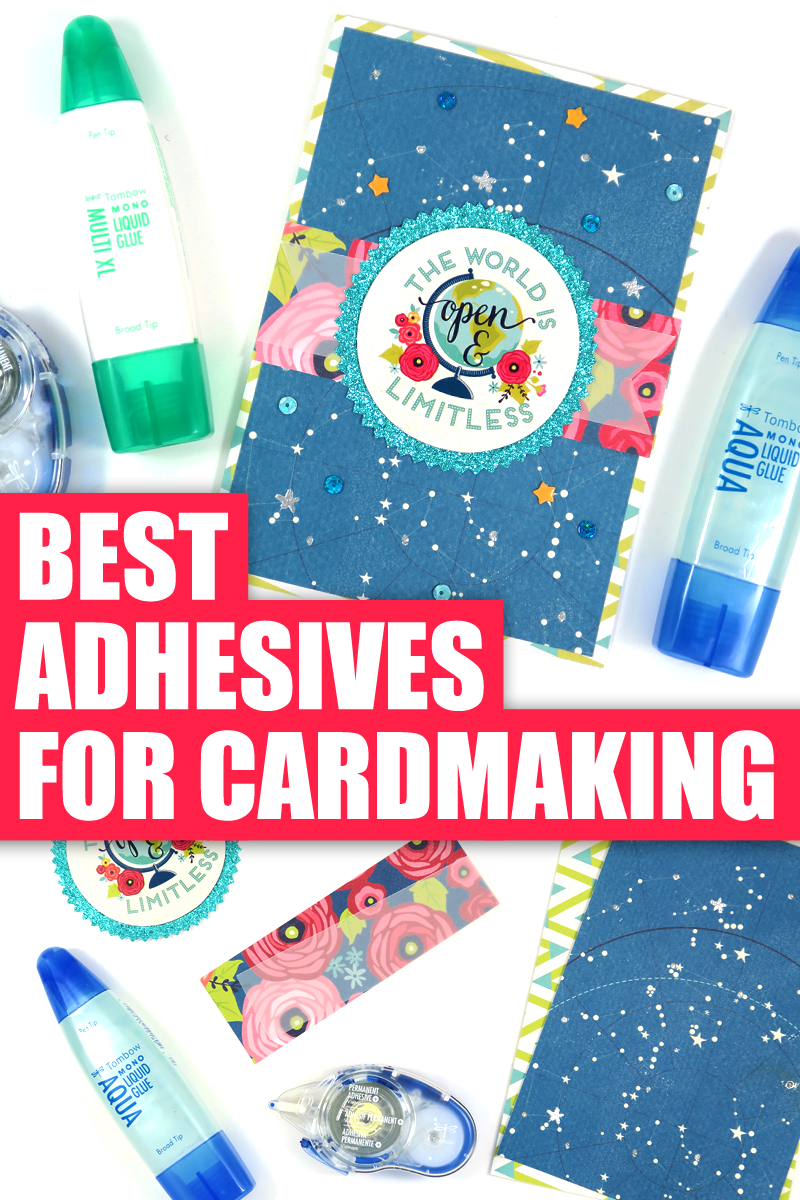
SUPPLIES:
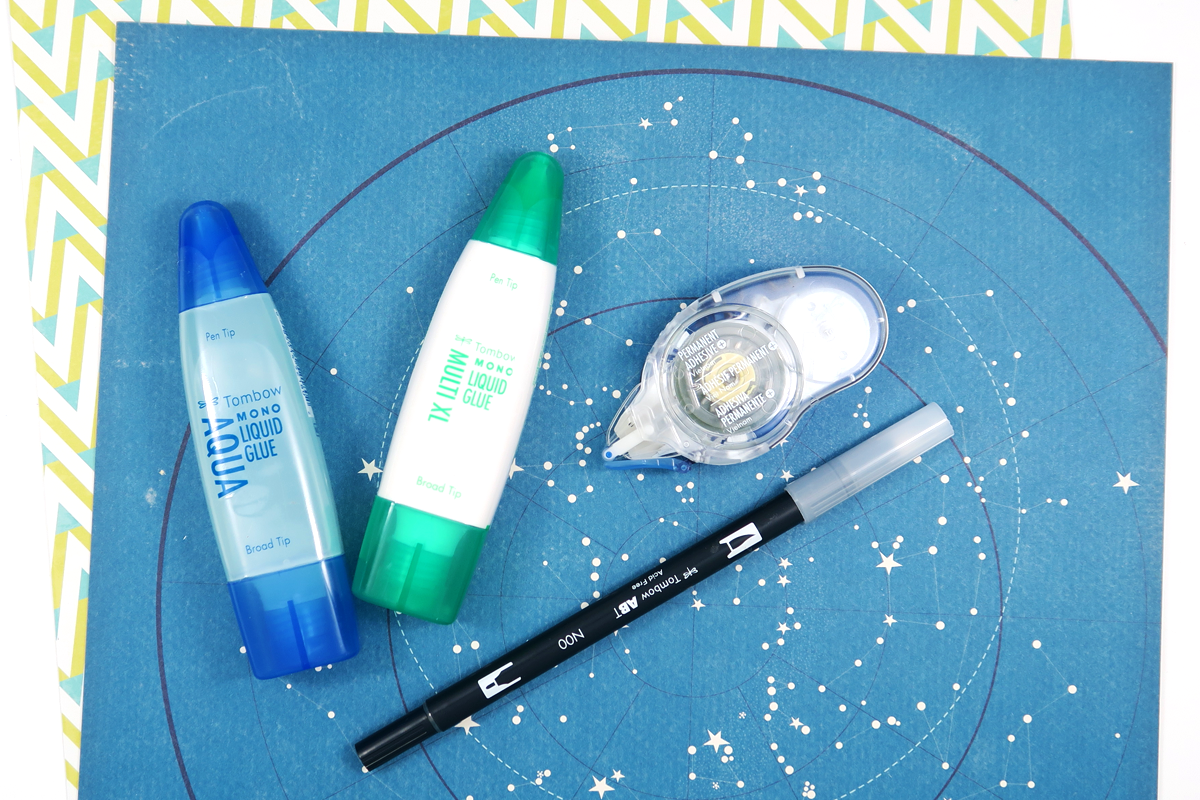
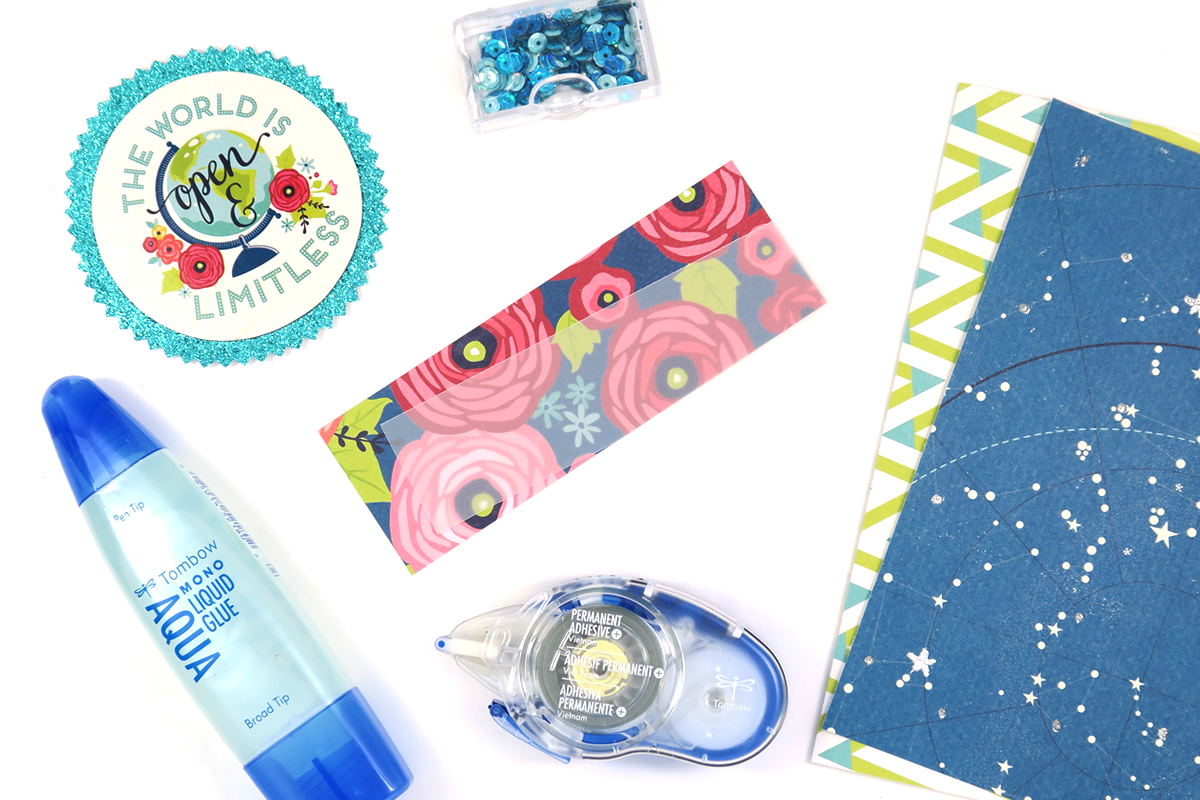
- Tombow MONO Multi XL Liquid Glue
- Tombow Colorless Blender
- Scrapbook papers
- Scoring board and bone folder
- Heat embossing powder
- Heat tool
- Tombow MONO Adhesive + Permanent
- Tombow MONO Aqua Liquid Glue
- Embellishments like stickers, sequins, etc
CREATE YOUR CARD BASE
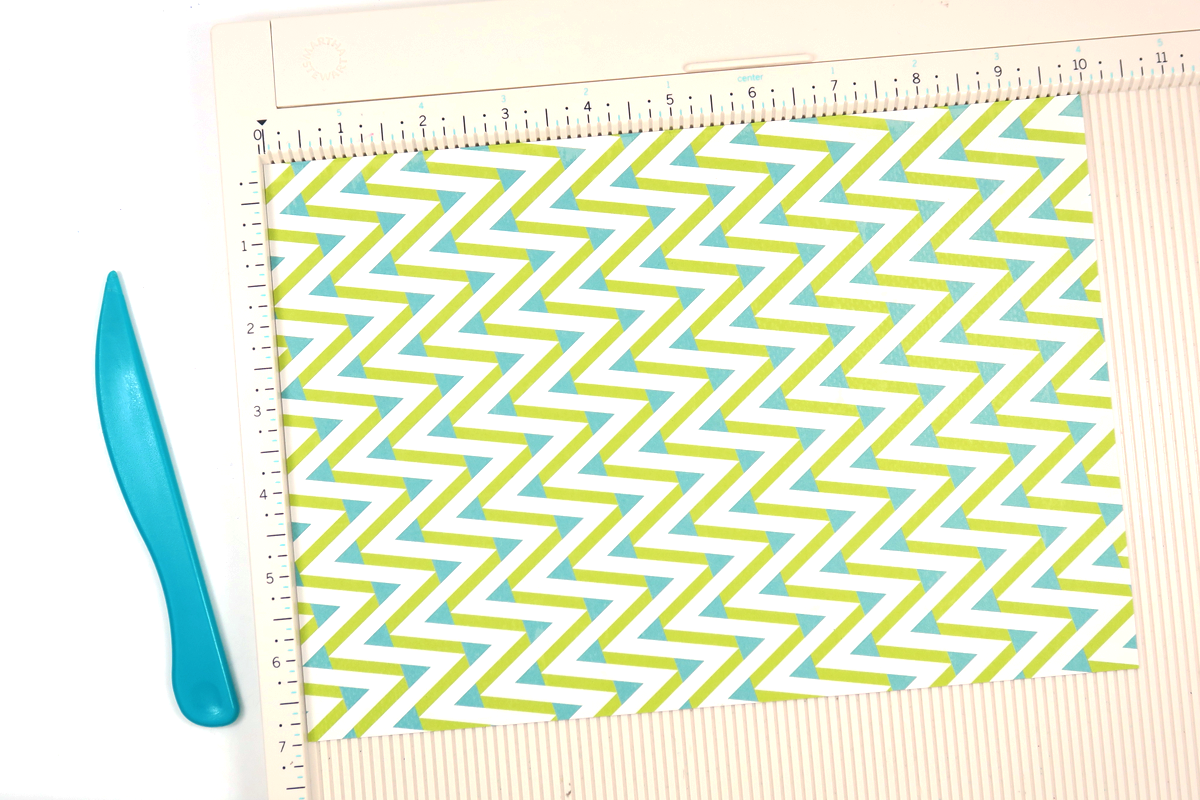
Cut down a piece of scrapbook paper to 10″ x 7″. With the 10″ side at the top of your scoring board, score at the 5″ mark. Fold in half and use the bone folder to create a nice crease. This is the base of our card.
TOMBOW MONO MULTI XL LIQUID GLUE
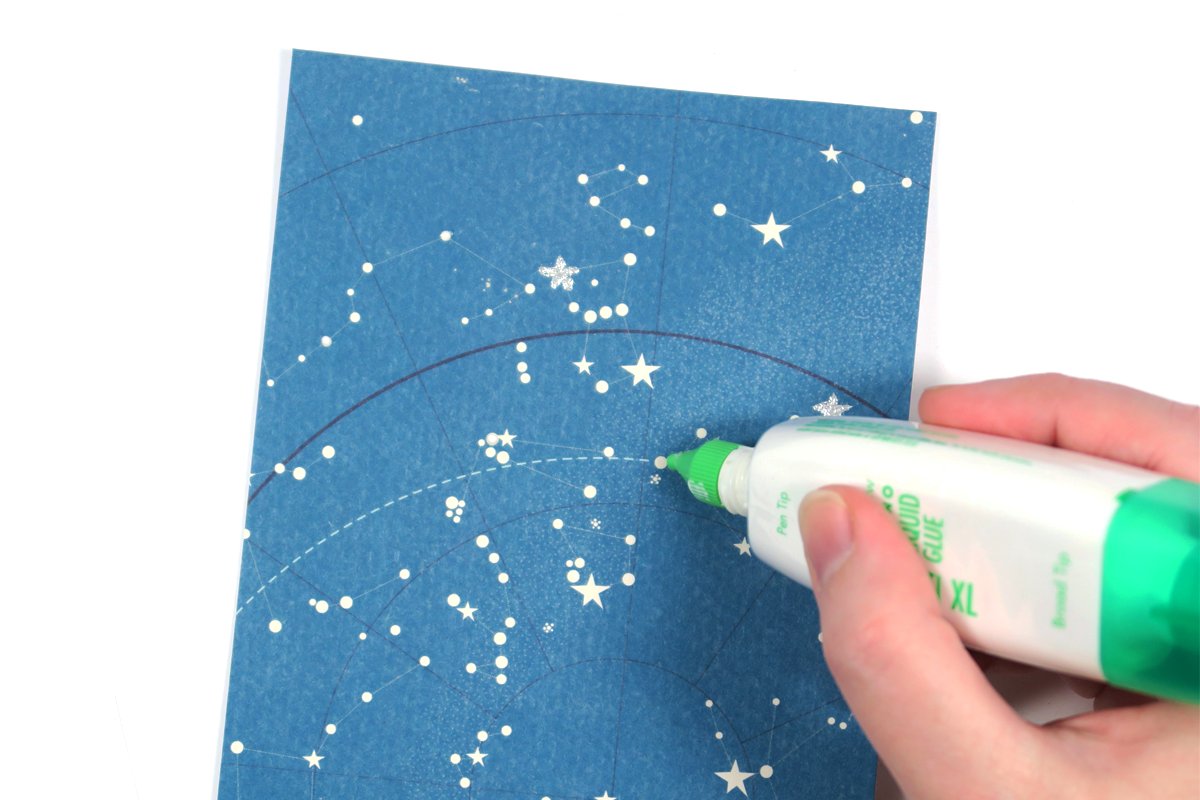
This adhesive is my favorite for embossing! It stays tacky, even after drying down, so you have plenty of time to emboss details on the front of your cards. (Don’t worry, once you heat set it with embossing powder, it won’t be tacky anymore!) Let me share a couple of ways to use it on this panel for the front of the card! First, add a dollop of the MONO Multi to a scrap piece of paper, then roll the brush end of a Colorless Blender into the adhesive, coating it well. Dab off the excess, then get to painting or lettering on your card. Make sure set aside your Colorless Blender for future embossing projects!
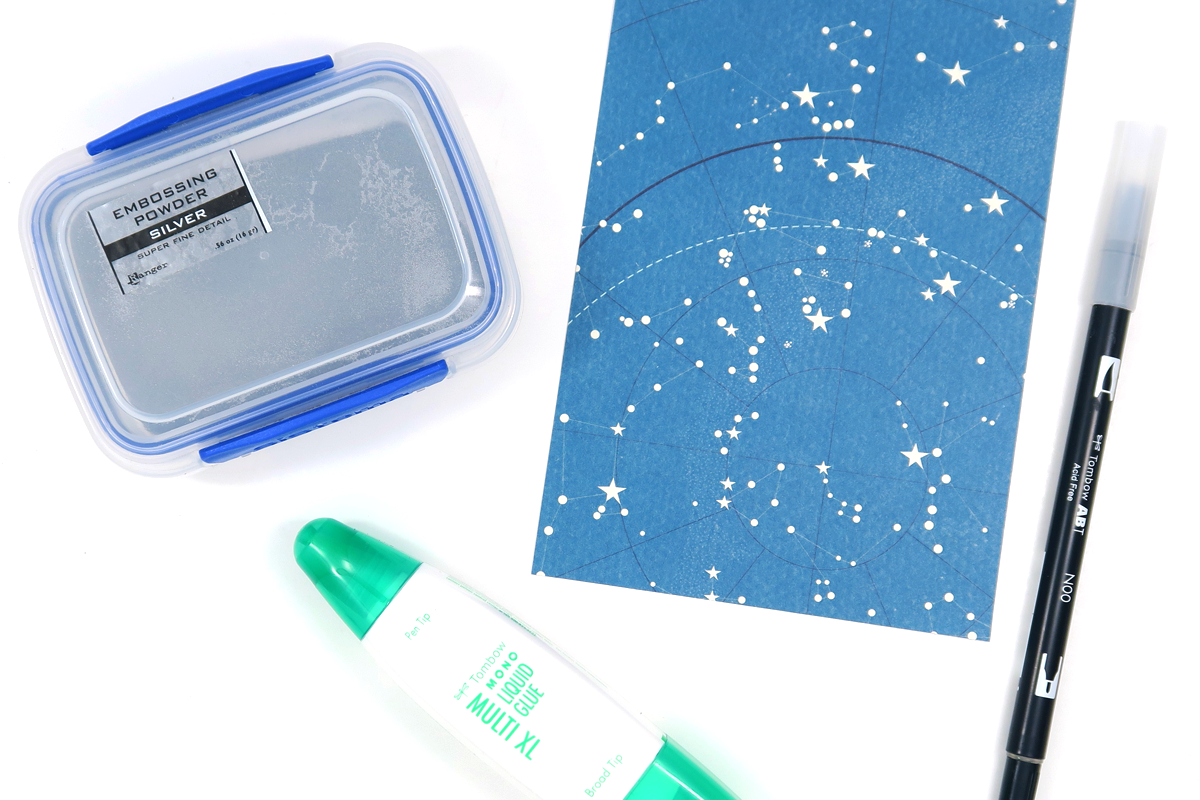
For my card today, I first added glue to some of the star shapes, then heat set some silver embossing powder on top. Gotta love sparkly silver stars, y’all! Next, I added little dots of the MONO Multi to some of the constellations, then repeated with more silver heat embossing. I like how this technique can add either a subtle sparkle or a big punch of shine to cards. The MONO Multi is really versatile and one of the best adhesives for card making.
TOMBOW MONO ADHESIVE+ PERMANENT
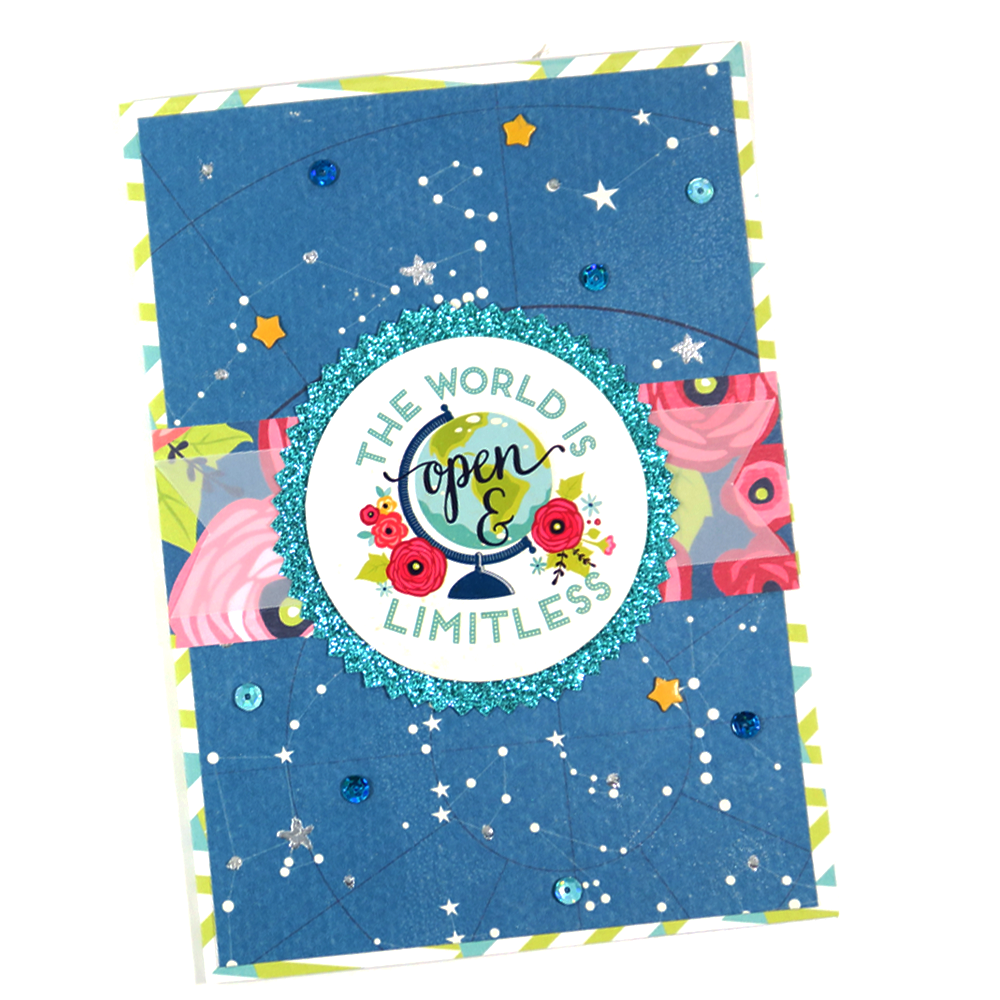
This permanent adhesive roller is perfect for assembling card layers! First, apply some of the MONO Adhesive+ to the back of your front card panel, then adhere the panel to the front of your card base. Next, take a strip of coordinating scrapbook paper and glue it across the center of your card to create a band. Create a vellum flag shape, then adhere that on top of the band. This will add interest and variety to your card! Lastly, apply some of the MONO Adhesive+ to the back of a large chipboard sticker, attach to glitter paper (yes, glitter paper!), then cut into a medallion shape. Once the medallion is adhered on top of the layered strips of paper, we’re almost done!
TOMBOW MONO AQUA LIQUID GLUE
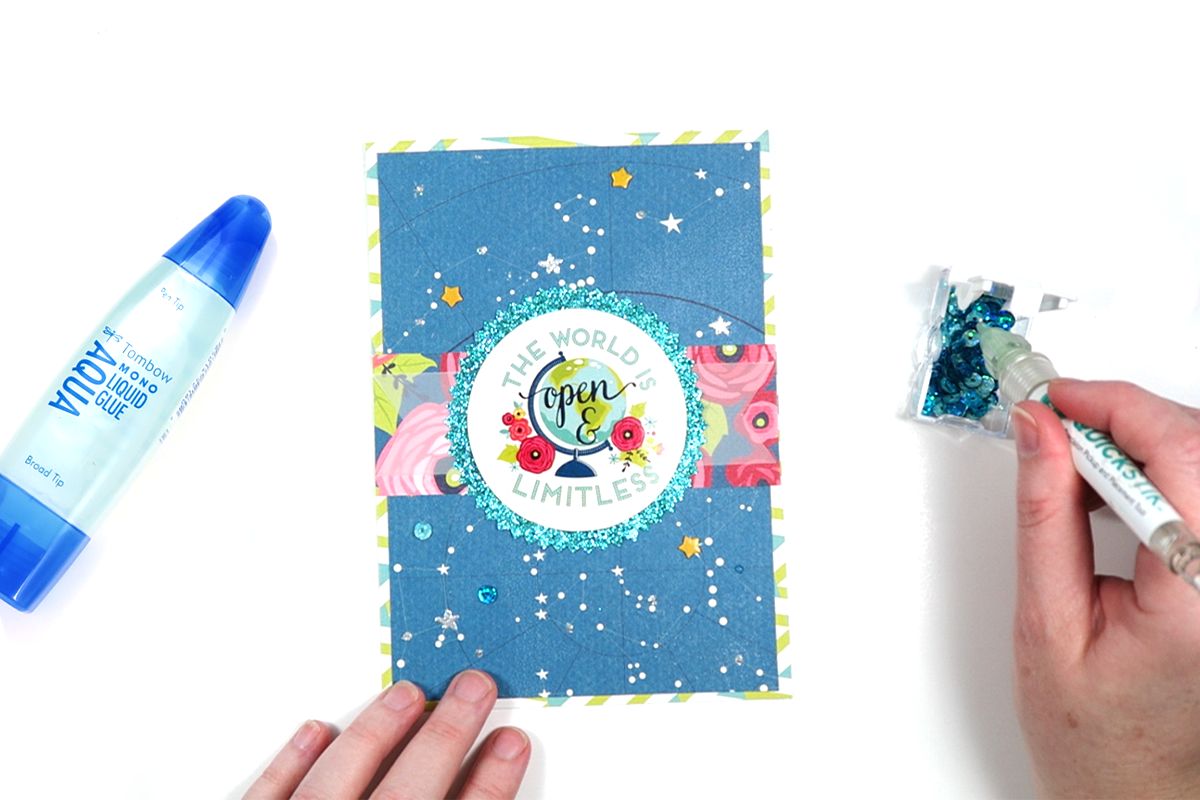
Hands down, this is one of the very best adhesives for gluing down embellishments! It works wonders keeping chipboard, wood veneer, and plastic pieces in place, but today I’m using it to glue shiny blue sequins to the front of this card. Drop little dots of the MONO Aqua Liquid Glue on the card front, then apply a sequin on top of each dot. Finally, set aside to dry and you can bet those little guys won’t budge in the mail. The best part about this adhesive is you can easily wipe off any excess and it dries fast and clear. Love it!
Thank you so much for following along with my tutorial today and learning about the best adhesives for card making! Make sure to check out the full process video of this tutorial below, and if you give it a try for yourself, please tag me @popfizzpaper on Instagram – I would love to see! Want more card making ideas? Definitely check out these 5 Easy Tricks for Card Making by Jennie and these sparkly card ideas using the MONO Multi Glue by Smitha. See you next time!
Pingback: How to Use Irojiten Colored Pencils for Handmade Cards - Tombow USA Blog
Pingback: Handmade Yellow Cards 2 Ways Using Tombow Adhesives - Tombow USA Blog
Pingback: Spiderman Greeting Card with TombowUSA - Tombow USA Blog
Pingback: Simple Cardmaking Tips For Beginners - Tombow USA Blog
Pingback: How to Heat Emboss Hand Lettering - Tombow USA Blog
Pingback: DIY Magical Birthday Card - Tombow USA Blog