Hi planner friends! Dani from @popfizzpaper here today with a tutorial for creating travelers notebook shaker charms! These are fun to make and easy to personalize so it matches your TN. I even have a full process tutorial video below this post if you want to see the steps in action. Let’s get started!
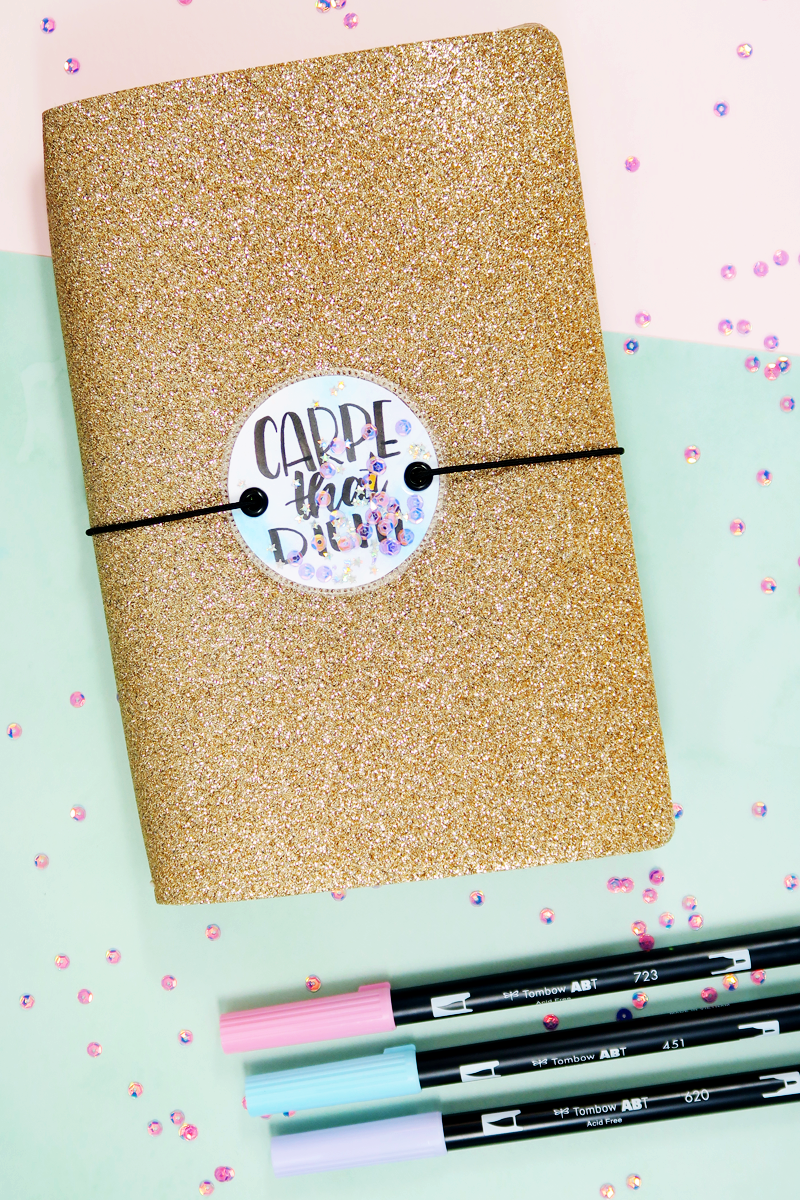
SUPPLIES:
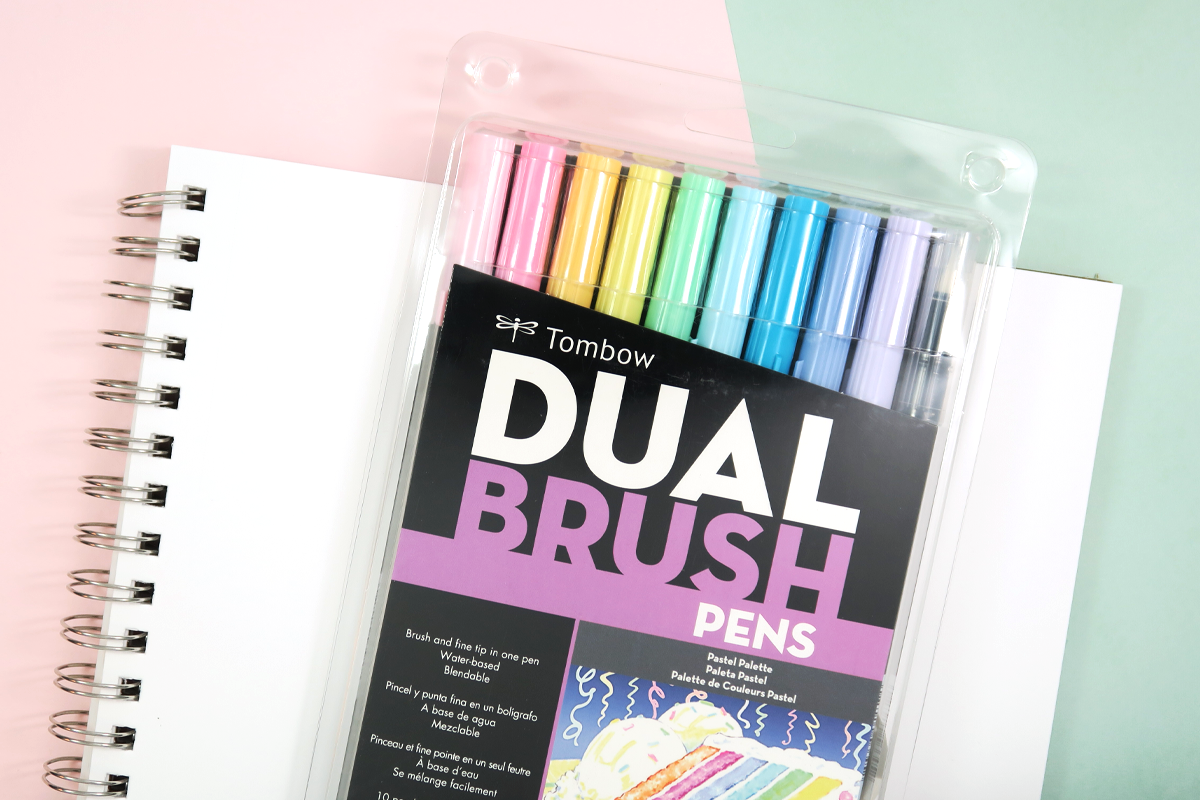
- Tombow Dual Brush Pens in the Pastel 10-pack
- Tombow Fudenosuke Brush Pen
- Mixed media or watercolor paper
- Plastic bag
- Fusing tool
- Pocket page
- Scissors
- Sequins and shaker bits
- Eyelets
- Eyelet setting tool
CREATE THE BACKGROUND
All of the colors in the Tombow Dual Brush Pastel 10-pack are perfect for Spring and I’m so excited to be using them today – below I’m using colors 062, 761, and 723.
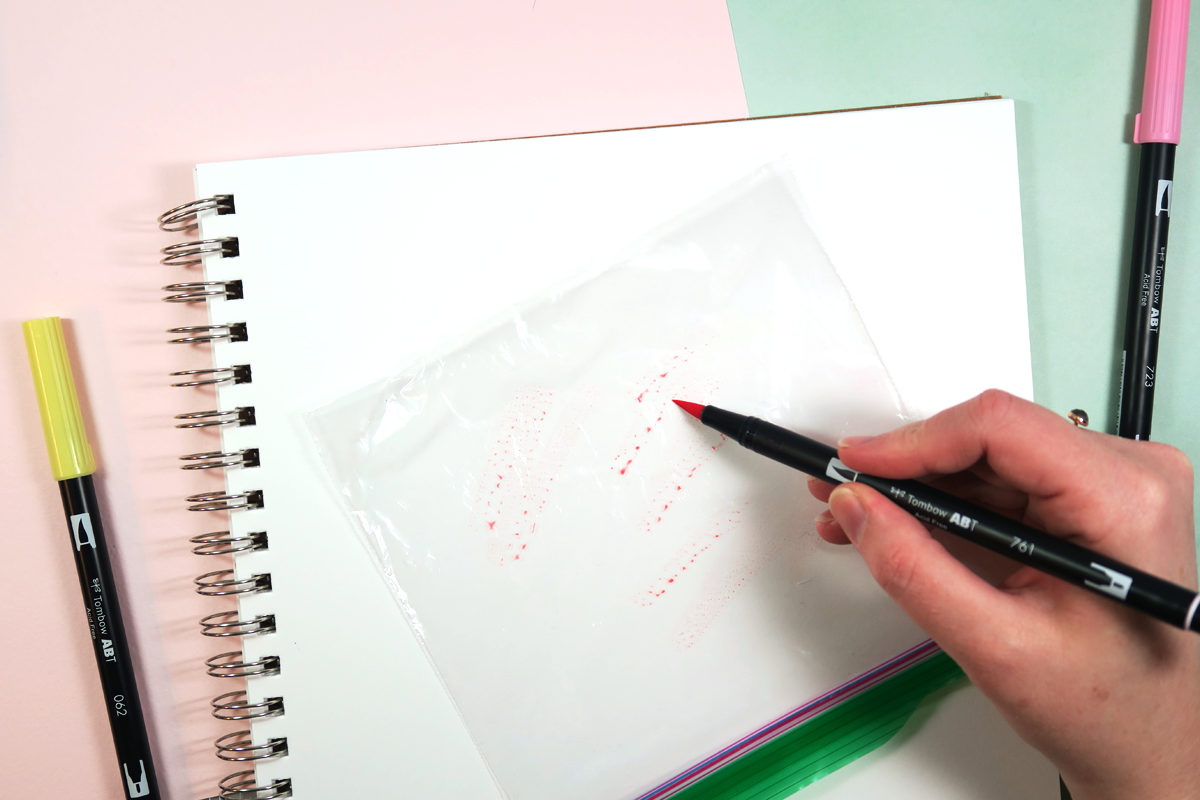
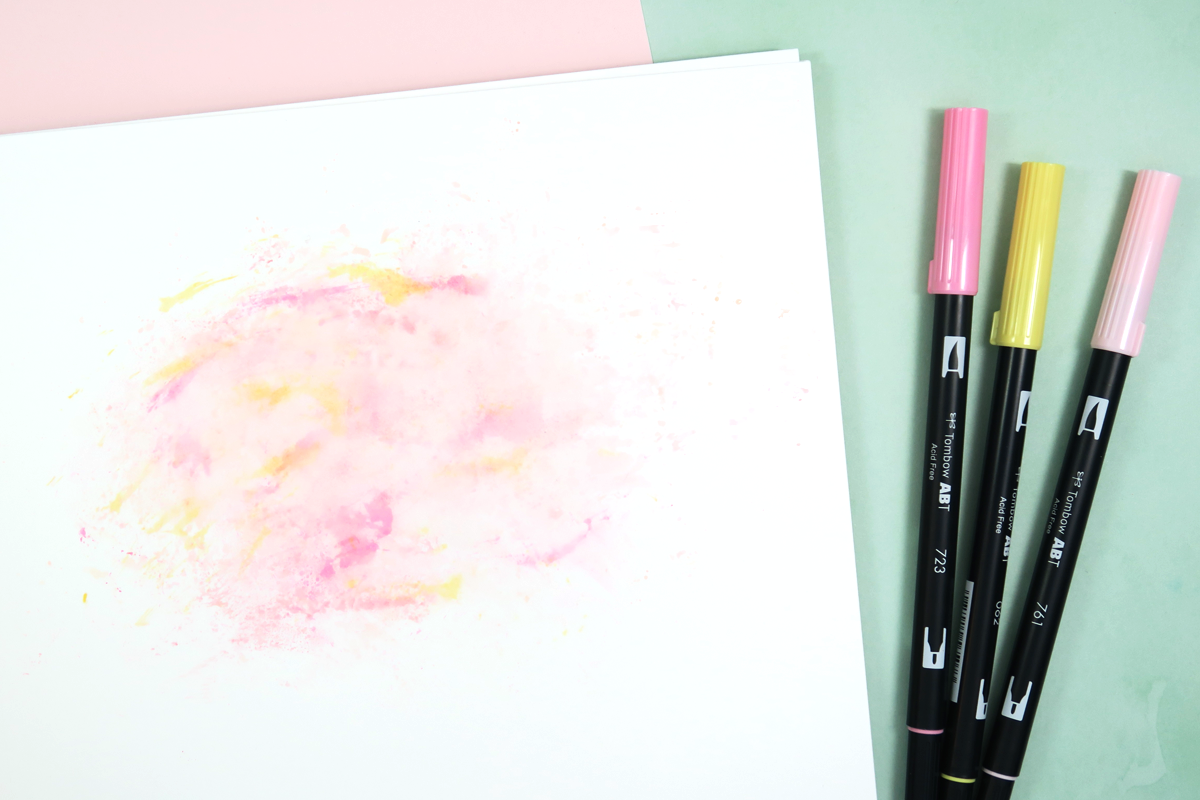
First, apply Dual Brush Pen ink to the plastic bag. I didn’t spritz on any water on the colors for this tutorial, but you totally could if you want a softer wash of color. Next, flip over the bag and smoosh the color onto your paper. Repeat with the other pens, building up the color until it’s how you want it, then set aside to dry completely.
LETTER IT UP
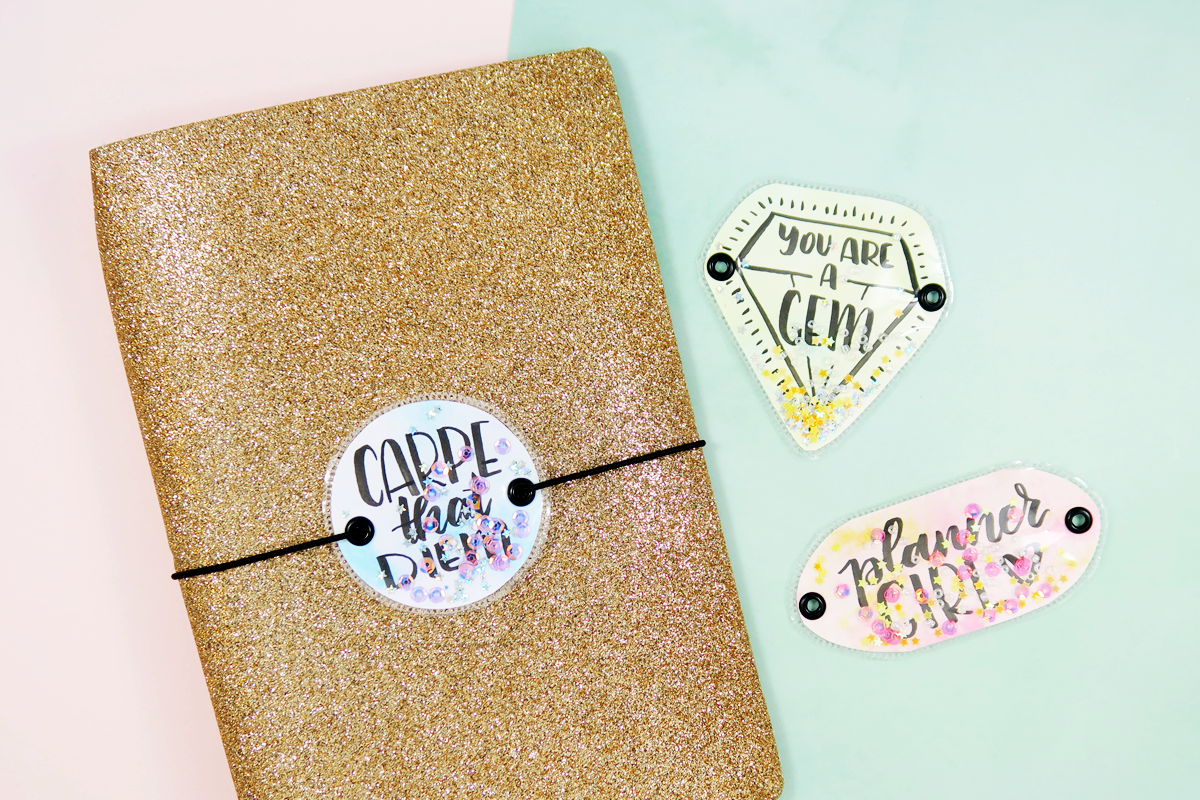
Next, grab your Tombow Fudenosuke Brush Pen and start lettering! Below I’ve written “planner girl,” but I also like “you’re a gem” and “carpe that diem.” Write whatever makes your heart happiest!

TIME TO SPARKLE
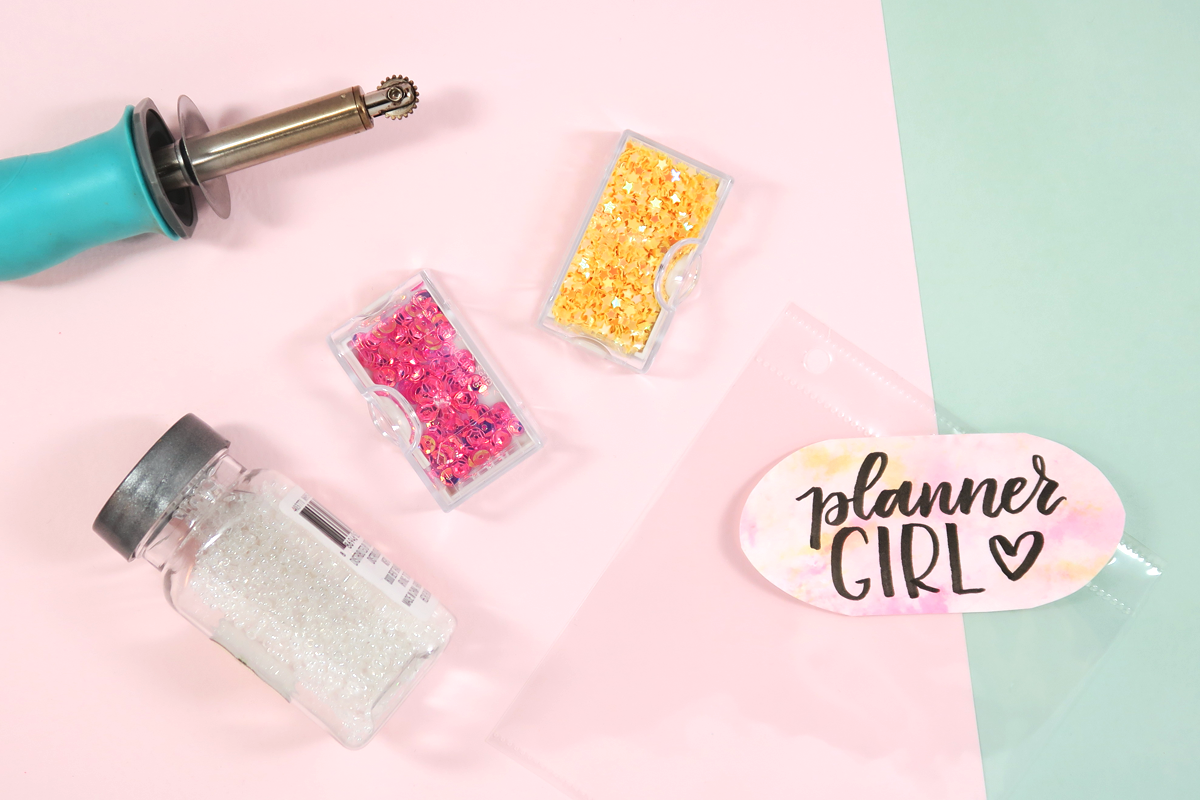
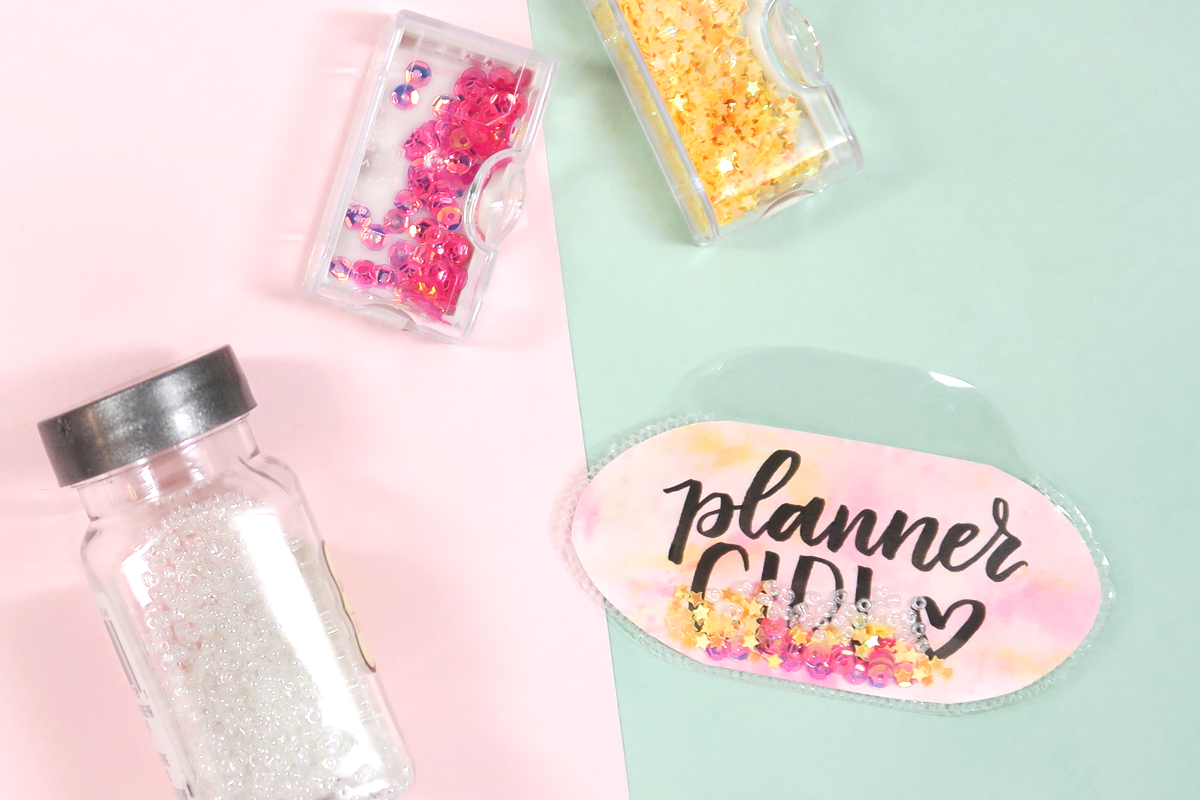
Trim around your lettering, making sure to leave room at the sides. Next, slide the cutout into a pocket page. You’ll want to run your fusing tool around the edge of your cutout, leaving about 1/4 of the length unfused for adding sparkly bits. Now start blinging things up with color coordinating sequins, beads, and glitters! For mine, I’m using clear seed beads, tiny pink sequins, and itty bitty yellow stars. Once your shaker bits are in the cutout pouch, seal up the opening with the fusing tool and trim off the excess pocket page.
FINISHING TOUCHES
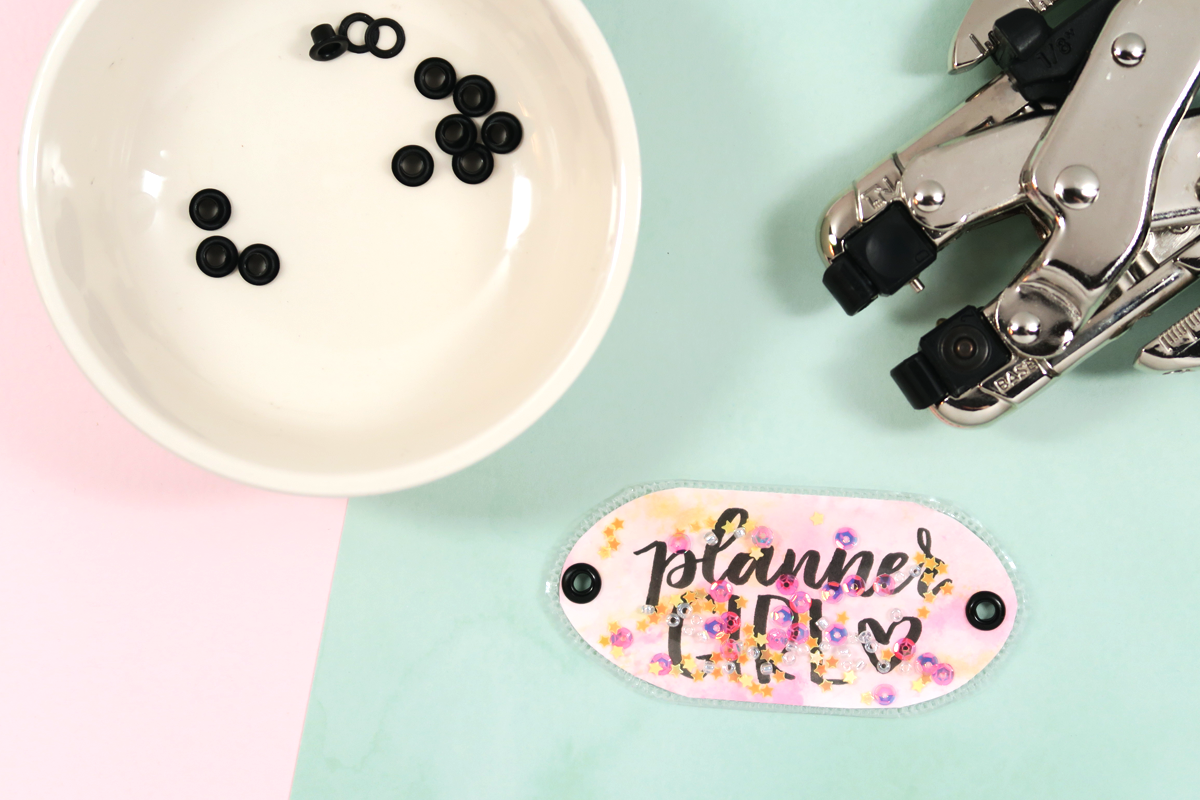
We need a way to attach our shaker charms to the TN elastic, so let’s add some eyelets! You’ll need one eyelet for each side of the charm. An eyelet tool makes this quick and easy. Punch holes, slide in your eyelet pieces, and use the tool to press the eyelet closed. Almost done!
ADD YOUR SHAKER CHARM
Finally, time to pretty up our TNs! Unknot the TN elastic, slide your shaker charm onto it, then reassemble your TN. That’s it! You can make a bunch of different shaker charms and switch them out to match your planner.
Thank you so much for following along with my tutorial today! Make sure to check out the full process video of this tutorial below, and if you make your own shaker charms, please tag me @popfizzpaper on Instagram – I would love to see! Want more travelers notebook ideas? Learn how to make your own TN inserts with Katie and check out Jennie’s tips for using scrapbook paper in your TN. See you next time!
Pingback: Travelers Notebook Nature Journal - Tombow USA Blog
Pingback: How to Easily Draw Maps in your Traveler's Notebook
The DIY tutorial on creating shaker charms for a traveler’s notebook is a wonderful way to add a personalized touch to travel memories. The step-by-step instructions provided make it seem easy and fun to create these charming keepsakes. As a student, I love to plan everything, especially when it comes to college work. So if you’re looking for assistance with academic tasks, make the needed research properly. Crafting shaker charms adds a unique element to a planner and make it more comfortable for you to use.