Hey y’all, it’s Katie here today! This week, The Tombow Design Team is creating projects inspired by famous artists. I’m obsessed with Bob Ross! So, today I’ll be showing you how to paint like Bob Ross using Dual Brush Pens!
Bob Ross is an oil painter who made his landscape painting technique famous on the art show, The Joy of Painting. With Bob’s technique and oil paints, he paints back to front. Since we’re working with Dual Brush Pens as watercolors, we’ll be working light to dark as well as back to front.
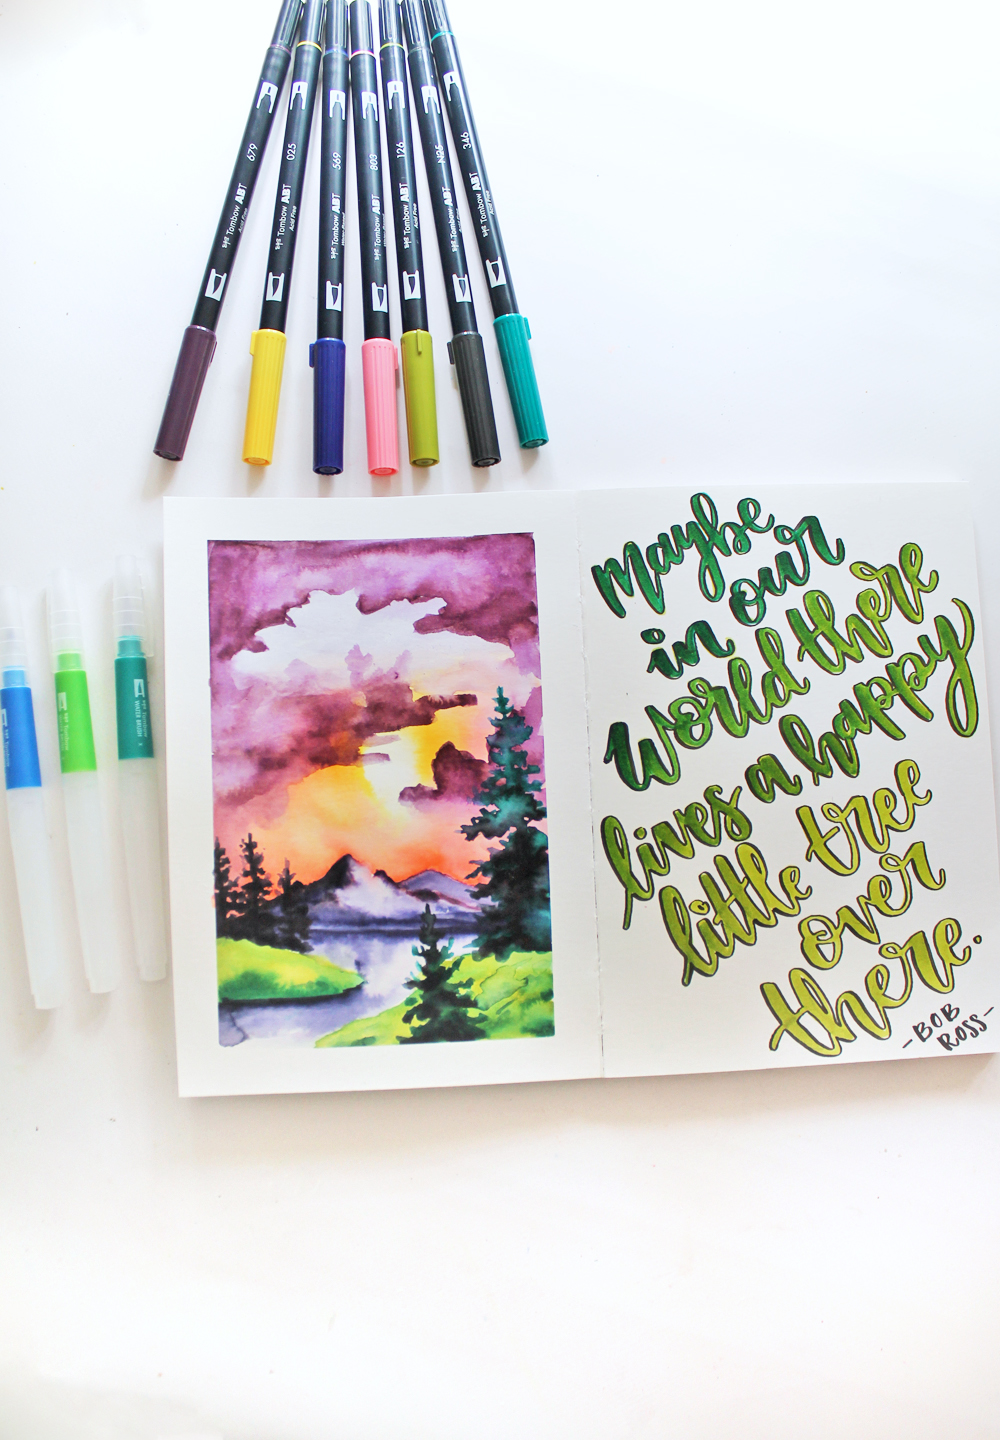
Supplies:
- Watercolor paper or journal
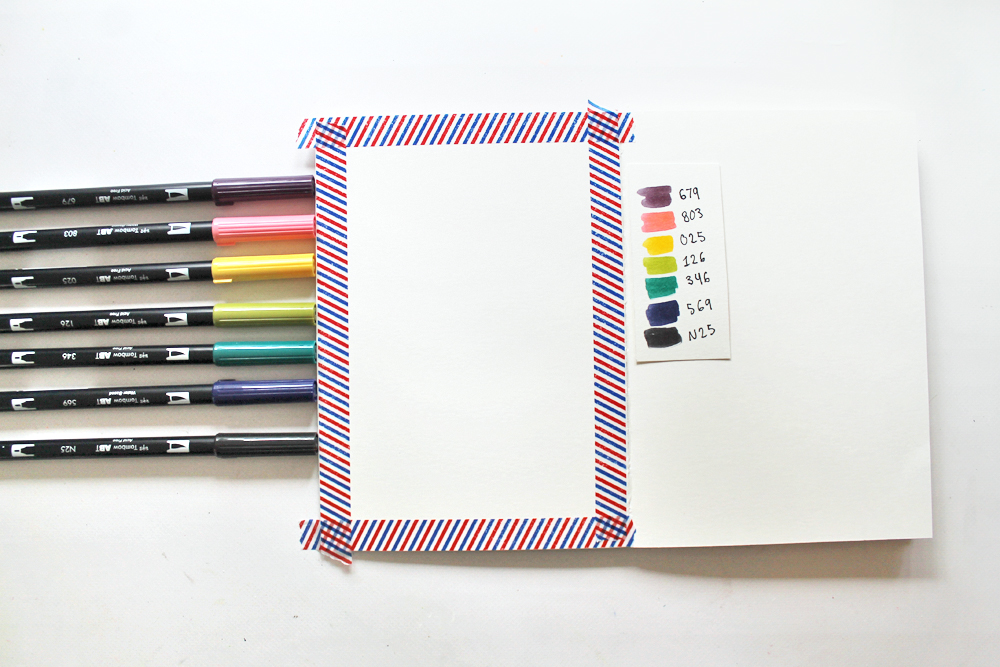
- Tombow Dual Brush Pens (I used colors 679, 803, 025, 126, 346, 569, & N25 ). The Landscape Set is also fantastic for landscapes that are more blue/green
- Washi tape
- Tombow Water Brush Pens
Step one:
Tape off the edges of your paper. This will give your painting clean and crisp lines when you’re finished.
Choose your Dual Brush Pen colors. I’m basing this painting off of Bob’s painting, Sunset Aglow. So, I chose colors inspired by the finished painting.
Step two:
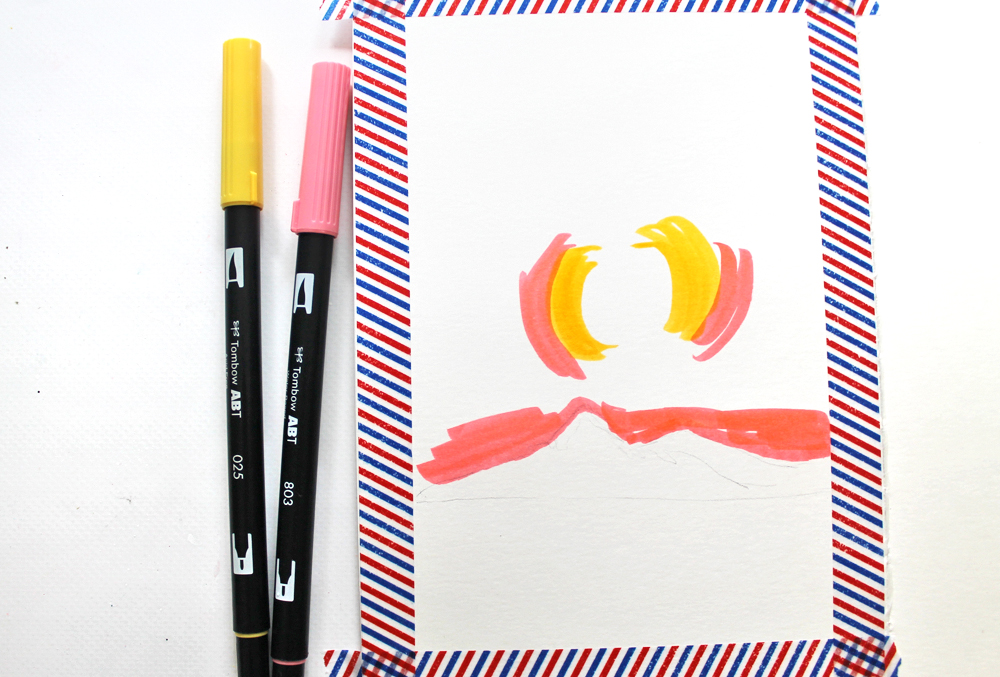
We’re starting with the lightest colors of the sky. Sketch a faint outline of your mountains so you know where you horizon line is.
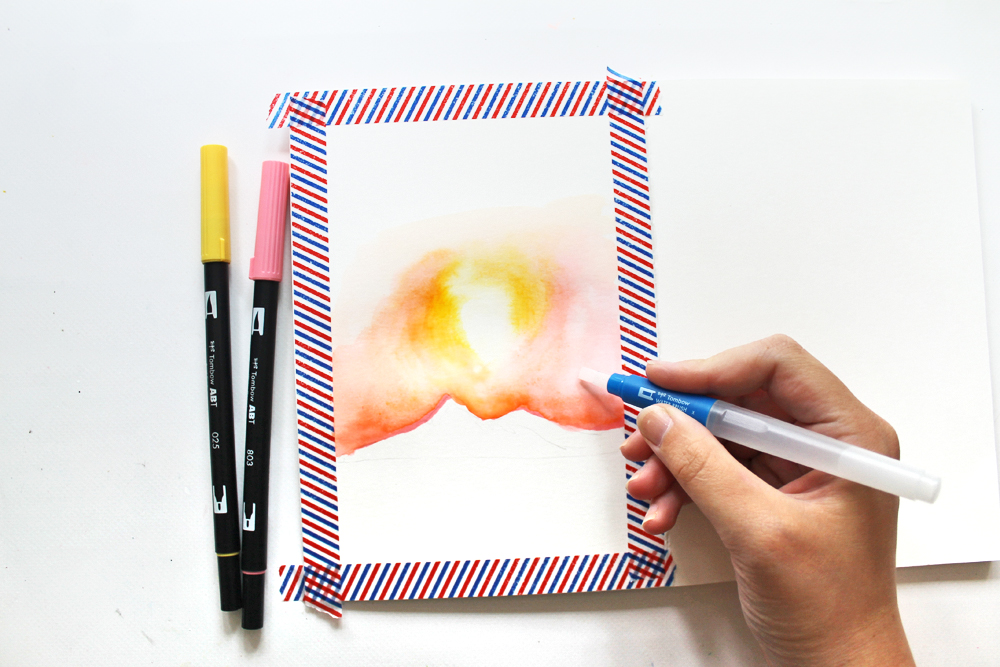
Apply a bit of color to the sky using Dual Brush Pens 025 and 803. Brush over them with the flat water brush, spreading the color across the sky. Leave the center very light for the sun. You want almost no color there. You can use a paper towel to wipe away any wet ink if you get too much saturation in your sun.
The Flat Water Brush is great for broader coverage over a larger area.
Step three:
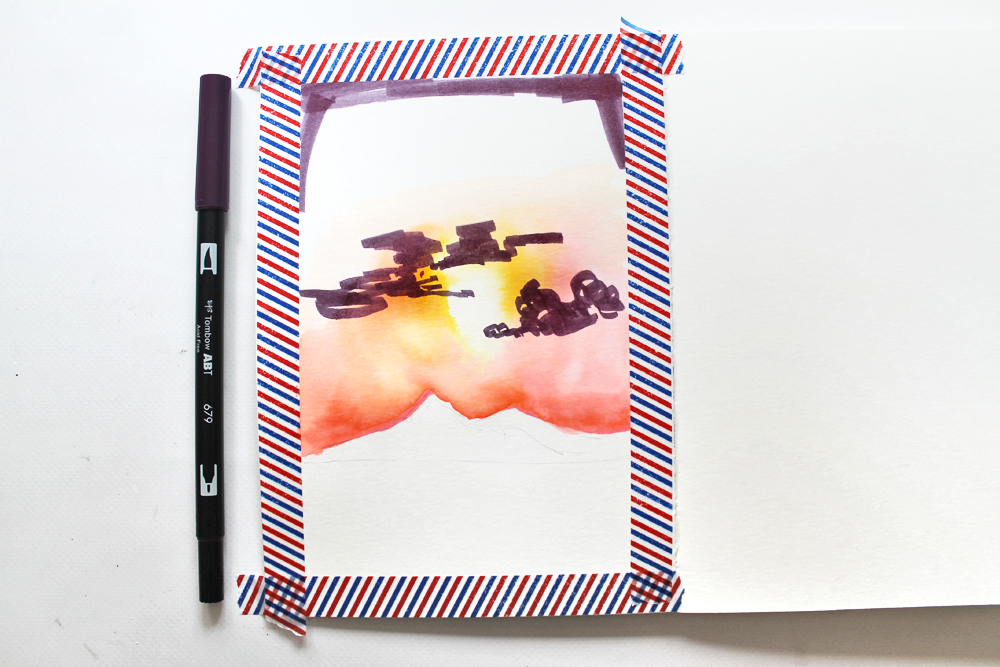
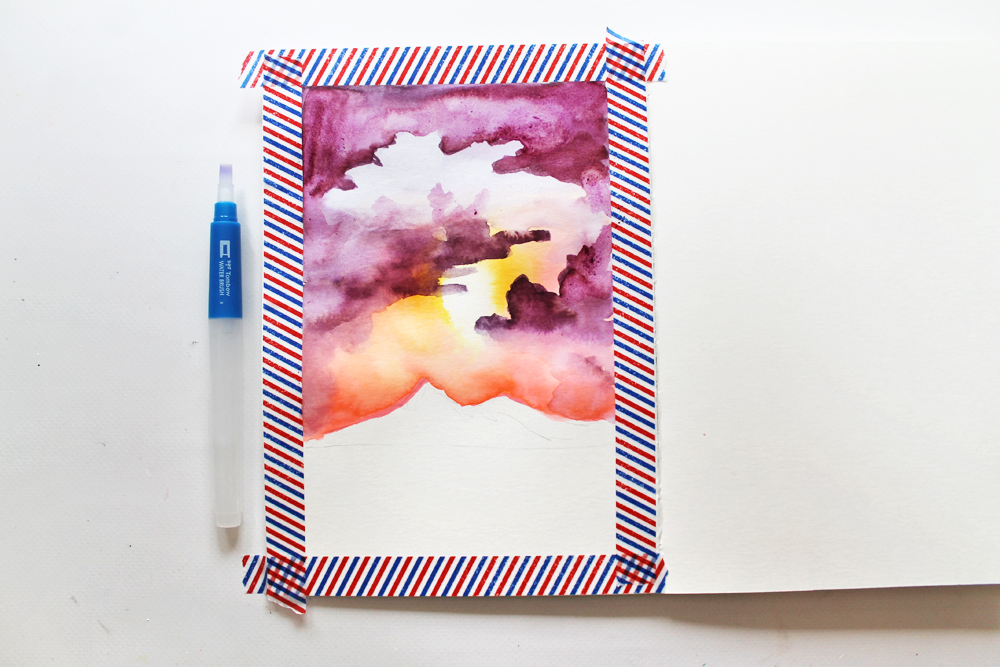
Wait for the first layer to dry. You can use a heat gun to speed up the process. Next, add on some clouds using Dual Brush Pen 679. They don’t have to be perfect clouds shapes, just some scribbles. Your next step is to brush over them with the Water Brush, blending them into the sky.
Step four:
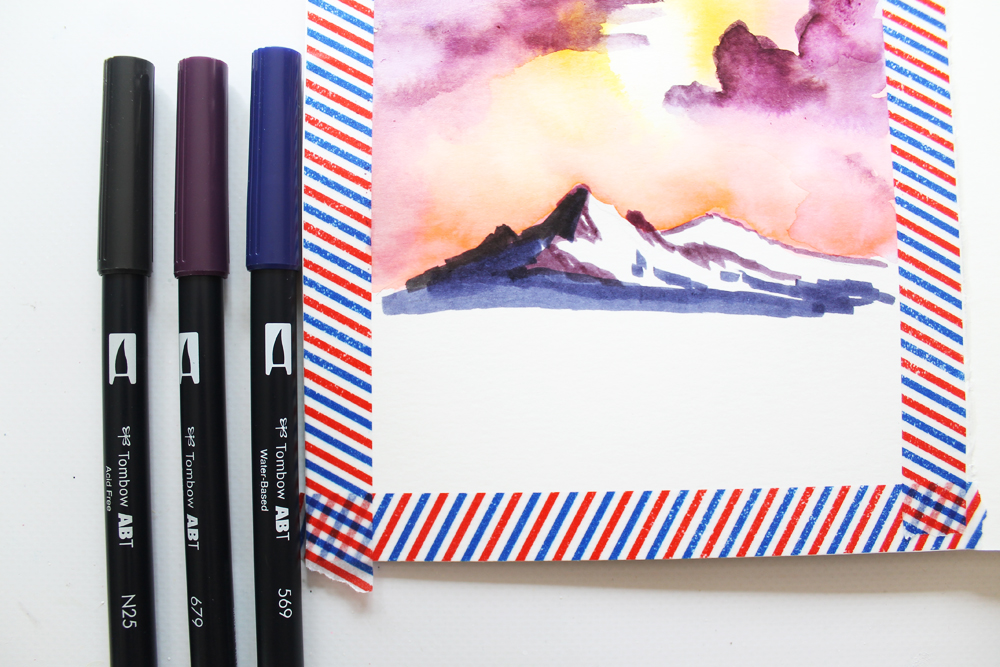
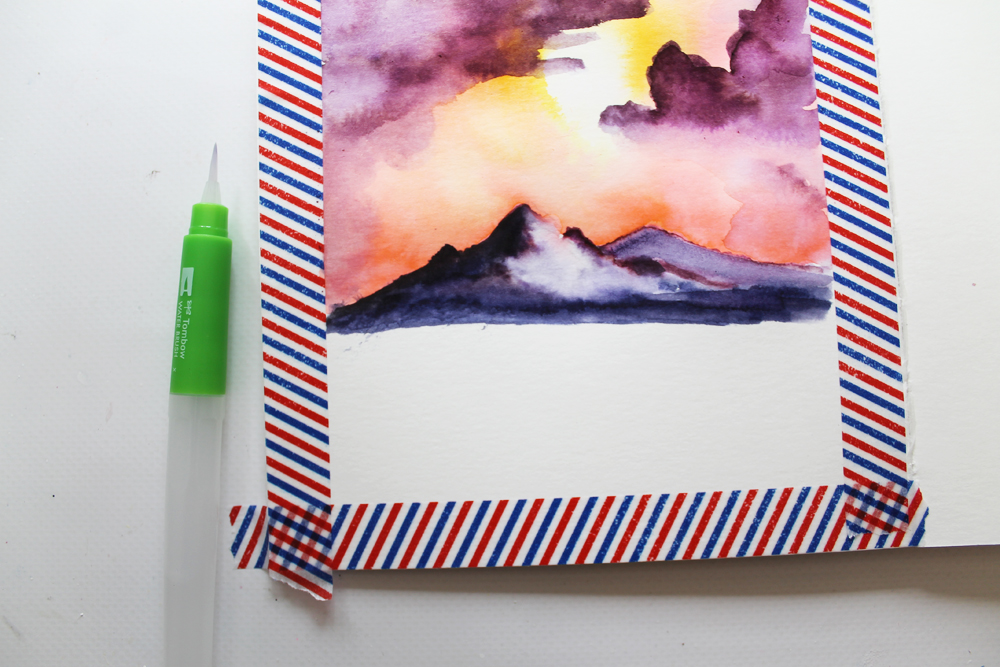
Time to move onto the horizon. Use your darker Dual Brush Pens to add shadows to your mountain. One of my favorite Bob Ross quotes is, “You are just a whisper floating across a mountain “. Make sure to leave white areas on one side of the mountain, where the light hits it.
As with all of the steps in the project, next you’ll brush over it with water to blend the colors. However, be careful not to blend it into the sky.
Step five:
Moving onto the foreground. Use the same colors as the mountain for the water. Use your lighter green colors for the hills.
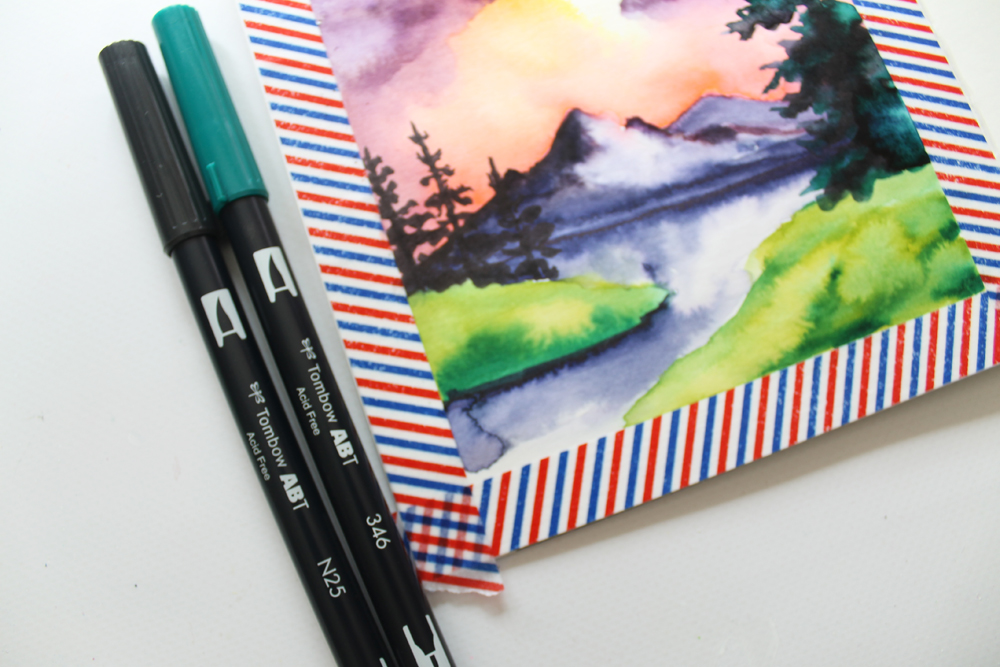
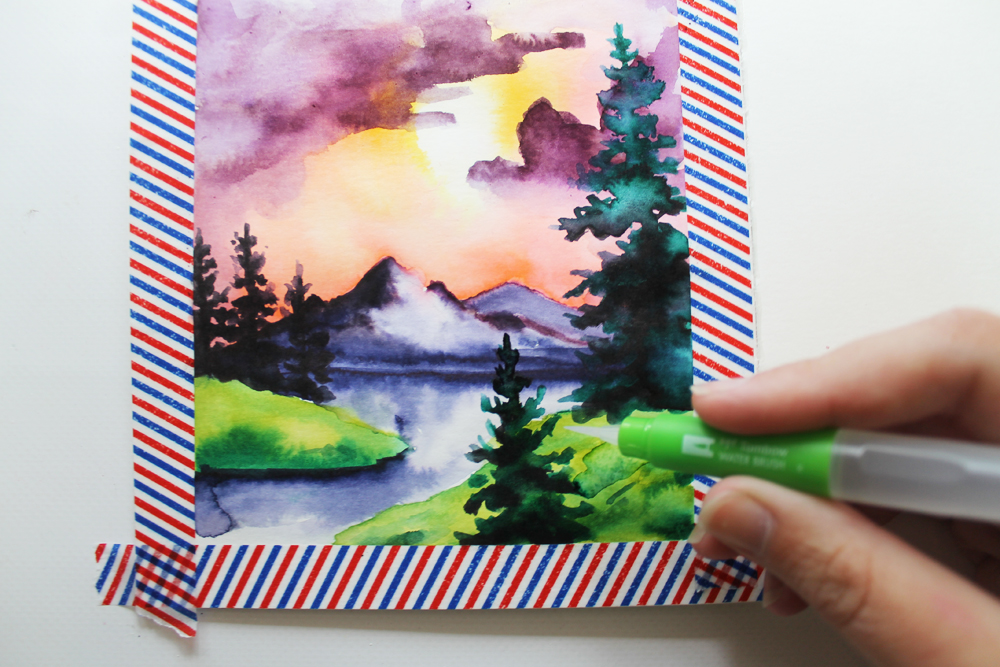
Once dry, it’s time to move onto the trees. For trees further in the distance, use N25 to sketch them out. For close trees, use 346 and N25 to add shadows.
Use the Small Water Brush. The smaller tip is handy for brushing over tiny tree branches.
Step six:
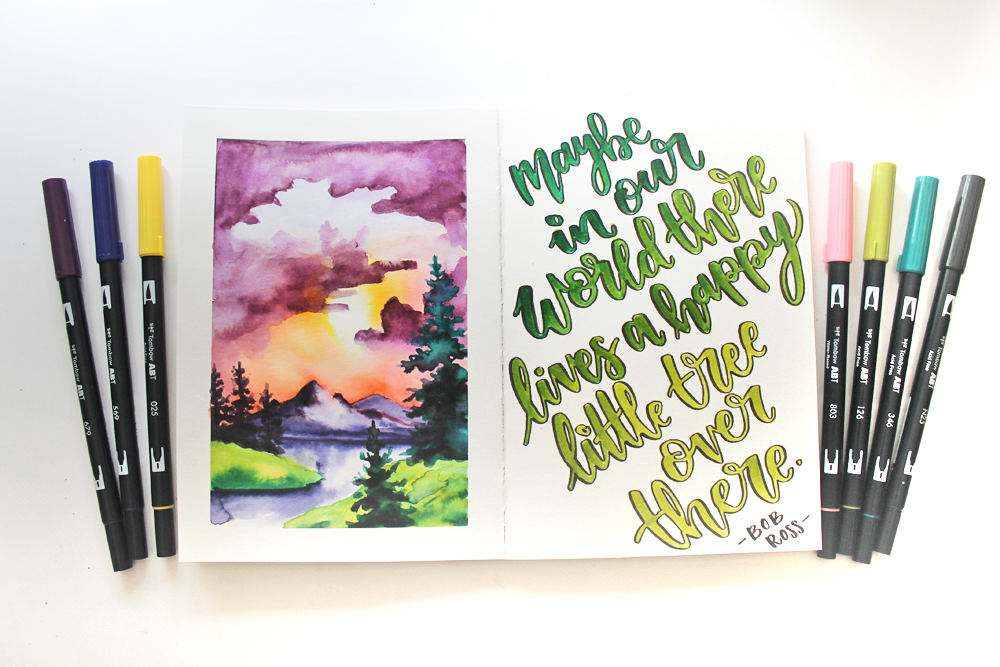
Once dry, peel back the tape to reveal your finished painting! Since this is in my journal, I hand lettered a Bob Ross quote on the right side of the spread using the same green Dual Brush Pens from the landscape.
“Maybe in our world there lives a happy little tree over there.” -Bob Ross
Do you love Bob Ross as much as I do? I mean, who doesn’t love Bob Ross?
I hope you enjoyed this tutorial. If you make your own version, we would love to see! Tag us on instagram: @studio.katie and @tombowusa .
For more landscape inspiration, check out these posts from the Tombow archives: Travel Journal Watercolor Landscape tutorial, and Easy Mountain Inspired Art You Can DIY.
I would like the name of each color on the pen , the numbers don’t help.
Pingback: Create A Lily With The New ABT PRO Markers - Tombow USA Blog
Pingback: Affirmation Cards for Sharing Art Matters - Tombow USA Blog
Pingback: Disney Inspired Art With ABT PRO Markers - Tombow USA Blog
Pingback: DIY Tree of Life Watercolor Painting - Tombow USA Blog
Thank you this guide! I have watched and admired Bob Ross’ techniques for years! I have always had a passion for watercolor painting and just purchased Tombow pens…and wondered if Bob’s technique could be used with this medium! I am inspired by your page!