Hey Tombow friends, this is Jennie! Today, I am sharing a project inspired by Pantone’s Color of the Year: Classic Blue. I love this color!
I have four easy techniques you can use to create patterned papers! I’ll be using these to make a monochromatic wall decor piece!
Supplies:
- Tombow Dual Brush Pens
- Frame
- Tombow ABT PRO Alcohol-Based Markers
- Watercolor paper
- Tombow Blending Kit
- Photo paper
- Tombow Water Brush
- Airbrush tool (optional)
- Tombow Foam Tape or Tombow Foam Tabs
- Dies or punches
- Tombow TwinTone Markers
Technique #1: Dripping
Scribble on the Tombow Blending Palette with a Tombow Dual Brush Pen. Spray water on it with the Tombow Spray Mister. Let the drops fall on the paper. Keep adding water to get lighter drops.
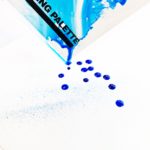
Technique #2: Blow Painting
Follow the steps of the first technique. Then, use an airbrush tool or blow air using a straw to move the color around. You can keep adding drops and moving them until you are happy with the result.

I used this technique to do the background of the wall art piece. For the flowers, I used photo paper. For the background, I used watercolor paper.

Technique #3: Stencil Drawings
I used a ruler and the Tombow Fudenosuke Brush Pen to create this pattern. You can also use the fine tip of the Tombow Dual Brush Pens but I used the fine tip of the Tombow TwinTone Marker.
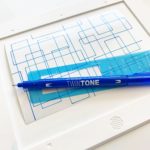
Technique #4: Airbrush
The Tombow Dual Brush Pens work with airbrush tools like the eBrush. You can use the tool with a stencil or by itself. You can see the tool in action HERE!
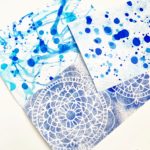
Now it’s time to cut your DIY pattern paper paper with dies or punches!
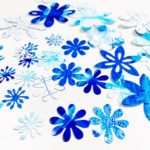
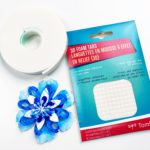
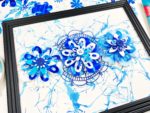
I wanted dimension on my wall decor piece, so I removed the glass from the frame and used the Tombow Foam Tape and Tombow Foam Tabs to make my flowers pop! I used them between each layer, which is perfect for wall decor.
Try these DIY patterns with your kids and make your own wall art decor!
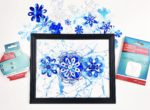
Here are three more wall decor ideas to try: Valentine’s Day, Spring Monograms and Classroom Stations.
I hope you enjoyed this tutorial!
