Hello, it’s Katie here! Today, I want to show you how to paint a watercolor succulent using Tombow’s Watercolor Set!
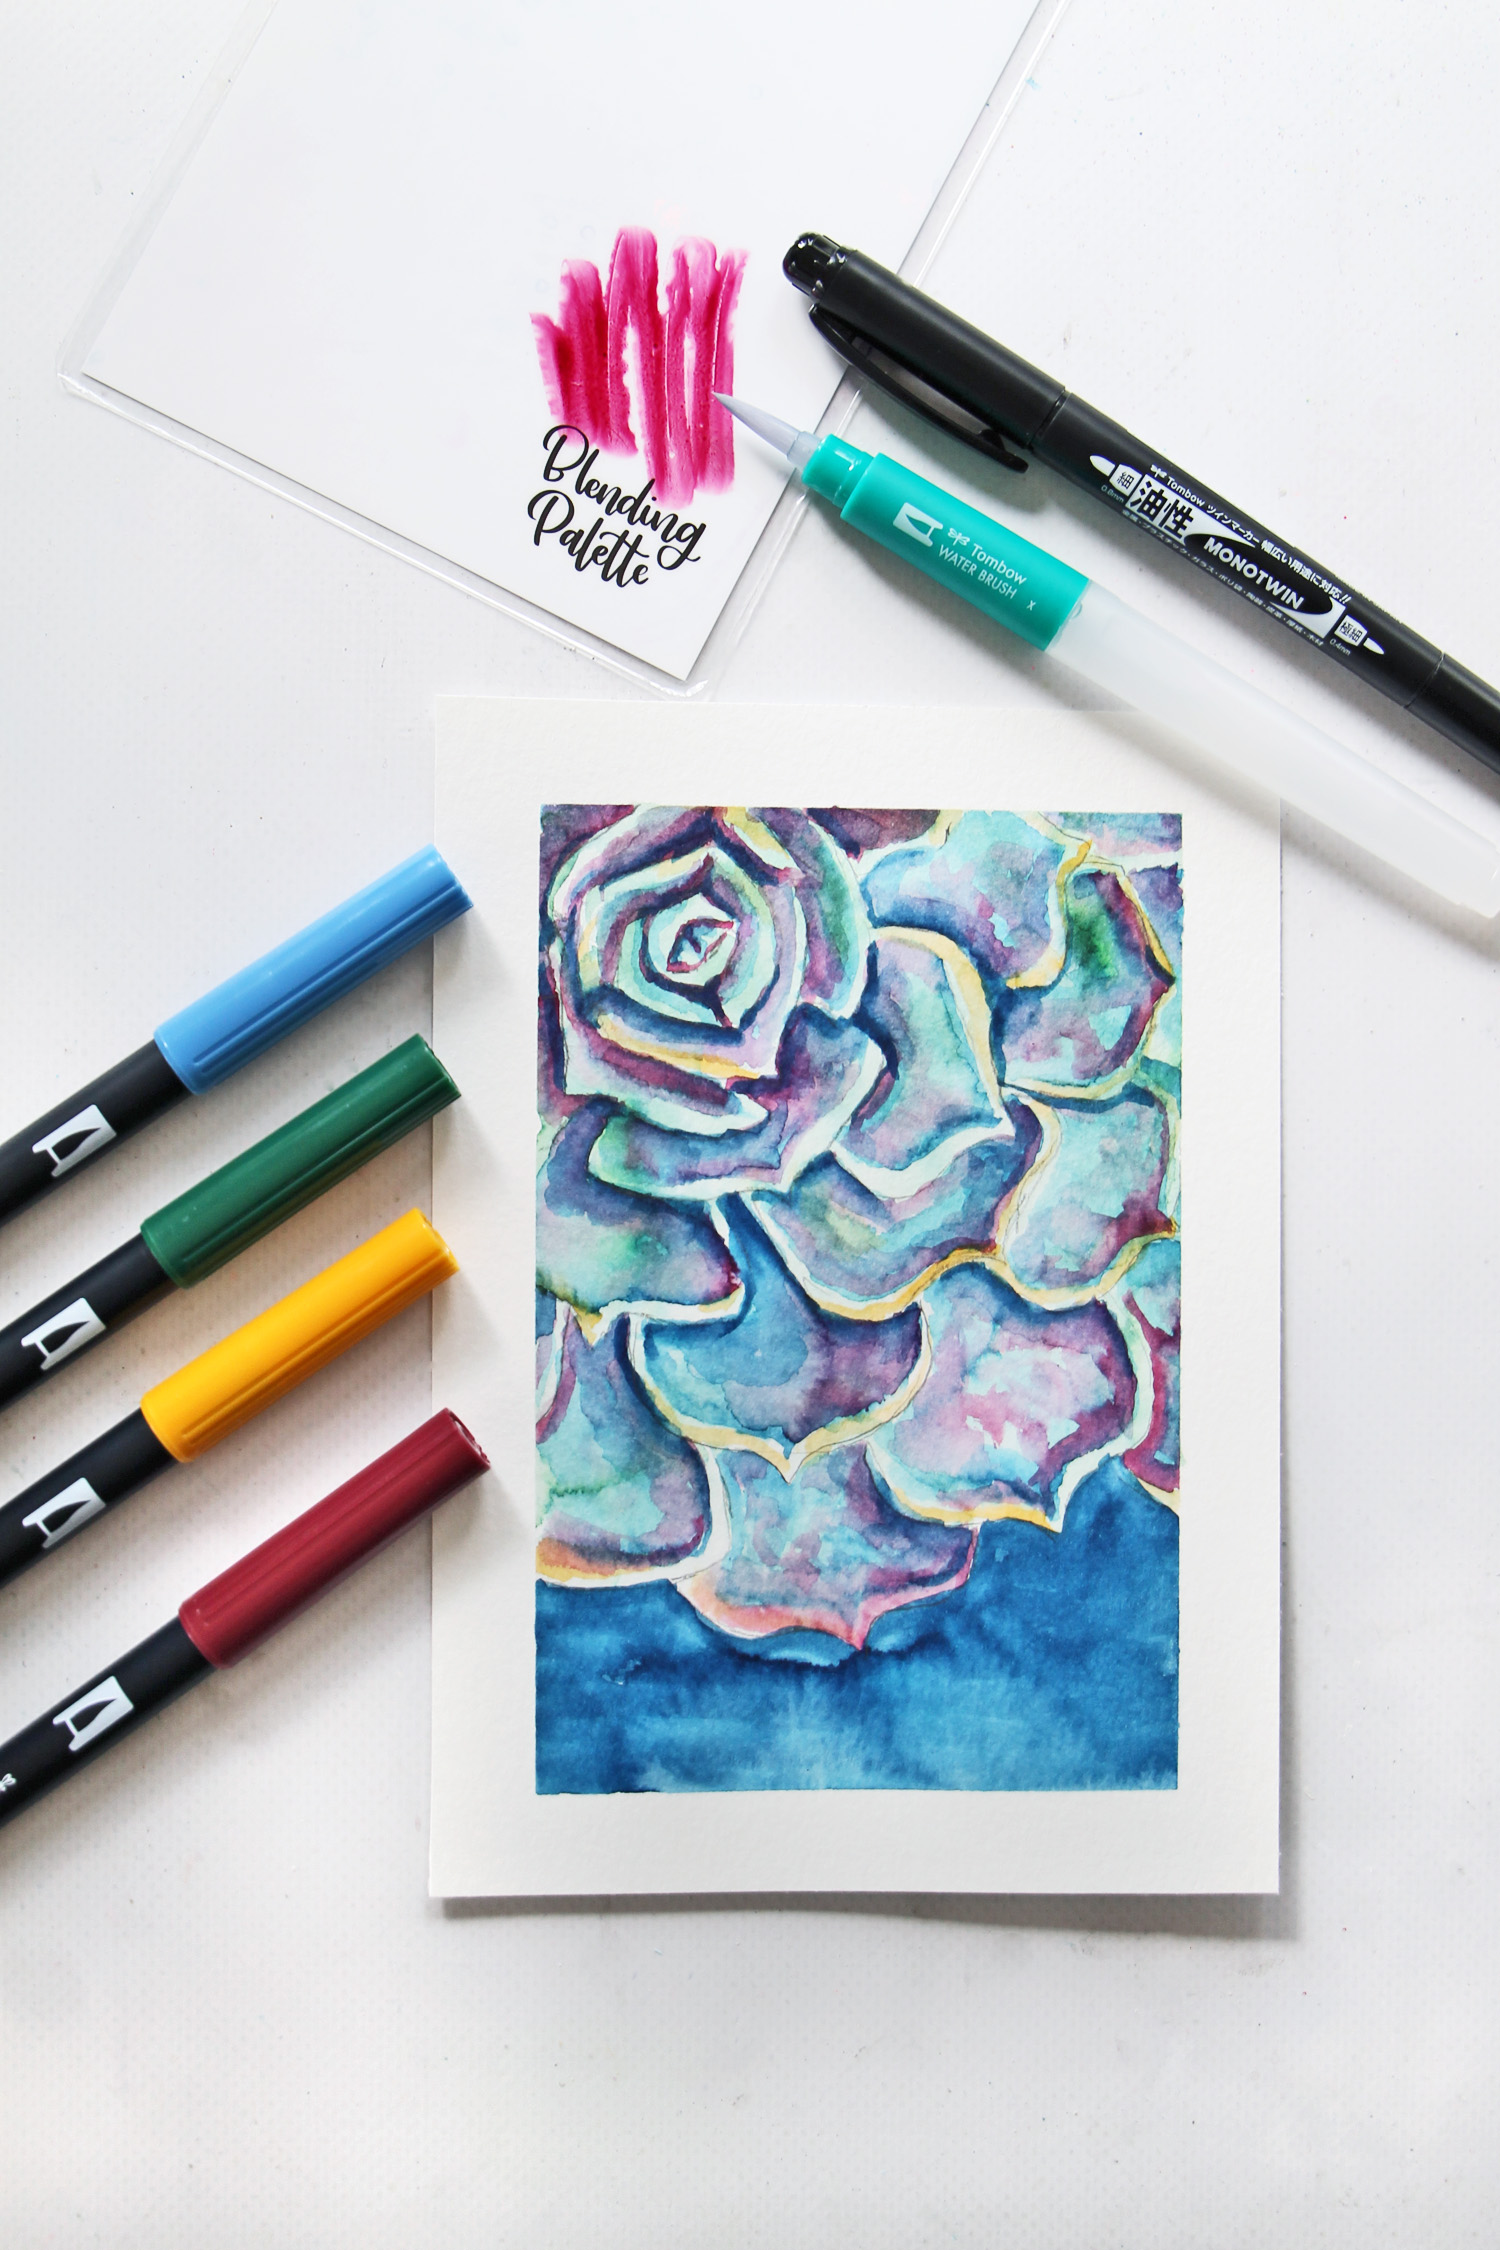
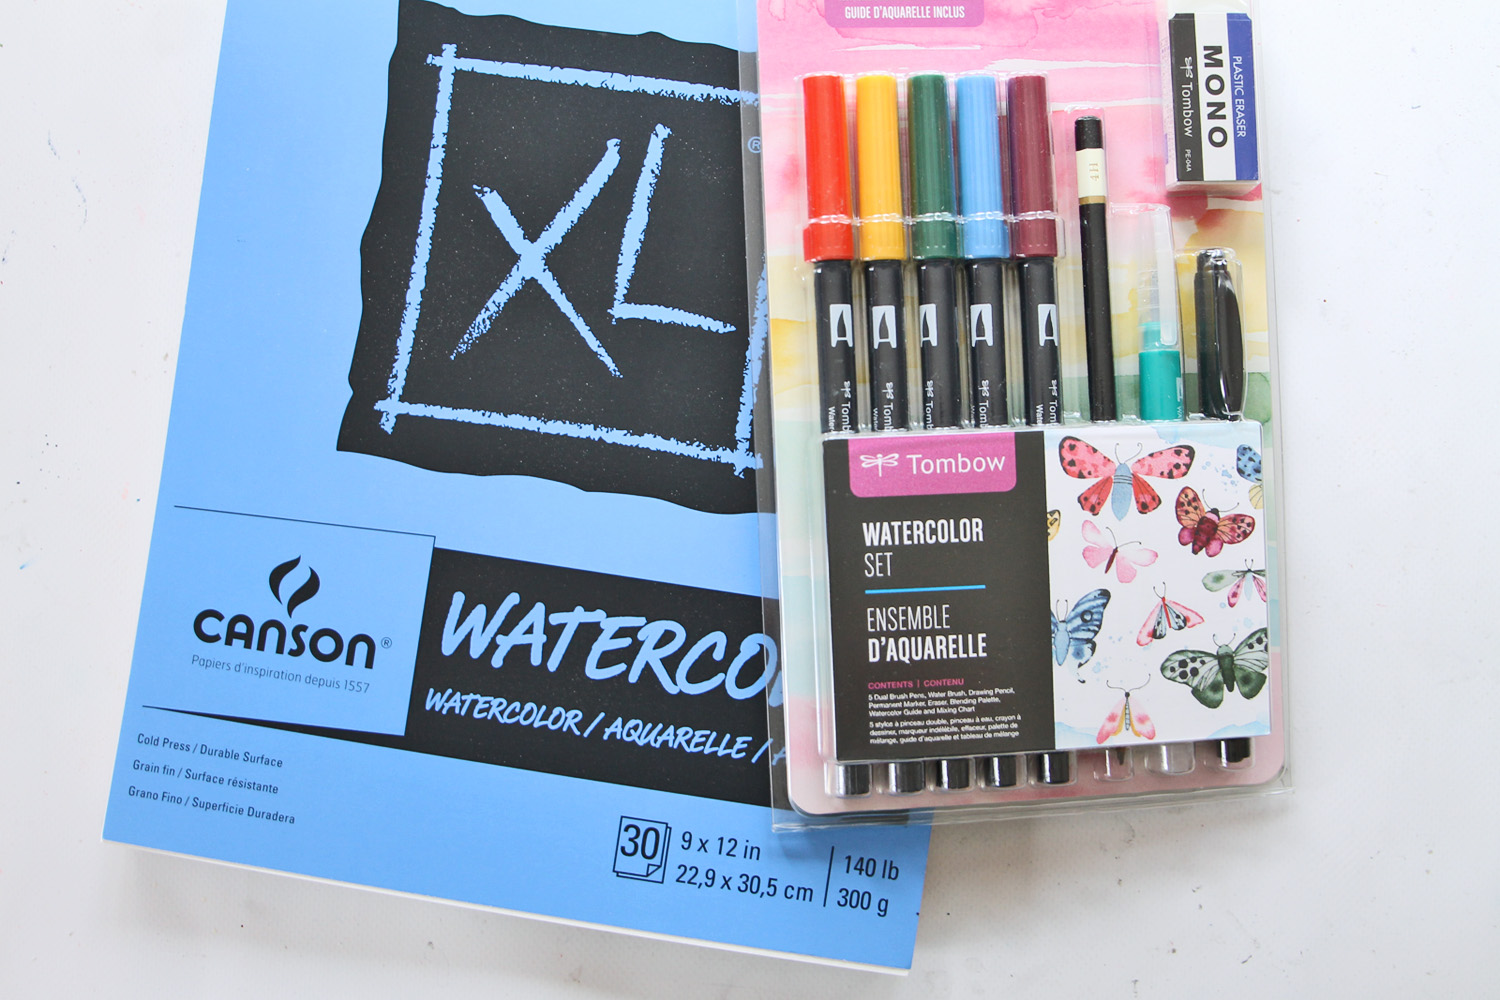
Supplies:
- Tombow Watercolor Set (This comes with: 5 Dual Brush Pens, Medium Water Brush, MONO Drawing Pencil 4H, MONO Twin Permanent Marker, MONO Plastic Eraser, Blending Palette, Watercolor Guide and Mixing Chart.)
- 140 lb watercolor paper
- Washi tape
Step one:
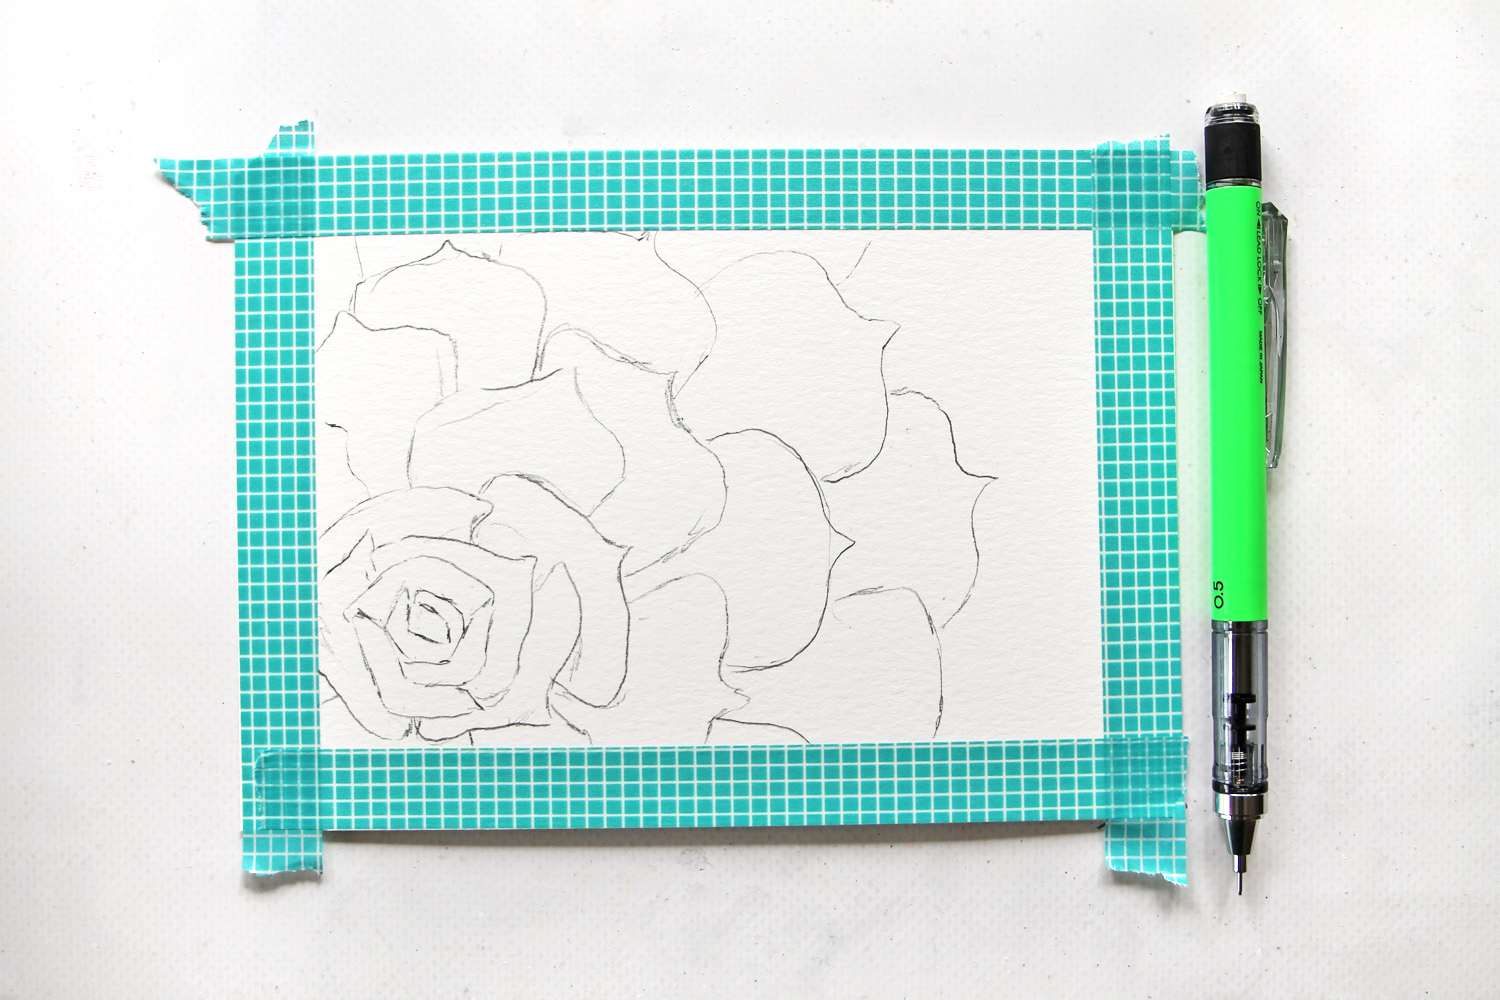
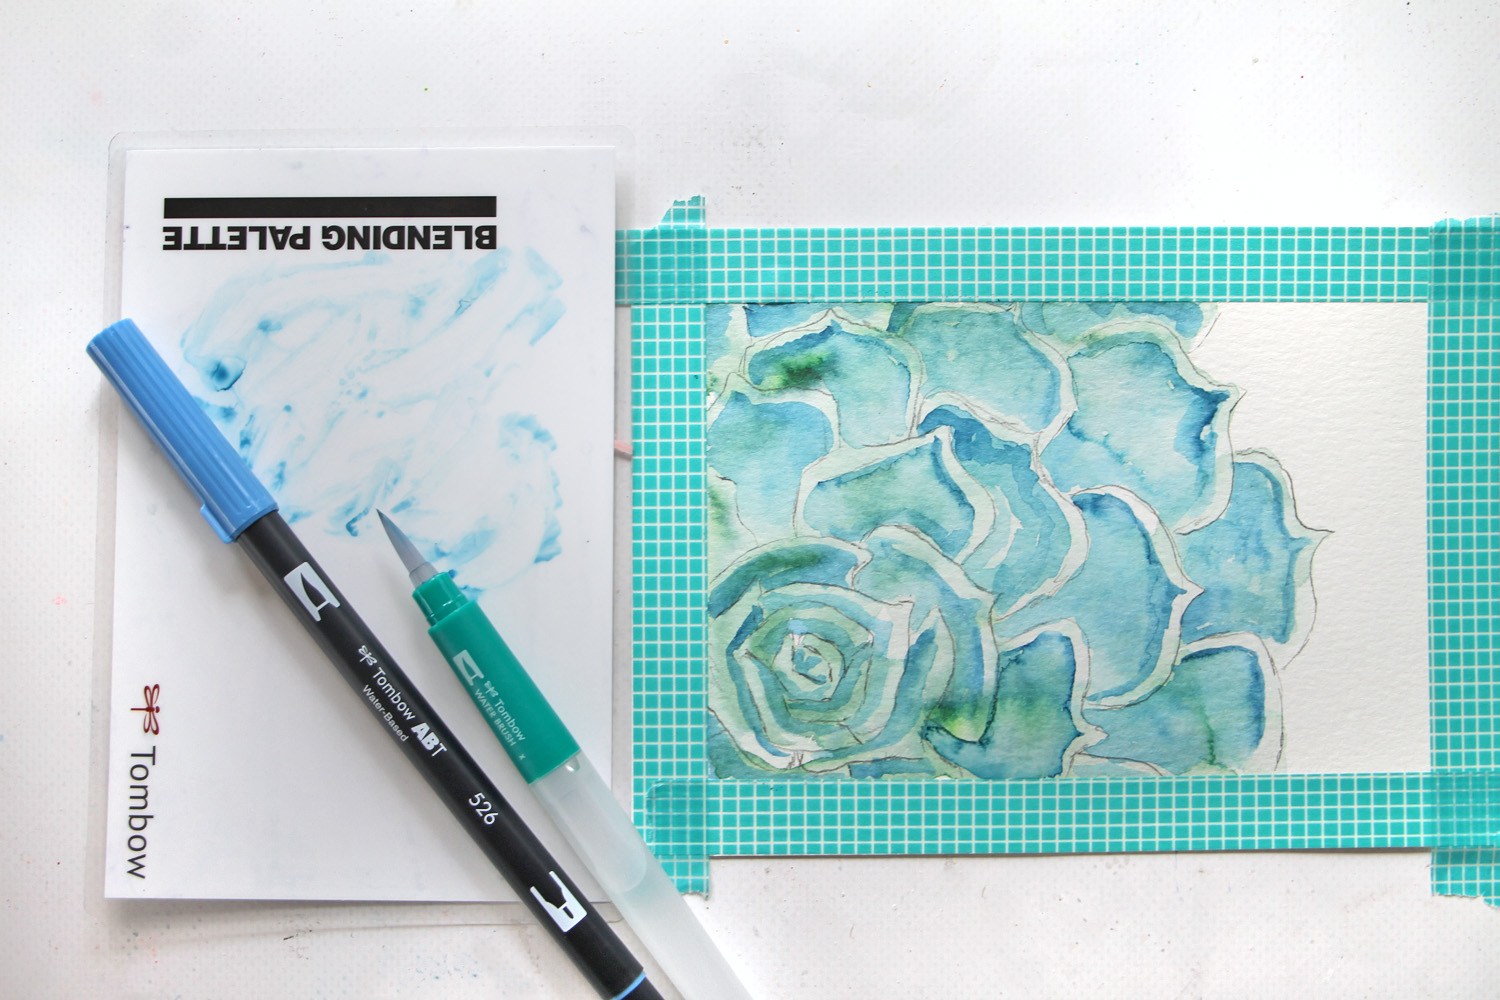
Start by taping a border around your watercolor paper. Sketch out your succulent by starting at the center. Draw petals going outward around the design.
Step two:
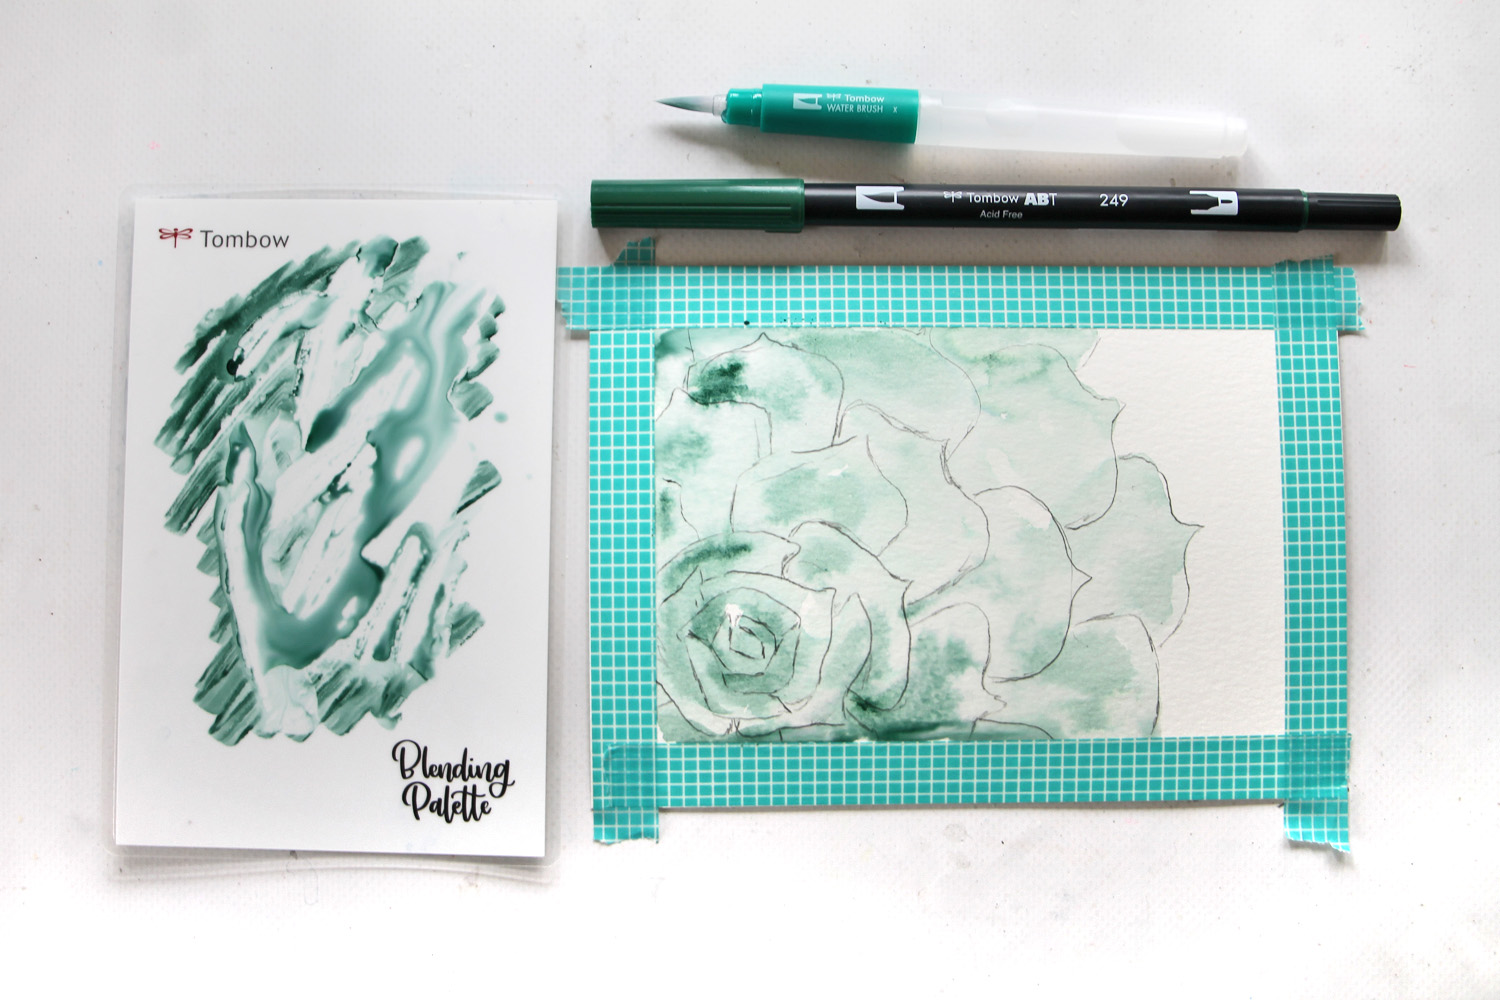
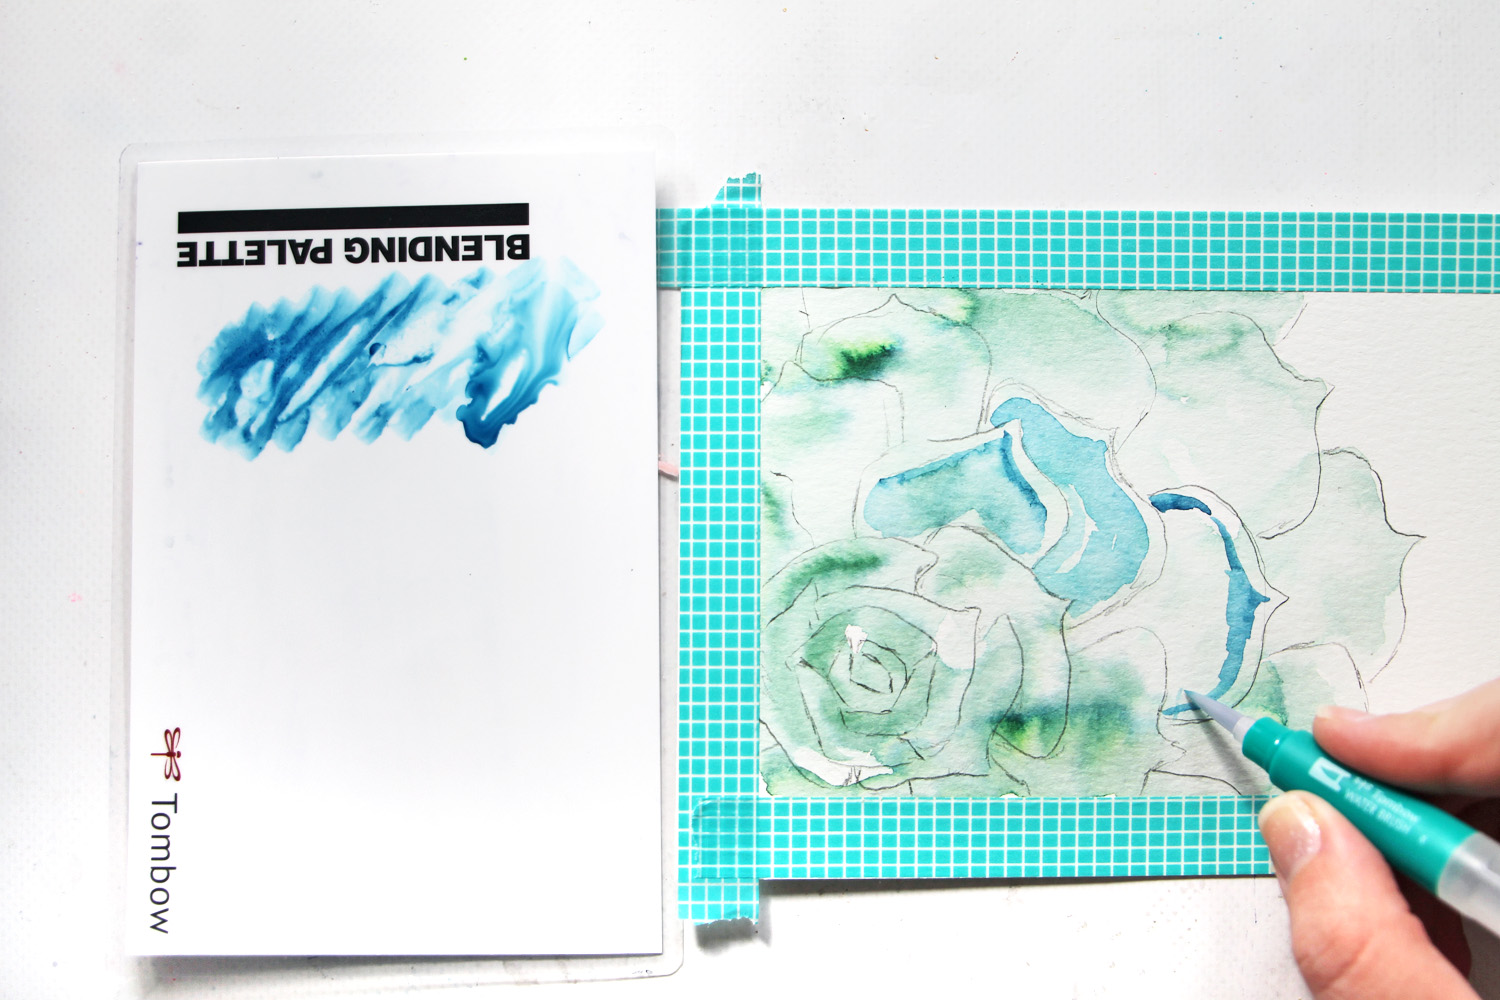
The trick to watercoloring is to work in layers! Start with your first layer by applying Dual Brush Pen 249 onto the Blending Palette. Pick up the ink with the Water Brush and color your sketch.
Read these tips for using the Water Brush!
Step three:
Apply Dual Brush Pen 526 to the Blending Palette. Brush it onto each petal, but don’t completely cover the green layer.
Step four:
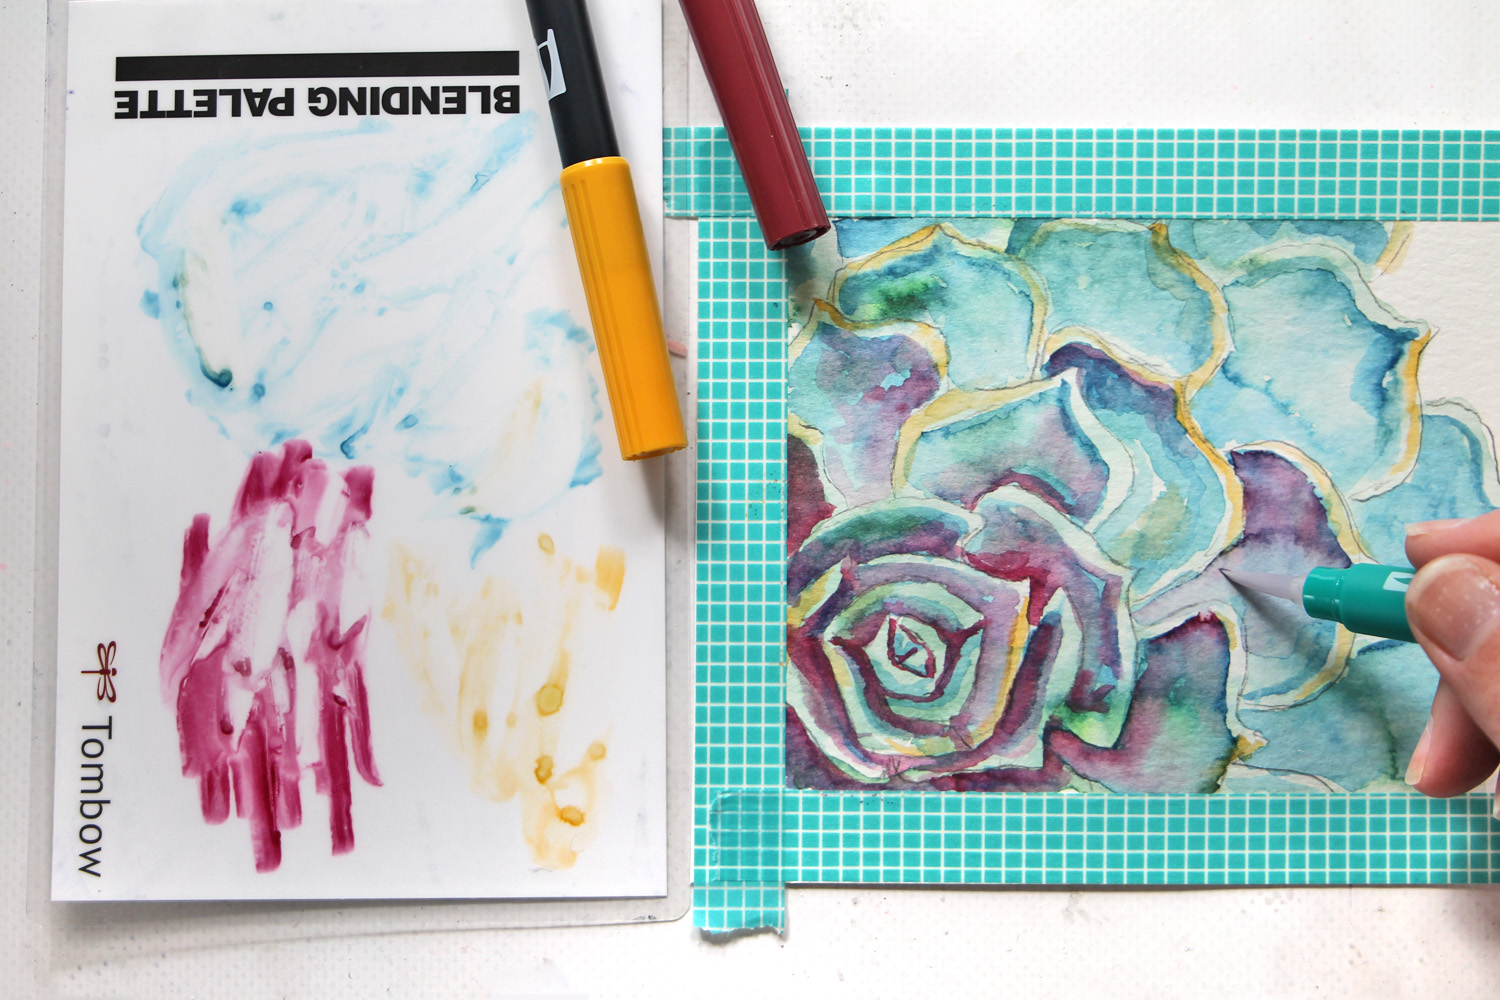
Continue adding layers with Dual Brush Pen 993 and Dual Brush Pen 757. The colors included in the Watercolor Set were specifically chosen for how well they can blend together!
Learn more about mixing Dual Brush Pen Colors here.
Step five:
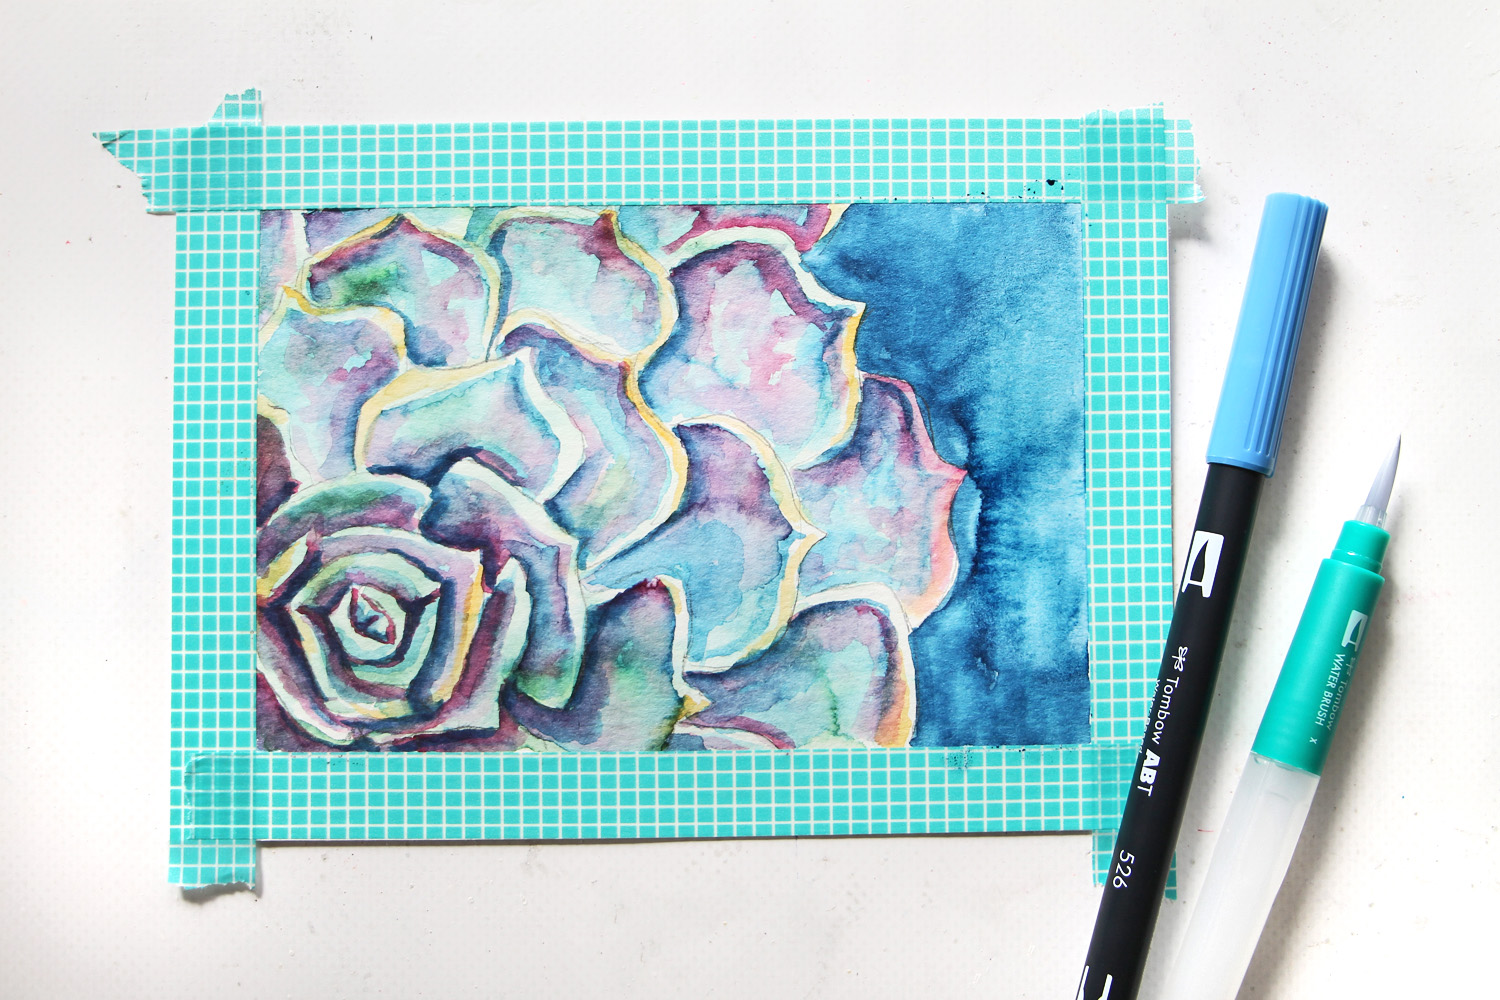
If you left space in your sketch around the succulent, now is the time to color in your background! I chose Dual Brush Pen 526 because the blue complimented the colors of the succulent well!
Let dry and remove the washi tape.
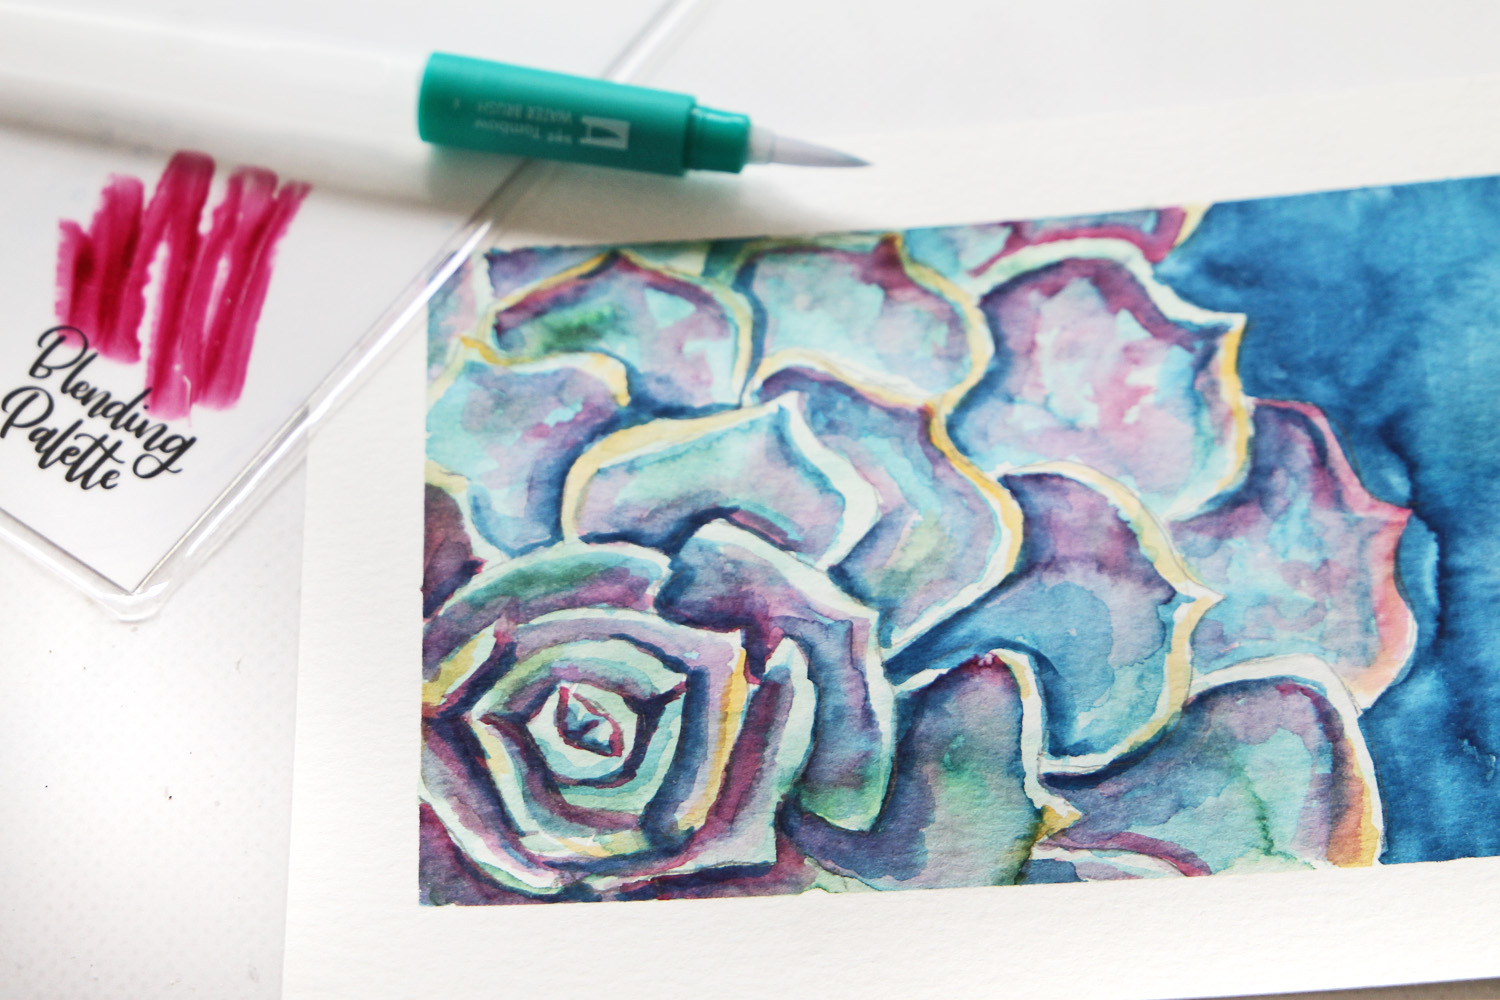
Thanks for reading. I hope I’ve inspired you to give Tombow’s Watercolor Set a try and paint your own watercolor succulent!
-Katie
Find me on instagram: @studio.katie
Pingback: Easy Watercolor Recipe Card Tutorial - Tombow USA Blog
Pingback: Easy Watercolor Trees in Five Steps - Tombow USA Blog
Pingback: DIY Watercolor Fall Owl Art - Tombow USA Blog