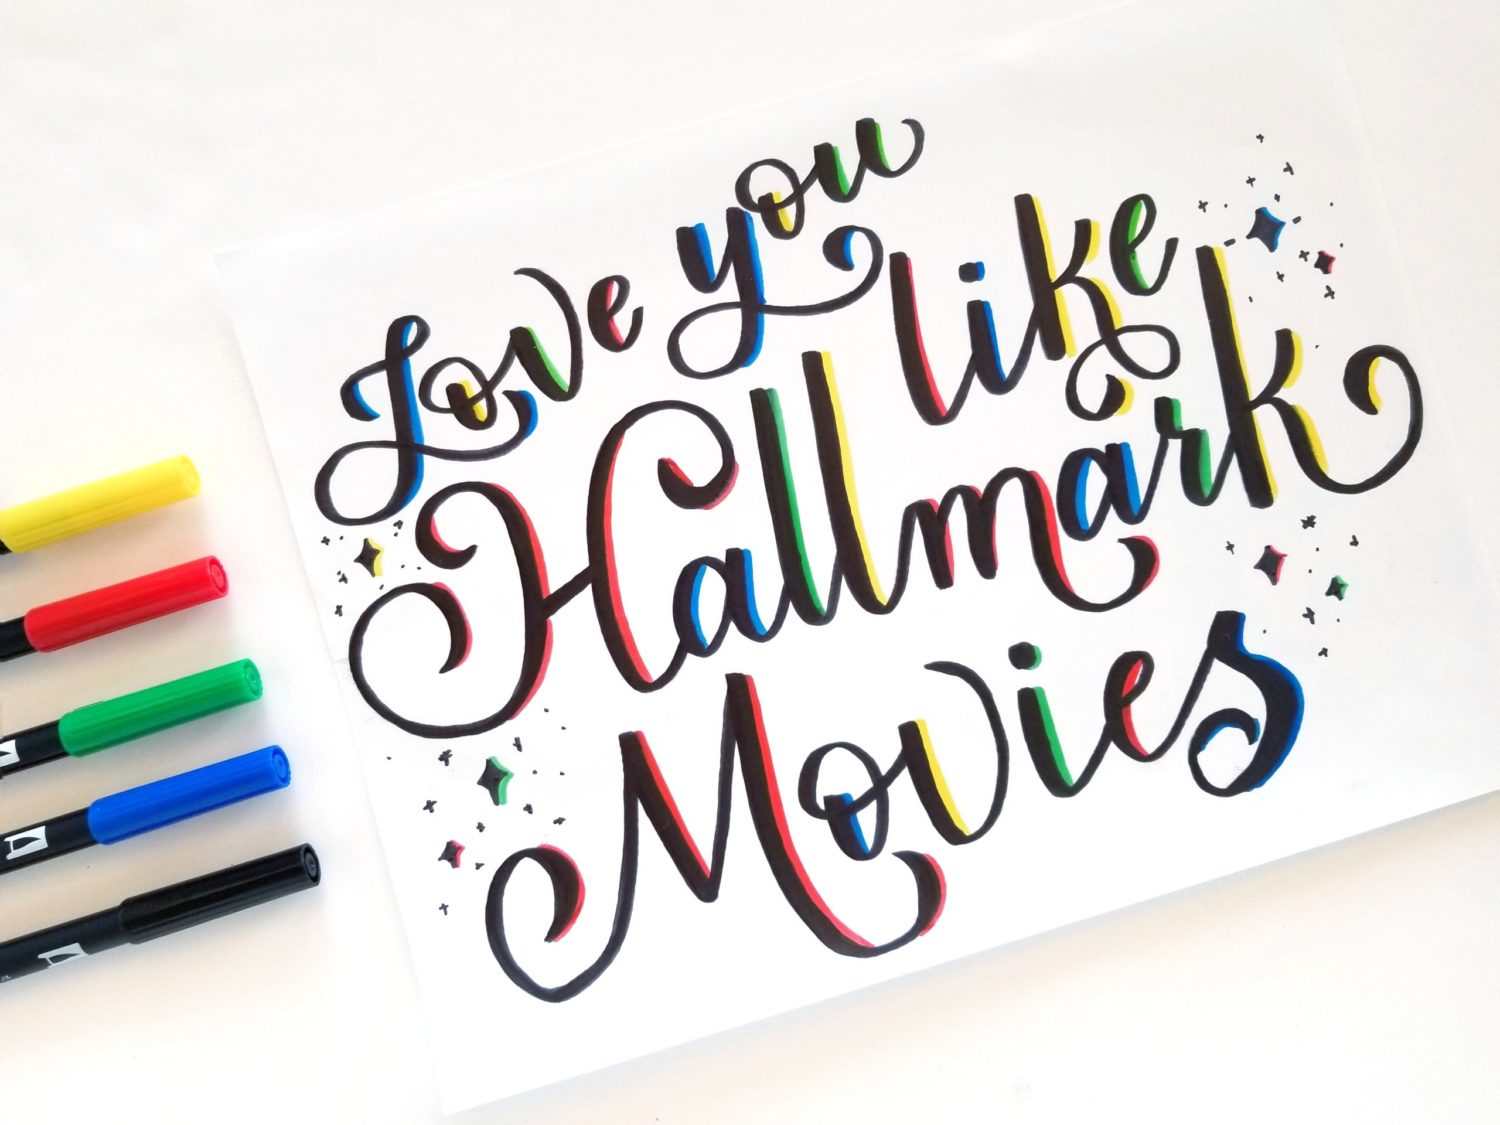
Hi y’all, it’s Grace from Grace Anne Studio. This week, the Tombow Design Team is sharing our guilty pleasures! I LOVE Hallmark movies. Any day, any season or any holiday, I’m here for it. Part of what I love about Hallmark movies is how predictable they are. I can always count on them for characters I can cheer for, adorable settings, and of course, a happy ending. In honor of how wonderfully and reliably predictable Hallmark movies are, I’m sharing five steps to create reliably wonderful compositions.
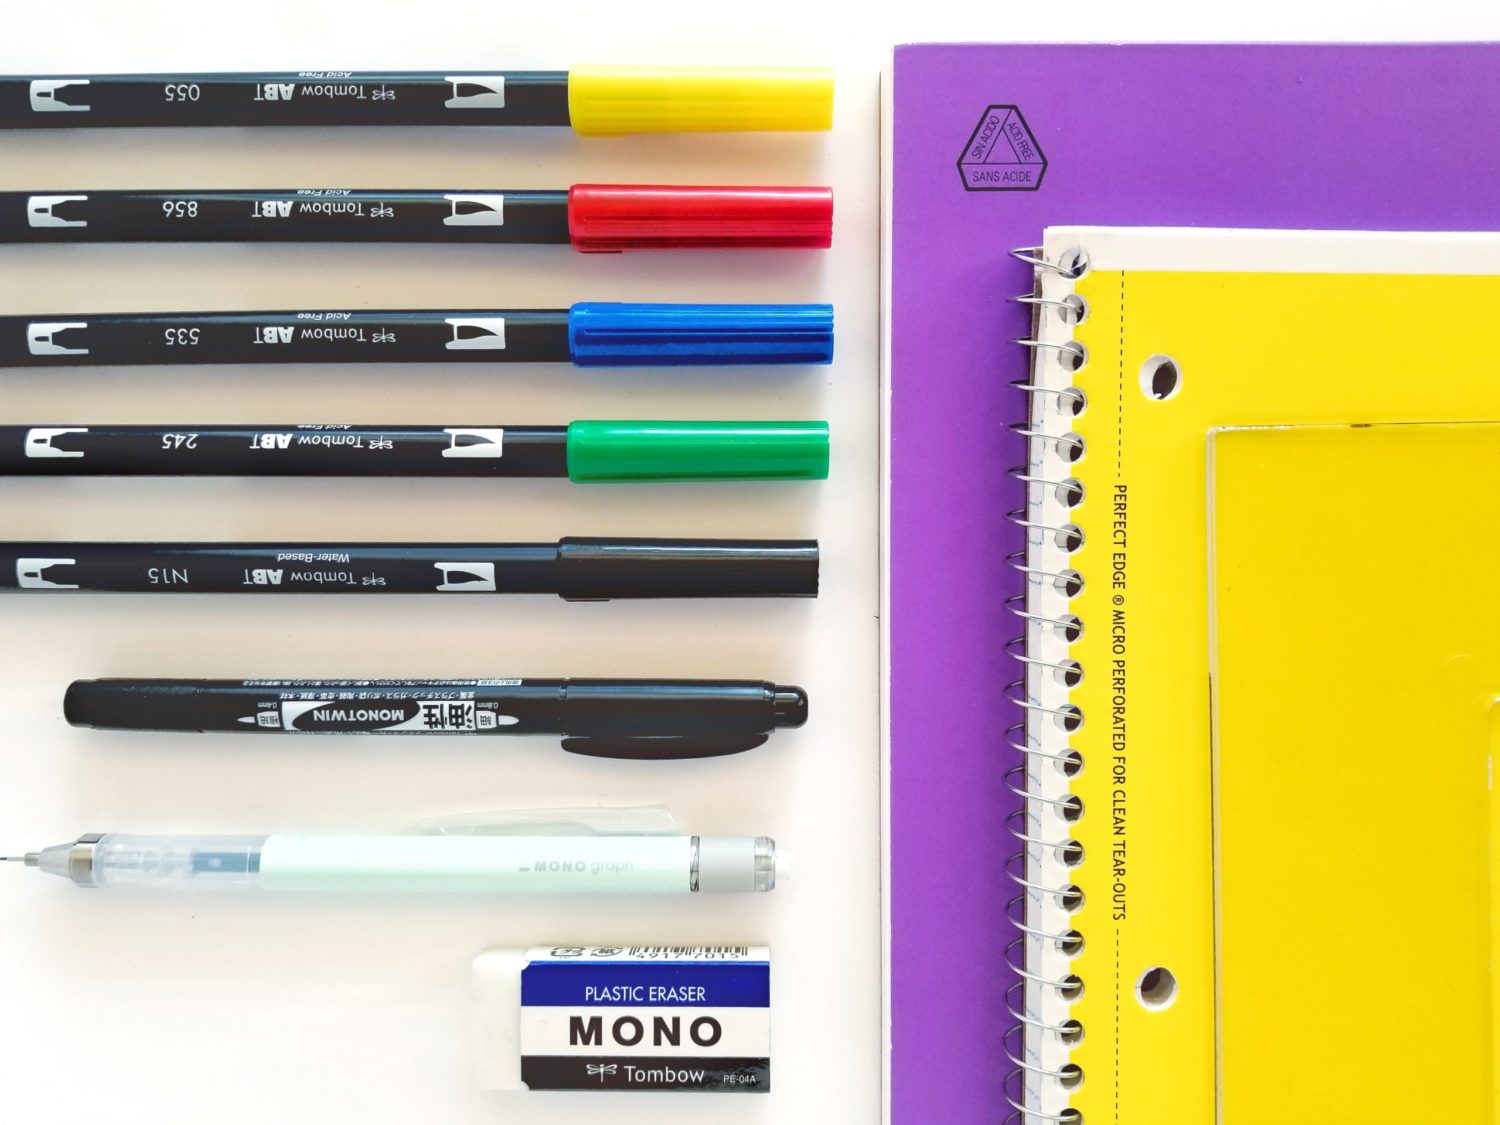
Supplies
- Tombow MONO Graph Mechanical Pencil
- Tombow MONO Twin Permanent Marker
- Tombow Dual Brush Pens
- Tombow MONO Eraser
- Marker paper
- Lined notebook paper
- Triangle or straightedge
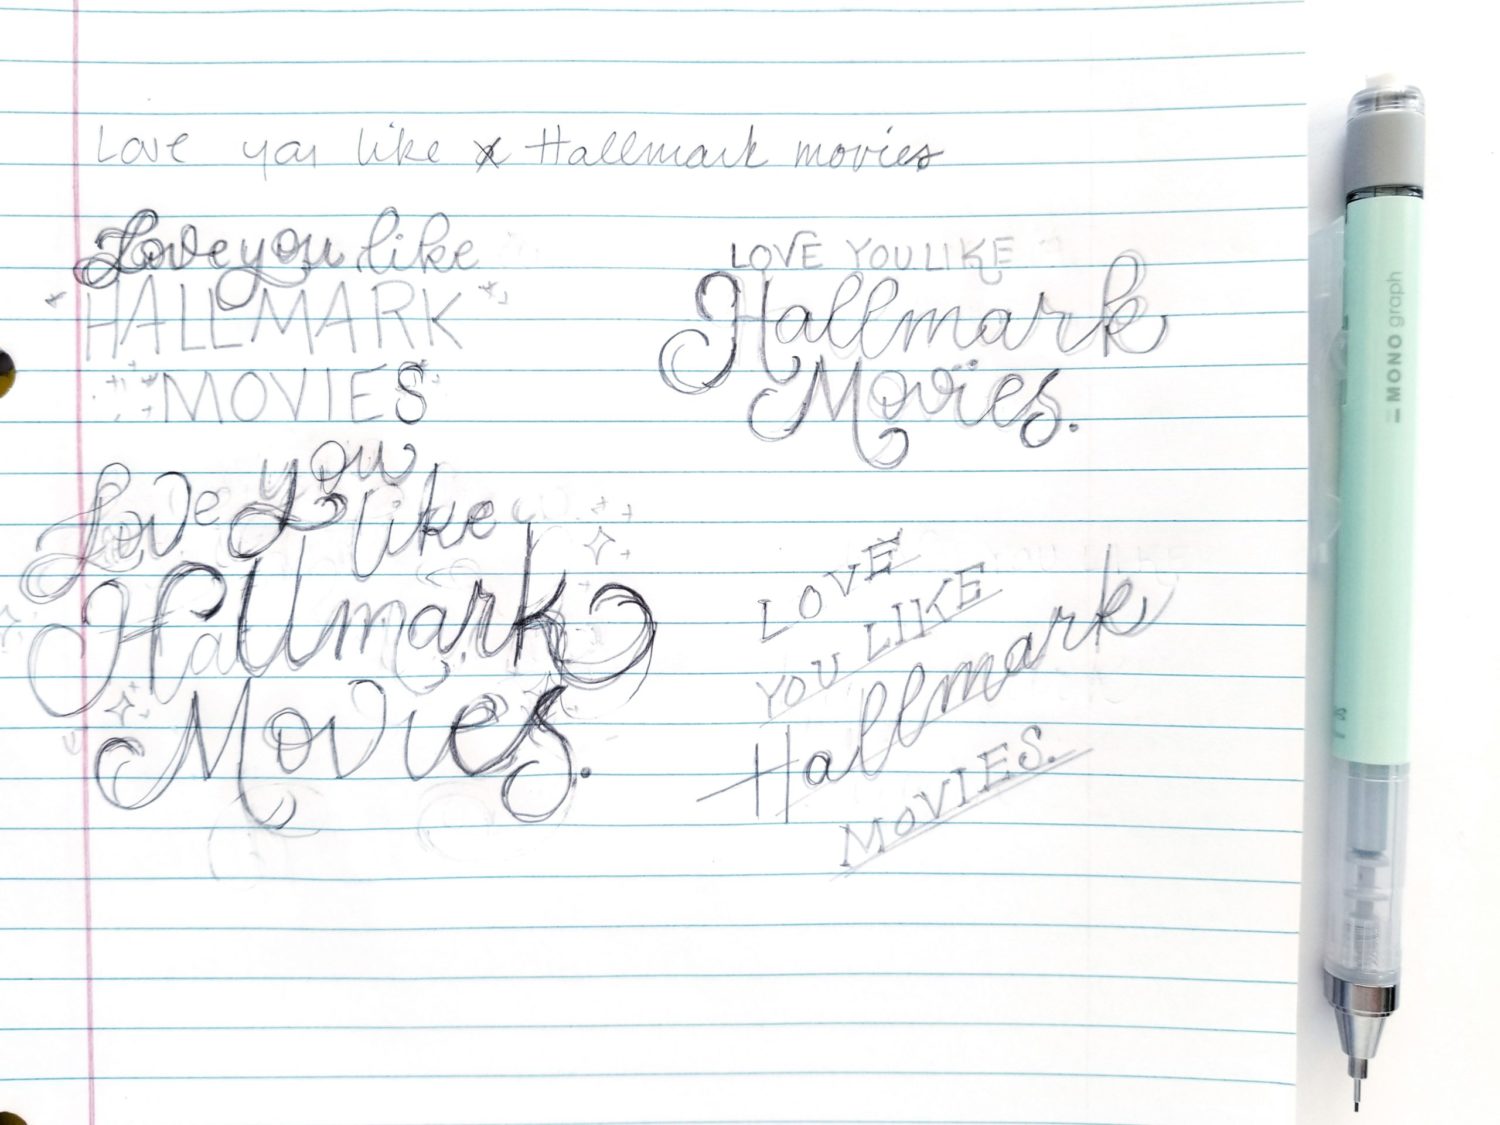
Step 1: It All Starts with the Wrong Choice (Thumbnails)
Hallmark movies begin with one or more of the main characters with the “wrong one” or no one. Compositions start the same way. Begin by sketching your initial idea, then sketch at least three more. I try to sketch four different designs. This helps to push past any limitations the first design may have. It also allows you to discover designs you may have never considered at first. (Much like our main characters!)
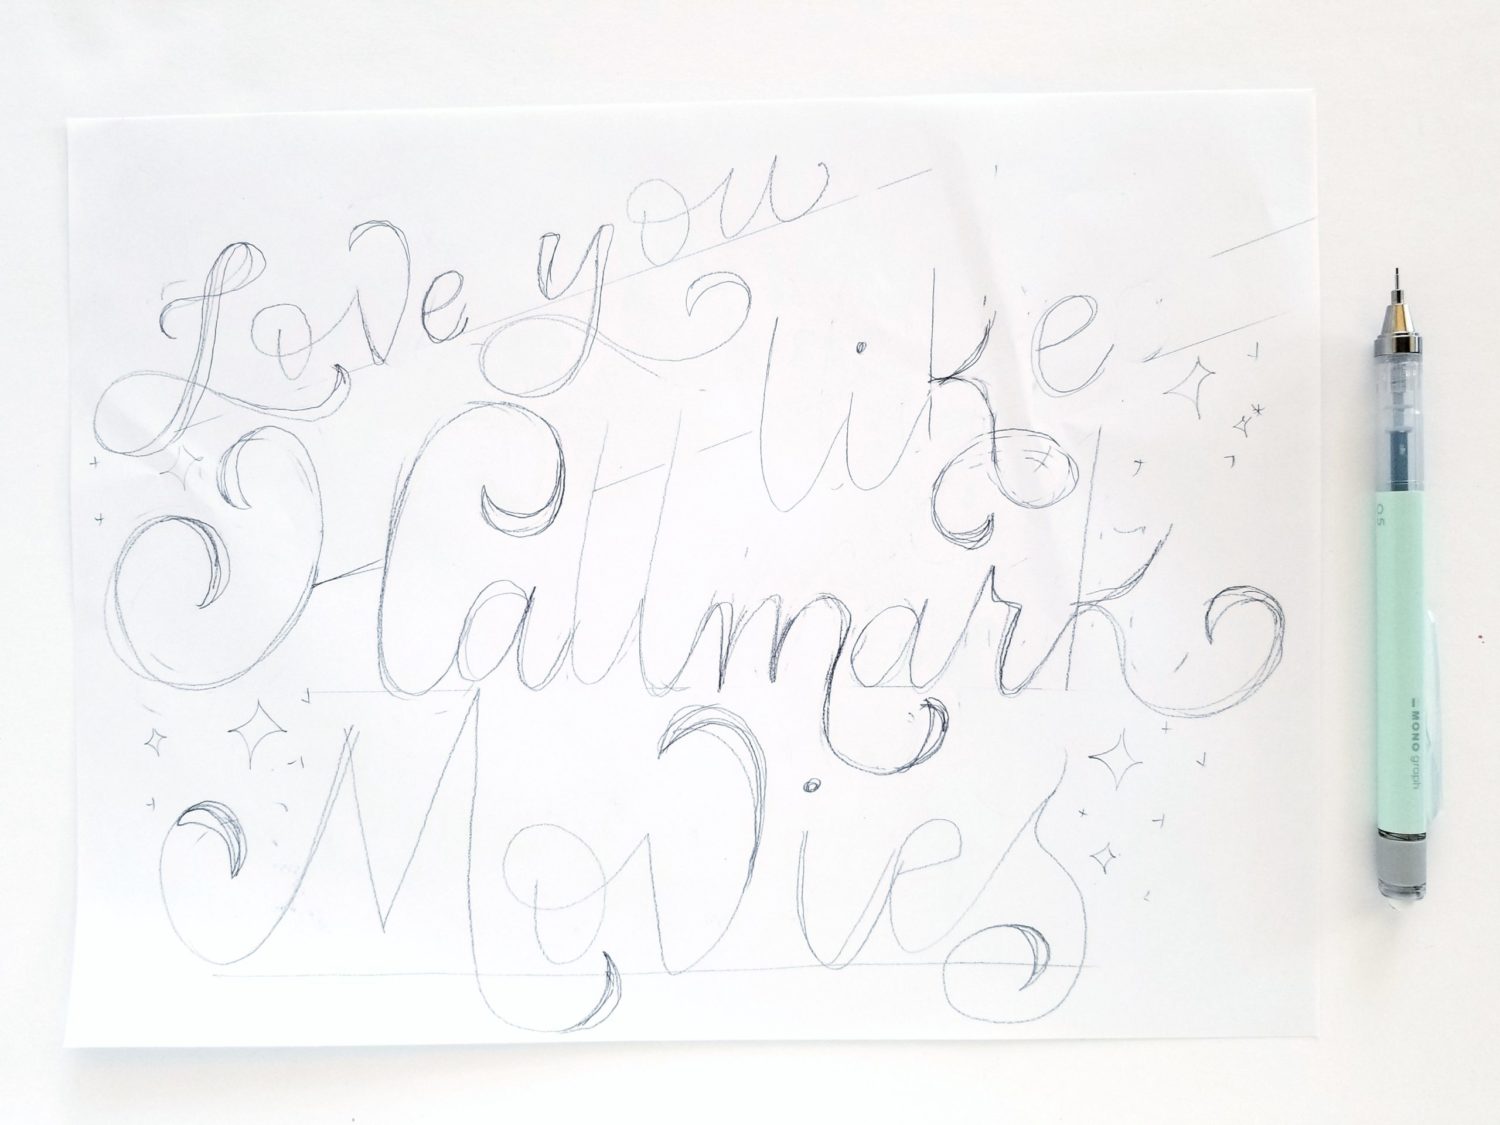
Step 2: The Big Move (Scale)
Once the characters are introduced, one of the main characters either temporarily or permanently relocates to a drastically different size town. (Where no doubt the other character resides.) Compositions follow suit. Choose a thumbnail and scale it up! I use a lined notebook and my Tombow MONO Graph Mechanical Pencil. The lined notebook helps you to keep the letters aligned and to scale. During this step, you should focus on enlarging the thumbnail and getting everything to scale. This is a great time to use your straight edge or triangle also.
Step 3: Participate in Town Traditions (Pencil Trace)
About halfway through a Hallmark movie, the main characters participate in town traditions together. Their relationship begins to take shape and they start to fall in love. The pencil phase is always where I begin to fall in love with a composition. Repeatedly tracing the design with a pencil allows me to really shape and get to know a piece. It chips away at the roughness to reveals a lovely composition!
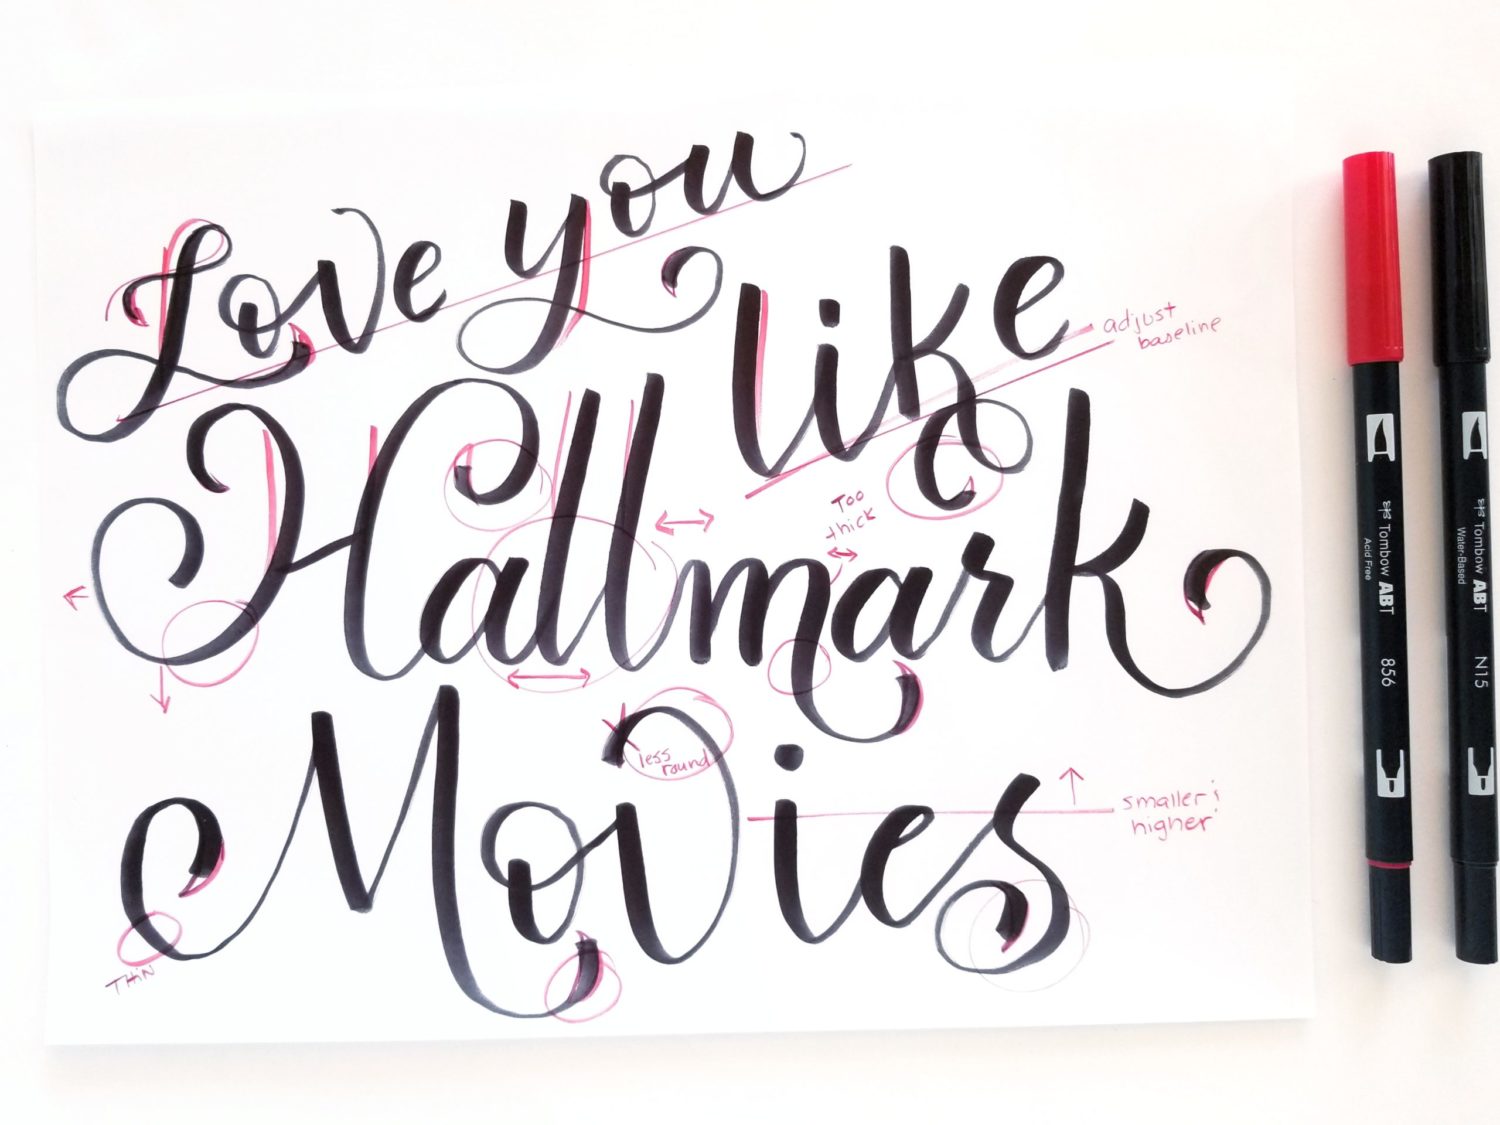
Step 4: Devastating Complication (Ink Adjustment)
Once the Hallmark couple begins to fall in love, an inevitable complication occurs. Adding ink to a pencil composition is very similar! I love how the pencil phase looks. However, as soon as I add ink, it completely changes it. I’m not even sure if I like it anymore. Just like our Hallmark couple, more adjustments are needed to work out the ink phase.
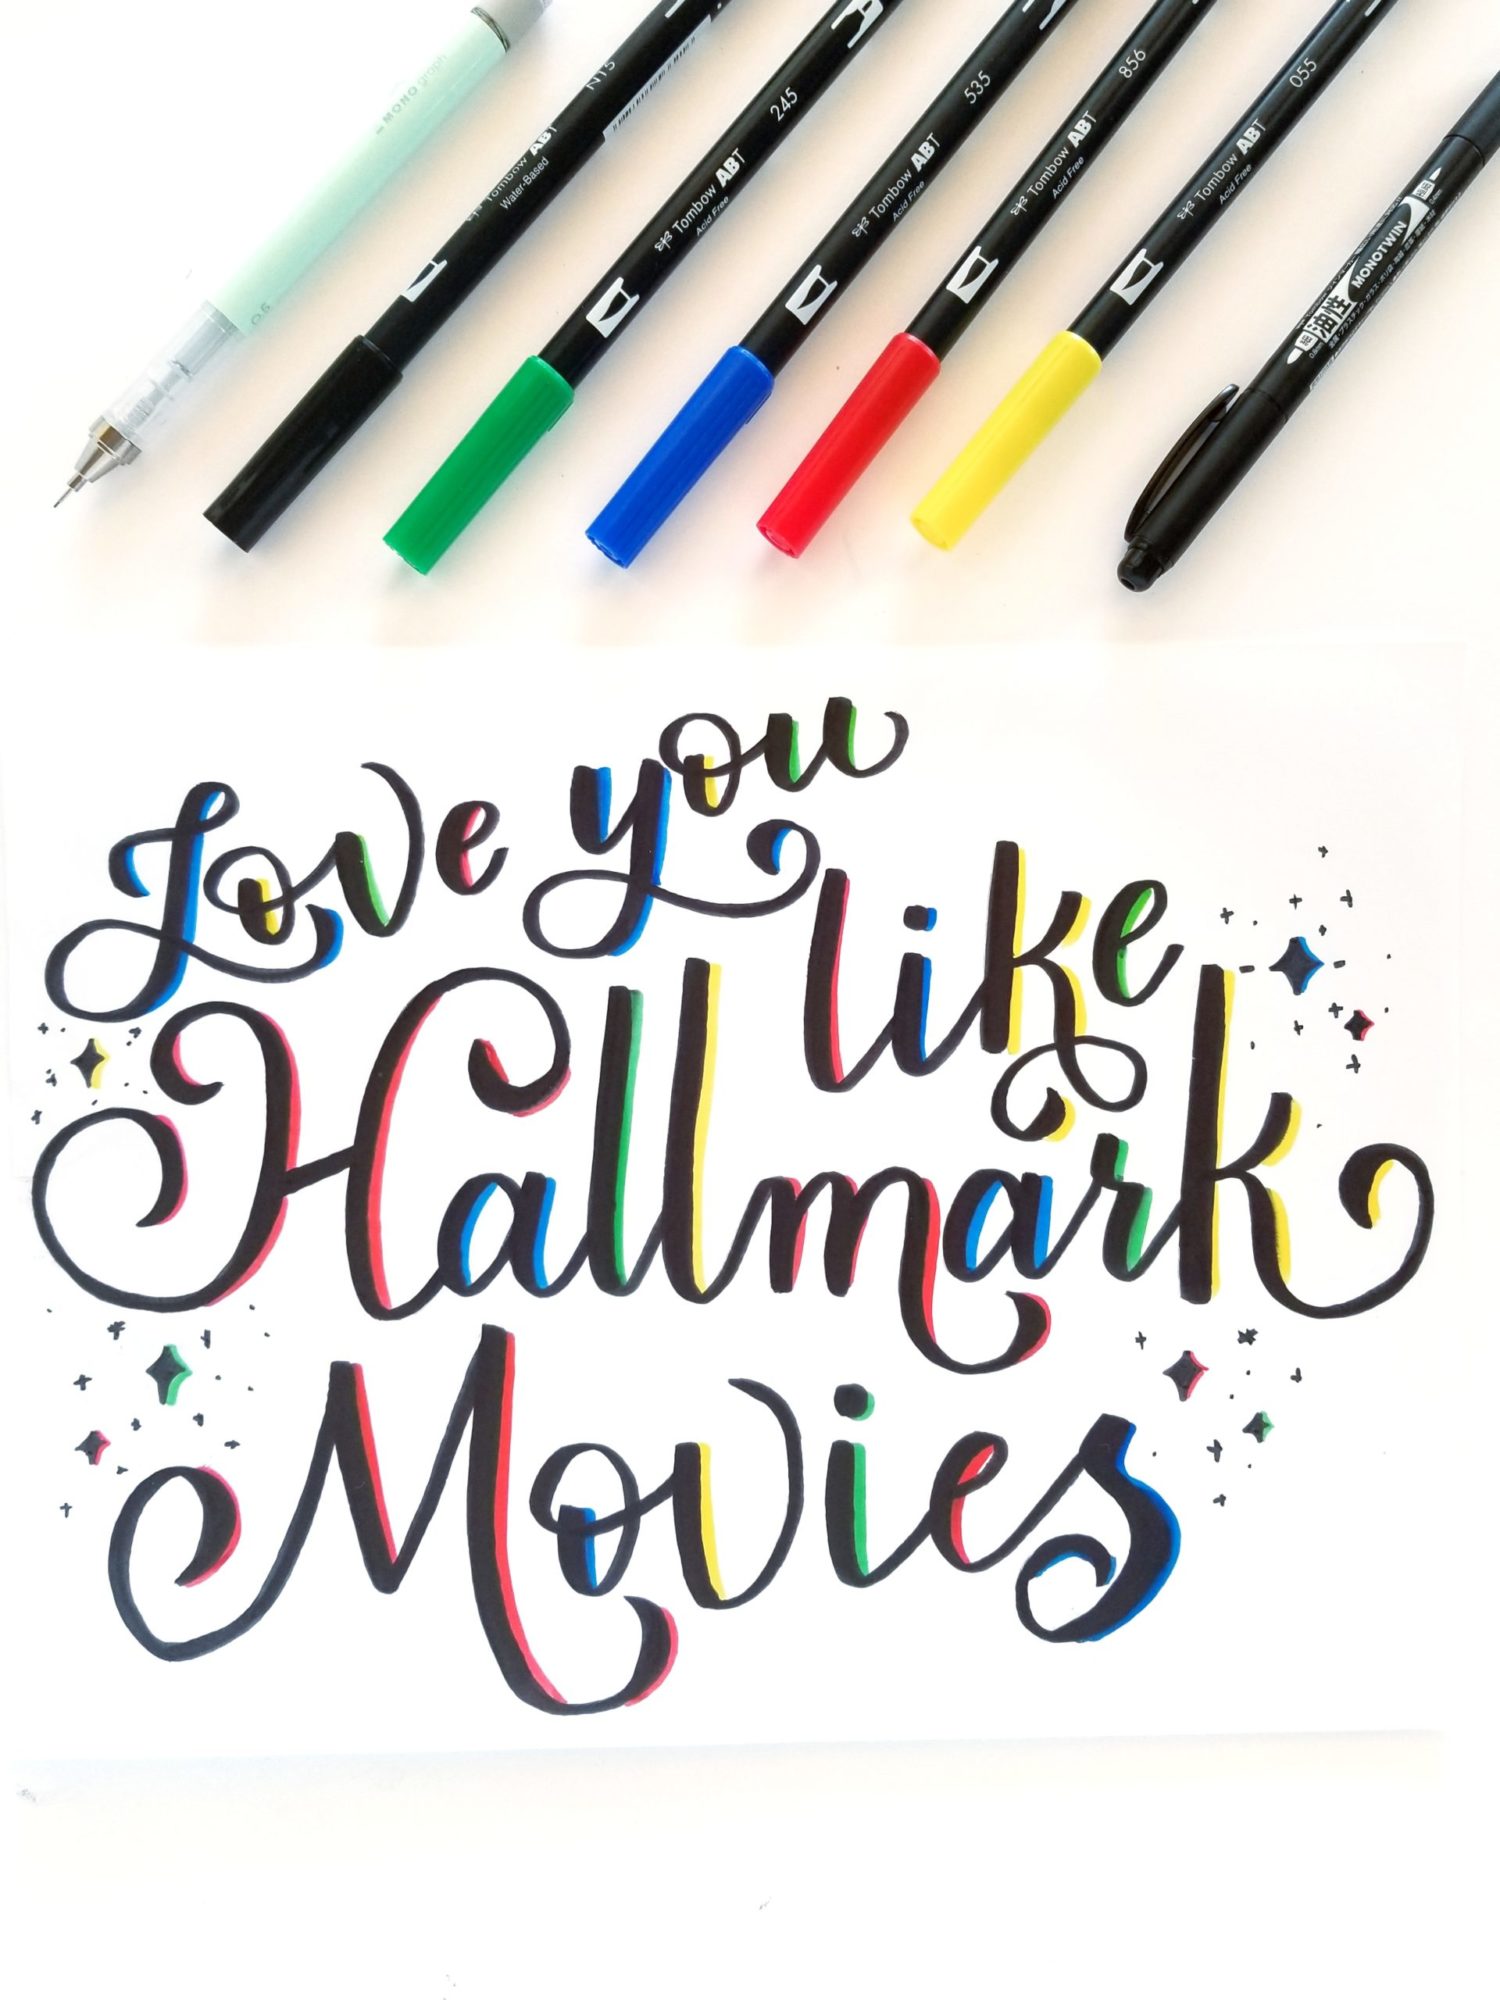
Step 5: Declaration of Love (Final Reveal)
Finally, it’s time for the declaration of love! The main characters have finally overcome the complication and reveal they love each other! The final reveal of a finished lettering composition gives me the same feeling! All of the ink adjustments are made, color and embellishments are added, and the result is a wonderful composition you can love like a Hallmark movie.
Thanks for following along today to create reliably wonderful compositions! If you use this tutorial to create a composition, be sure to tag @graceannestudio and @tombowusa so we can cheer you on! For more lettering inspiration, check out the posts below:
- Three Tips for Flourishing Basics
- 5 P’s of Brush Calligraphy and Hand Lettering
- 3 Ways to Master Pencil Calligraphy
- A Practical Guide to Lettering in Different Styles
Happy lettering!
Grace