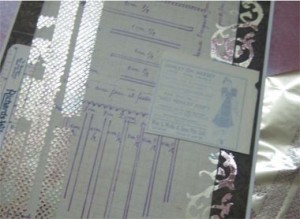
This vintage card with a sewing theme demonstrates a few adhesive techniques for adding gold gilded accents.
 I love to incorporate old ephemera into card designs, like a sheet from my Grandmamma‘s notebook of a smocking design and an old photo. Remember to color photocopy these pieces rather than using the original.

Gilding a stamped image
Step 1 – Stamp an image on your chosen paper. Here I used a paper pin image from an ephemera clip book
Step 2 – With the fine tip of the MONO Multi glue, apply the glue over the image as neatly as you can.
Step 3 – Let the glue dry completely. Place the foil sheet shiny side up over the sticky adhesive and press to gold guild the image.
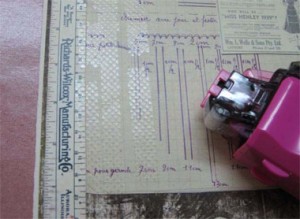
Apply the background papers with the Permanent Stamp Runner. Apply the adhesive in long strips to large paper panels and small ‘stamped’ squares of adhesive for the smaller paper pieces with the same tool!
Embellishment Details The color-photocopied photo was colored with the Dual Brush Pens to match the card. Only the bouquet was colored. The custom colored flowers were also colored with the Dual Brush Pens. Trim along the left side of the card was attached with the MONO Multi liquid glue. The flowers and buttons were applied with both Power Tabs, and where you want a little dimension, Foam Tabs.


Absolutely stunning!!!
This is absolutely GORGEOUS!!!
love it
tfs
great tips Marie!
I feel that youtube is a wonderful tool intended for someone inquiring in watching or importing videos. I have already been using the internet site for several years now, and still believe it is doing an effective job!