Using beautiful papers, like the ‘Once upon a Springtime’ Collection from Graphic 45, and the Foam Tabs from Tombow you can create these simple cards quite quickly!

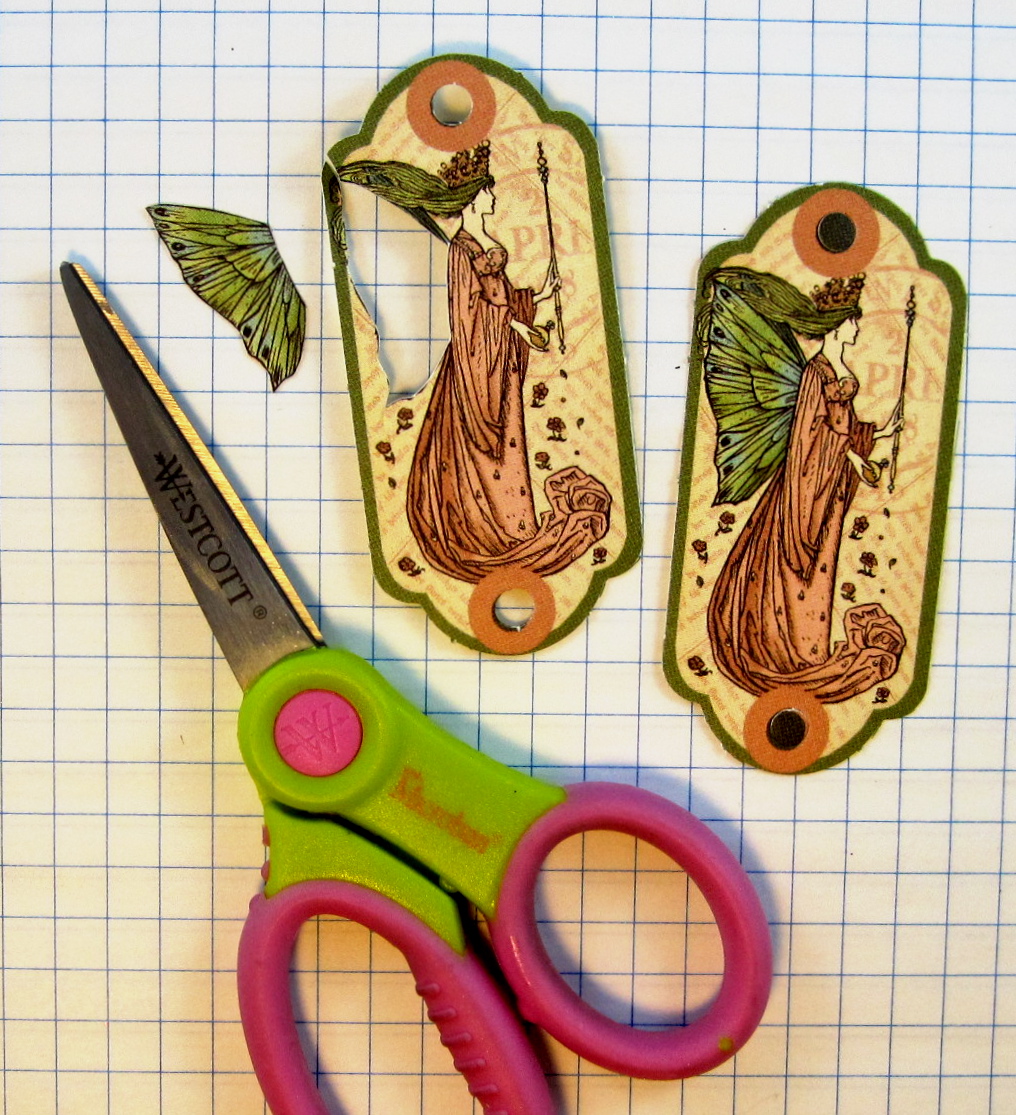
While some 3D layered images use 3 to 4 images, I am just using 2 of the same image. In this sample, I am choosing to make the wing on the fairy dimensional. Carefully cut out the wing from one of the images. If you need to remove the white edge of the print, simply choose a corresponding Dual Brush Pen color and go around all the edges.
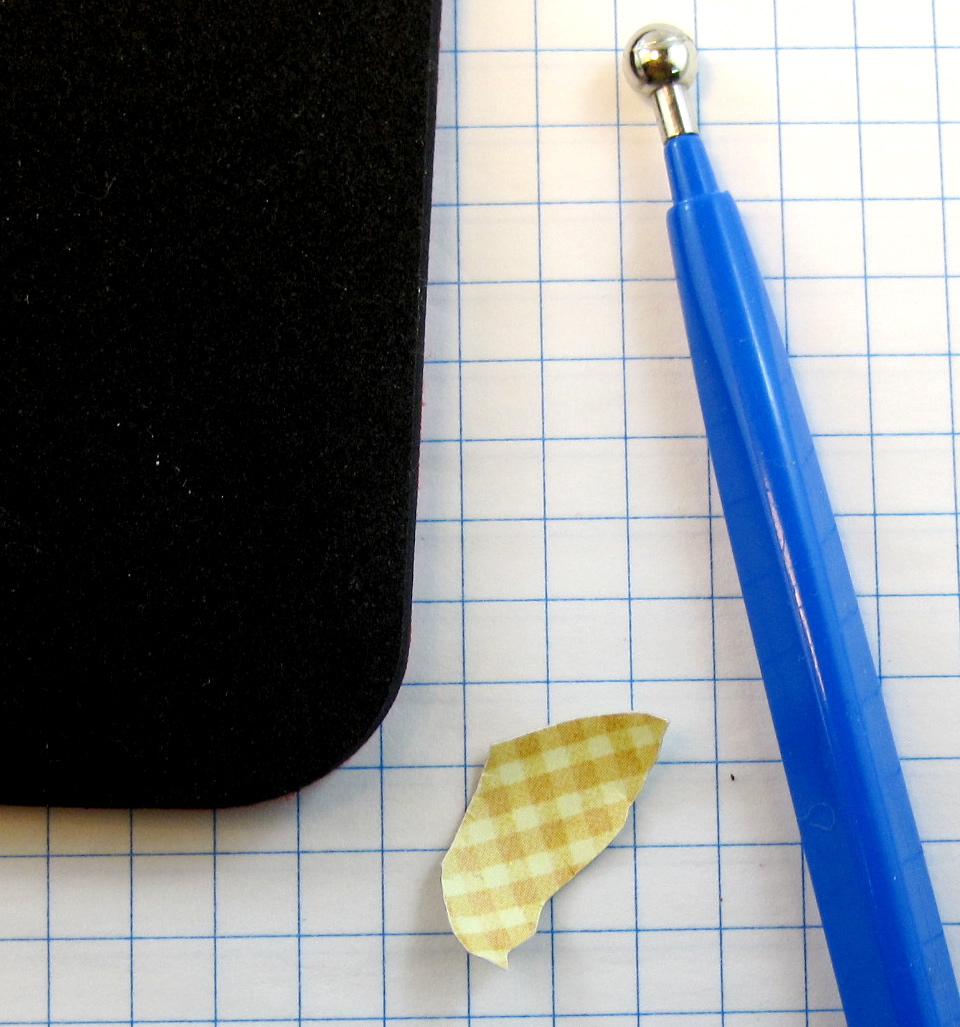
Shape the cut piece using an embossing pad and a large ball embossing tool. To make the wing curve to the back (as shown in the sample photo), burnish the wing from the back. If you wish the piece to curve to the front, burnish from the front.
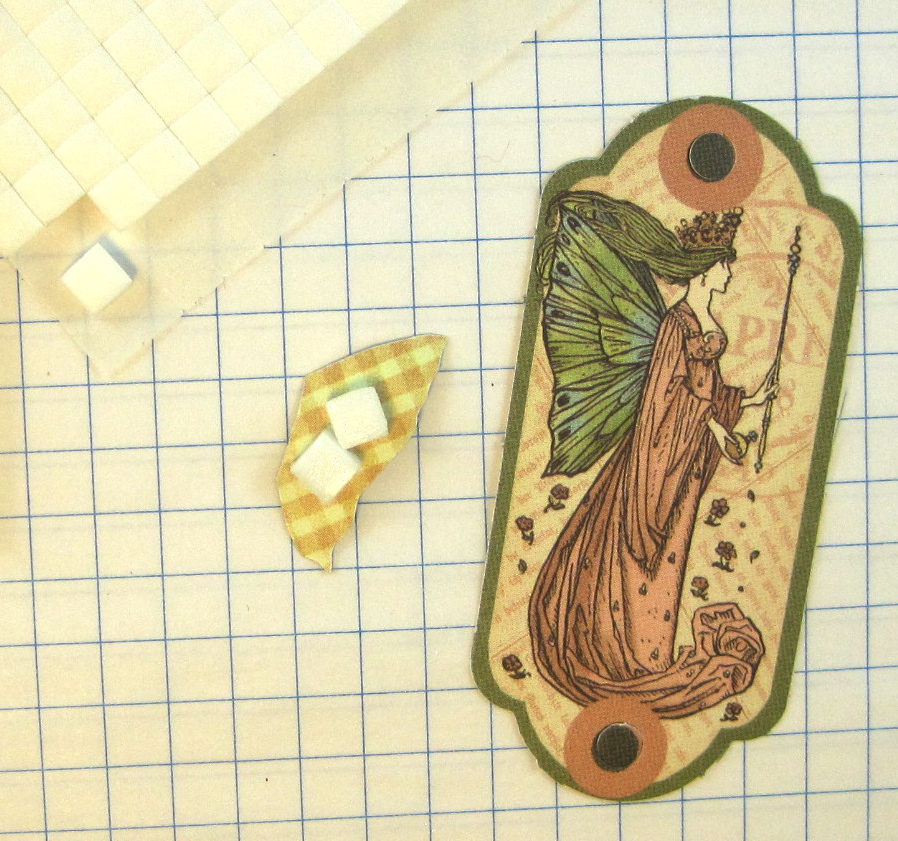
Place the Foam Tabs onto the back of the cut and shaped piece. I wanted the wing to appear as it is attached to the fairy, so before placing, I added a thin line of MONO Multi Liquid Adhesive. Attach the wing holding the edge with the MONO Multi down for a few moments until adhered.
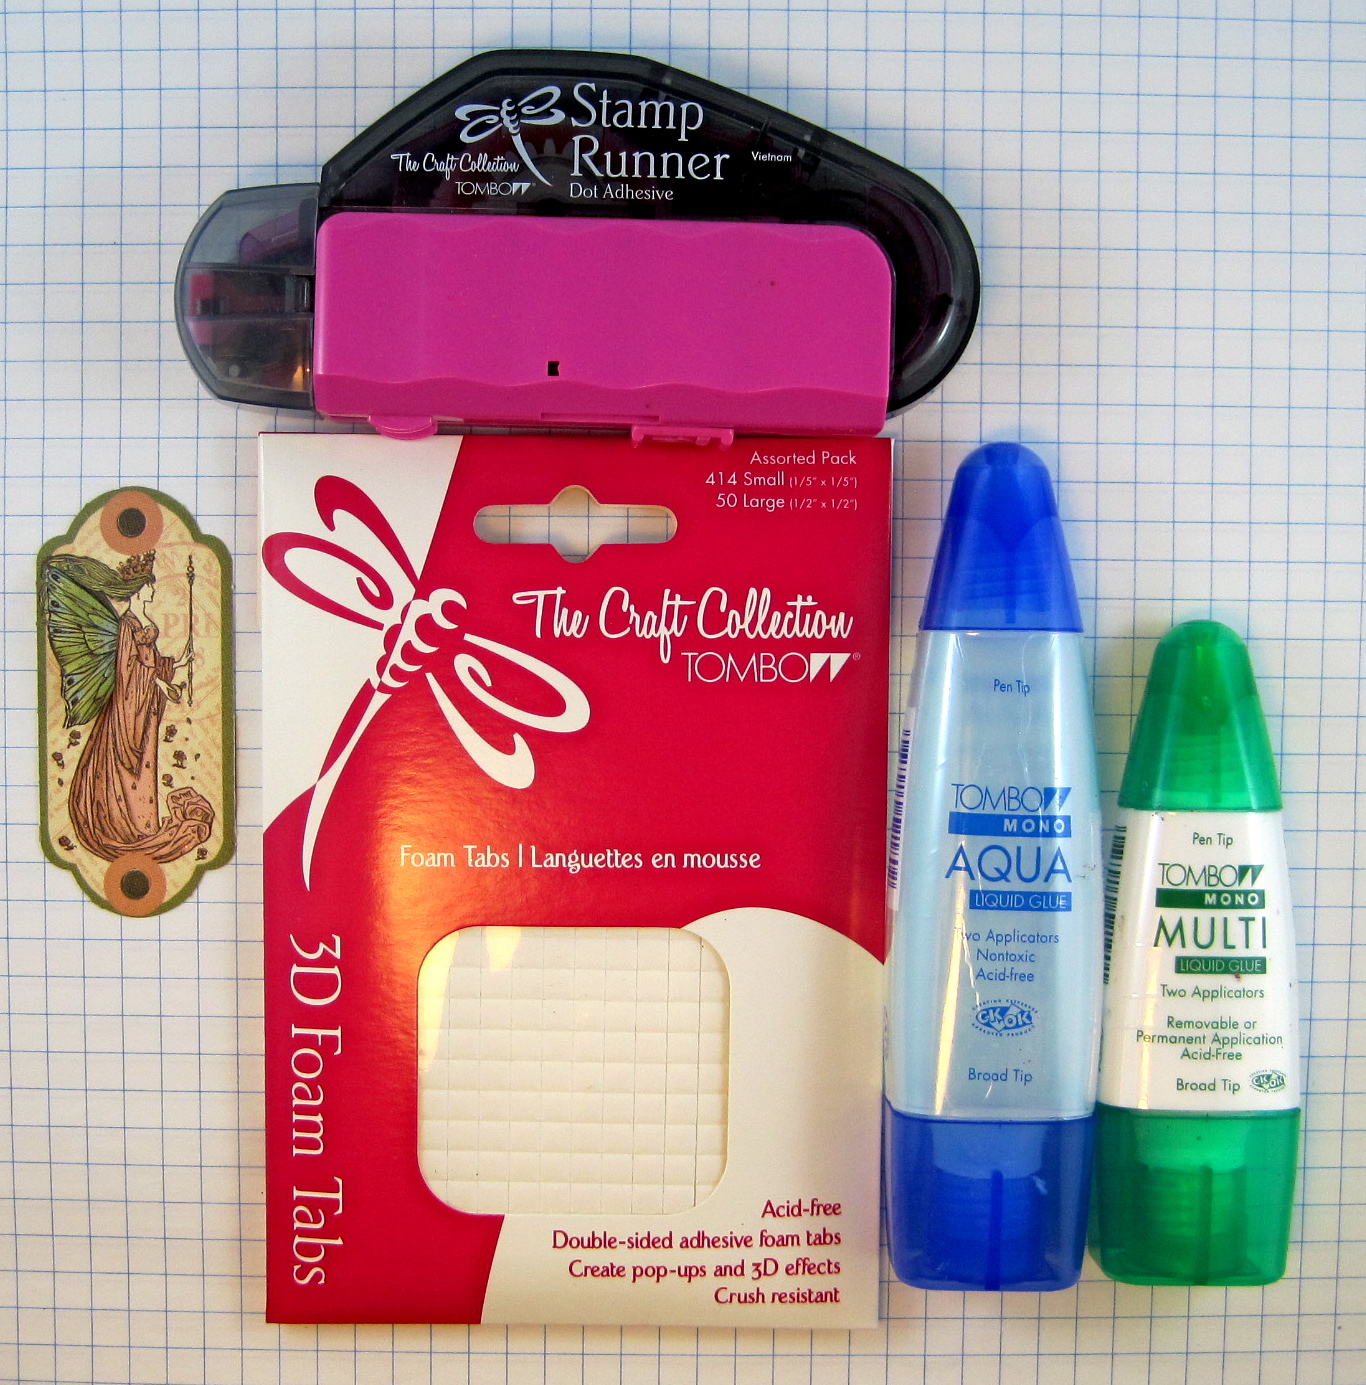
For the cards, I used the Stamp Runner Dot Adhesive to adhere the panels to the card blank, the MONO Aqua Liquid Glue to add some glitter to the flower centers and the fairy wings, and the Foam Tabs and MONO Multi Liquid Glue to create the dimensions.
Visit us next week where I will show you a dimensional layered card created with a stamped image!
Great job Marie. Can’t wait to see your next project!
These are gorgeous! Thanks so much for sharing the curving technique! That is an awesome effect!
I LOVE this technique!! Very beautiful!!