Hey there everyone! Welcome back to the blog for another day of Christmas card inspiration. This Friday we have a hop coming up with Clique Kits that you won’t want to miss. When I created my project for that hop I also used it to make my Christmas card. It’s a great kit that has the perfect pieces for both scrapbooking and card making. Take a look at the fun card I created for you today.

Here’s what you’ll need:
Tombow MONO Adhesive Permanent
Patterned paper
Cardstock
Tim Holtz stapler
Bakers twin
Border punch
To create this card:
1. Start by making your card base from red cardstock.
2. Next, layer white cardstock on the front, using the MONO Adhesive Permanent.
3. Create a decorative piece with a piece of cardstock, patterned paper and a strip punched with a border punch. I love this bracketed shape.
4. Choose a sentiment and stamp it onto a piece of white cardstock. Place in the center of the card using the Tombow MONO Adhesive Permanent.
5. Select coordinating stickers and place on the front of the card using Tombow Foam Tabs.
6. Finish off the card with bakers twine and staple in place. Add a few more staples around the card to tie it all together.
Take a look at the detailed photo below.
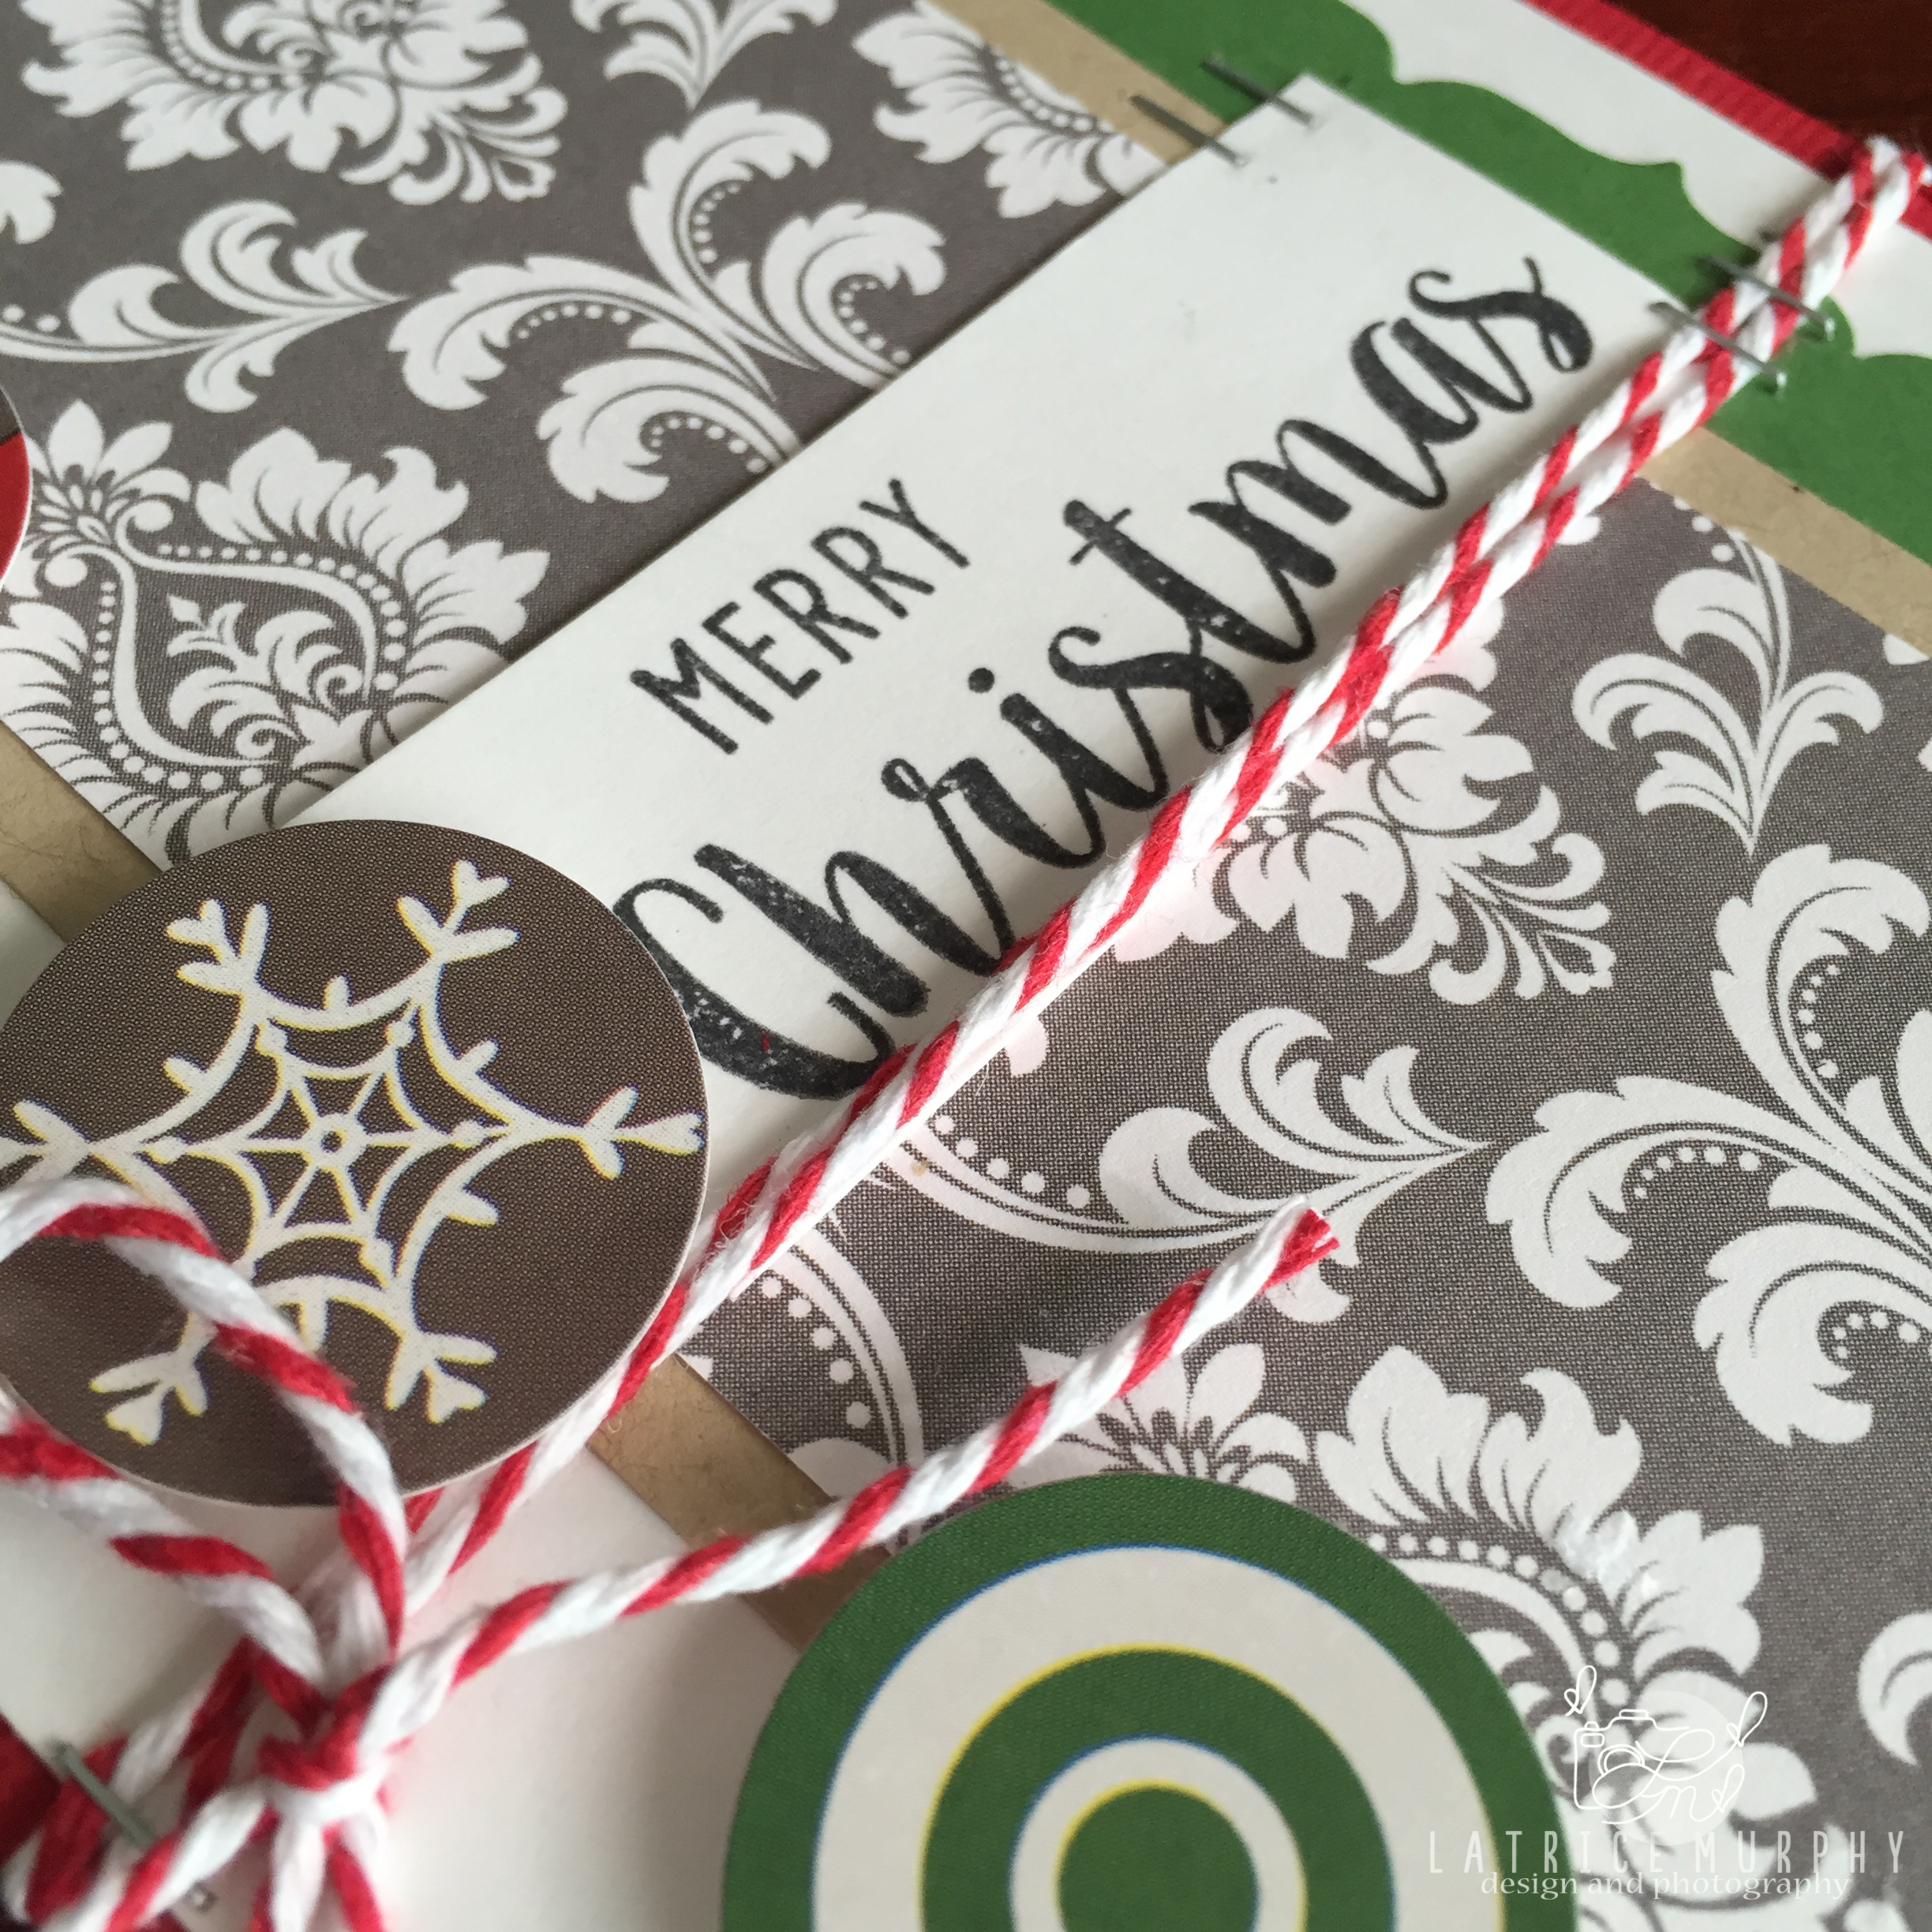
I love the colors of the Photoplay collections and the pieces that came in the kit. Don’t forget to come back tomorrow and get even more inspiration! Thanks for coming by and Happy Holidays!
Latrice
This looks adorable! I love those Christmas papers!
Great steps of making layering card! Thanks for the tips!