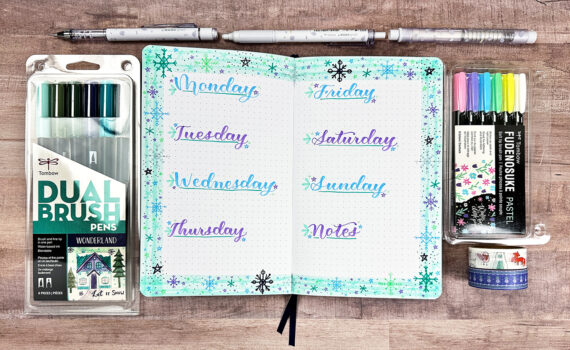
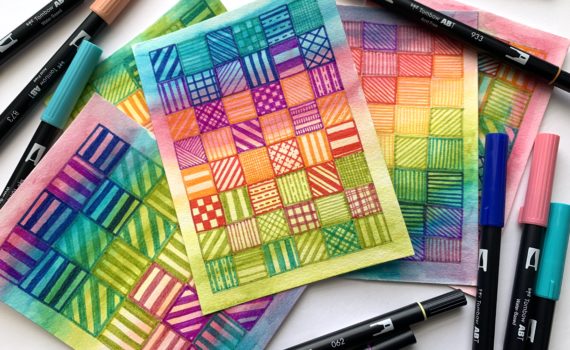
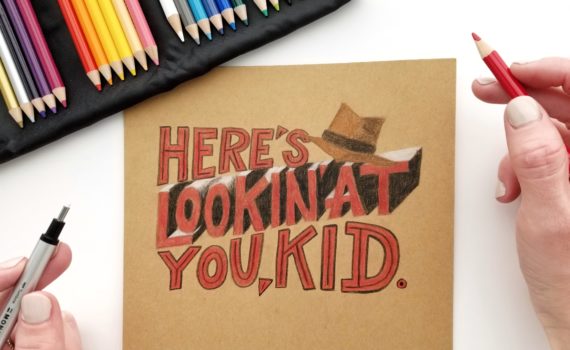
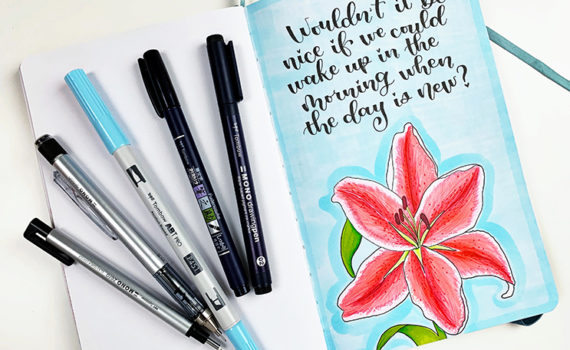
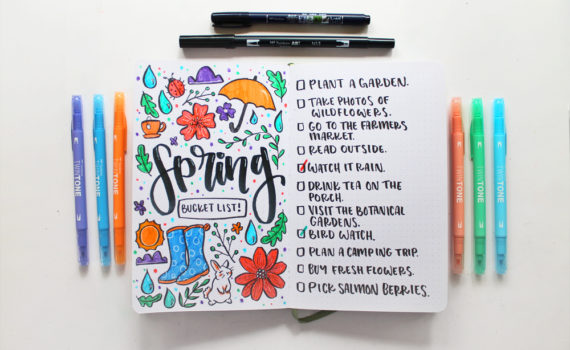
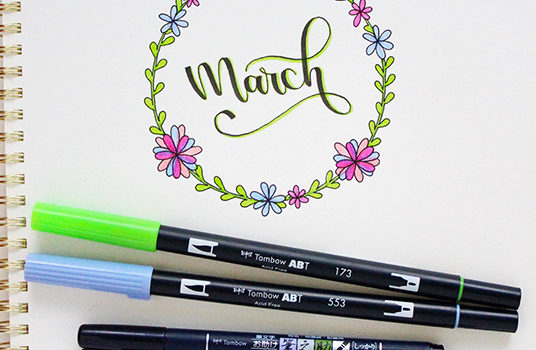
Posts Tagged ‘Doodling’
Daisy DoodleDab by Marie Browning
Here’s another DoodleDab made with Tombow Dual Brush Pens! This super easy DoodleDab is a wonderful accent for your lettering, to decorate an envelope or to doodle onto a card. Sunny and bright, they can embellish all your spring paper crafts!
Here’s a reminder of the steps for making a DoodleDab. To make the teardrop stroke, simply press the brush tip to the paper. You can push hard to make a good size stroke, the flexible tip is strong and will hold up stroke after stroke.
To make a two-toned stroke, place the darker color onto a plastic palette. Pick up with a lighter color. Now when you make the teardrop stroke you will magically have a perfectly blended two-toned stoke!
For the Daisy DoodleDab I am using the following Dual Brush Pens: 925, 555, 685 and 195. Start by making small ovals with the fine tip of the orange marker. Make two-toned strokes using the dark blue and purple markers. Start in the middle of the flower center and add the petals, making them smaller as you move out to the sides. With the fine tip of the green marker, add the flower stems. Make two-toned leaves using the dark blue and green markers. I also added a few falling petals and curly dots as accents.
Here’s a sample of the daisy DoodleDabs accenting some lettering.
Have fun DoodleDabbing!
Next week, blending with Irojiten Colored Pencils!
Have you caught the Smash Book Fever?? Well I’ve had it for a while and is incredibly fun. I wanted to share a few pages that I made. I don’t really follow a theme I just put things that make me happy.
My Smash Book’s Best Friend is the Stamp Runner Dot Adhesive. I mostly use magazine pages and this adhesive doesn’t wrinkle the pages and is pretty small so you can have it in your bag or purse. Some people have like a Smash Travel Kit and I think that in this kit you should include the Stamp Runner Dot Adhesive, Mono Multi Liquid Glue and the Mono Glue Stick.
Most of these things are from my college years including my student card and my train card :0)
The Smash Book tabs have only one sticky side and I don’t fully trust so I use the Stamp Runner Dot Adhesive.
For the Epiphany Crafts Embellishments I use my Mono Multi Liquid Glue. I used a lot of washi tape and rub ons.
I made this page because I am getting very serious about my health and losing weight :0)
This page is about the places I want to go :0) The arrows are stamps that I colored with my Tombow Dual Brush Pens.
The little envelope on the corner I made it with my Cricut and to put it together I used the Stamp Runner Dot Adhesive, to keep the Twine in its place I used the Mono Aqua Liquid Glue. The cute angel stamp I colored it with the Tombow Dual Brush Pens.
For this Earth Friendly Page I made two tags on my cricut and I put them together with the Stamp Runner Dot Adhesive. For the little punched pink flowers I used the Mono Multi Liquid Glue which has a broad tip for big spaces and small tip for small things like these. It also doesn’t clog, which is the best thing for me :0)
Do you have Tombow on your Smash Kit??!!
Take Care!!
This week we are playing with our Tab Fasteners and I want to share this cute mini backpack. Is really easy to make, I promise :0)
Sometimes we shy away from projects like this because we think is too hard but this was really easy to make, take it from me, probably the slowest scrapbooker ever!! It will take you only a 8 1/2 x 11 cardstock sheet for the base and for the decorations you can use scraps like I did. I took a 10 1/4 x 5 1/4 and I scored the wide part at 3 1/2 then I turned it around and I scored at 3, 4 3/4, 7 3/4 and 9 1/2. Cut the score lines of the bottom part, below the score line. To make the backpack flap I used a 3 x 2 1/2 cardstock and score at 1/2. To make it round I used a plate since I don’t have the tool for making circles. For the pocket you need a piece of 3 x 2 cardstock and you should score it at 1 1/4 and 1 1/2 on the sides and at the bottom. Cut out the squares in the bottom corners to make the folding easier. To make the little flap for the pocket use a 1 1/2 x 2 piece of cardstock and score at 1/4 and 1/2 on the top long side. As I did with the backpack flap to make it round you can use a tool, a plate or anything round. Don’t glue anything yet!! Just have all your pieces.
After all the scoring you turn the page around and you are going to have a little flap to put the backpack together, one of the sides, the front of the backpack, another side and the back. You are going to see a little rectangle in the left bottom, cut it out. Using the Stamp Runner Dot Adhesive I covered the front of the backpack with a less busy patterned paper. Glue the backpack flap to the back of the backpack with the little flap on the inside. Cover the visible part of the flap with a busier or darker patterned paper, do the same with the pocket flap. On the exact score line punch two holes 3/4 from the border, this is for the ribbon on top. In the back make four holes, the two in the top are going to be on the center, close to each other but remember that you need space for eyelets (these are optional but they reinforce the holes, avoiding ripping). The two on the bottom should be close to the corners. For the top ribbon I used 6 inch ribbon and for the ones in the back I used two 8 inch ribbon. You can tie the ribbon or you can use your Power Tabs or Mono Multi Liquid Glue to glue the ribbon inside. Remember to keep the same distance in both ribbons. Now you can put it together, Glue the bottom with the Mono Multi Liquid Glue and the little flap to close the sides. Is super easy to make the little pocket just fold the sides and glue the corners where they touch in the back bottom on the top add the flap, there you will have a frame. You will glue this frame to the backpack using the Mono Multi Liquid Glue. And now the star of the show!! The Fastener Tabs!! Since they come with adhesive on both sides I placed the tab, without separating the velcro, on the flap and I closed it. It worked AMAZING!! For the little pocket I used a little less of half of a tab, same method. Just added a little stack of buttons and Ta-Da!!
I made this A2 card (4 1/4 x 5 1/2) so you can understand how tiny this backpack will be. For the card I used the Stamp Runner Dot Adhesive and the Foam Tabs for the sentiment and the chipboard sticker.
Do you think you will give this a try?? Show us at the Tombow Facebook Page!!
Take Care!!

For this ABC Week I have another layout.
For this layout I started with a sketch that I didn’t use exactly but it gave me a few ideas. I started with 4 squares that measure 4 1/4 and using my Tombow Stamp Runner Dot Adhesive I arranged them in a 9 inch dark brown square to make them pop. I used the Tombow Dual Brush Pens to doodle on each square and on the border of the page. I love matting my pages with the Stamp Runner Dot Adhesive because is durable, acid free and it doesn’t wrinkle the photos. I placed the photo on the right first because on the one on the left I used the Tombow Foam Tabs to make that photo stand out and hide a journaling tag behind it. On that same photo I used some dimensional stickers and in the part that is not attached to the photo I used Tombow Foam Tabs. On the top of the layout next to the cardstock sticker I made a flower with a brad on the center but instead of piercing the paper I used a Tombow Power Tab. I added a few stickers, brads and, punch outs to the layout. The big pennant is a wood piece and I used the Tombow Mono Multi Liquid Glue to glue the paper, after it was dry I just used my craft knife to cut around it. I did more doodling with the Dual Brush Pens and to decorate I used a trim tape, a cardstock sticker and a big dimensional sticker. I wanted to give the illusion of a wall hanging so I glued twine behind the piece and used a brad as a nail.
Maybe you don’t feel the love for brads, just tuck the prongs behind it and use a Power Tab it will work great!!
I hope you liked this layout!!
Take Care!!

This week we are hopping with My Mind’s Eye and I have to say that they spoiled us rotten!! Getting a box of their products made my day!! I received products of Miss Caroline and Bright and On The Bright Side Collections and I was blown away by all the colors and patterns!!
Since these photos don’t have much color, my palette was inspired in the third picture and the color of the stamps. I kept using the woods with the crackled paint and the chevrons. I started by choosing the patterned paper for the big rectangles. I didn’t use the same arrangement in both pages because the blue would be too predominant. In the left the blue goes in front of the gray stripe and the yellow goes behind the gray, in the right page is the opposite. This technique helps to keep a balanced layout so your eye flows through both pages. I layered all the pieces with black to make them stand out. For the photo mats I used the 6×6 pads and I also layered them with black using my Stamp Runner Dot Adhesive . The pennants connected by the My Mind’s Eye Twine are from the Accessory Sheets and I used the Tombow Foam Tabs with them. I also used other punch out from the accessory sheet, with some stickers, brads and pins.
For the tiny pennants I used scraps and the Epiphany Crafts Tool and I used the Mono Multi Liquid Glue to attach them to the page. For attaching buttons I used Tombow Power Tabs, I learned this trick from Design Team Member Melissa. I outlined some elements to make them stand out, including the photos and the pages.
Thanks So Much to My Mind’s Eye!! Their products work in perfect harmony with Tombow!! I can’t wait to use both again!!
I hope you liked my double page!!
Take Care!!

The theme for the week is Give Me A Hug !! I love this stamp set not just because is super cute but I get to do two of my favorite things when I stamp: paper piecing and coloring.
I always start with the image and then I decide what the background will be. First I picked their clothes, or the pattern paper to paper piece their clothes and then I stamp the image to cut their clothes. Then I decide what color to use on the hair, eyes, etc. Since these are gnomes I have permission to use any colors I want which I love! I color the parts I want to color with my Tombow Dual Brush Pens BEFORE I glue the clothes with my Tombow Mono Multi Liquid Glue. Using my Stamp Runner Dot Adhesive I made a simple background with a hill and a pair of rays. I doodled the background before adding the gnomes with Foam Tabs. I also used twine and a cloud for the sentiment.
I think this is a pretty magical card. Don’t you think?!
I hope you liked my magic!!
Take Care!!

Is that time of the month when we give cards a week free to make other type of projects. I love making layouts and I plan to do a whole lot more. For those of you, brave people who are making the LOAD (Layout A Day) Project I hope you are all set with your Tombow products to tackle this quest. Since I’m not that brave I’ll stick to a Layout each week, here is my Layout for this week.
I’ve wanting to do this background for a while and I found this great photo to use. First I sketched it on a blank page but you can also do it on the back of your page. Maybe you can even free hand it but I am a perfectionist. After gluing the stripes I matted my photo with the Stamp Runner Dot Adhesive which is the one I always use since is Acid Free and glues smoothly. I doodled all the stripes and I used my Tombow Dual Brush Pens with the fine tip ideal for perfect doodling. I used alpha stickers for the title and I drew a line around the letters so they can stand out and I added twine to some of the letters. I hold the twine in it’s place using the Mono Aqua Liquid Glue and for a little extra detail I like using a staple on both ends. On the right I clustered many embellishments like the journaling and Bingo Card Stamp, some Puch Outs, the brad, and for the tag I colored the brown hole protector with a Tombow Dual Brush Pen and added Twine. For the green embellishment in the center I glued the Bubble Cap with my Mono Multi Liquid Glue and Glued the green part to the layout using Power Tabs. On the corners for balance I used the punch outs, brads and twine and in the bottom I used Tiny Alphas.
Remember to buy your Tombow Products for the LOAD Projects, Project Life or even if you just scrap once in a while. Now they are available at the Tombow Online Store!!
I hope you liked my layout!!
Take Care!!

PS: Be sure to go HERE if you haven’t to sign up for Tombow’s Leap Year prize.
How do I get ready for the holidays??
To be honest I am always behind, except when it comes to shopping. I hate to be in lines for hours so I always do my shopping at the beginning of November. But I work on cards two weeks before Christmas. Since I don’t do so many… it works for me. However, when it comes to scrapbooking Christmas memories I always do it the next year. This is the case of this layout, last years pictures and I just did the layout. The good thing about this is that I use things that I already have instead of going to the store to buy more things.
I used an old Momenta paper pack for this layout and the solid textured cardstock for matting and the blue background is from Colorbok.
For the doodling around the page I used the Tombow Blue Dual Brush pen #443 from the Groovy Collection and for the green circle I used the Green #195 Dual Brush pen from the Retro Collection.
For this Cute Santa I did some fussy cutting from another page and the title is a punch out that I matted. I used Tombow’s Foam Tabs on the Santa Claus and all the punch outs.
I used dew drops of the Tombow Mono Multi glue on the I Believe in Santa Punch Out and the letter stickers are from My Little Shoebox.I also used some bling on the Christmas Tree. Noticed the simple gifts? Well this is the time to save money on gifts before she starts asking for PSP, DS and all the other expensive letters.
Have fun with your family this Holiday Season!!
Tombow products used:
I hope you enjoyed my post!!
Take Care!!
Jennie
If you enjoyed this post please follow us on
This week we are doing anything but cards!!
I love making layouts!! But Once Upon a Time I got obsessed with Mini Albums and then cards. When I snapped out of it I was so behind in my scrapbooking that ever since that happened I am making layouts non stop. Lately lots of them are Double Layouts which I hated doing before. If you are like me and you take 20 pictures of your kids just sitting there, Double Layouts are the absolute BEST!
I love adding a big shape in the middle of a double layout, I feel that it connects the two pages. I used the octagon to continue the street feel. I used the Alphabet Soup Girl Collection from My Mind’s Eye and the Summer Travel collection from K & Company.


The word SAFETY was cut from the Boys Will Be Boys Cricut Cartridge.

The arrow is also from Boys Will be Boys but the First is from Cherry Limeade Cricut Lite Cart. For the First I used plain orange cardstock and I drew diagonal lines with the Tombow Retro Dual Brush Pen Set.

The swirl and the cute little girl are Punch Outs from the Paper and Accessories 12×12 Kit.

The bee is also a punch out. I love using the Foam Tabs because that dimension gives your scrapbook a little more detail.

This arrow is also from Boys Will Be Boys. I don’t have boys but this cart has many images that can be used with girls.

The bike is from the same cart and the doodling on the borders were made with Tombow Retro Dual Brush Pen Set.

I made this lollipop flowers and I free handed the leaves.

Tombow products used:
I hope you enjoyed my post!!
Take Care!!
Jennie
If you enjoyed this post please follow us on


