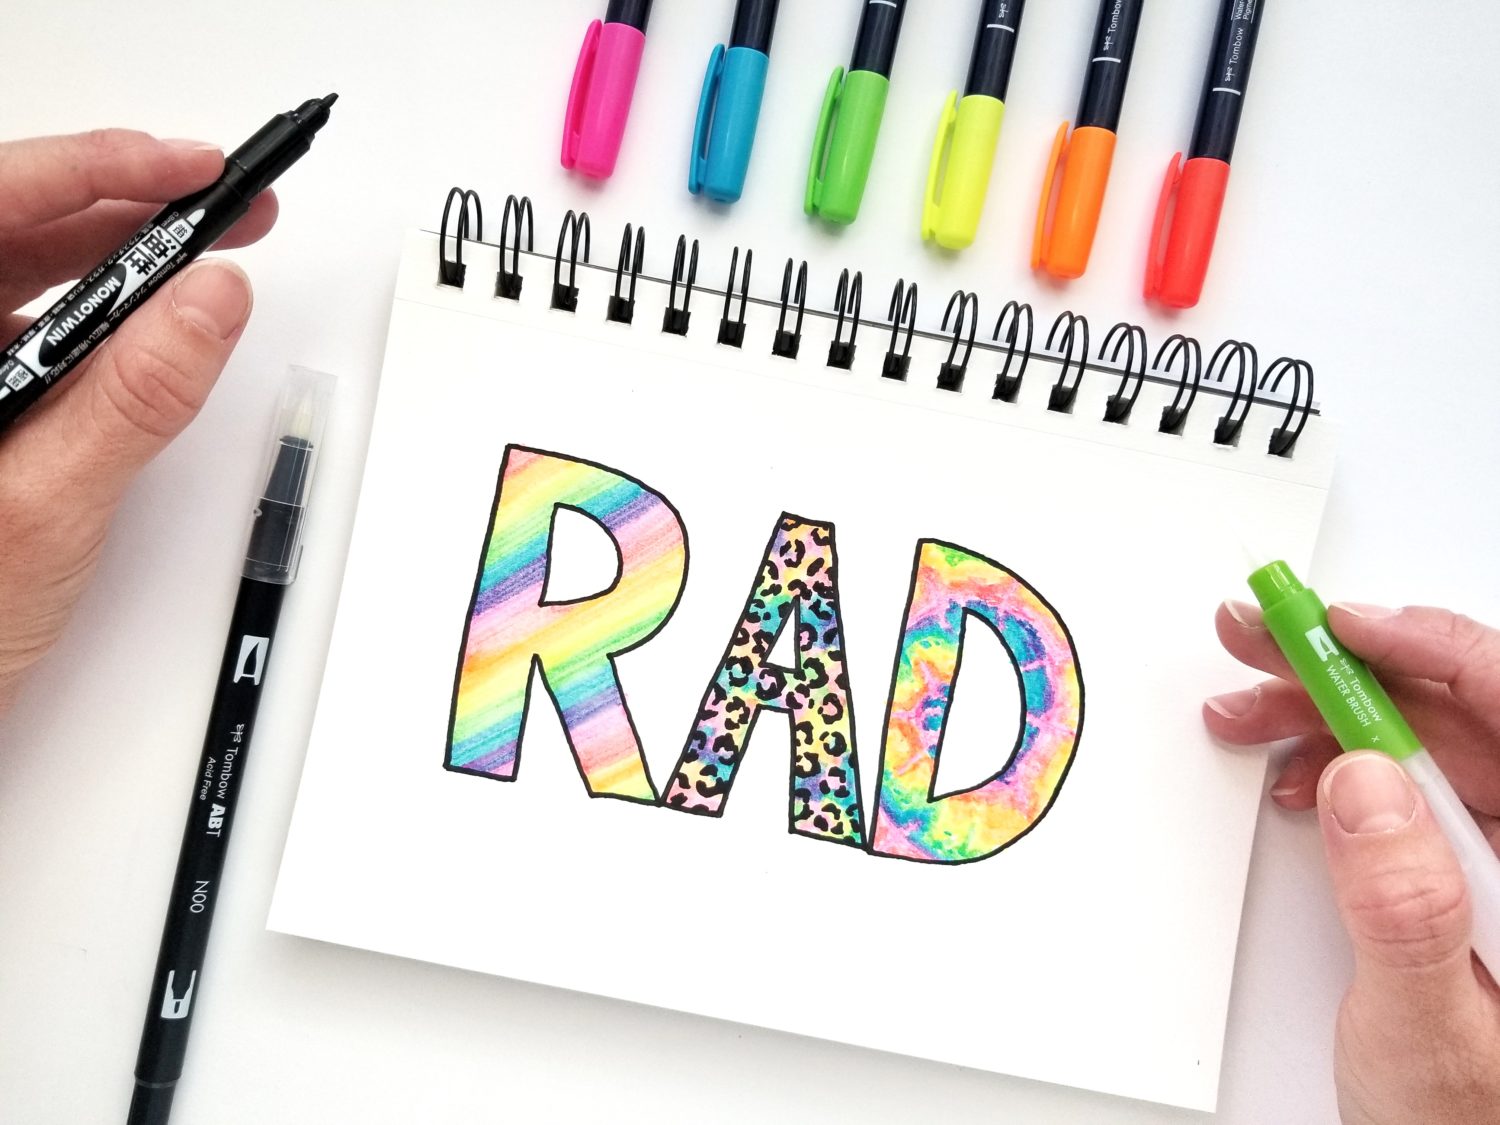
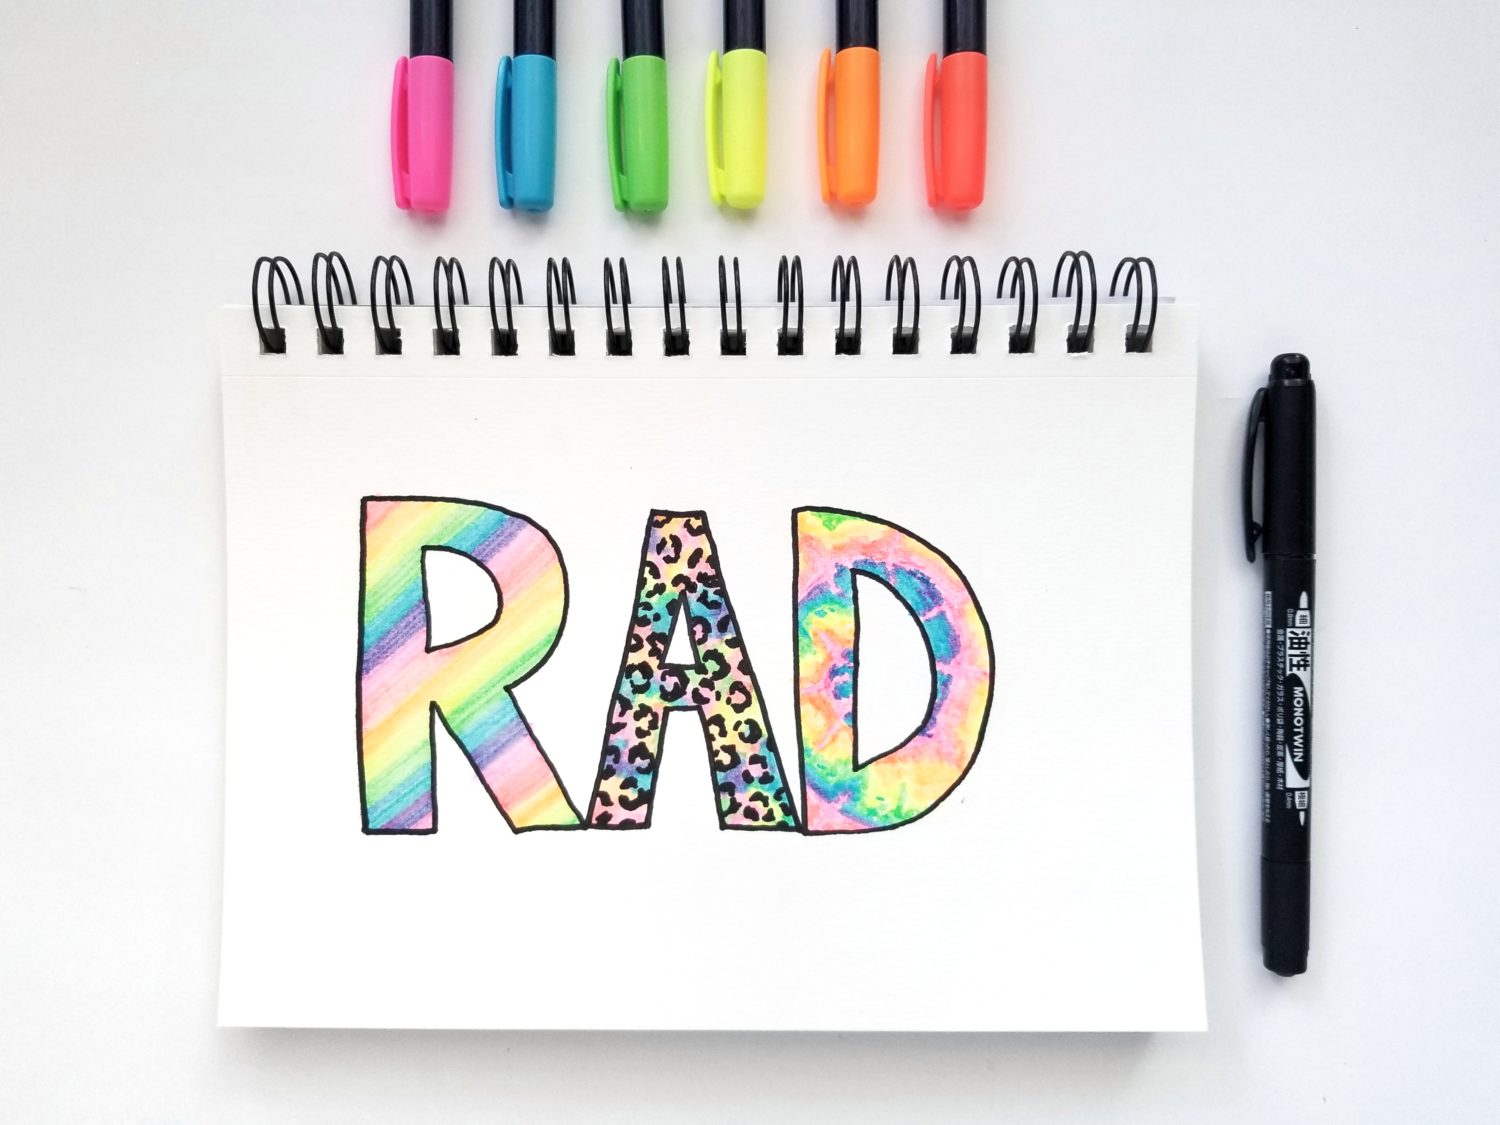
Hi friends! It’s Grace from Grace Anne Studio. It’s no secret I love all things Tombow. The new Fudenosuke Neon Brush Pens are totally RAD! (See what I did there??) Today, we’re going to use them to create three lettering fill styles. Let’s get started!
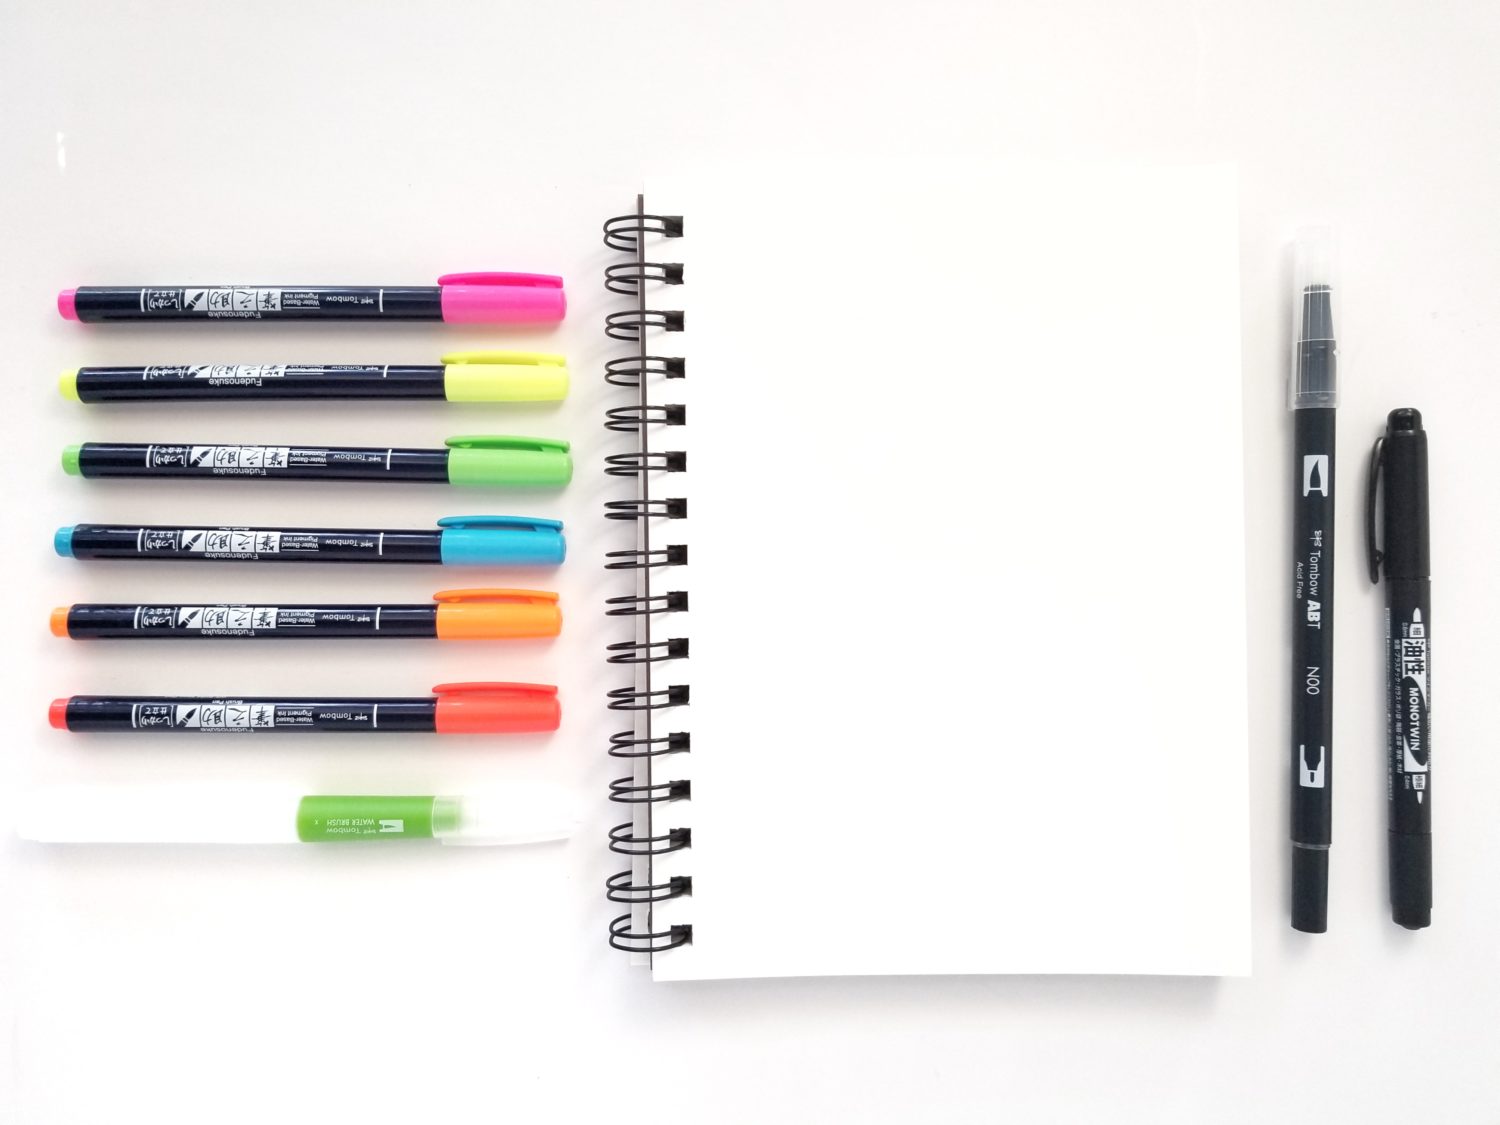
Supplies
- Tombow Fudenosuke Neon Brush Pens
- Tombow MONO Twin Permanent Marker
- Tombow Water Brush – Small
- Tombow Dual Brush Pen Colorless Blender – N00
- Tombow MONO Graph Mechanical Pencil
- Tombow Dust Catch Eraser
- Mixed media paper
Prep Work: Sketch Lettering Outline
Before you start filling letters, choose a word and sketch it out using your MONO Graph Mechanical Pencil. Then, outline the letters using your MONO Twin Permanent Marker. Let it dry and erase the pencil marks with your Dust Catch Eraser. Now you’re ready to fill your letters!
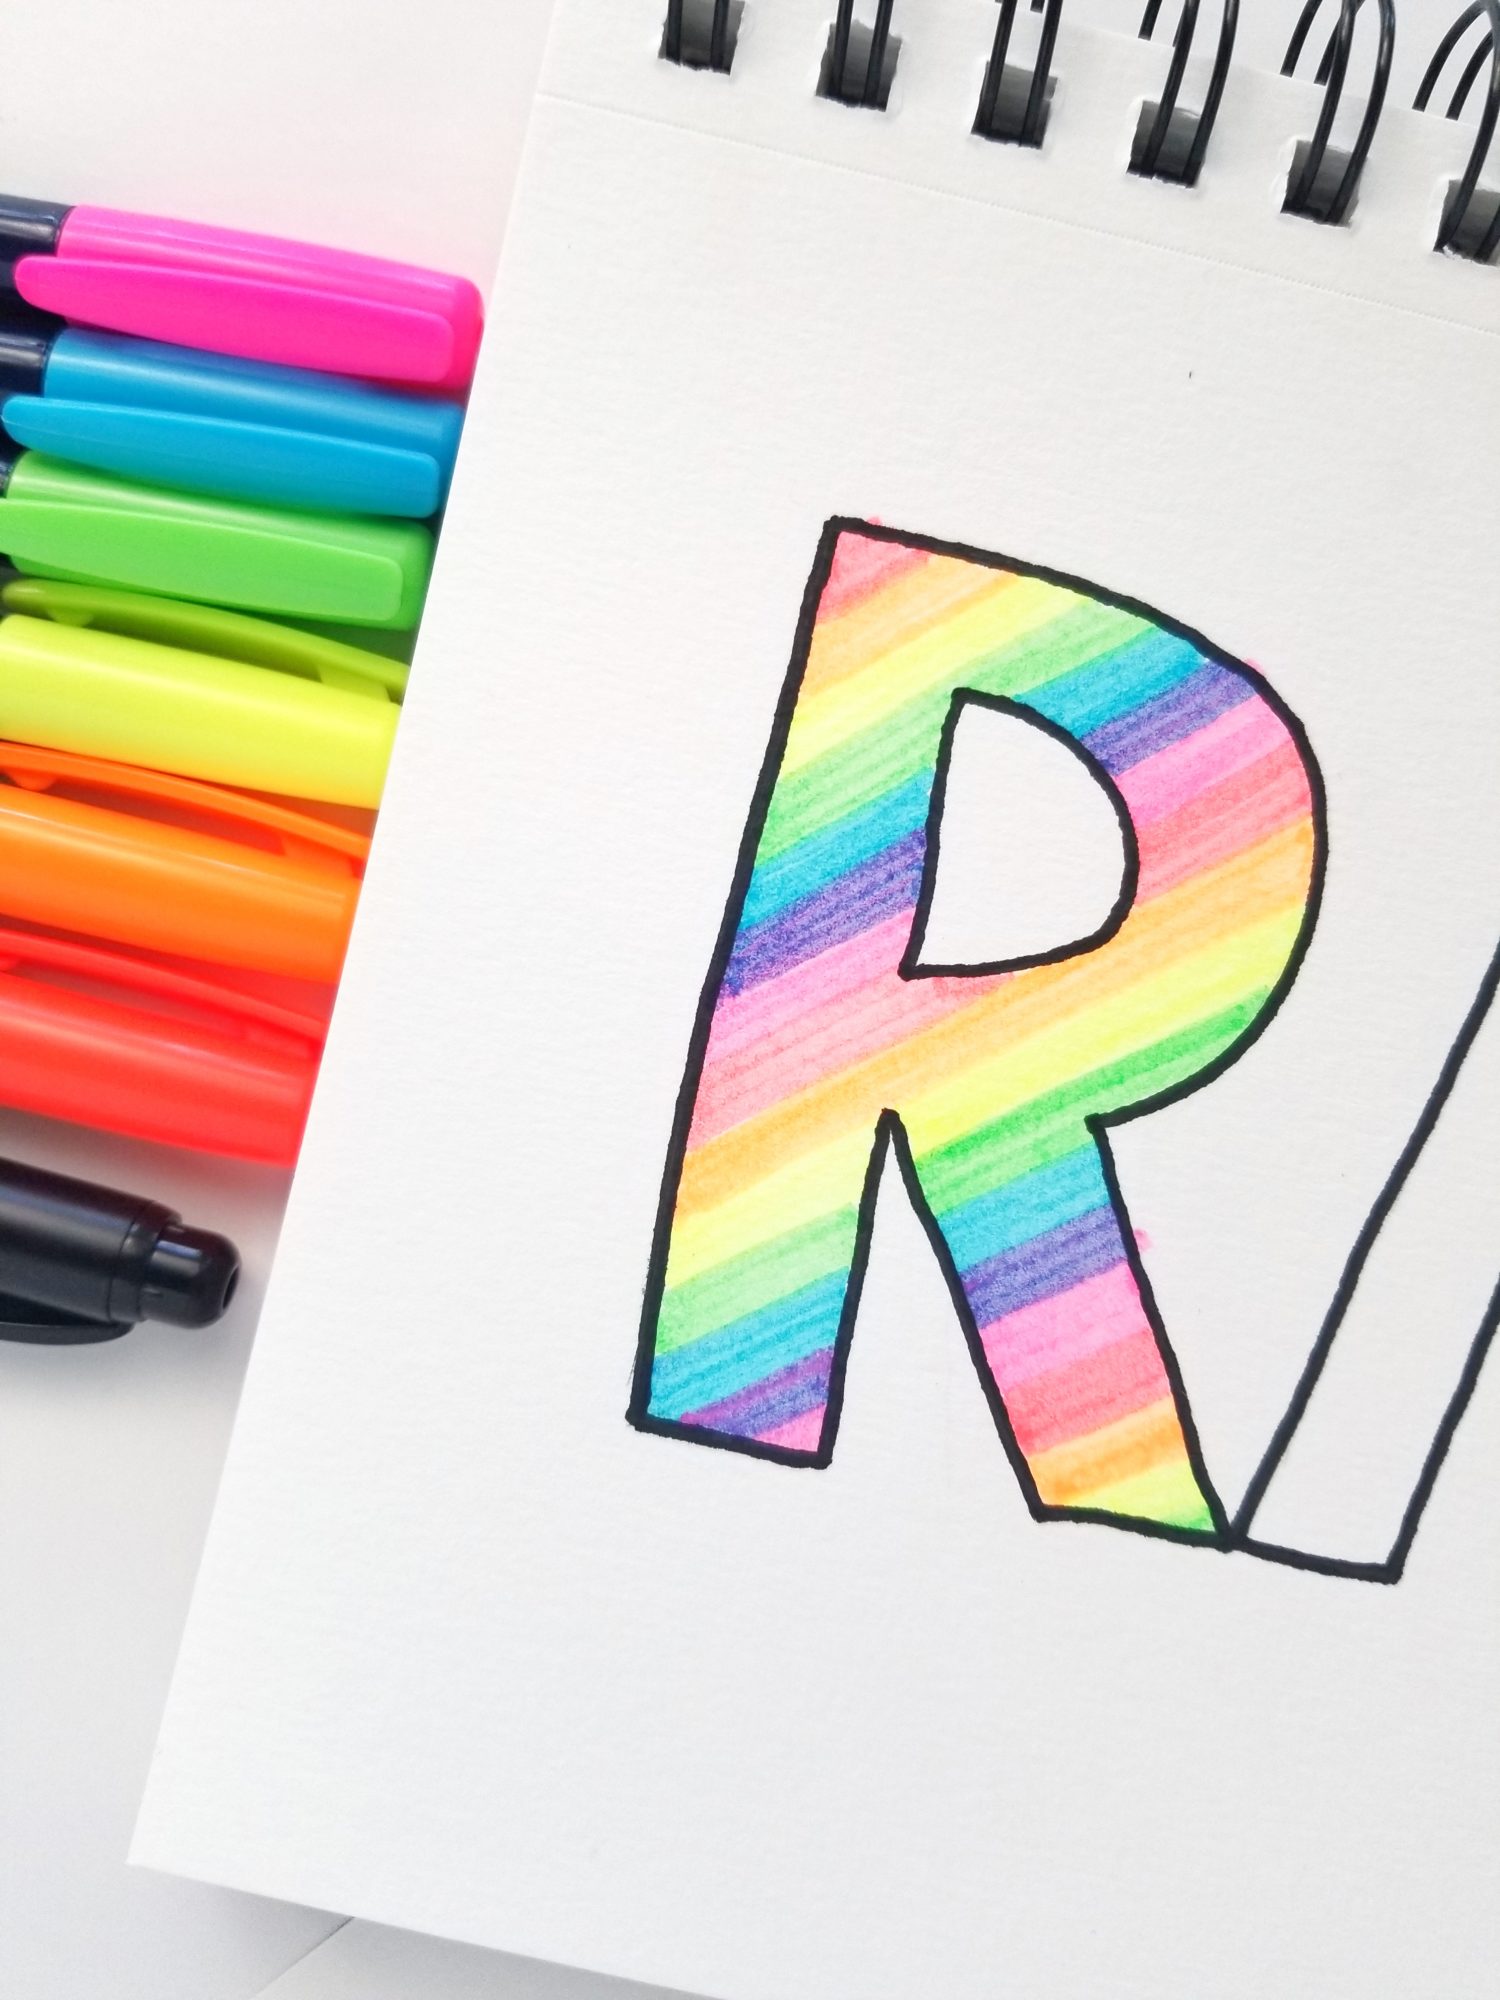
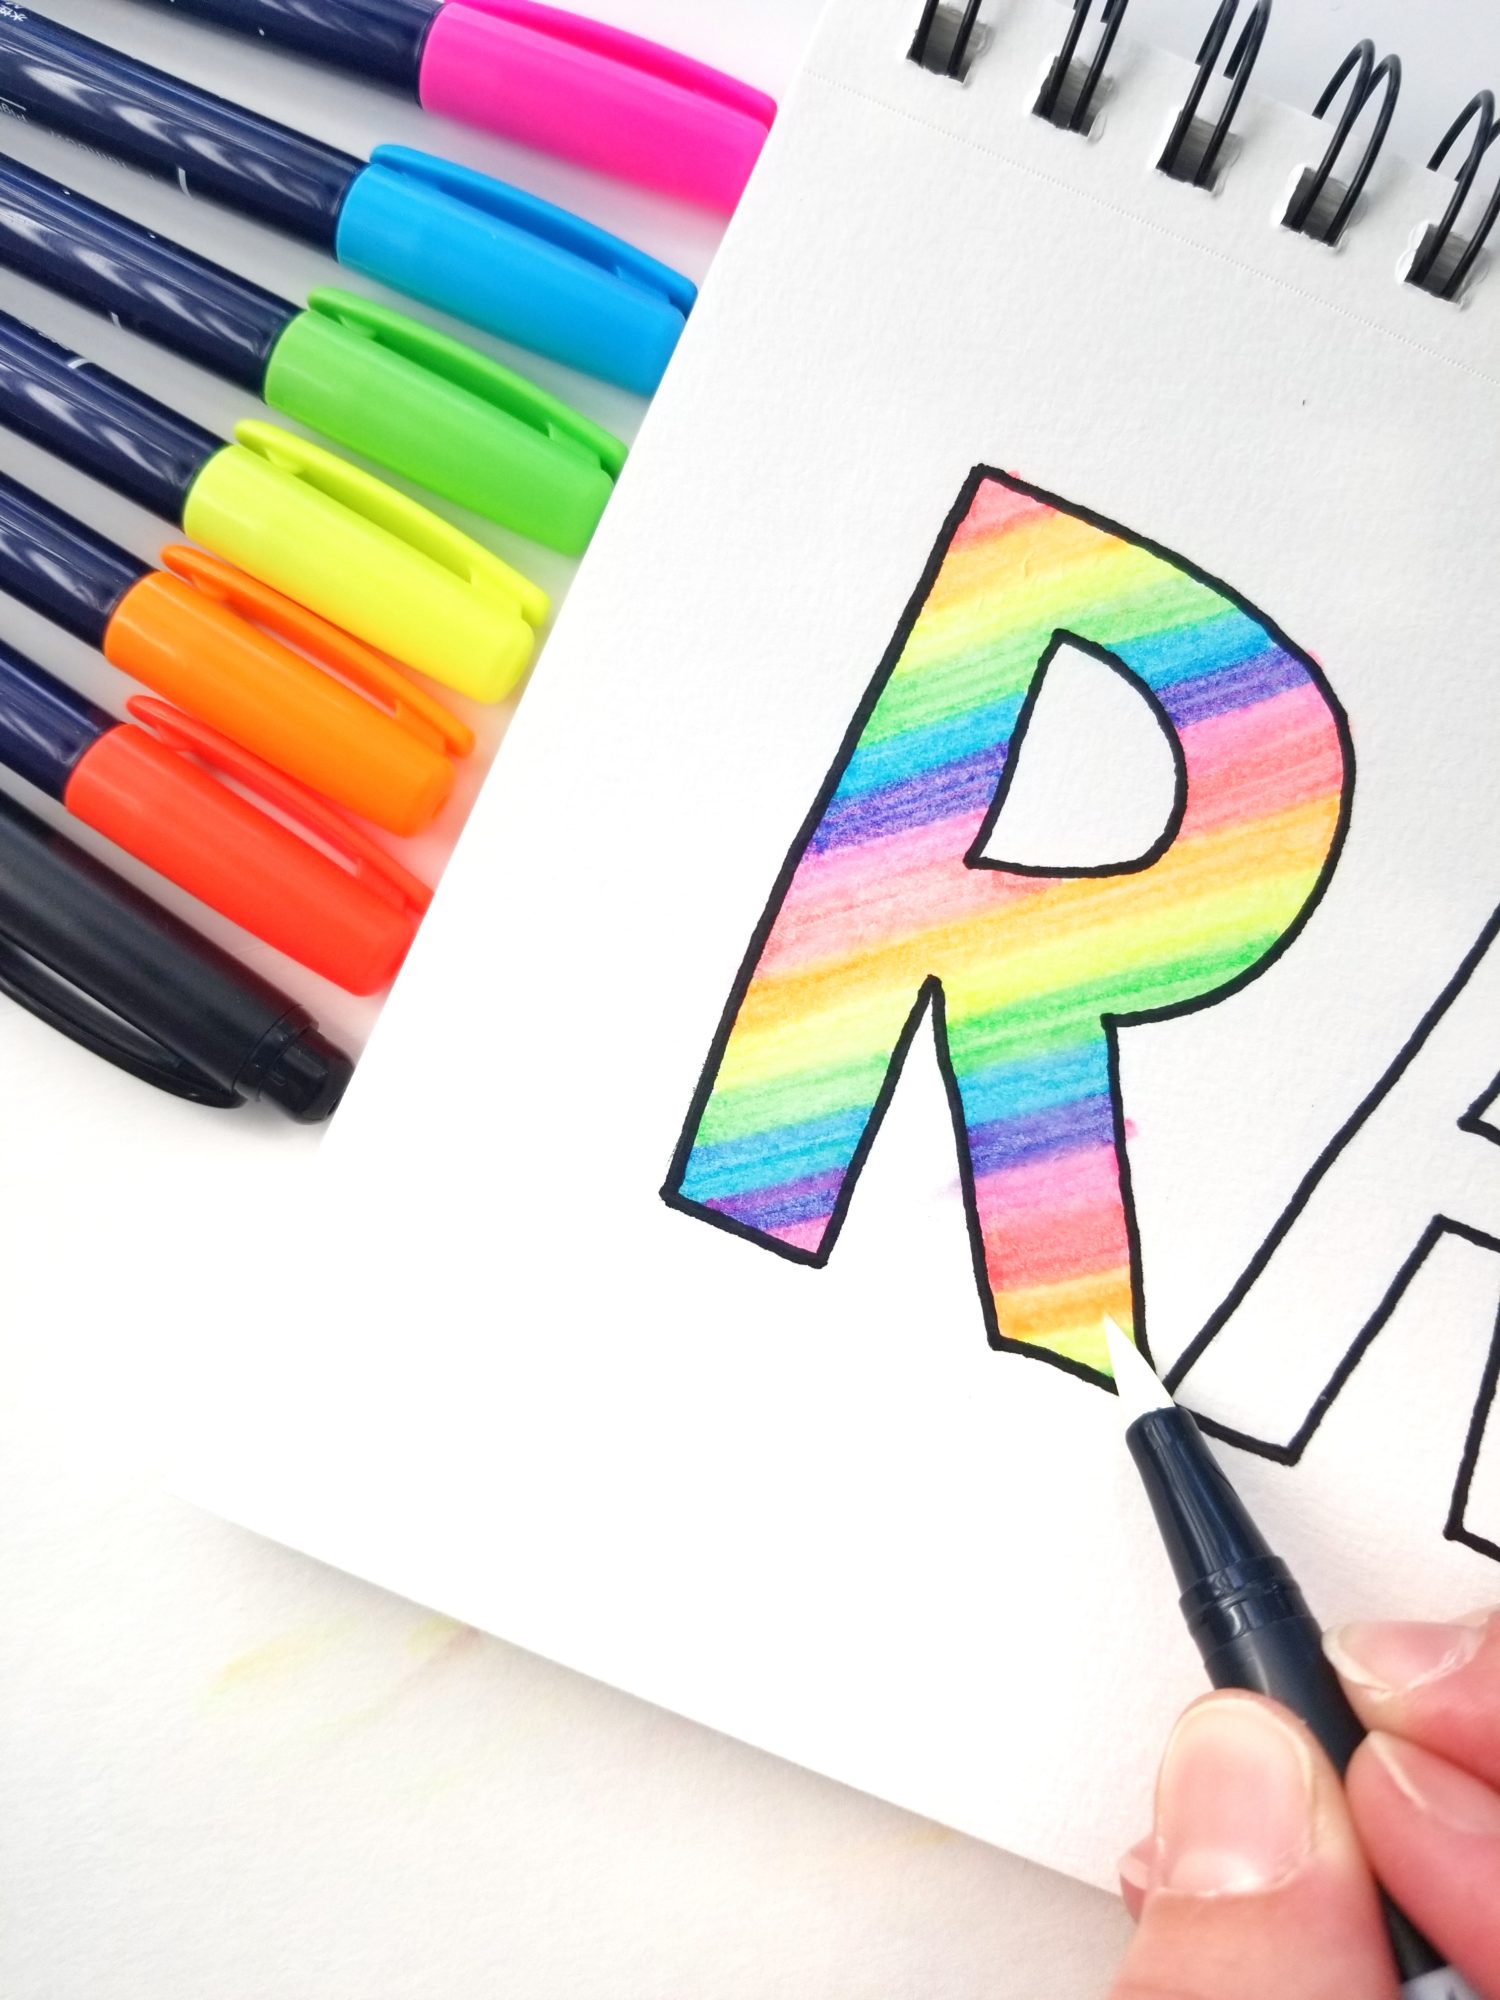
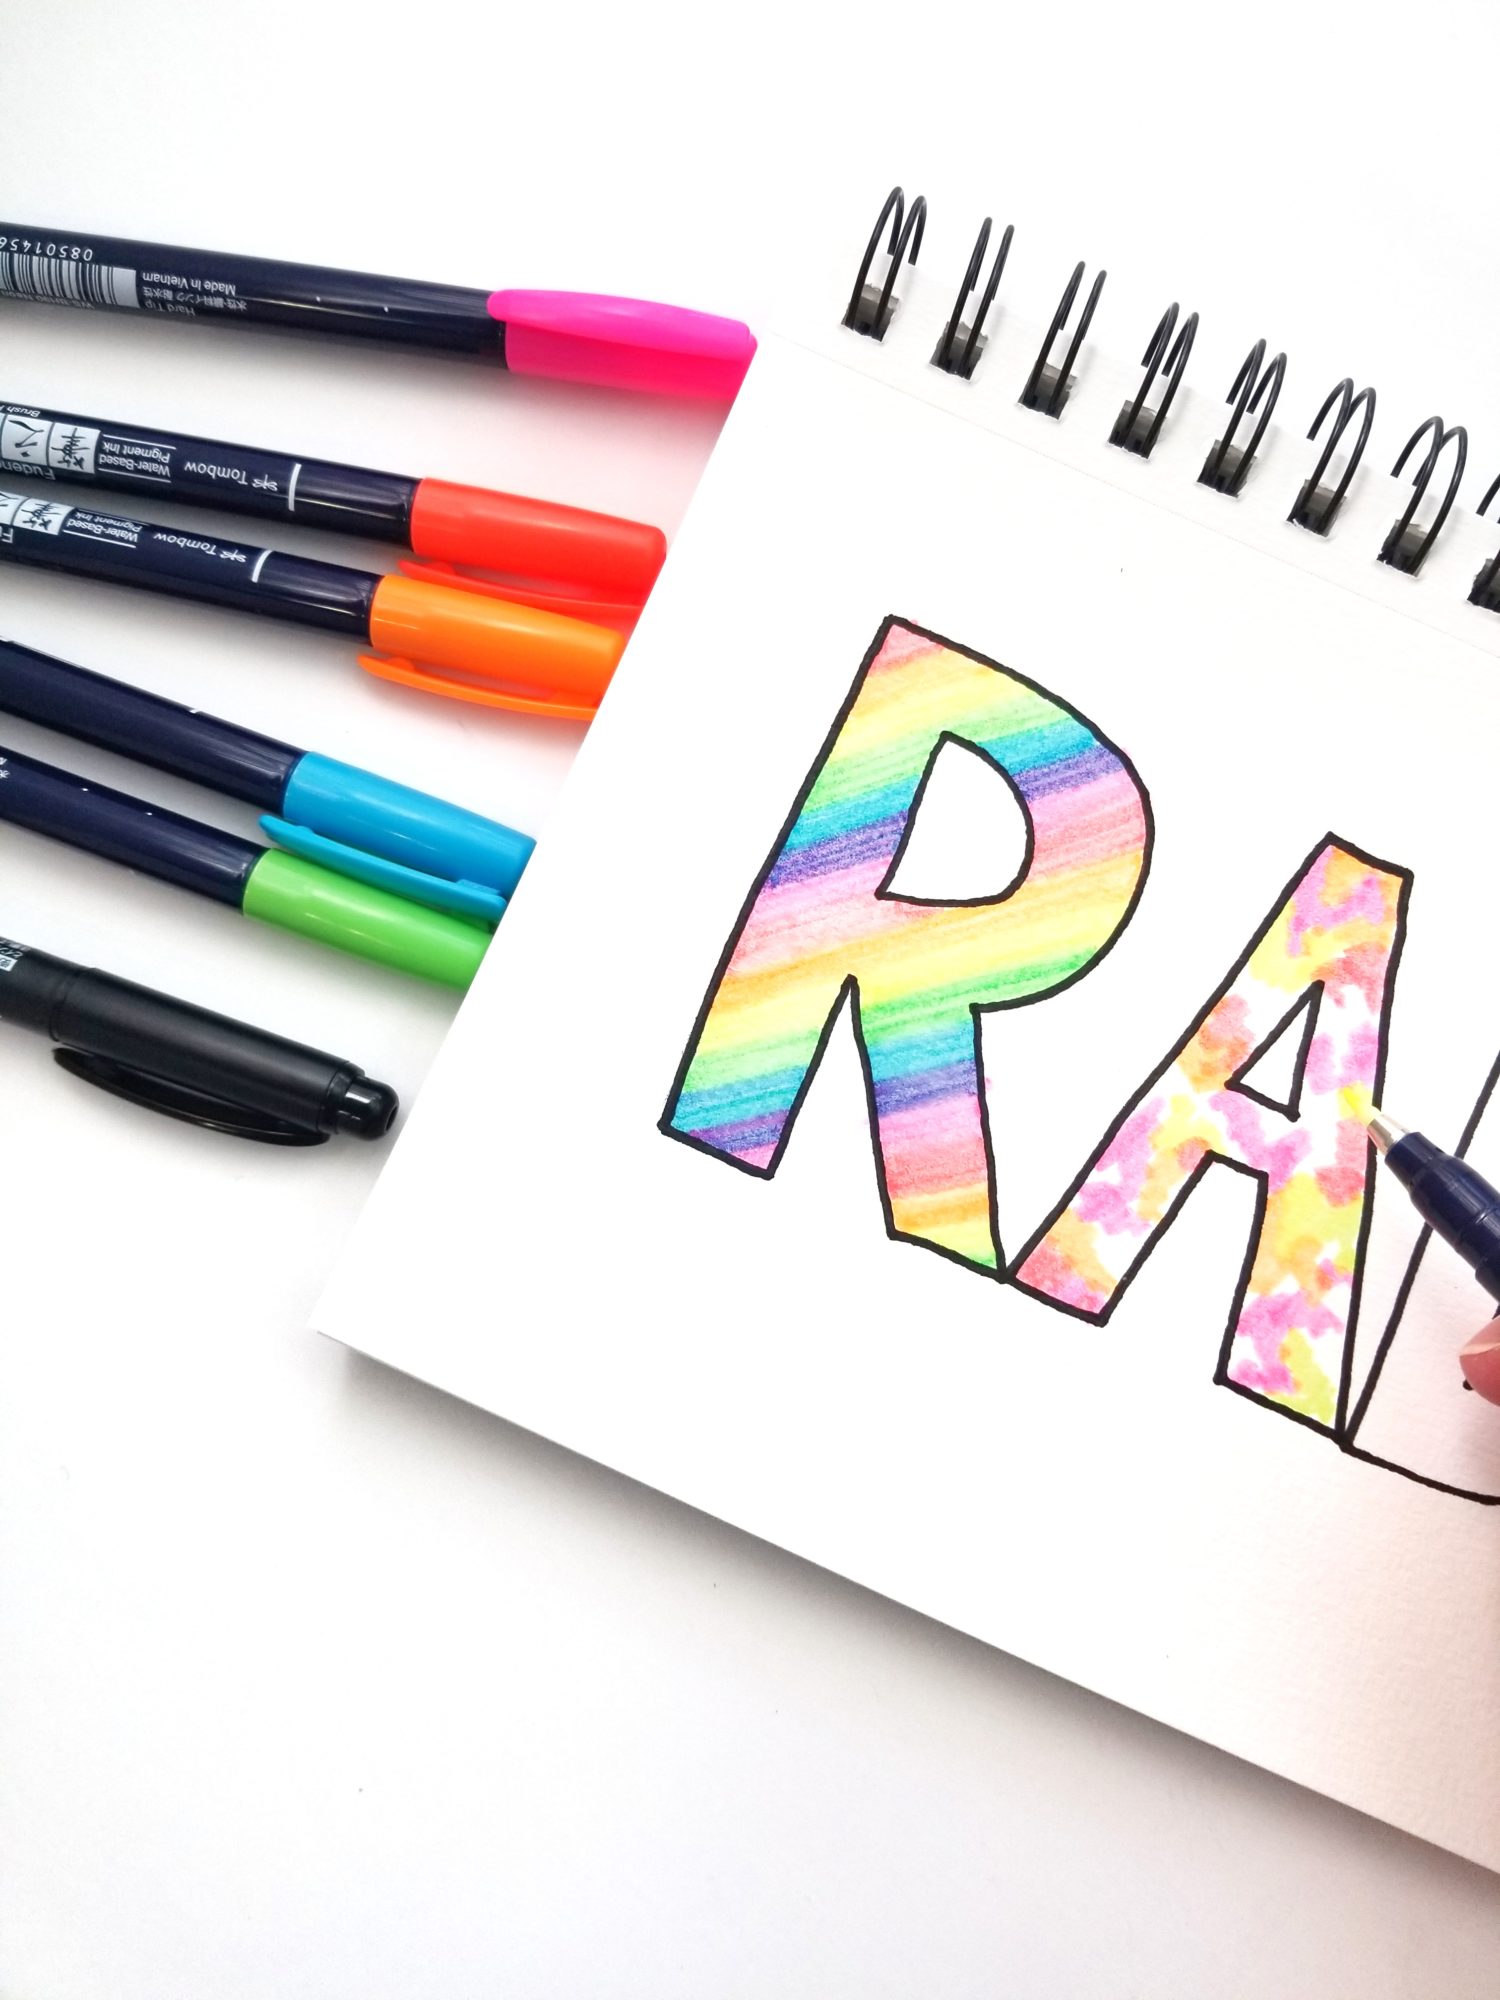
Lettering Fill Style 1: Blended Rainbow
First up is using your Fudenosuke Neon Brush Pens to create a blended rainbow. Start in the top left corner of the R and draw a diagonal line. I used three strokes of neon red to have wider bands. Next, continue adding three strokes of each color (neon orange, neon yellow, neon green) to follow the diagonal. When you get to neon blue, add six strokes. Then, layer neon pink over the last three neon blue strokes to make neon purple! Add three strokes of just Neon Pink and repeat the pattern until the letter is filled.
Once you are finished adding color, use the Dual Brush Pen Colorless Blender (N00) to rub gently where each of the colors meet. This will soften the edge and give a blended look. Don’t forget to use a scratch sheet of paper to clean your colorless blender between colors!
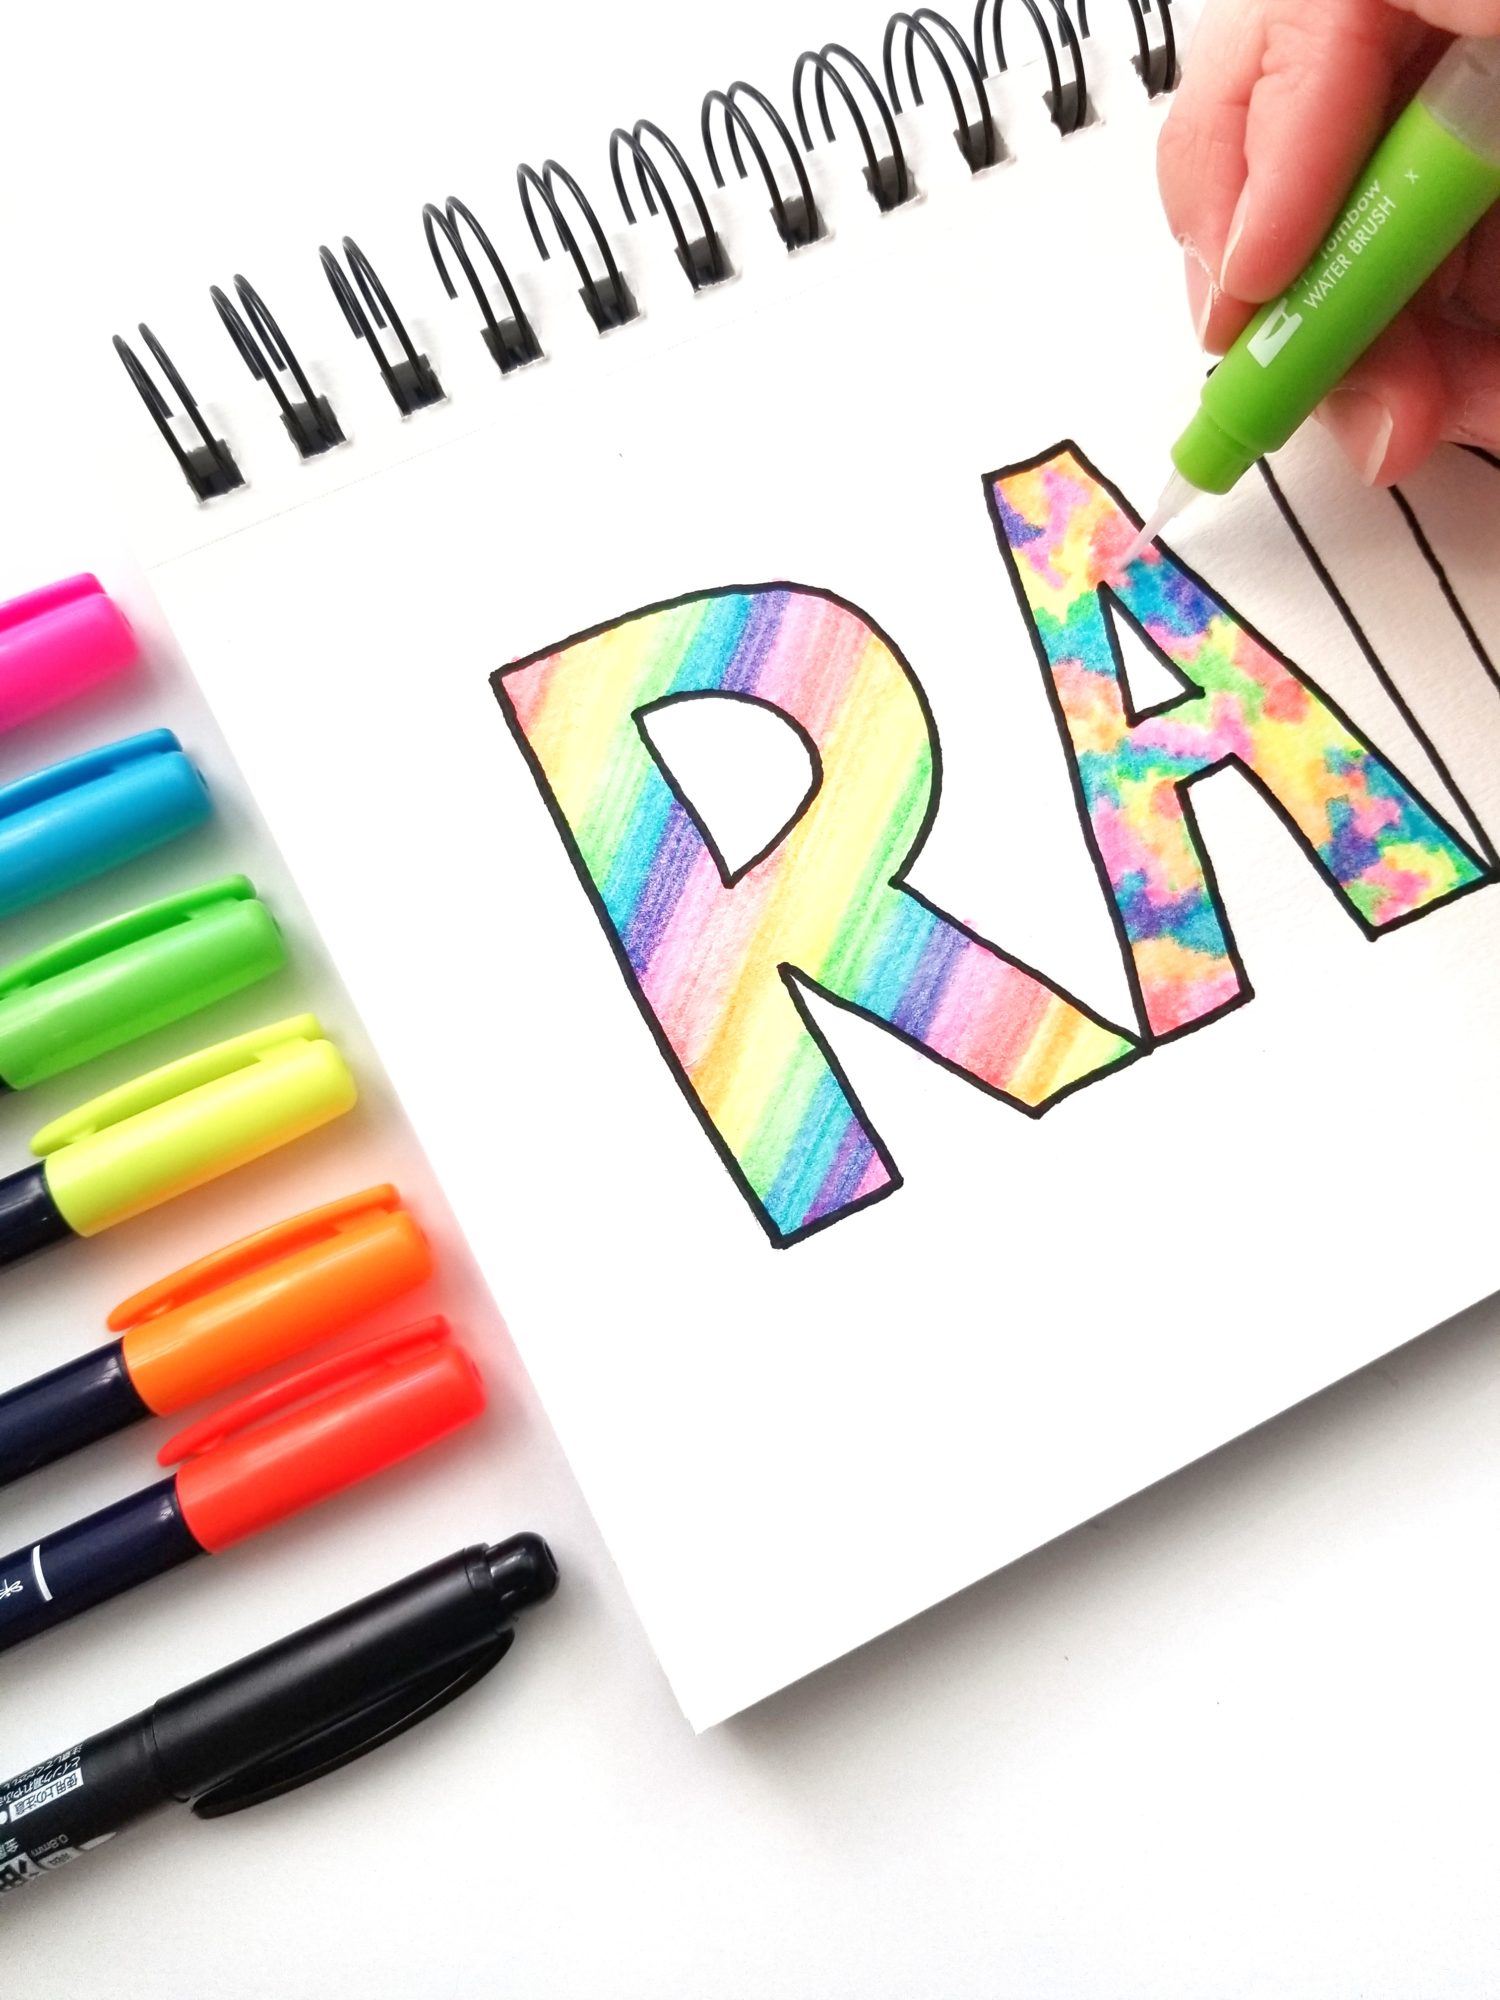
Lettering Fill Style 2: Rainbow Leopard
Next up is a rainbow leopard fill style! To start, scribble a bit of each color all around your letter. Be sure to let Neon Pink and Neon Blue overlap in some areas to create neon purple! Next, use a small Water Brush and VERY little water to lightly brush over the colors. The Neon Fudenosuke Brush Pens don’t blend like the Dual Brush Pens do, however there is a little room for blending! Adding a little water softens the edges.
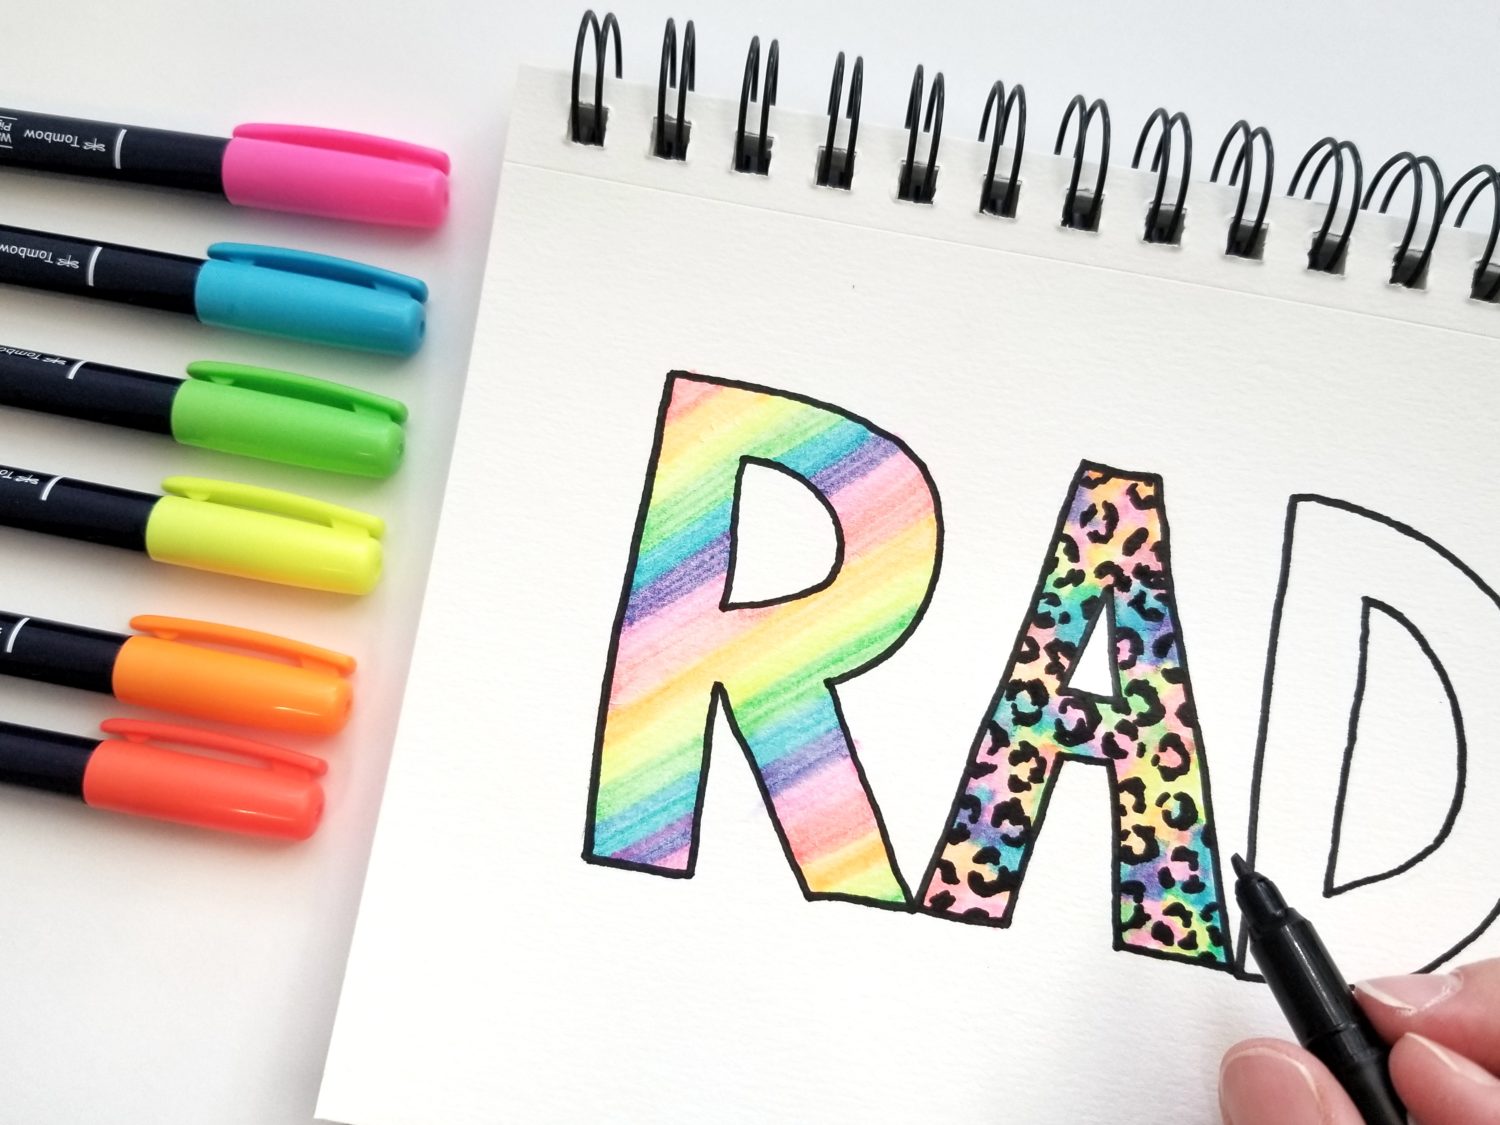
Once the water is dry, use your MONO Twin Permanent Marker to draw leopard spots over the rainbow background.
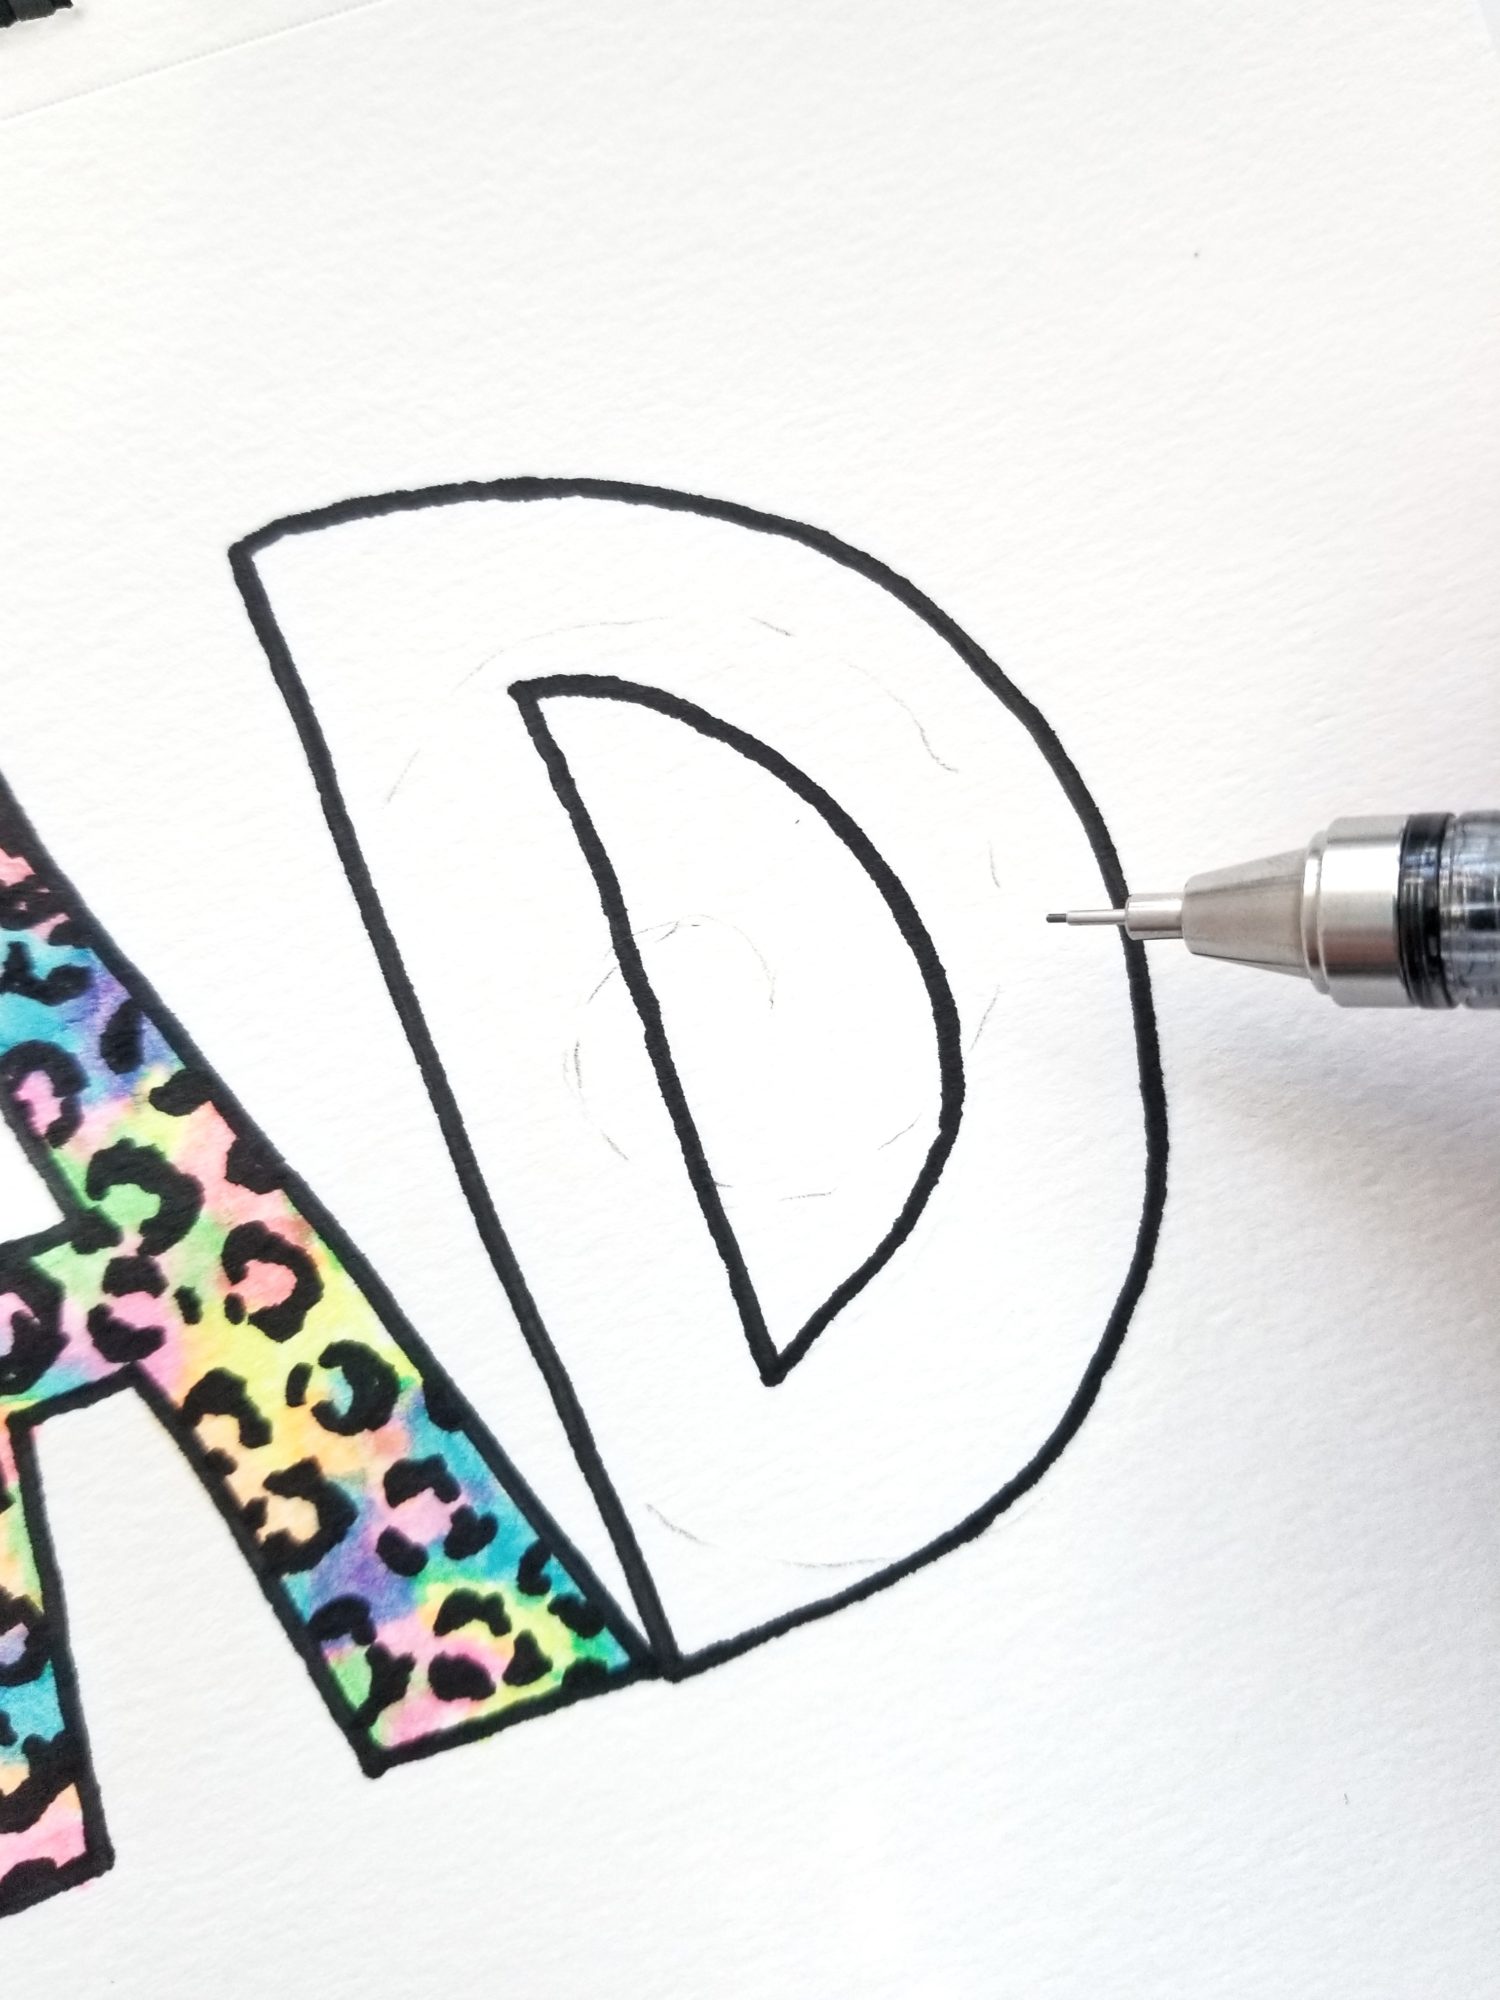
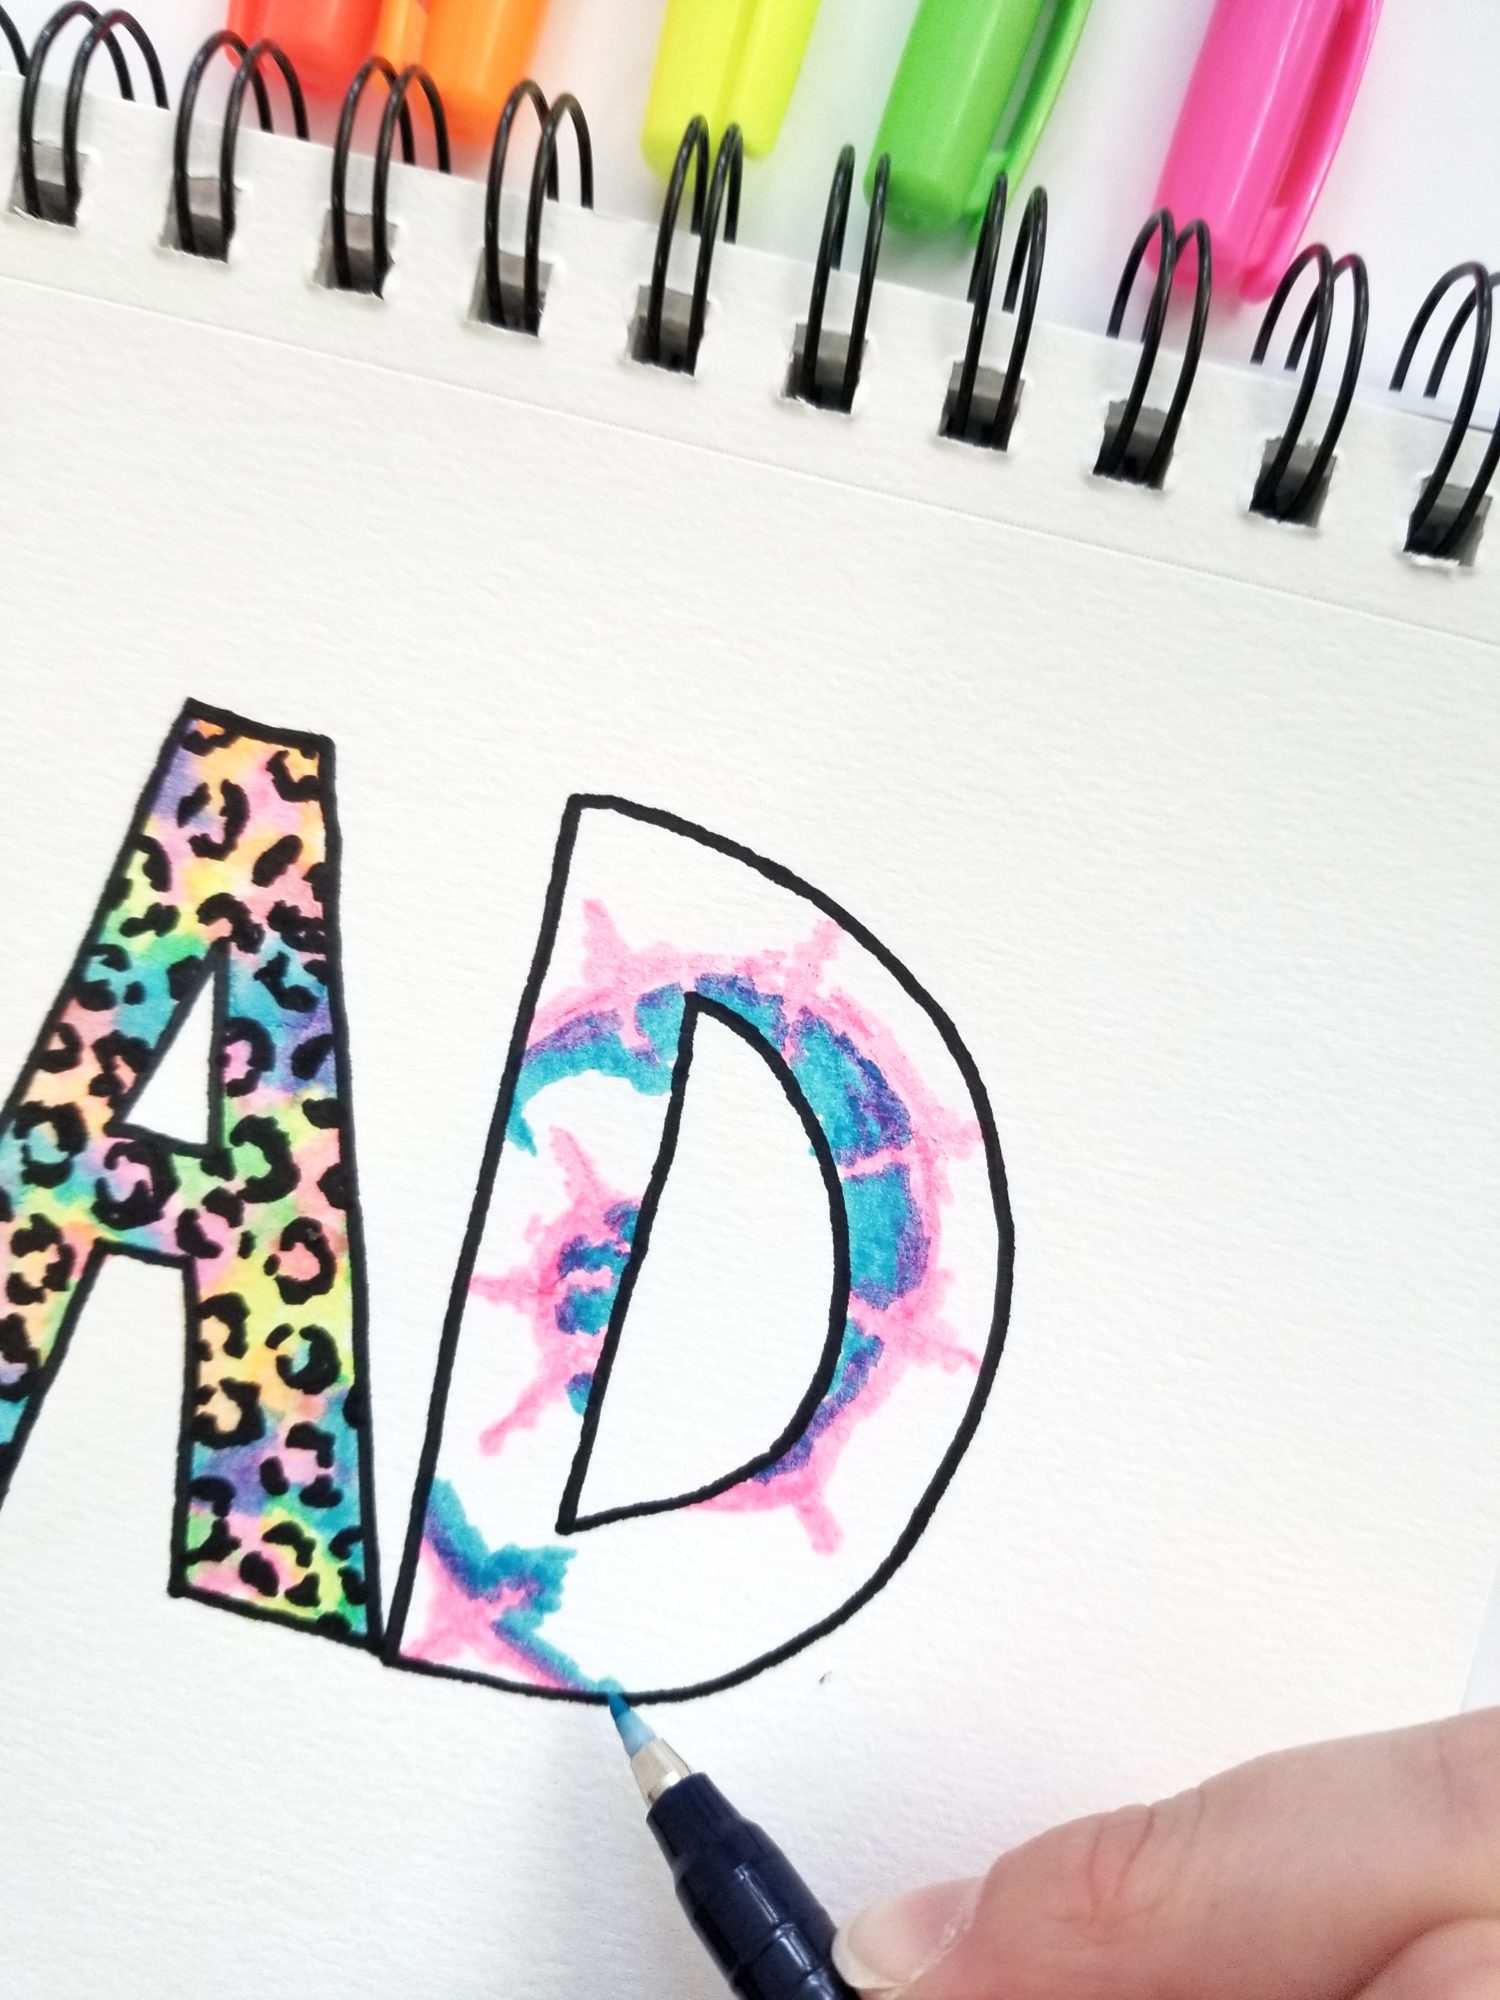
Lettering Fill Style 3: Tie-Dye
Last up is tie-dye lettering! To start, use your MONO Drawing Mechanical Pencil and draw a spiral starting in the middle of the D. Then, start with Neon Pink and color the spiral. Be sure to include the intersections to give it a tie-dye look! Use Neon Blue to continue the pattern, overlapping with the Neon Pink to create neon purple. Keep filling the spiral using ROY-G-BIV until the letter is filled. Erase any stray pencil marks when you’re done.
That’s all there is to it! You can add more pizzazz by adding a drop shadow or using a white gel pen to add some sparkles. If you use any of these three lettering fill styles in your lettering, be sure to tag @tombowusa and @graceannestudio so we can cheer you on!
For more lettering tutorials, check out these posts:
- Buffalo Plaid Lettering with Dual Brush Pens
- Pop Art Inspired Lettering
- Nautical Under The Sea Lettering Tutorial
Happy Lettering!
