It’s almost that special day… Be mine, valentine… or should I say… make my valentine! This colorful project is the perfect handmade gift for your valentine, whether is be a friend, family member, the love of your life, or yourself!
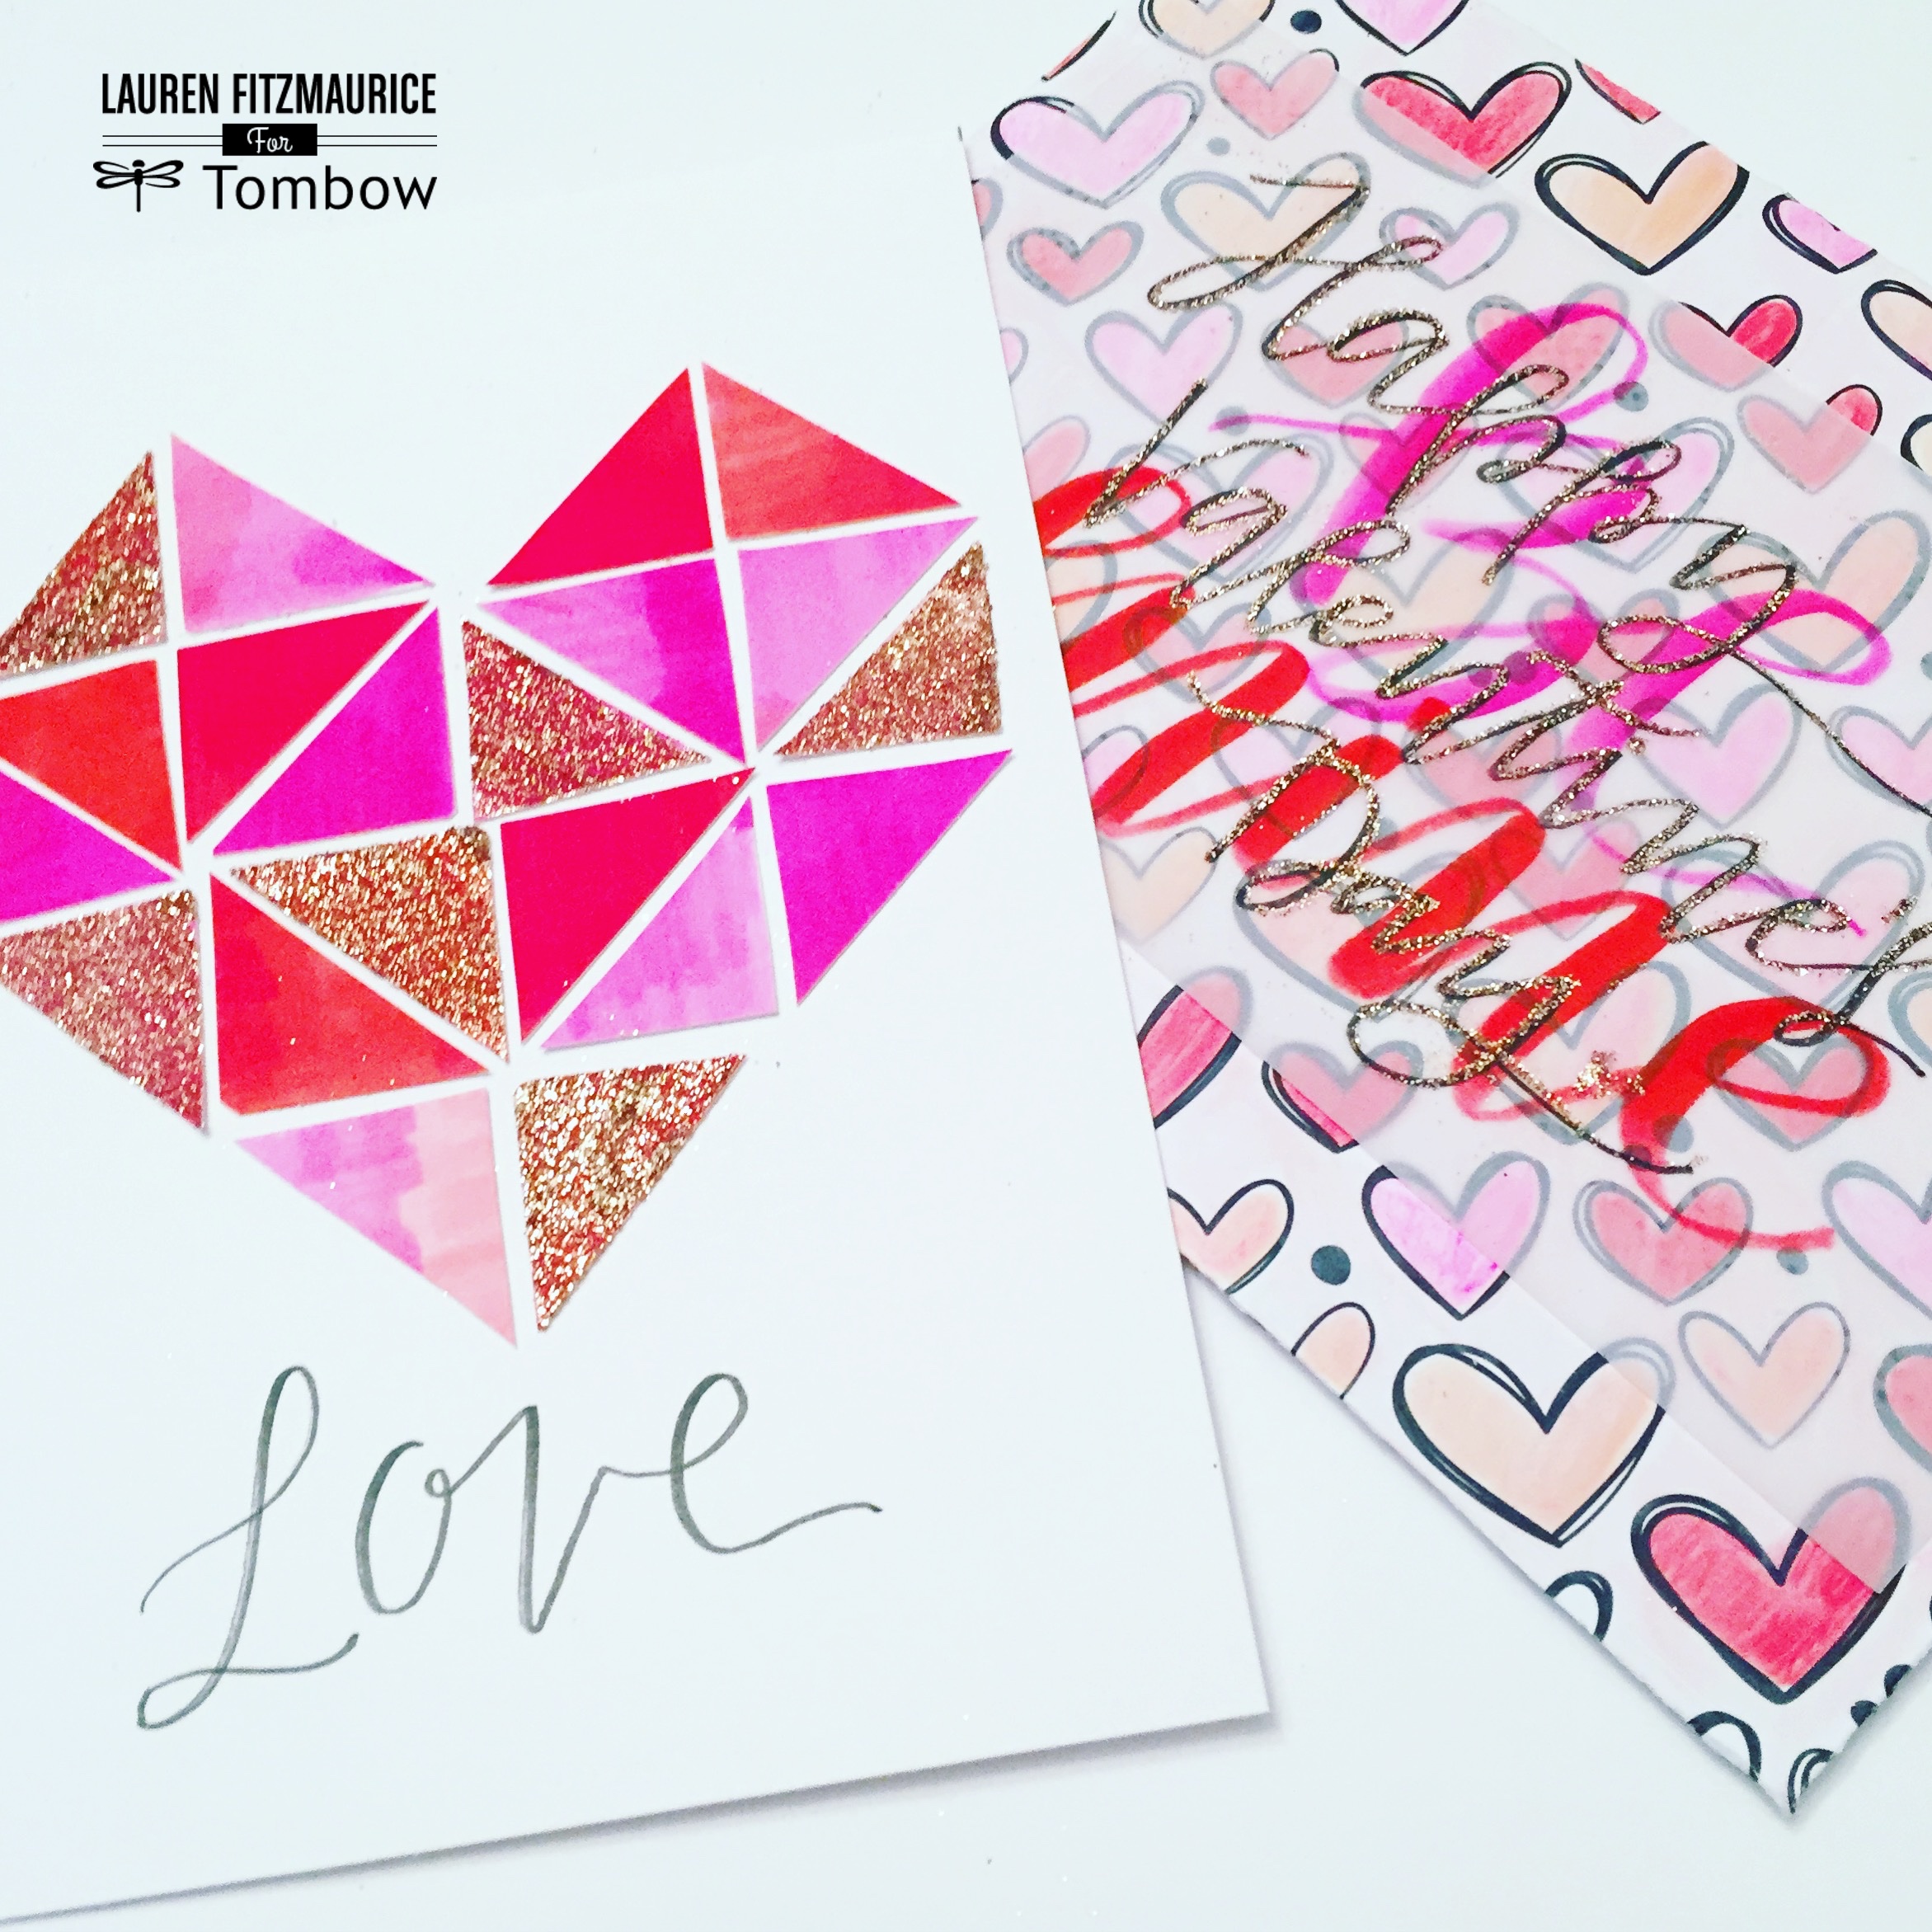
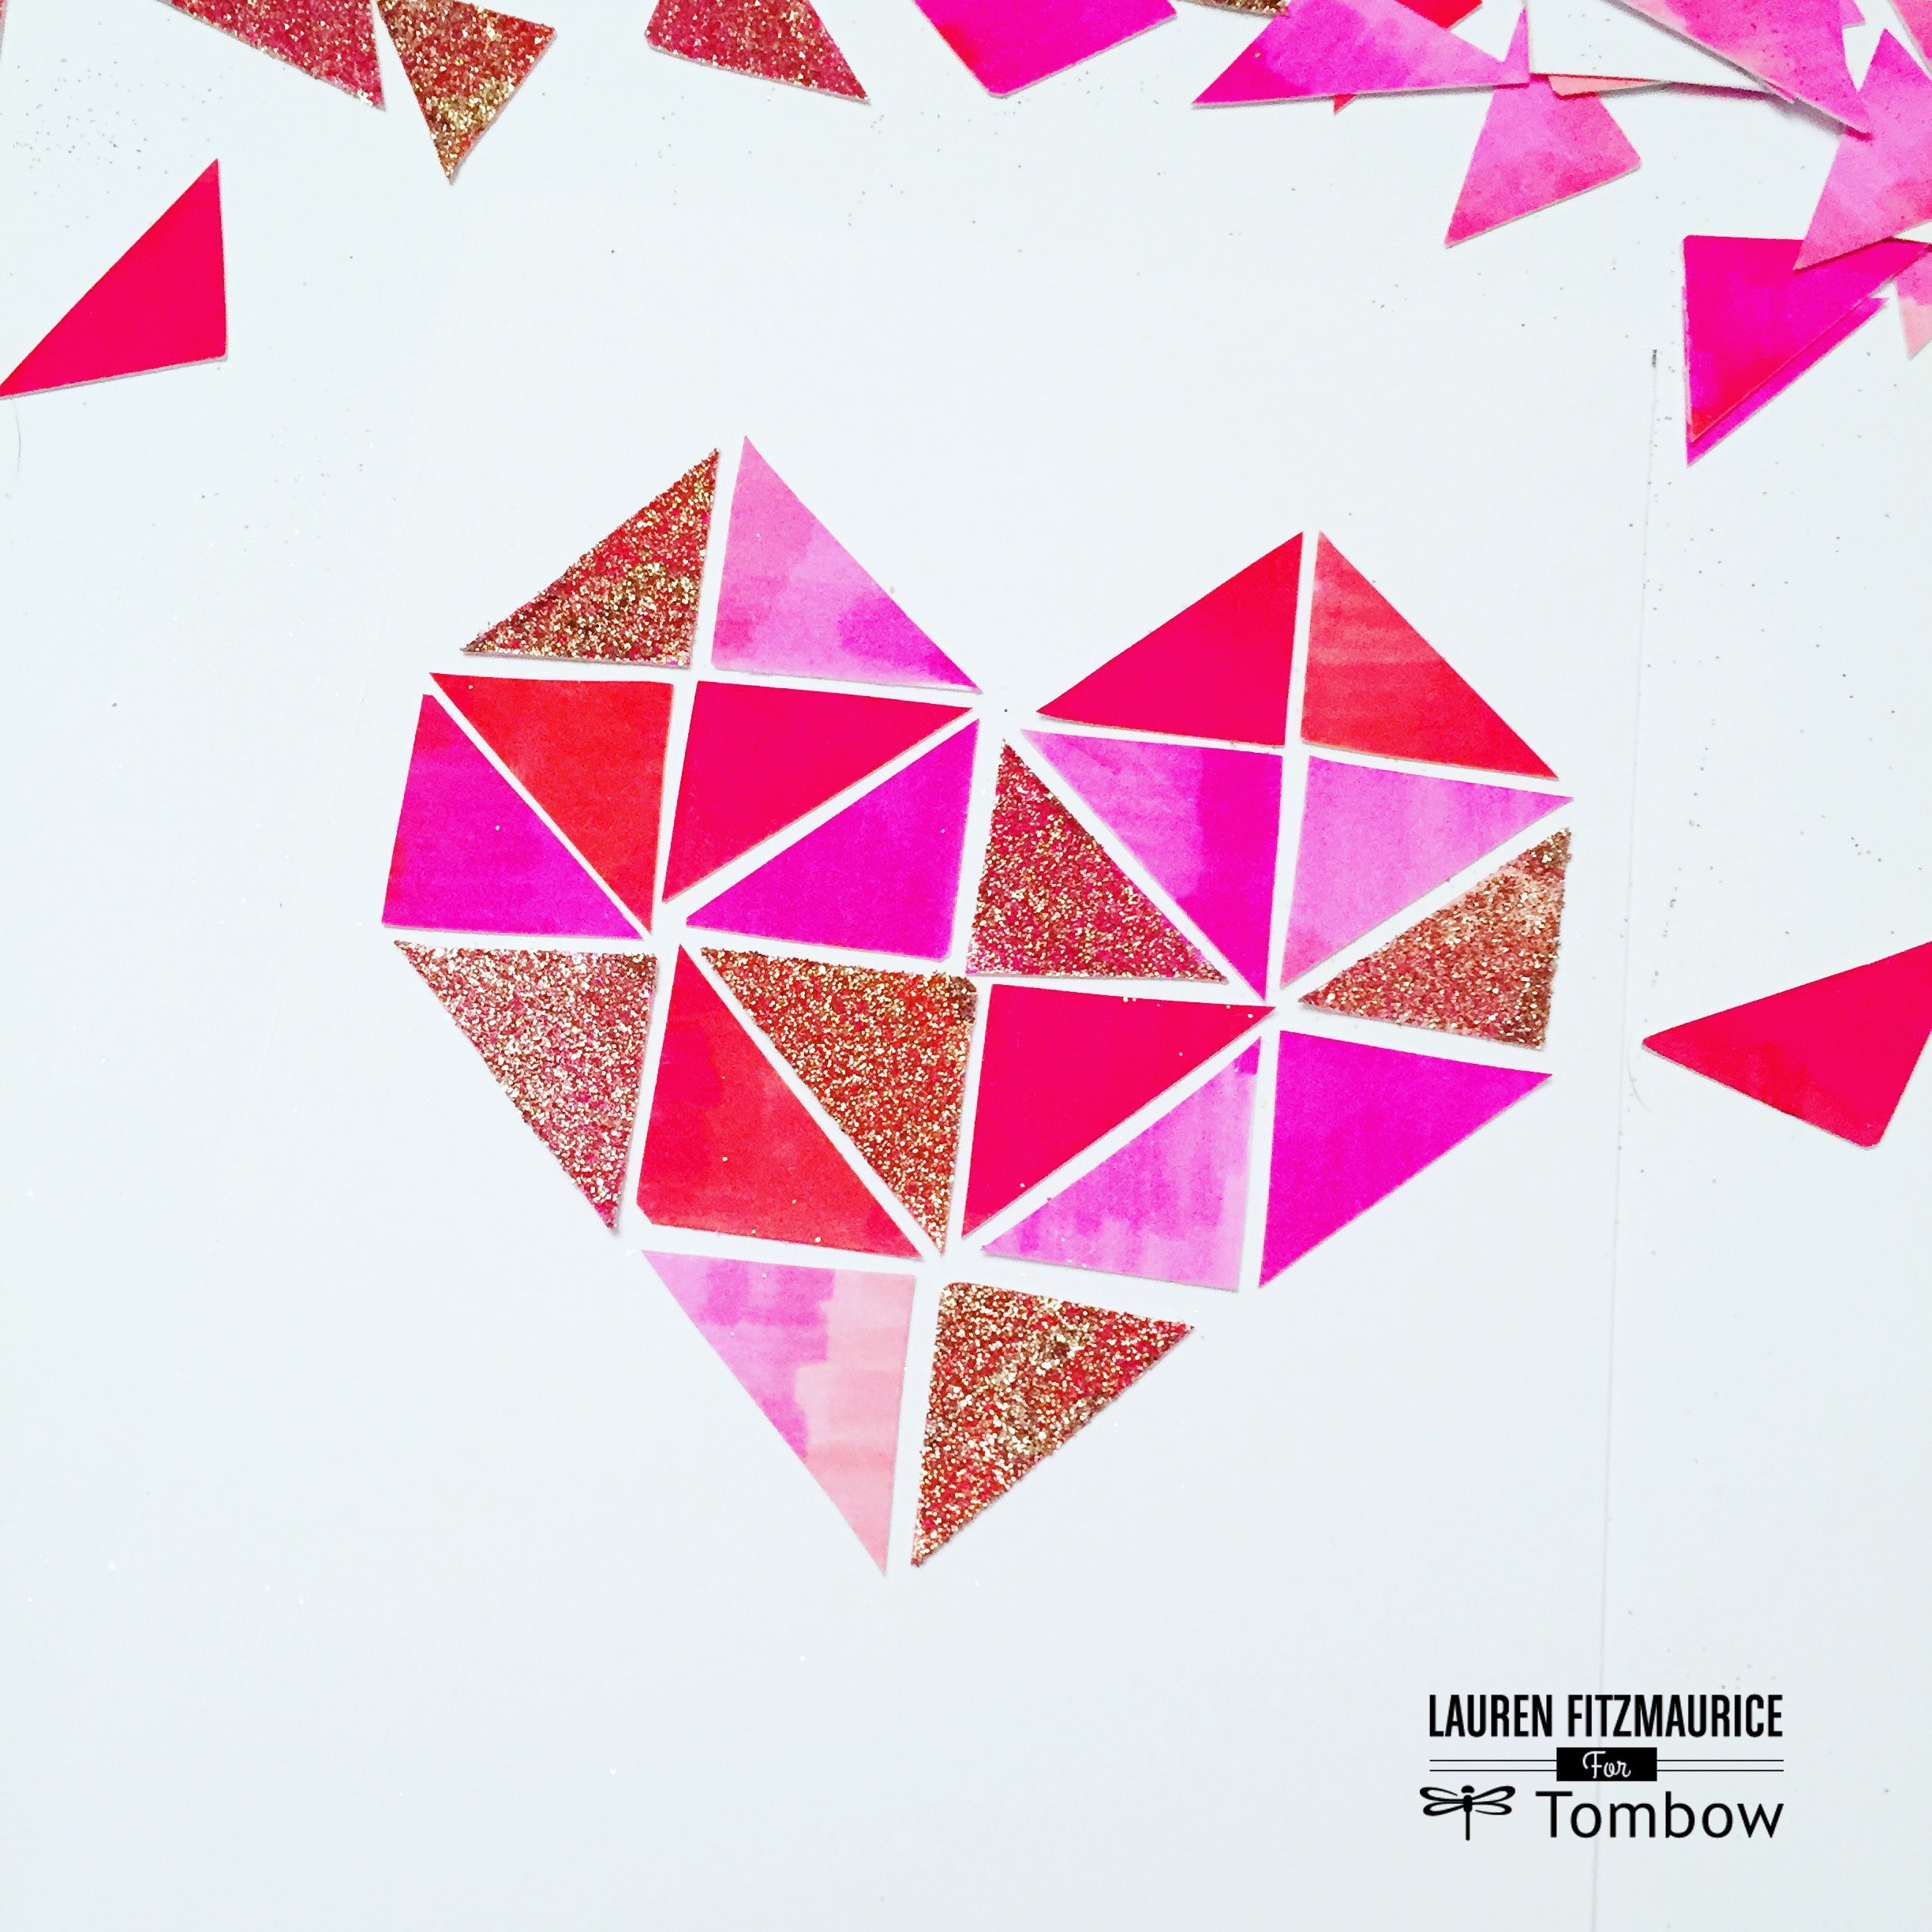
Glittery, Geometric Heart Art

This piece is the perfect valentine, because it doubles as a card and art that can be framed and enjoyed all year round! Love is in style all year, you know! Turn the art work over and write a sweet note. Your valentine will be so impressed!
To create this project, you will need:
- mixed media paper
- Tombow MONO Drawing Pencil
- a ruler
- Tombow MONO NP Eraser
- scissors
- Tombow Dual Brush Pens (Pinks and Reds)
- Tombow Dual Brush Blender Pen
- Tombow MONO Multi Liquid Glue
- fine gold glitter
- Tombow Stamp Runner Dot Adhesive
- Tombow Fudenosuke Hard Tip Brush Pen
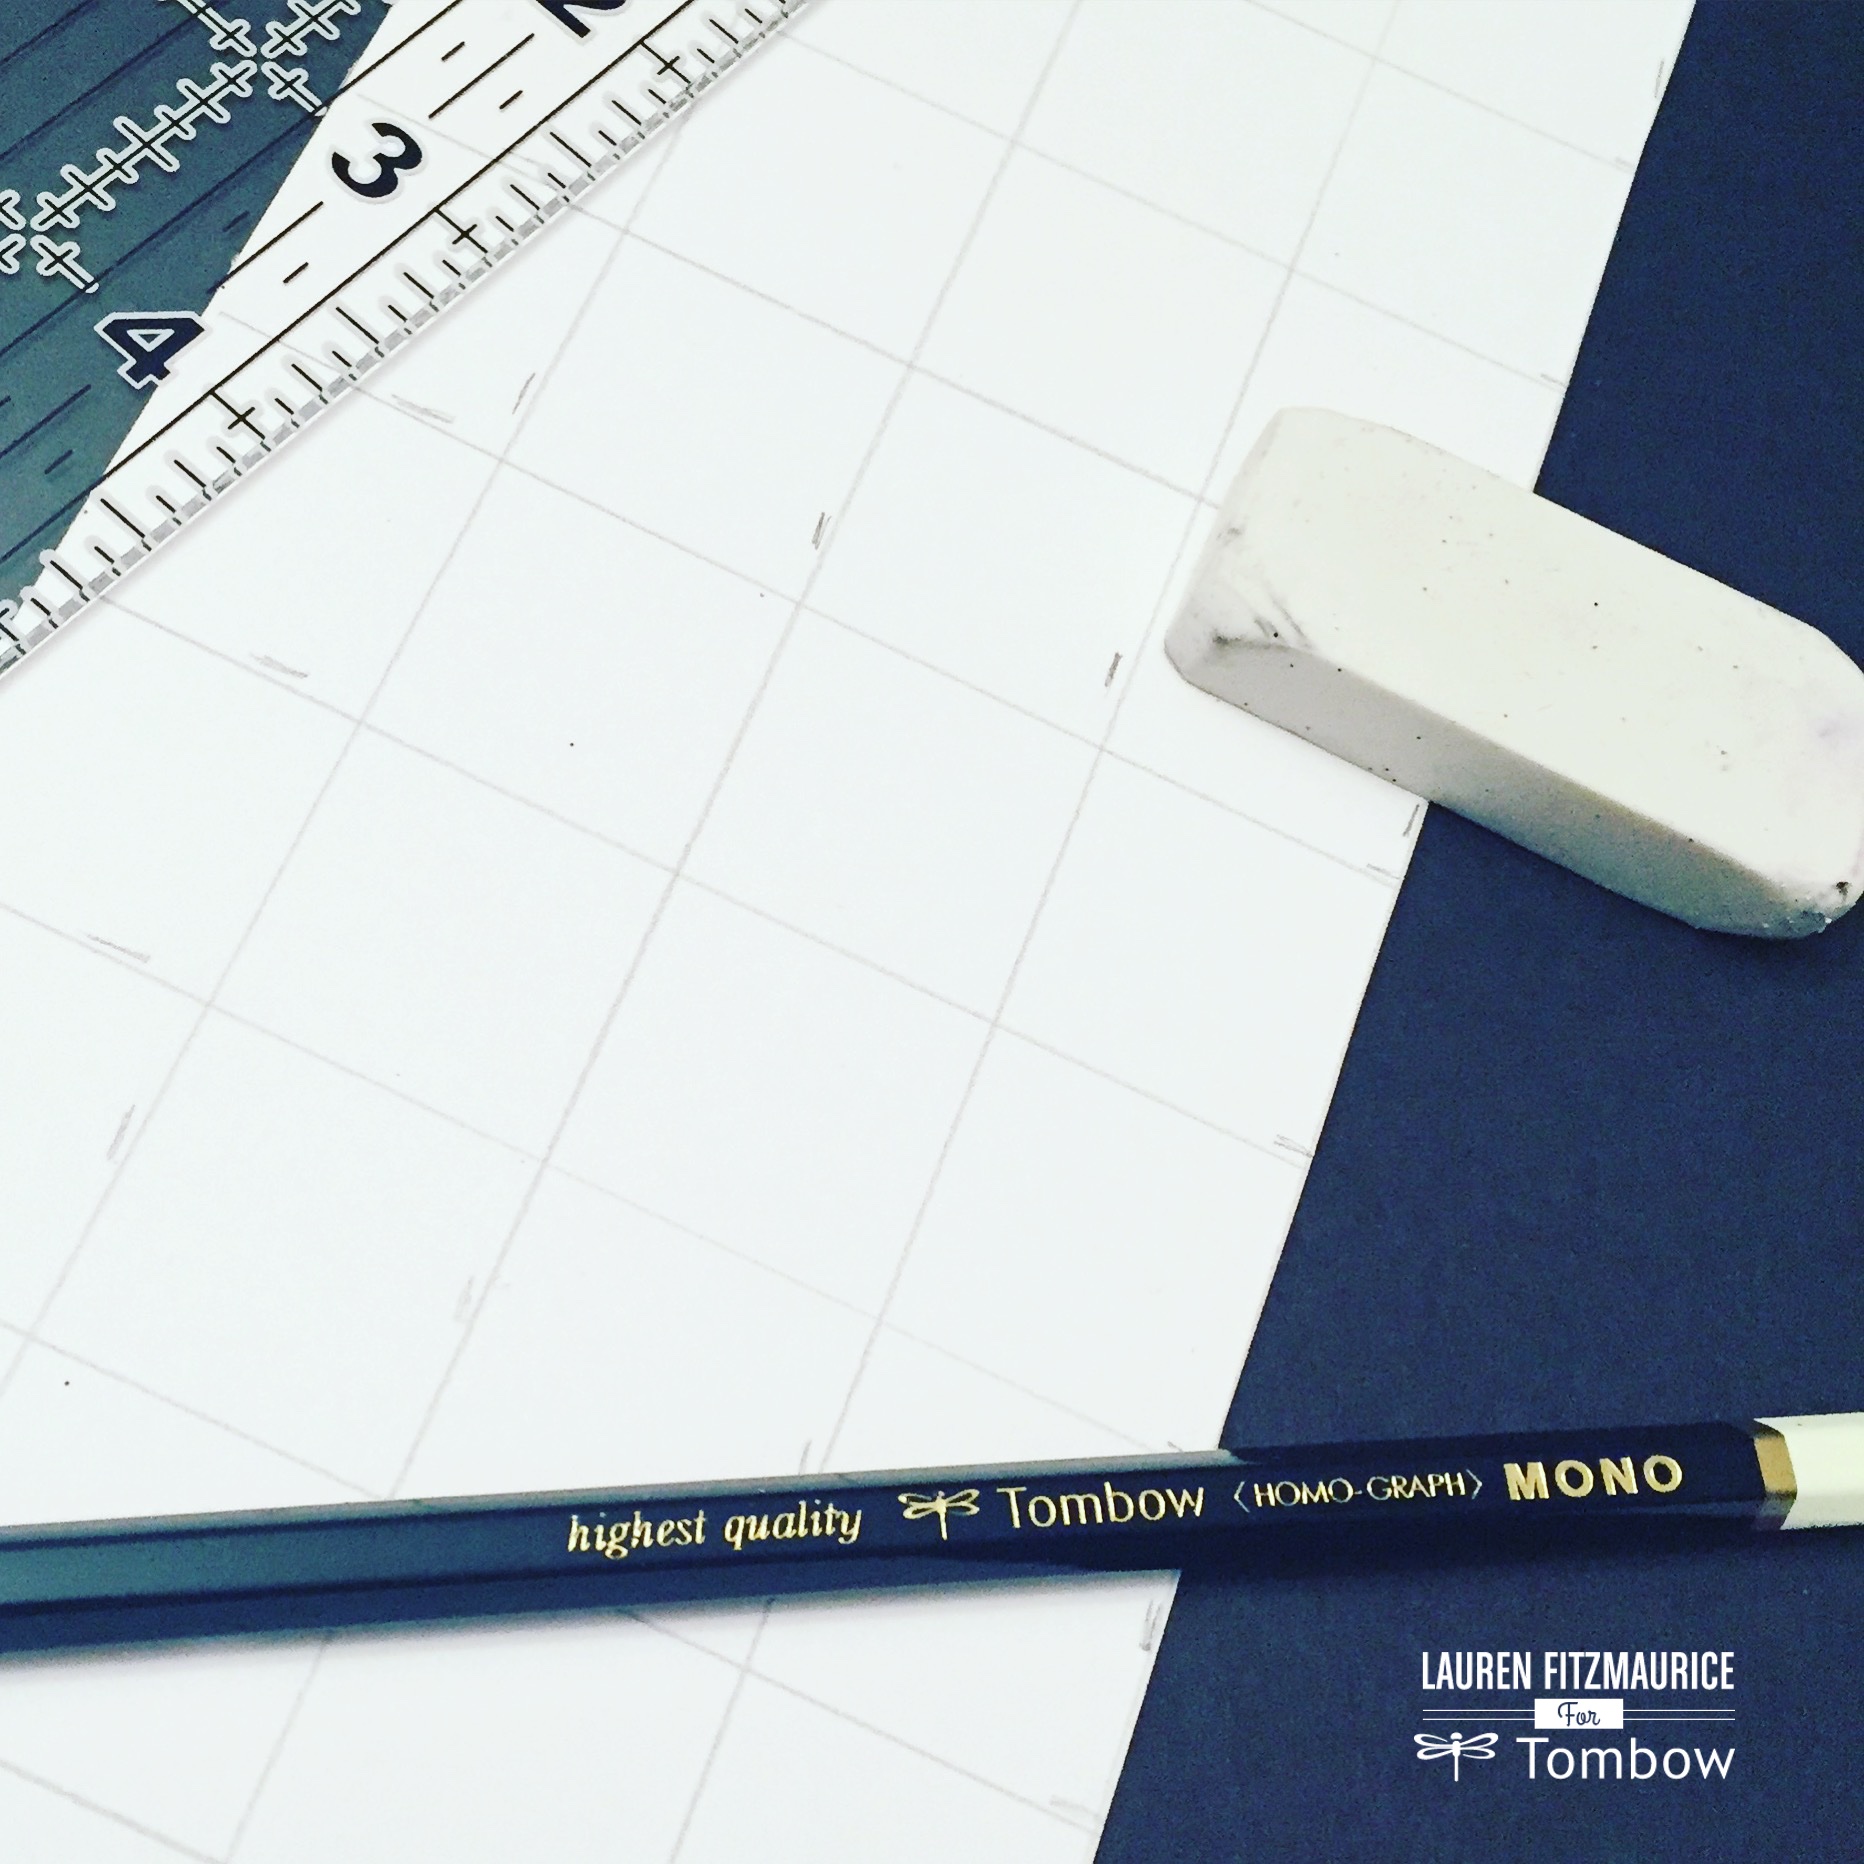
Start by making the triangles that will form the heart. Take a piece of mixed media paper and measure 1 inch squares with your ruler and Tombow MONO Drawing Pencil. I used a scrap piece and this made tons of triangles, so you won’t need a large piece to make a single valentine. You can use your Tombow MONO NP Eraser when you make any mistakes, but don’t worry about it looking perfect, because these pencil lines will not show on the final product.
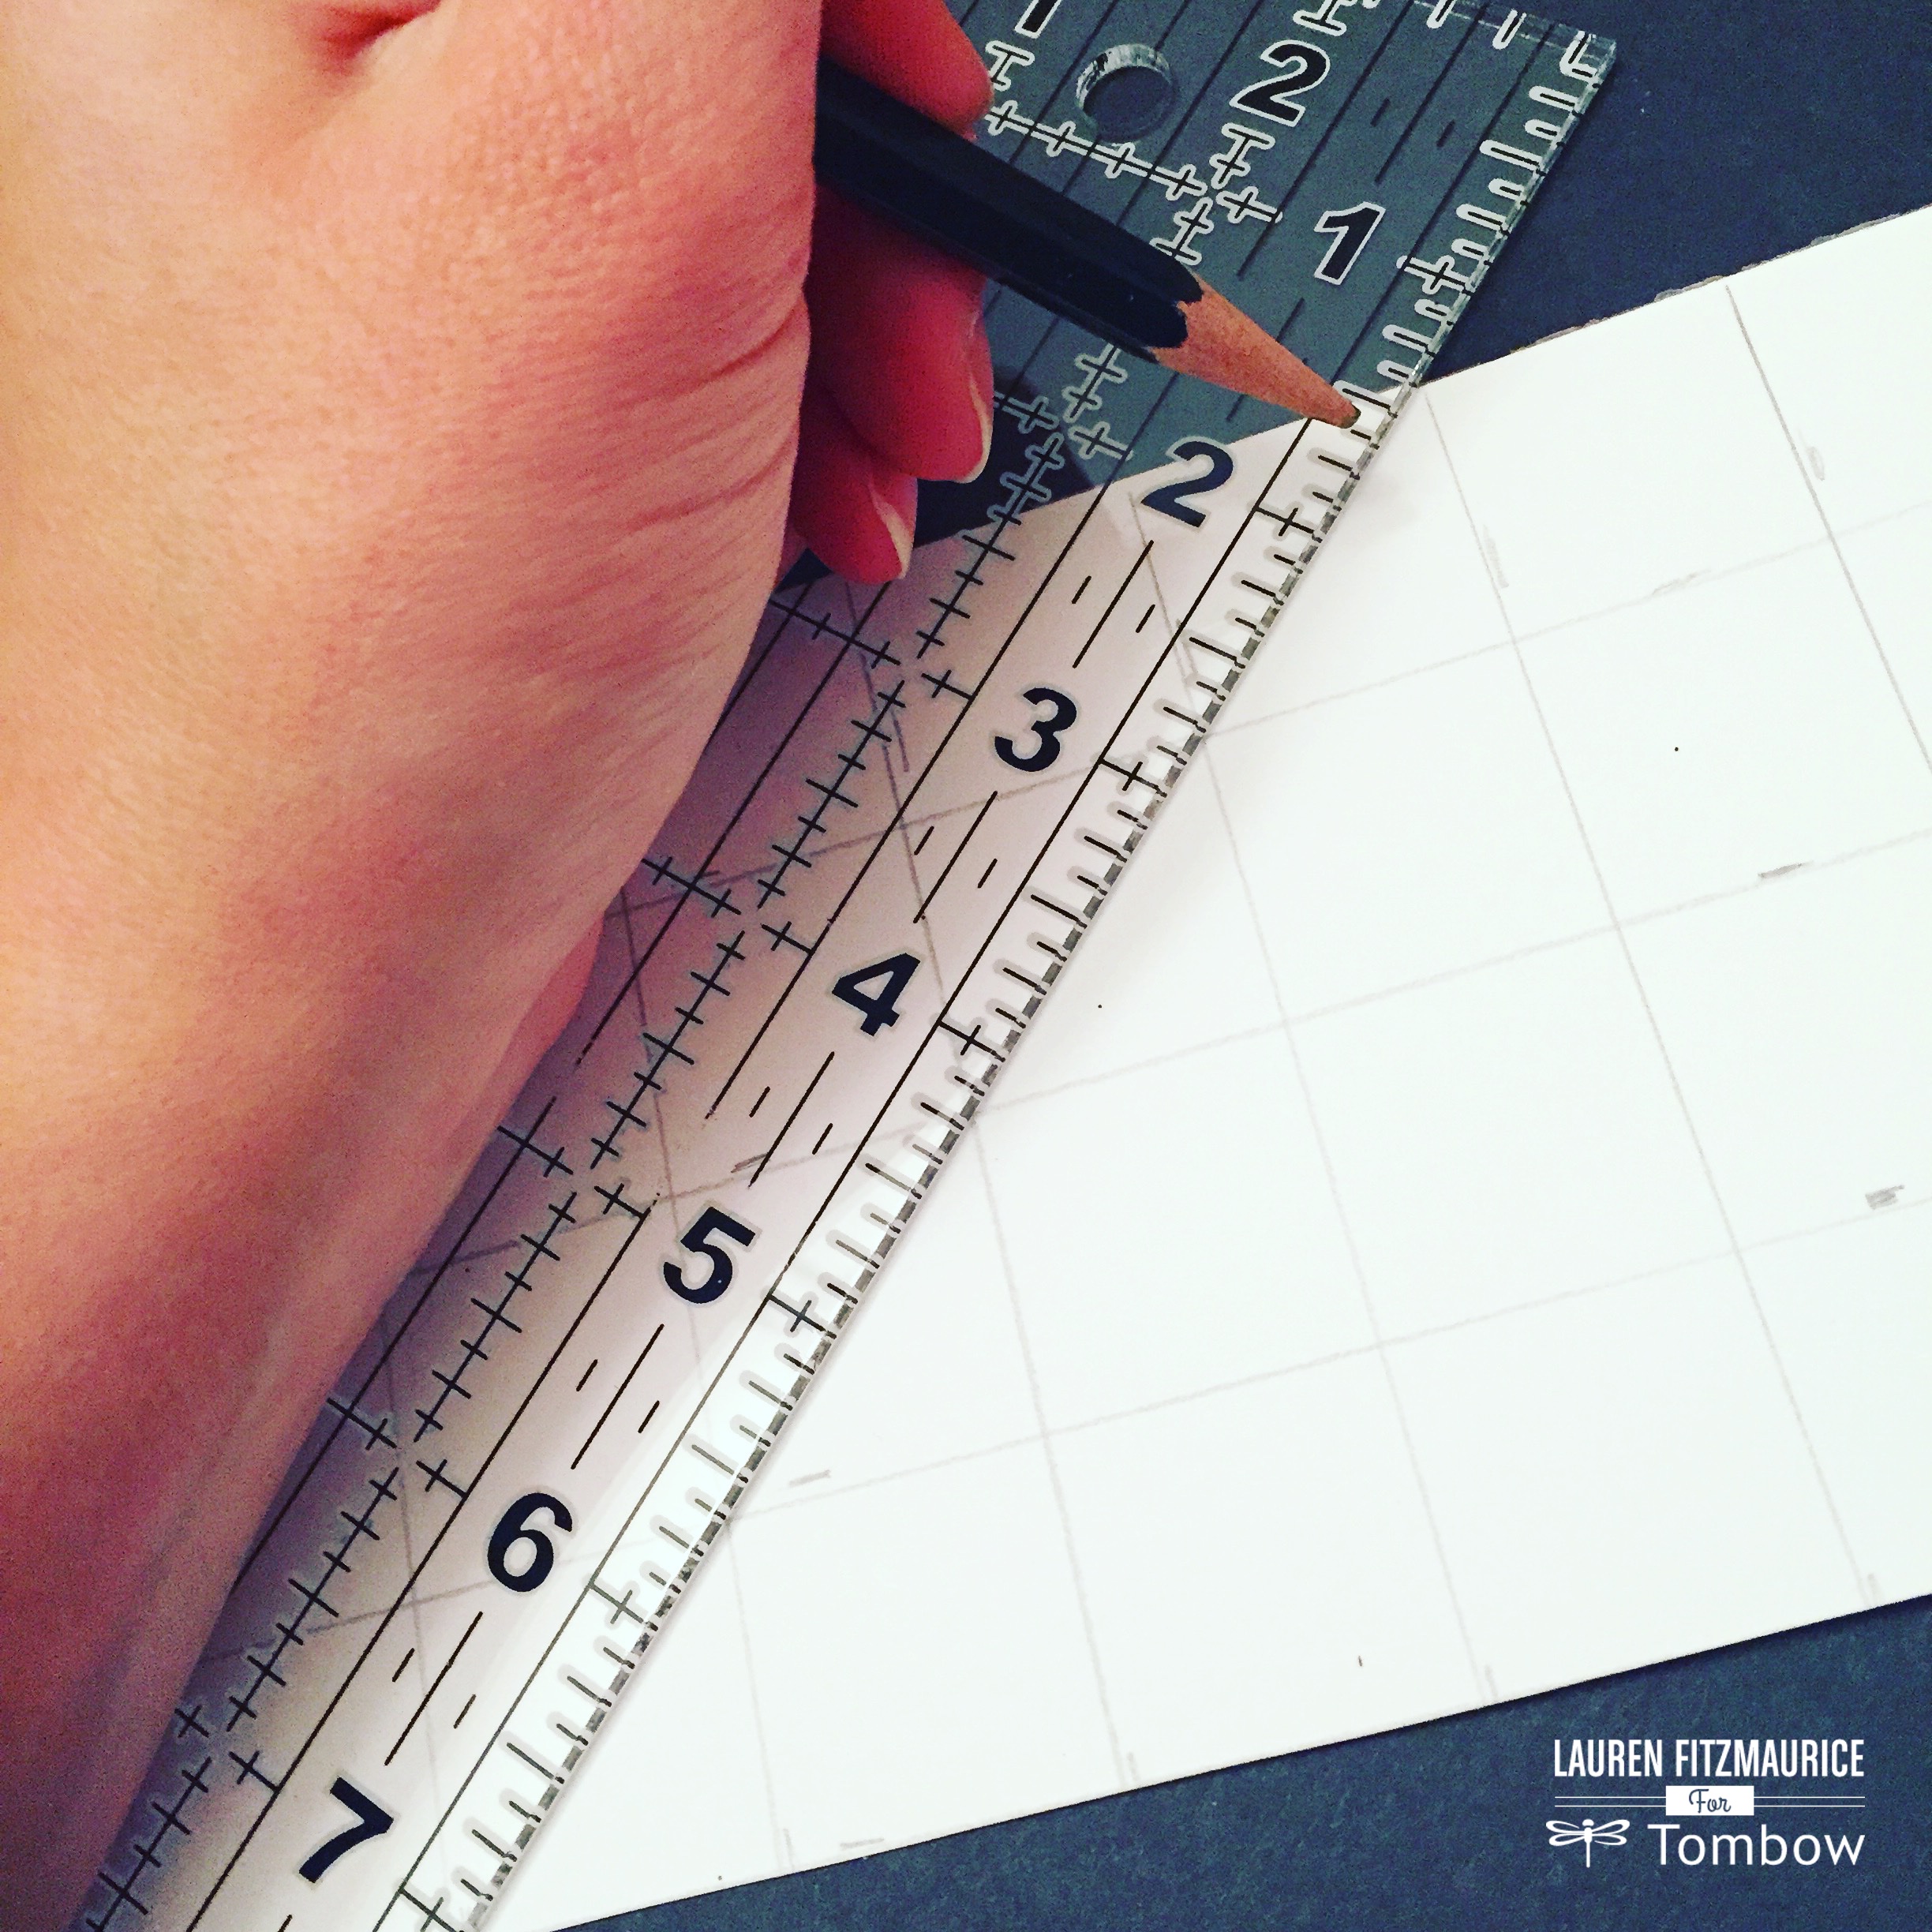
Then, take your ruler and place it on the diagonal through the corners of the squares and draw a line with your MONO Drawing Pencil, to form triangles. Then flip your paper over to the front.
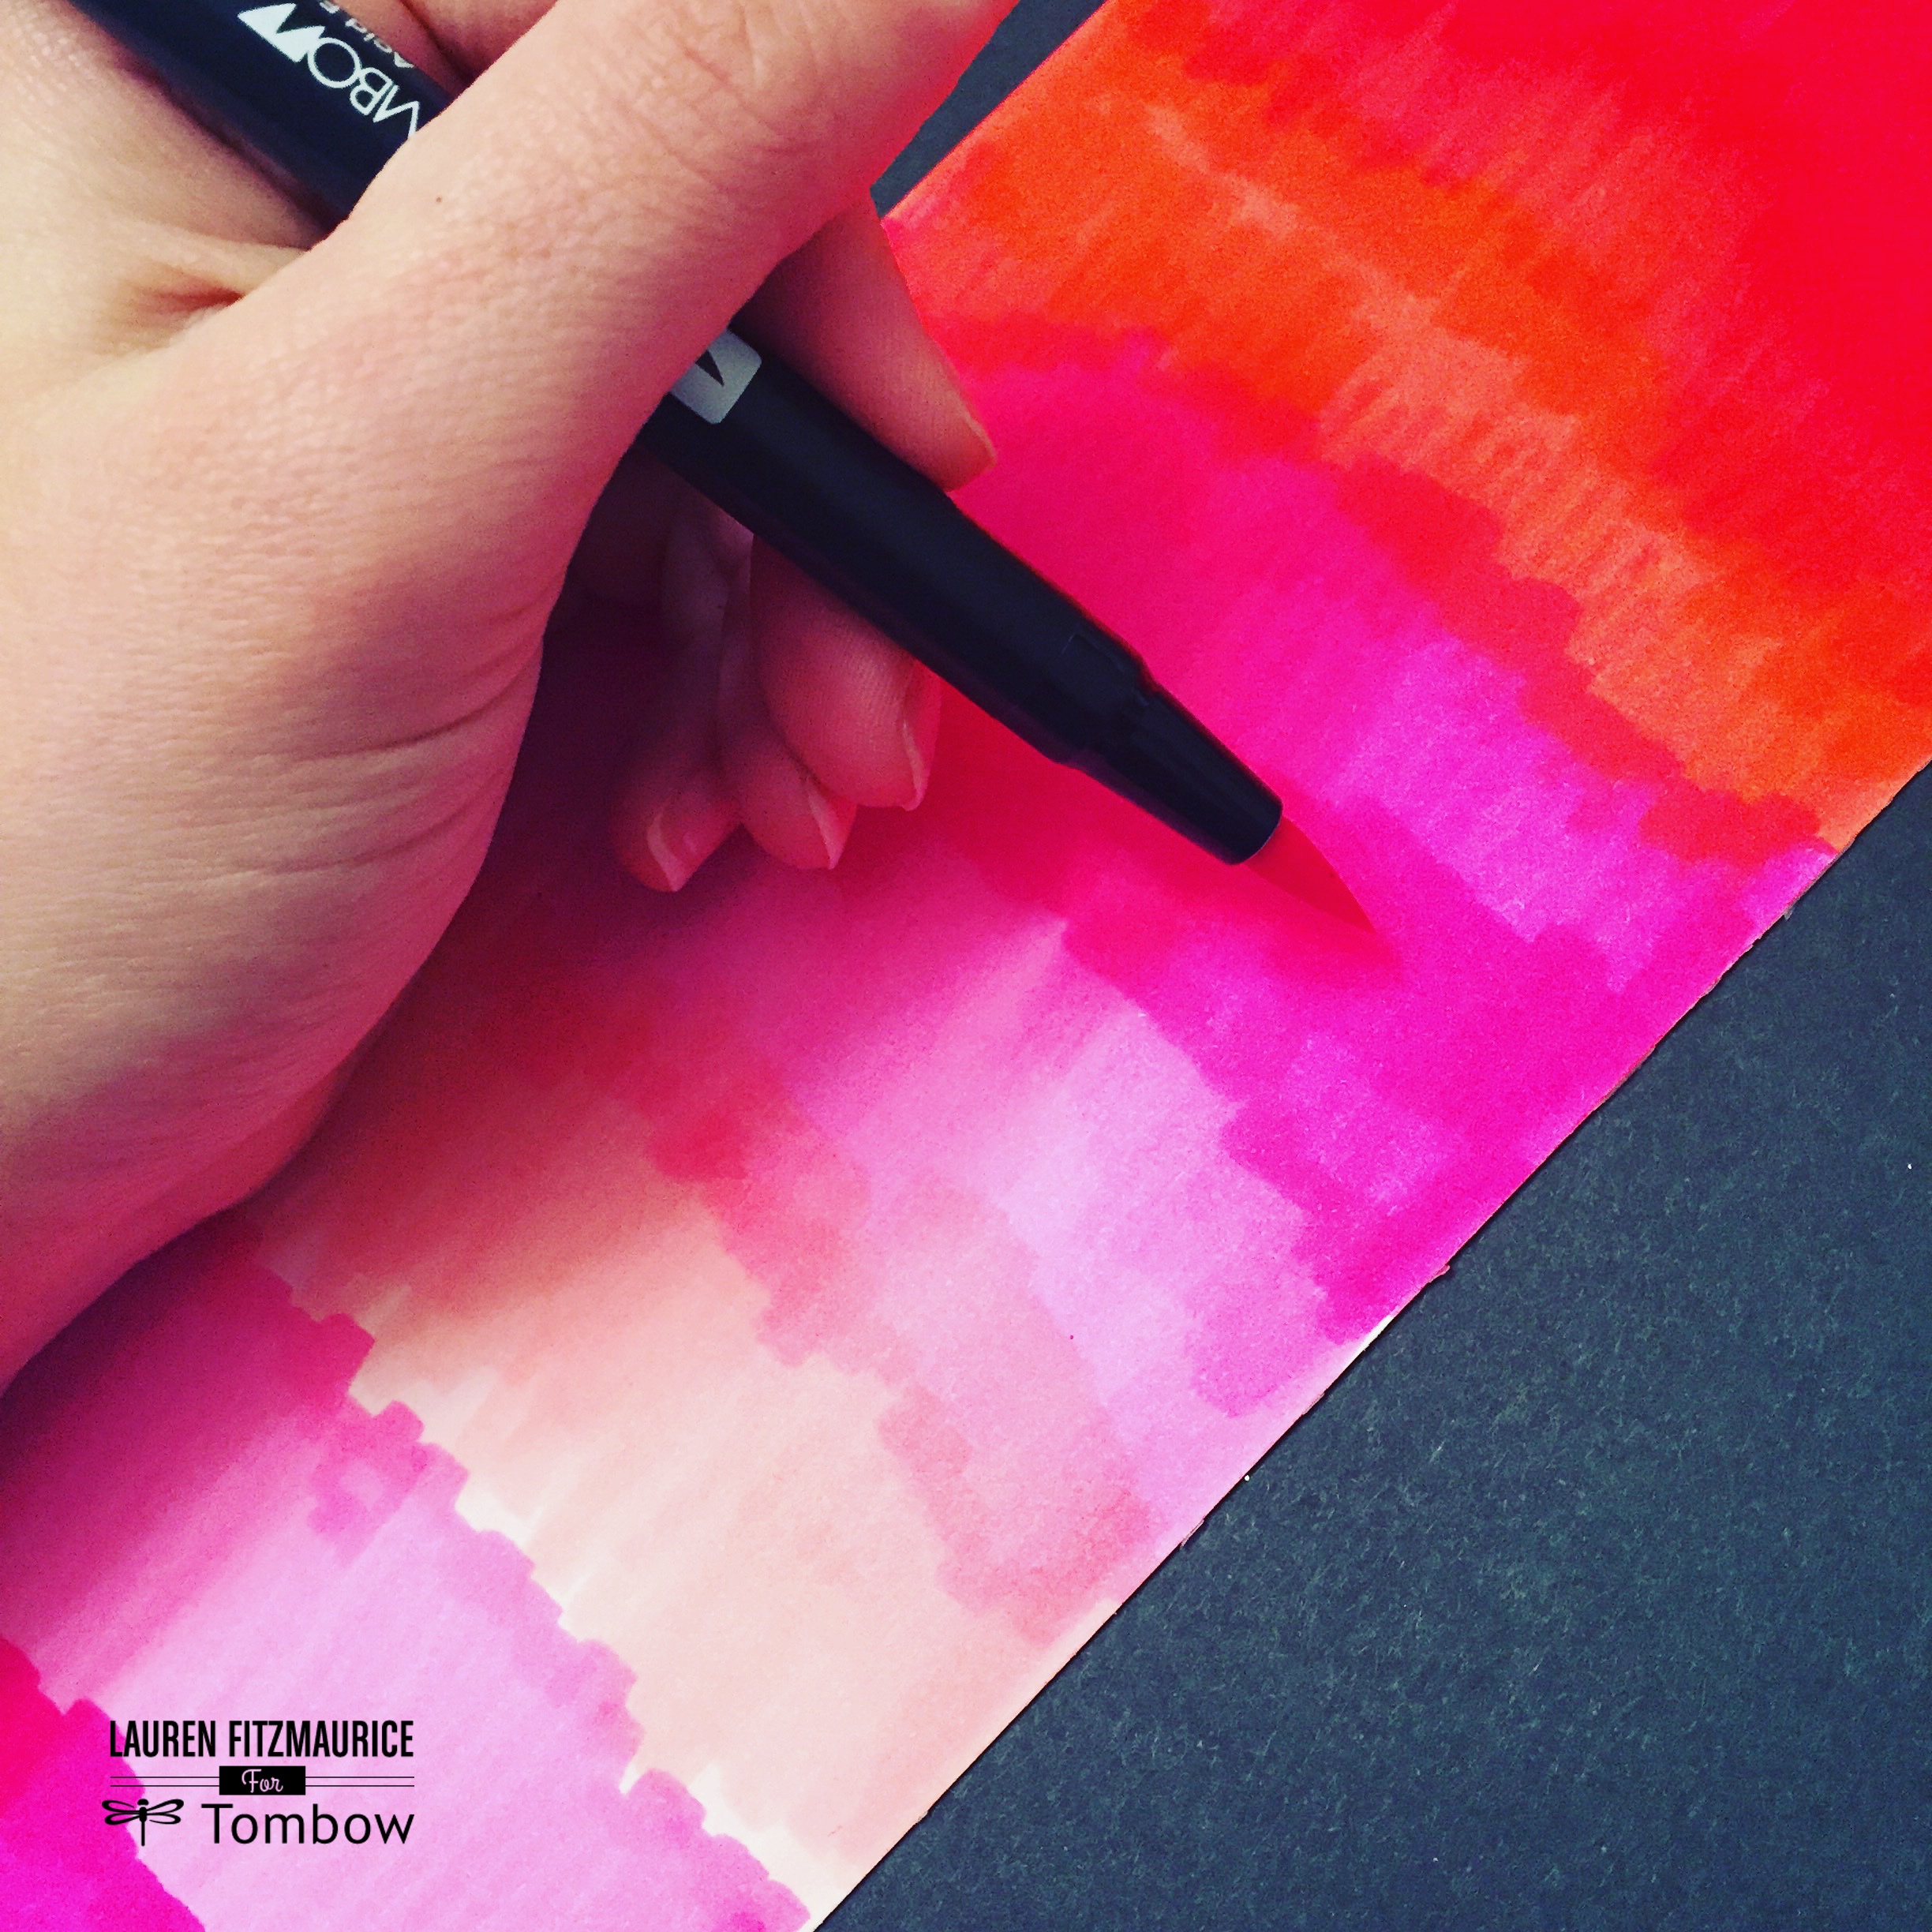
Make sure that you have a piece of scrap paper or craft mat underneath your paper to ensure that you don’t get color all over your workspace. Taking your Tombow Dual Brush Pens, start coloring the clean side of the paper. To form a gradient-like effect, I started with the darker color at the top and went to the lighter colors, then started repeating colors until I hit the bottom of the sheet. Ordering the colors that are closest in shade will allow for more seamless blending. Then use your Tombow Dual Brush Blender Pen to blend the colors together and make it look smoother. These blended colors will be perfect shades for the triangles to form the geometric heart.
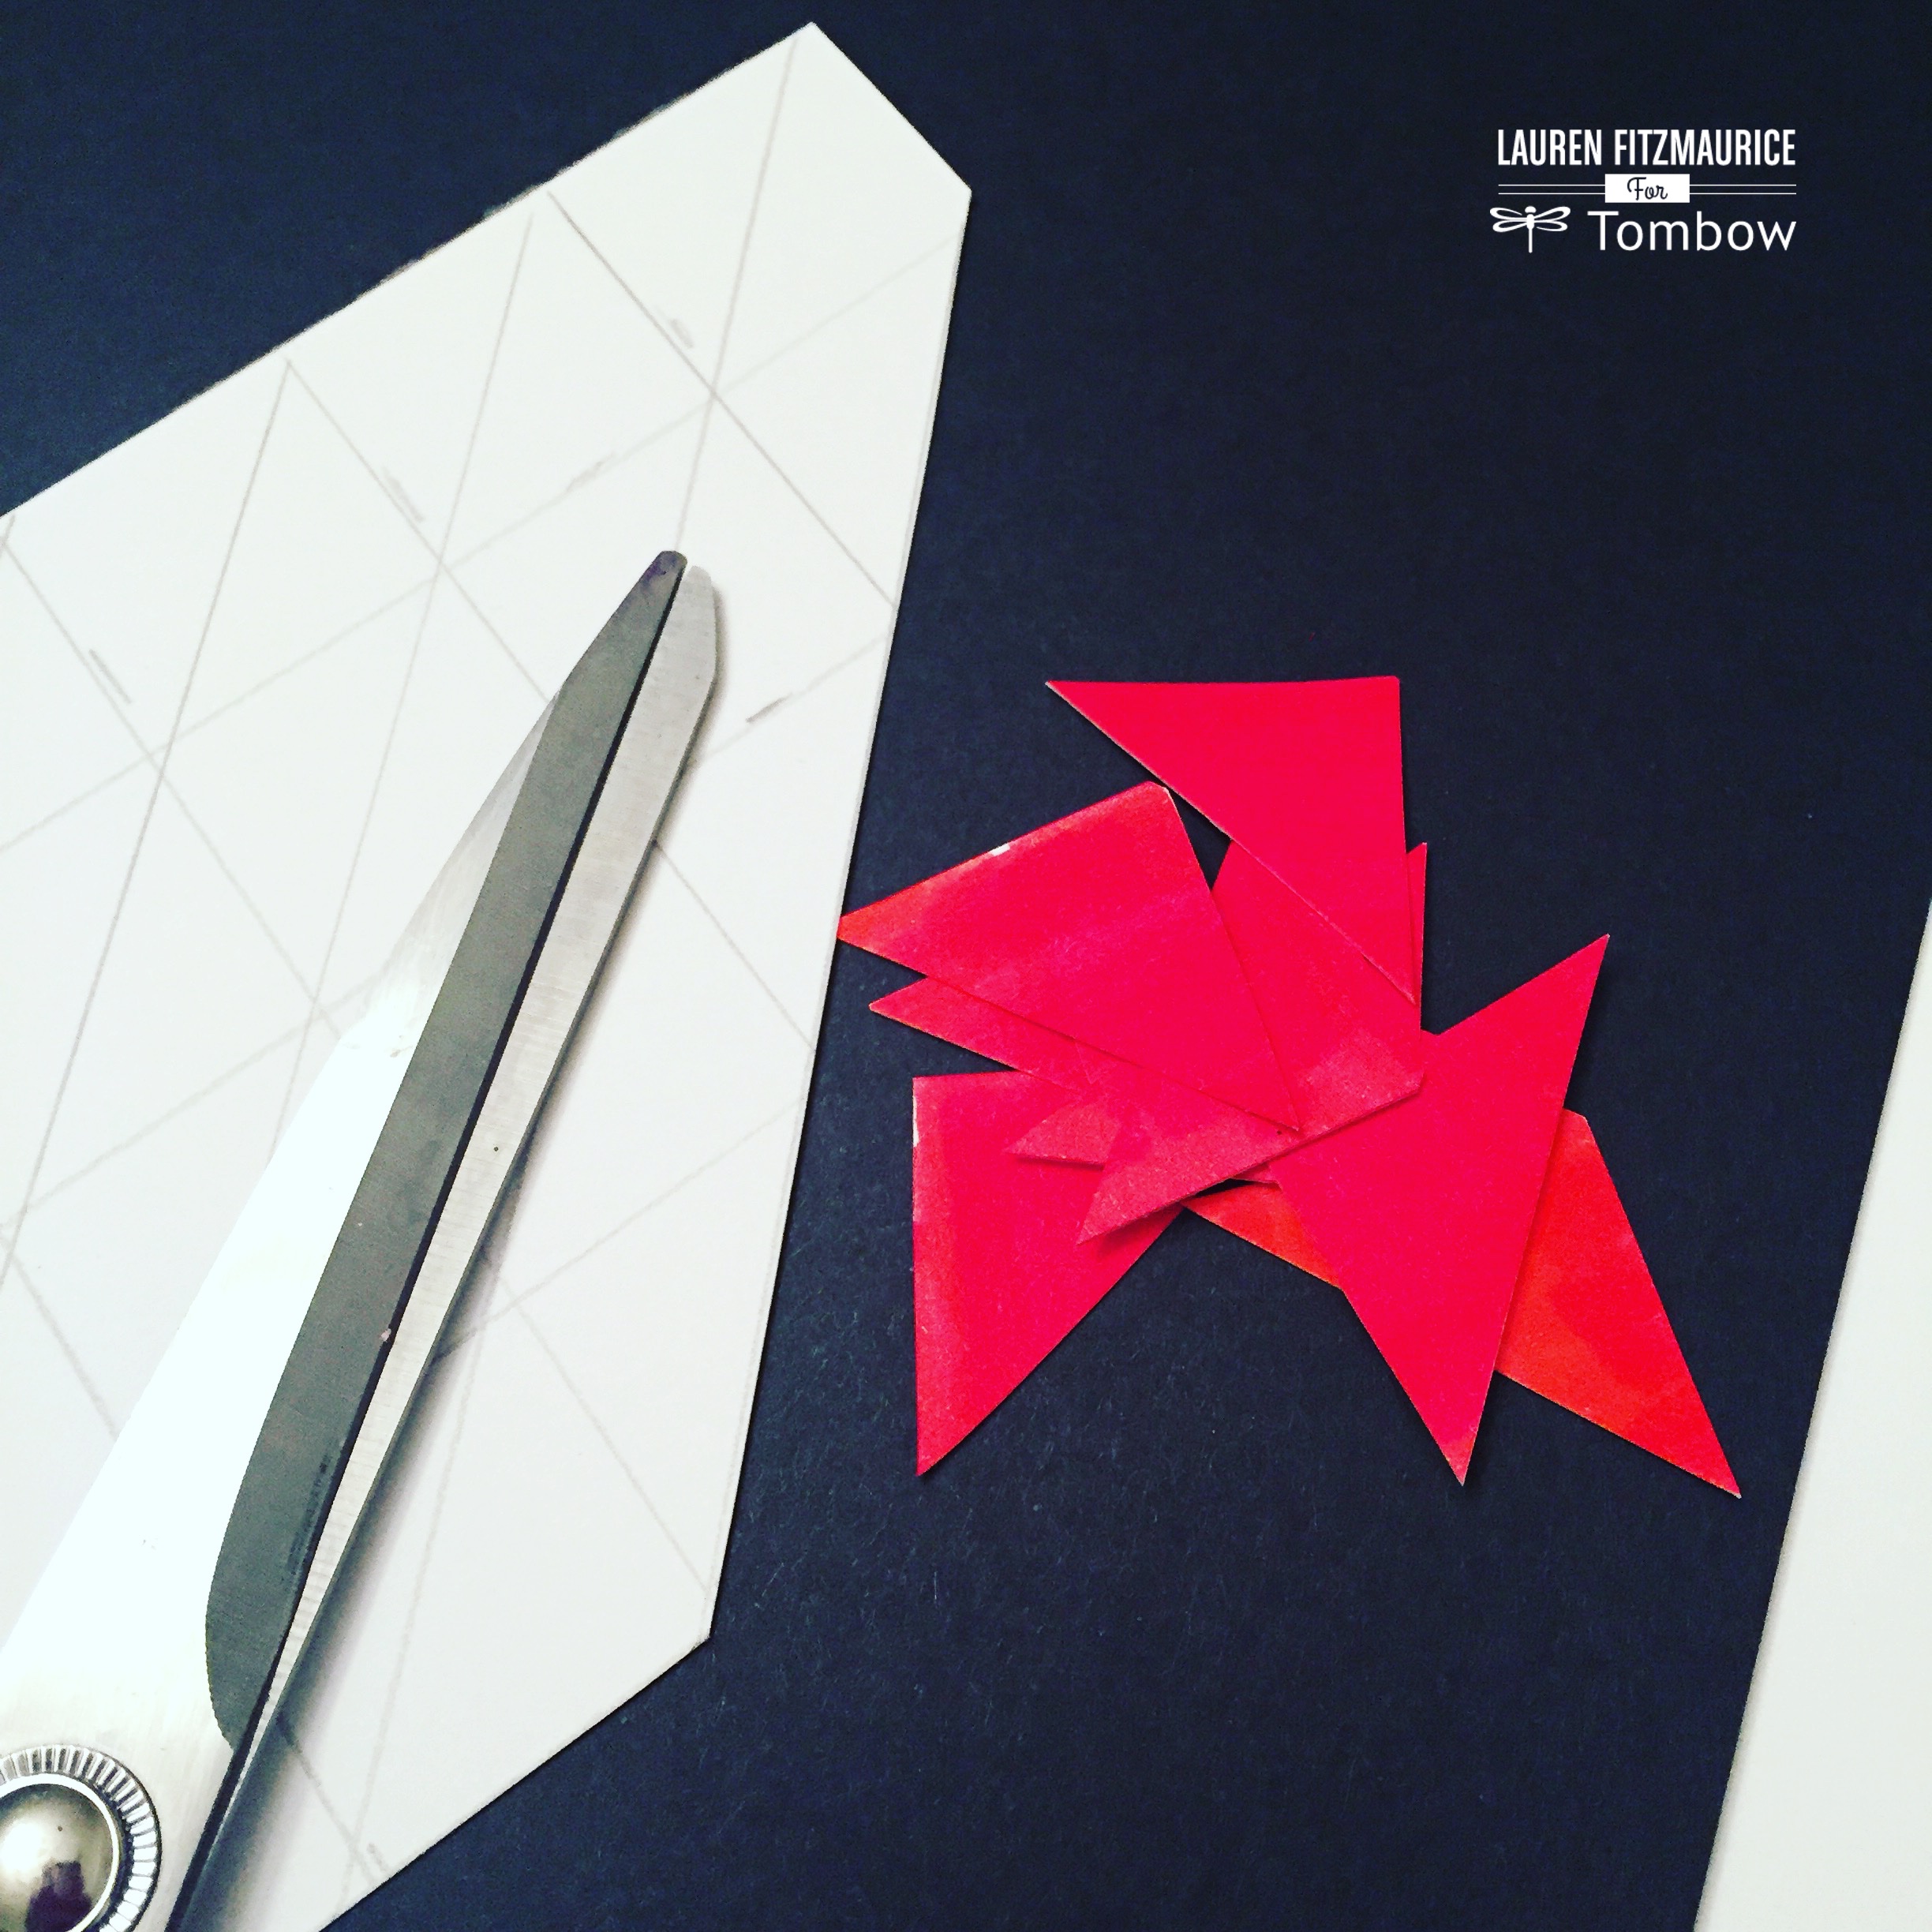
Then cut the triangles apart on the lines.
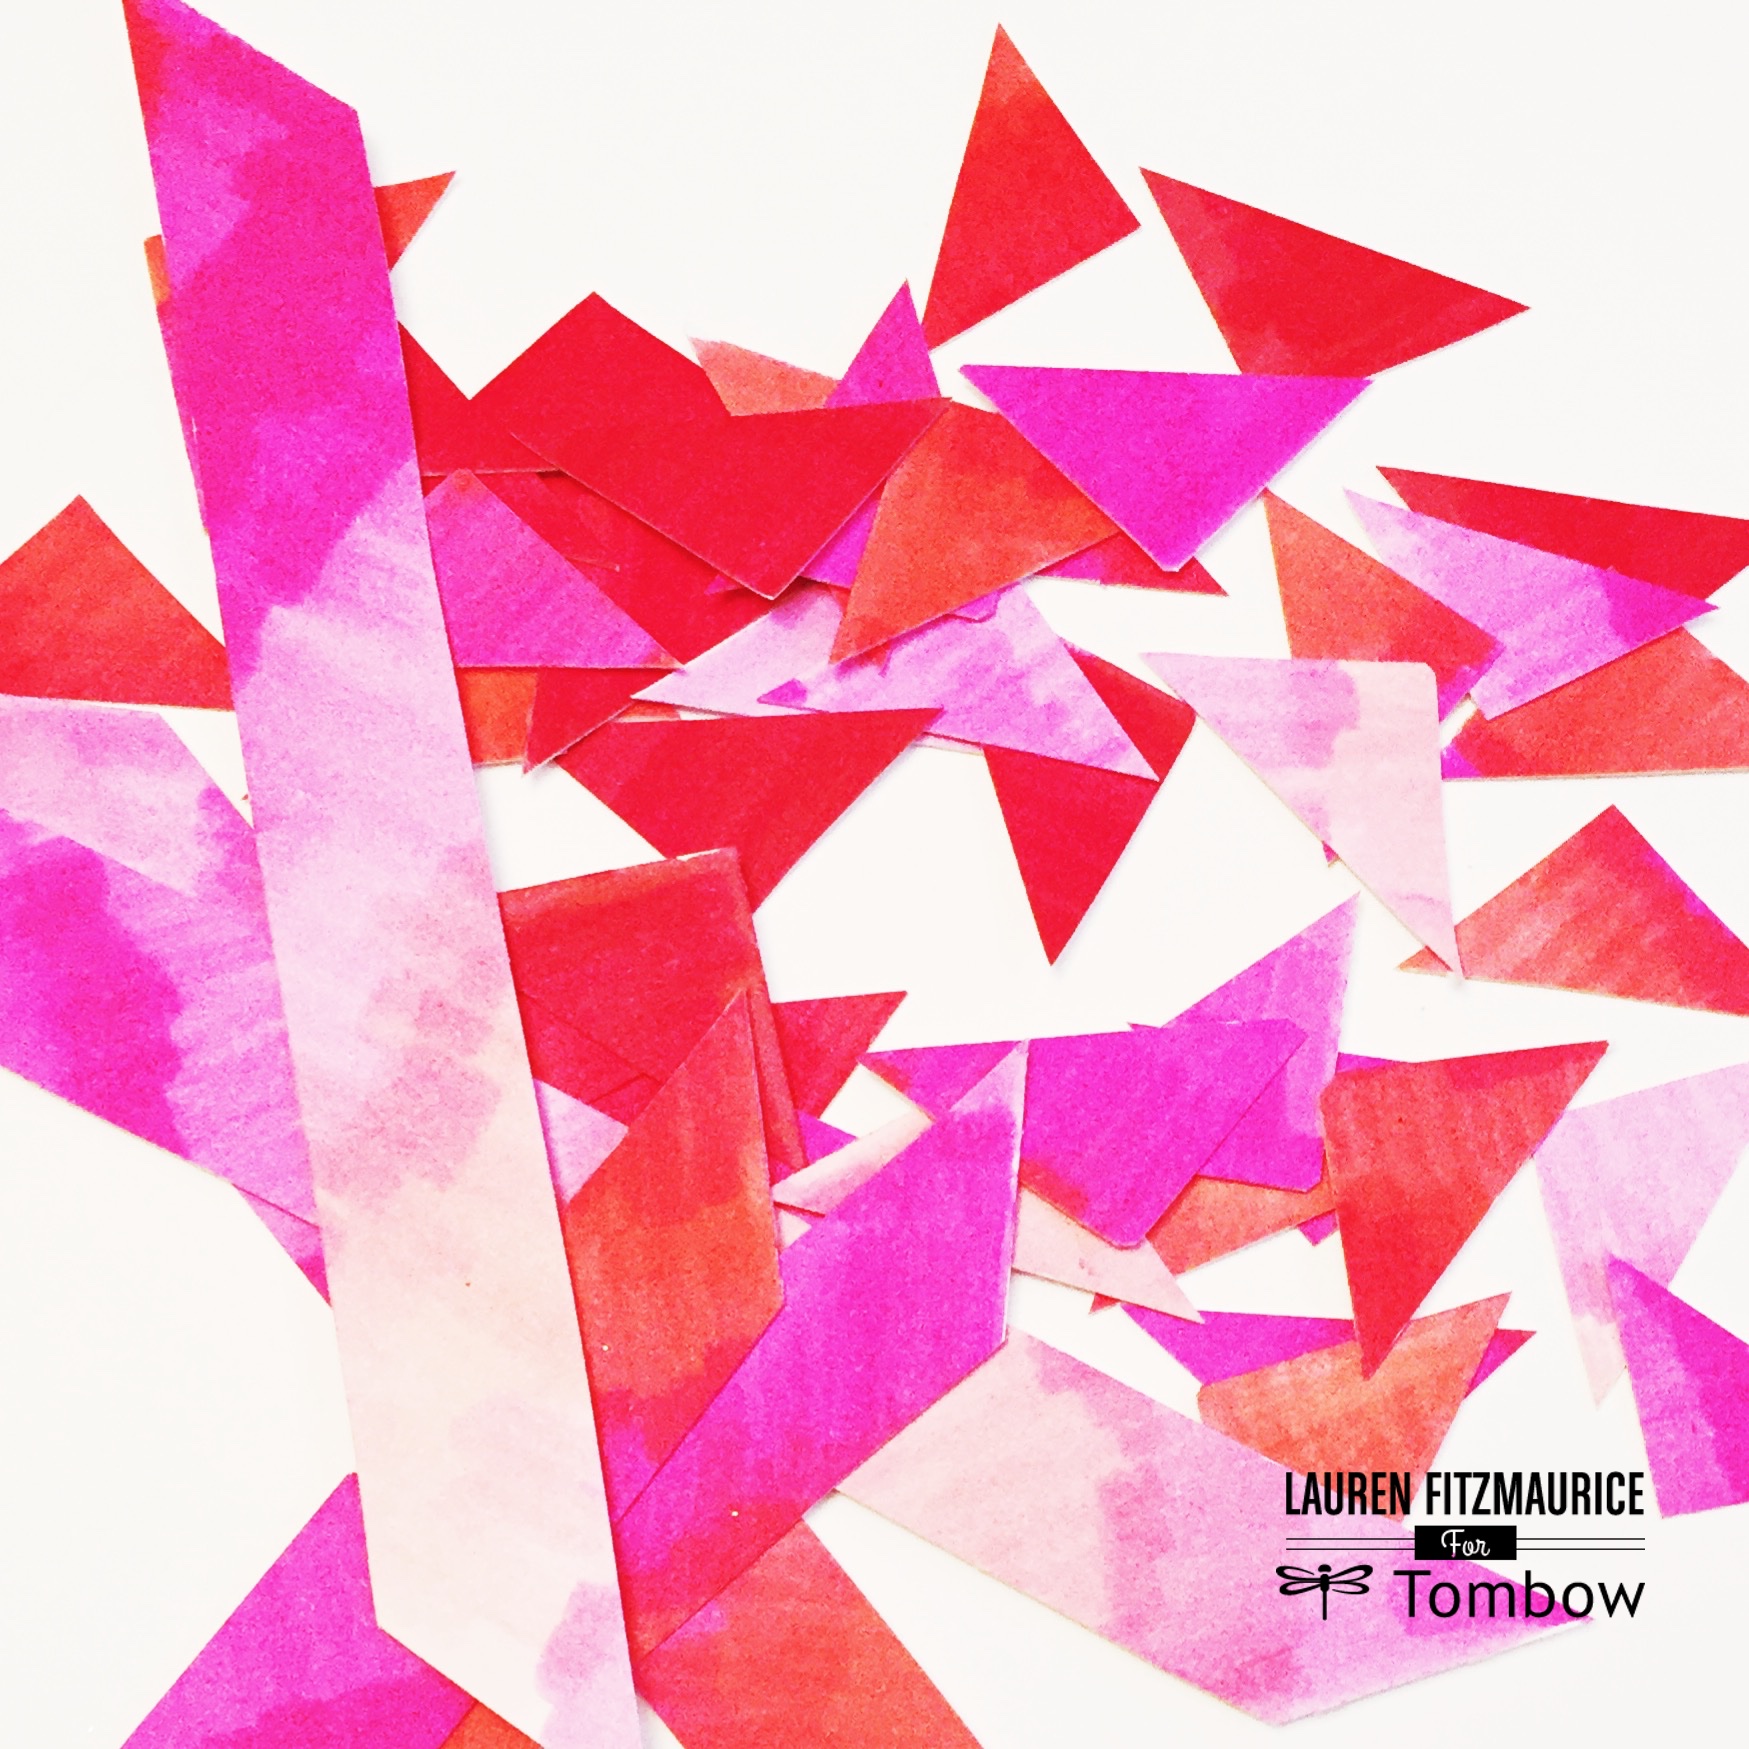
Keep a few strips of color to add some glitz to the project!

Then, apply Tombow MONO Multi Liquid Glue to the color side of each strip of paper, using the broad tip. This glue goes on smoothly and is the perfect texture for glitter. Add glitter to each strip as you go. Let the glittery strips dry.
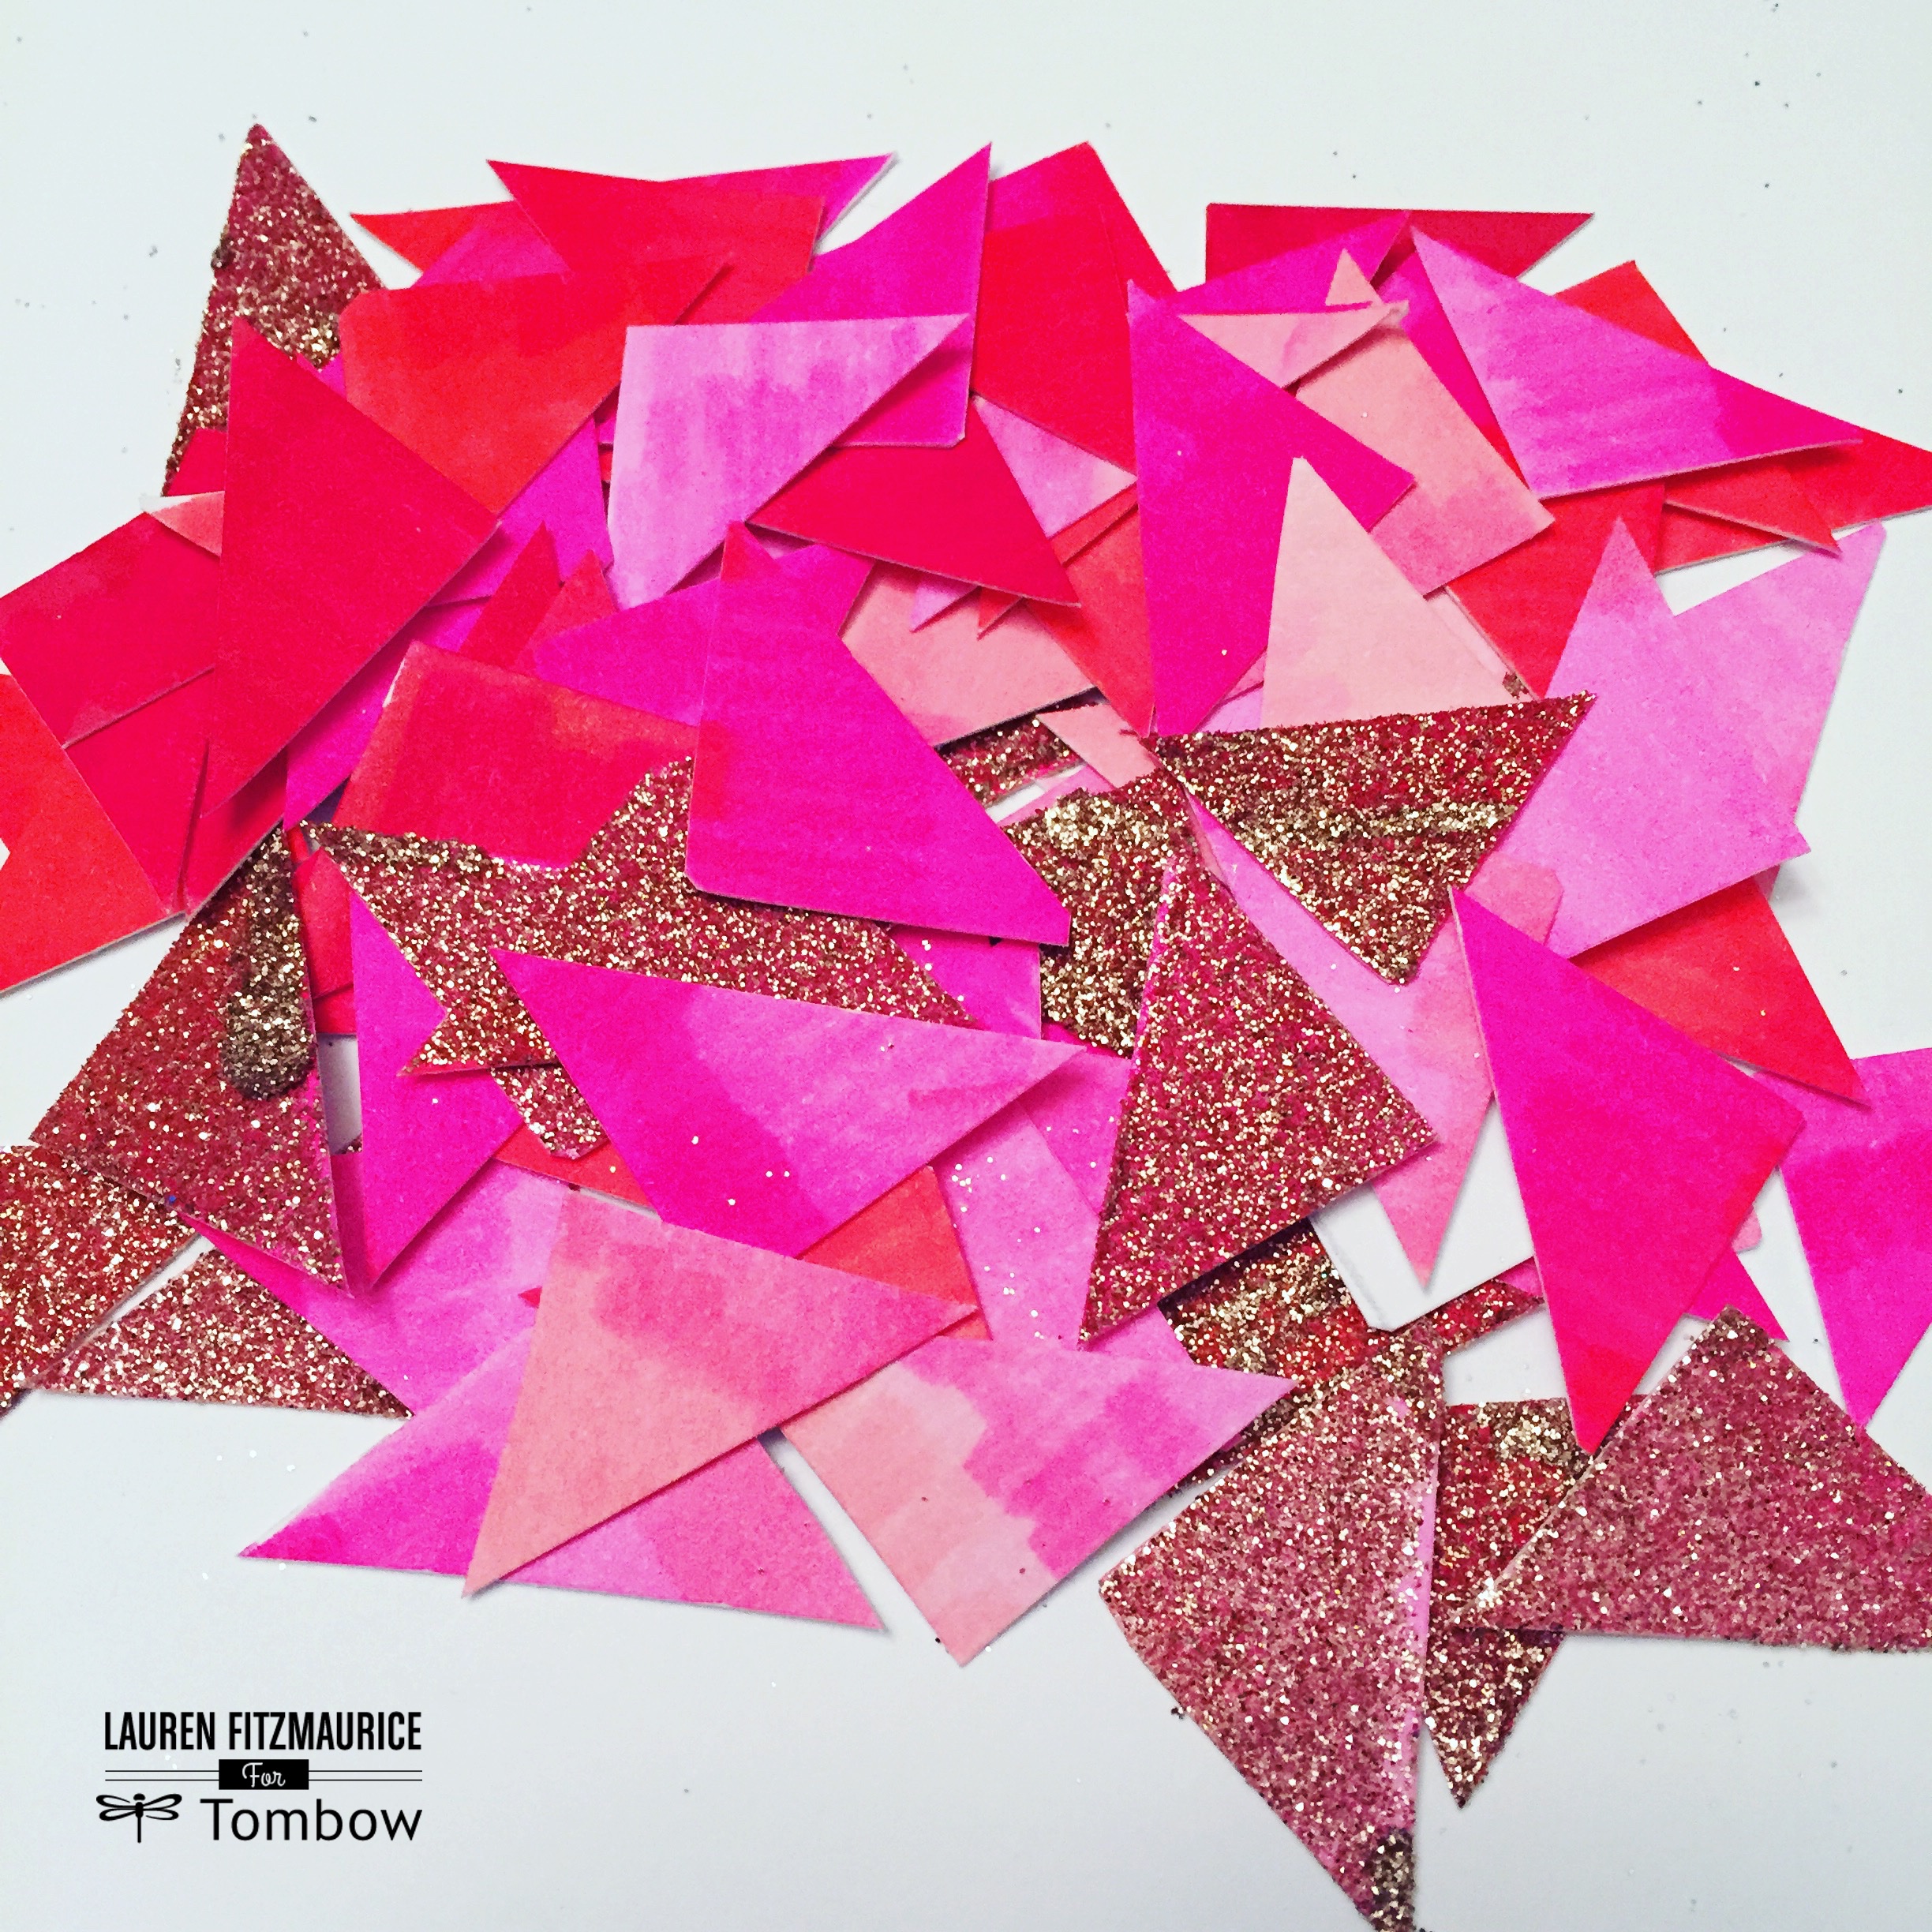
Cut the glitter strips into triangles. Then your beautiful bunch of triangles are ready to make a heart! Go through your large pile of triangles and pick out your favorite ones. Cut another piece of mixed media paper into a 5 by 7. This sheet will be the actual valentine that you will attach the triangles to.
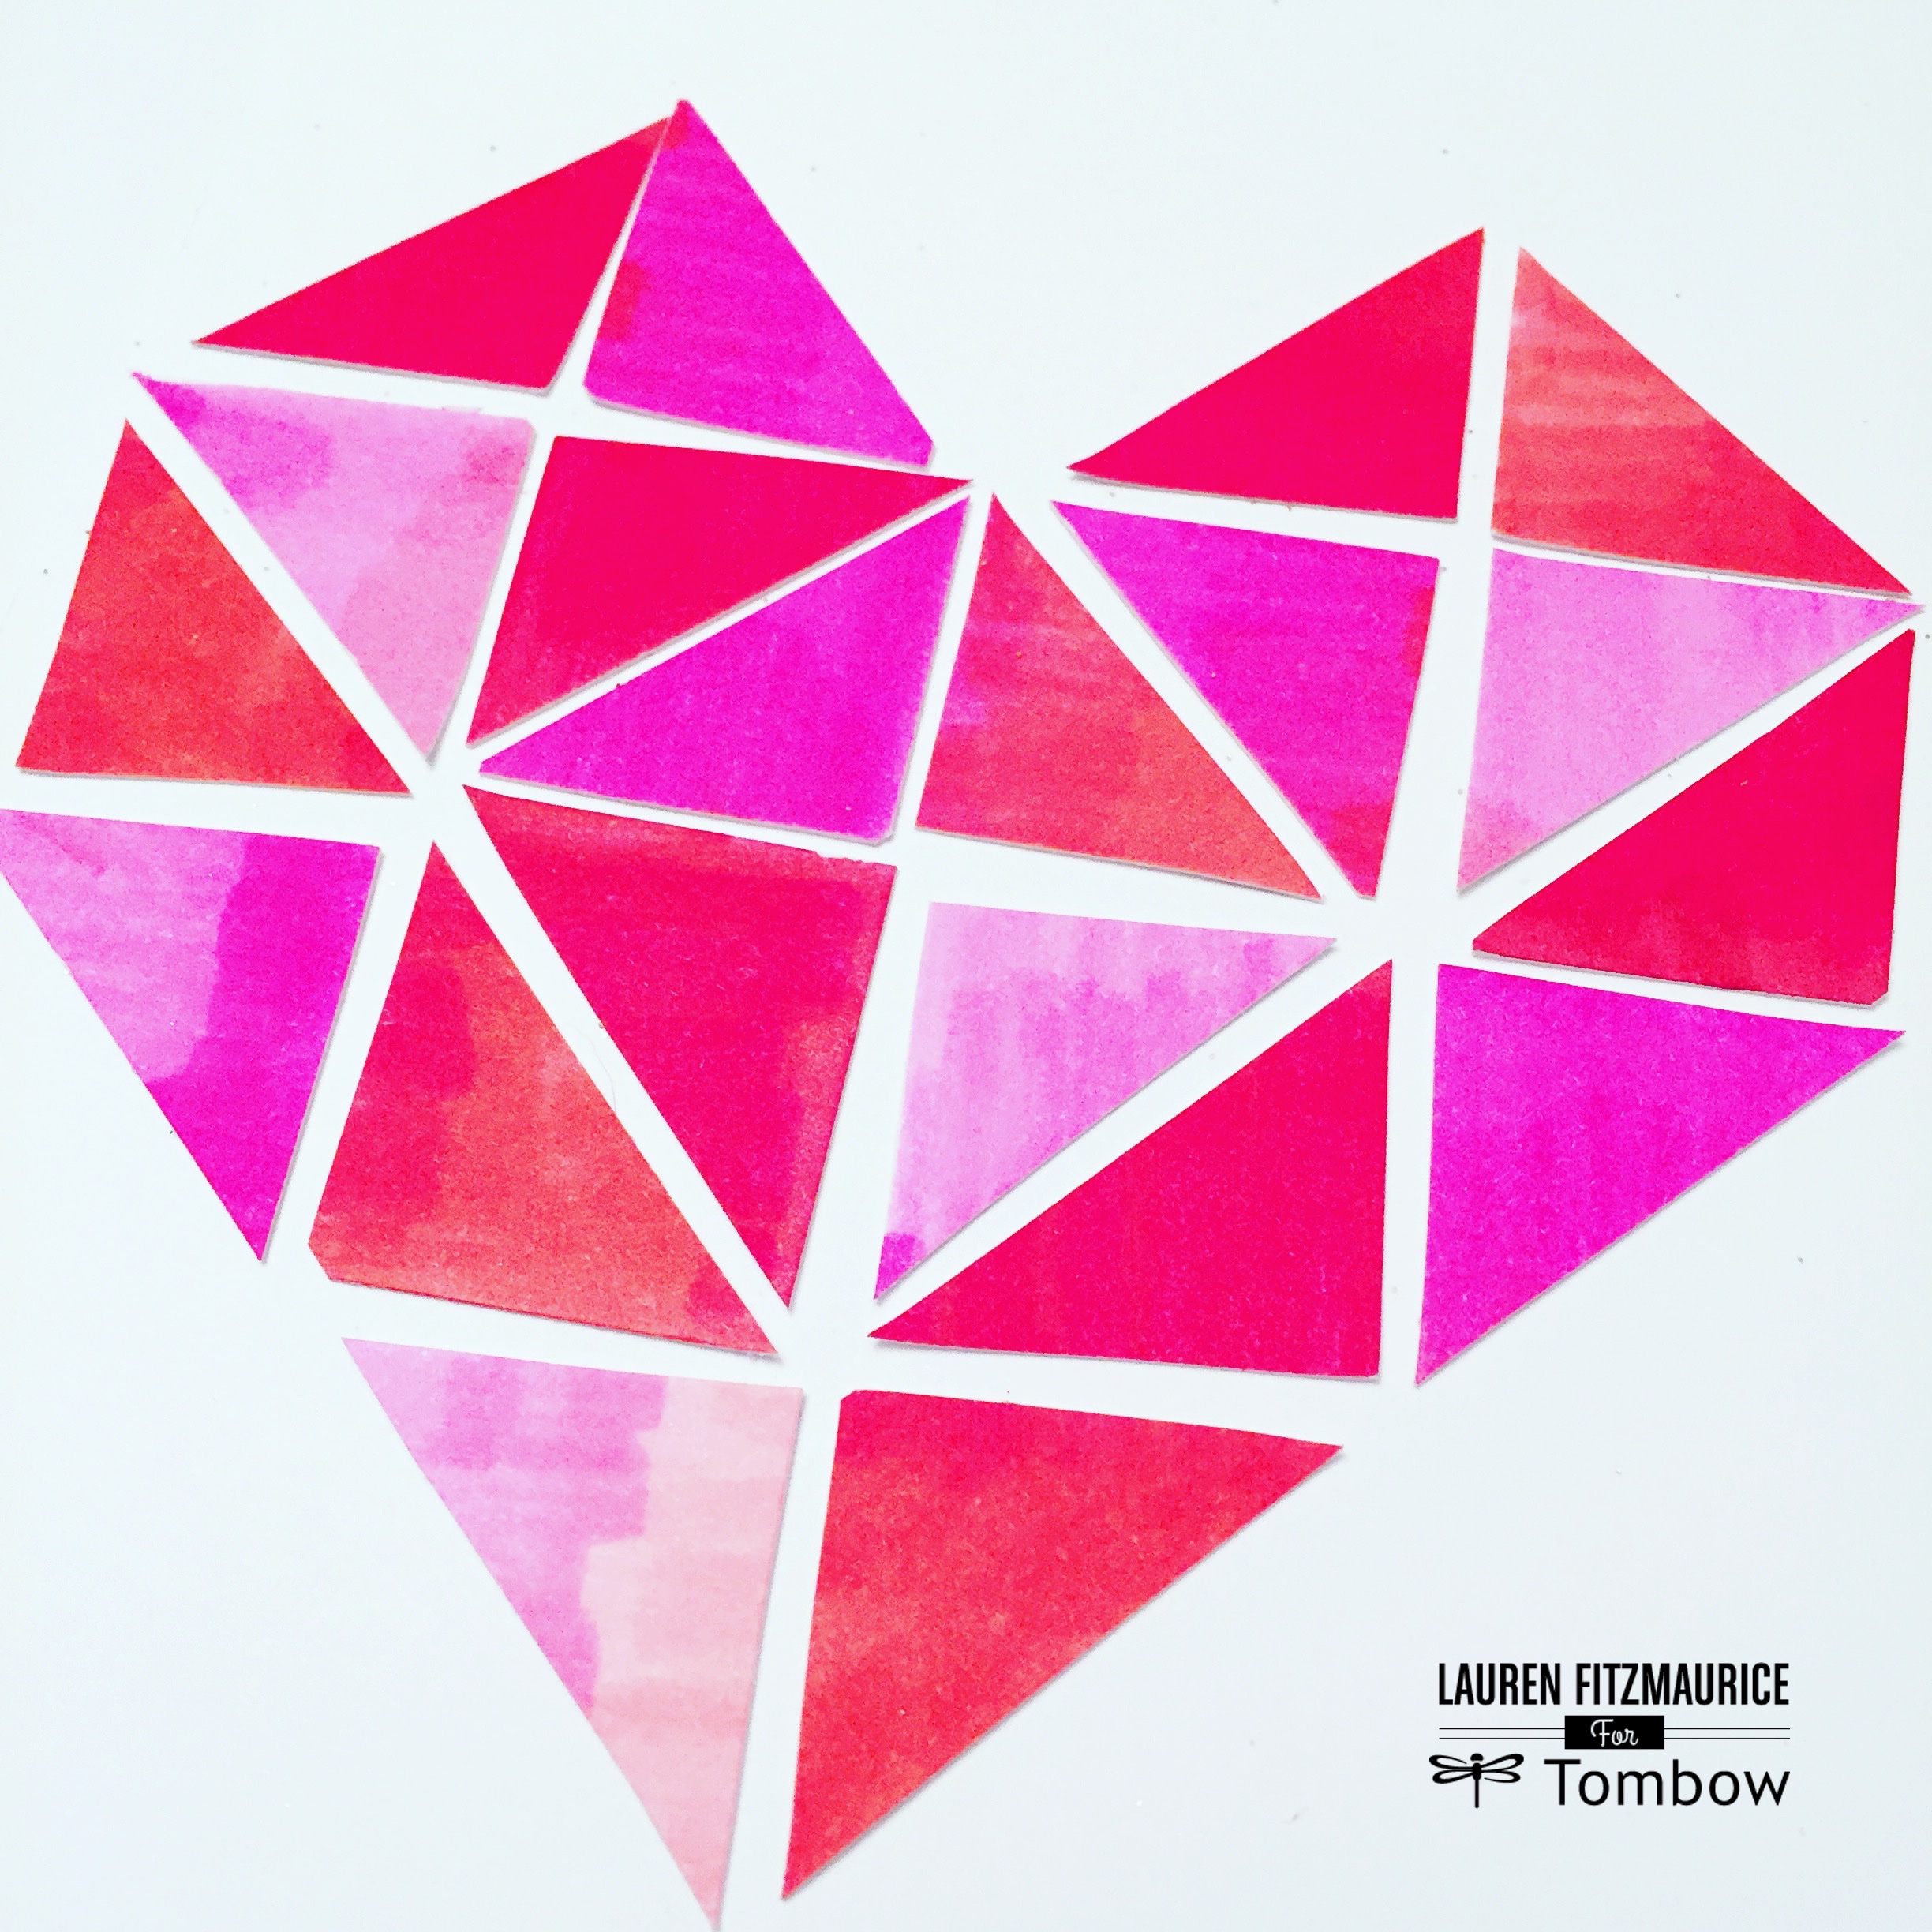
This next step is like a puzzle. Using the picture above as a guide, start positioning the triangles to form a heart on the 5 by 7 piece of mixed media paper. Leave some white space in between each triangle to portray a mosaic effect. While making this heart, I kept moving around the colors until I had the perfect combination. It was easier for me to start with only the colored hearts. If you are not a glitter fan, you could skip the glitter steps and still make a pretty amazing valentine!
To add some glitz to the piece, replace some of your colored triangles with glitter. Make sure to arrange them randomly while still making sure that there is balance. In this heart, I made sure that each side had 3 glittery triangles.
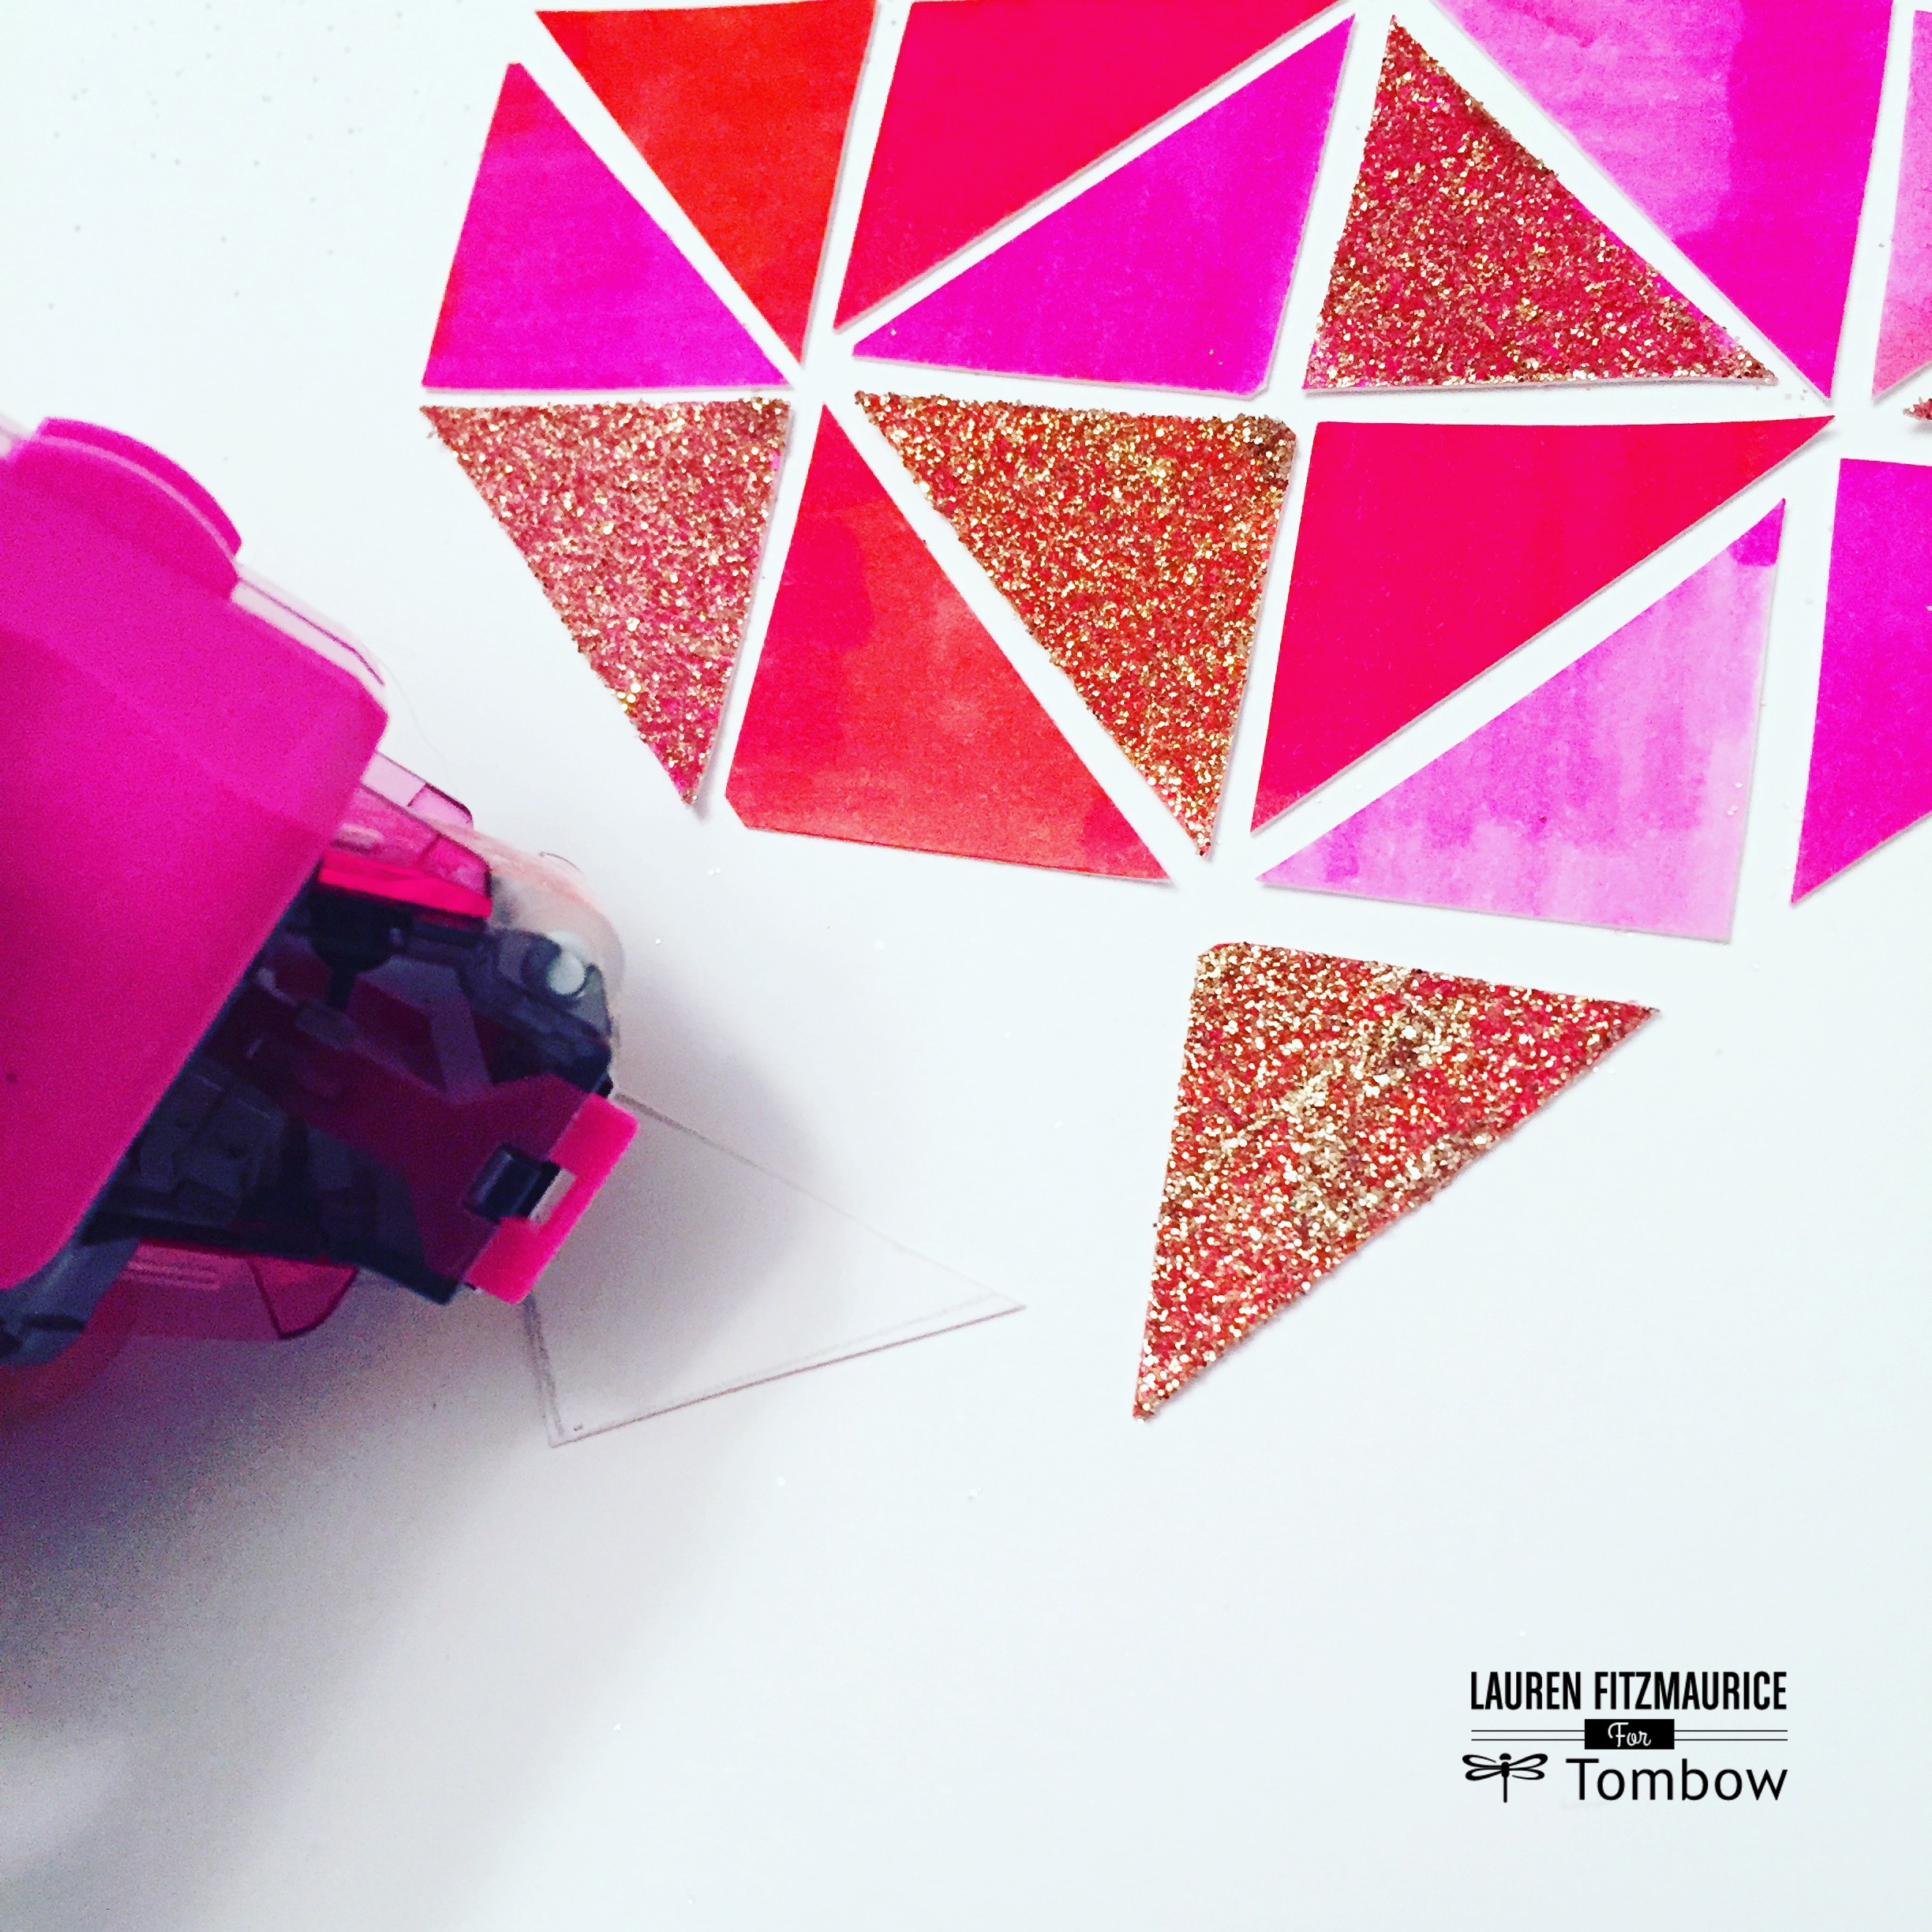
When you are ready to adhere your triangles to the valentine, turn them over one at a time. Start at the bottom and apply the Tombow Stamp Runner Dot Adhesive. Using the adhesive square function, stamp on the glue and firmly press each triangle onto the paper, keeping the heart shape.
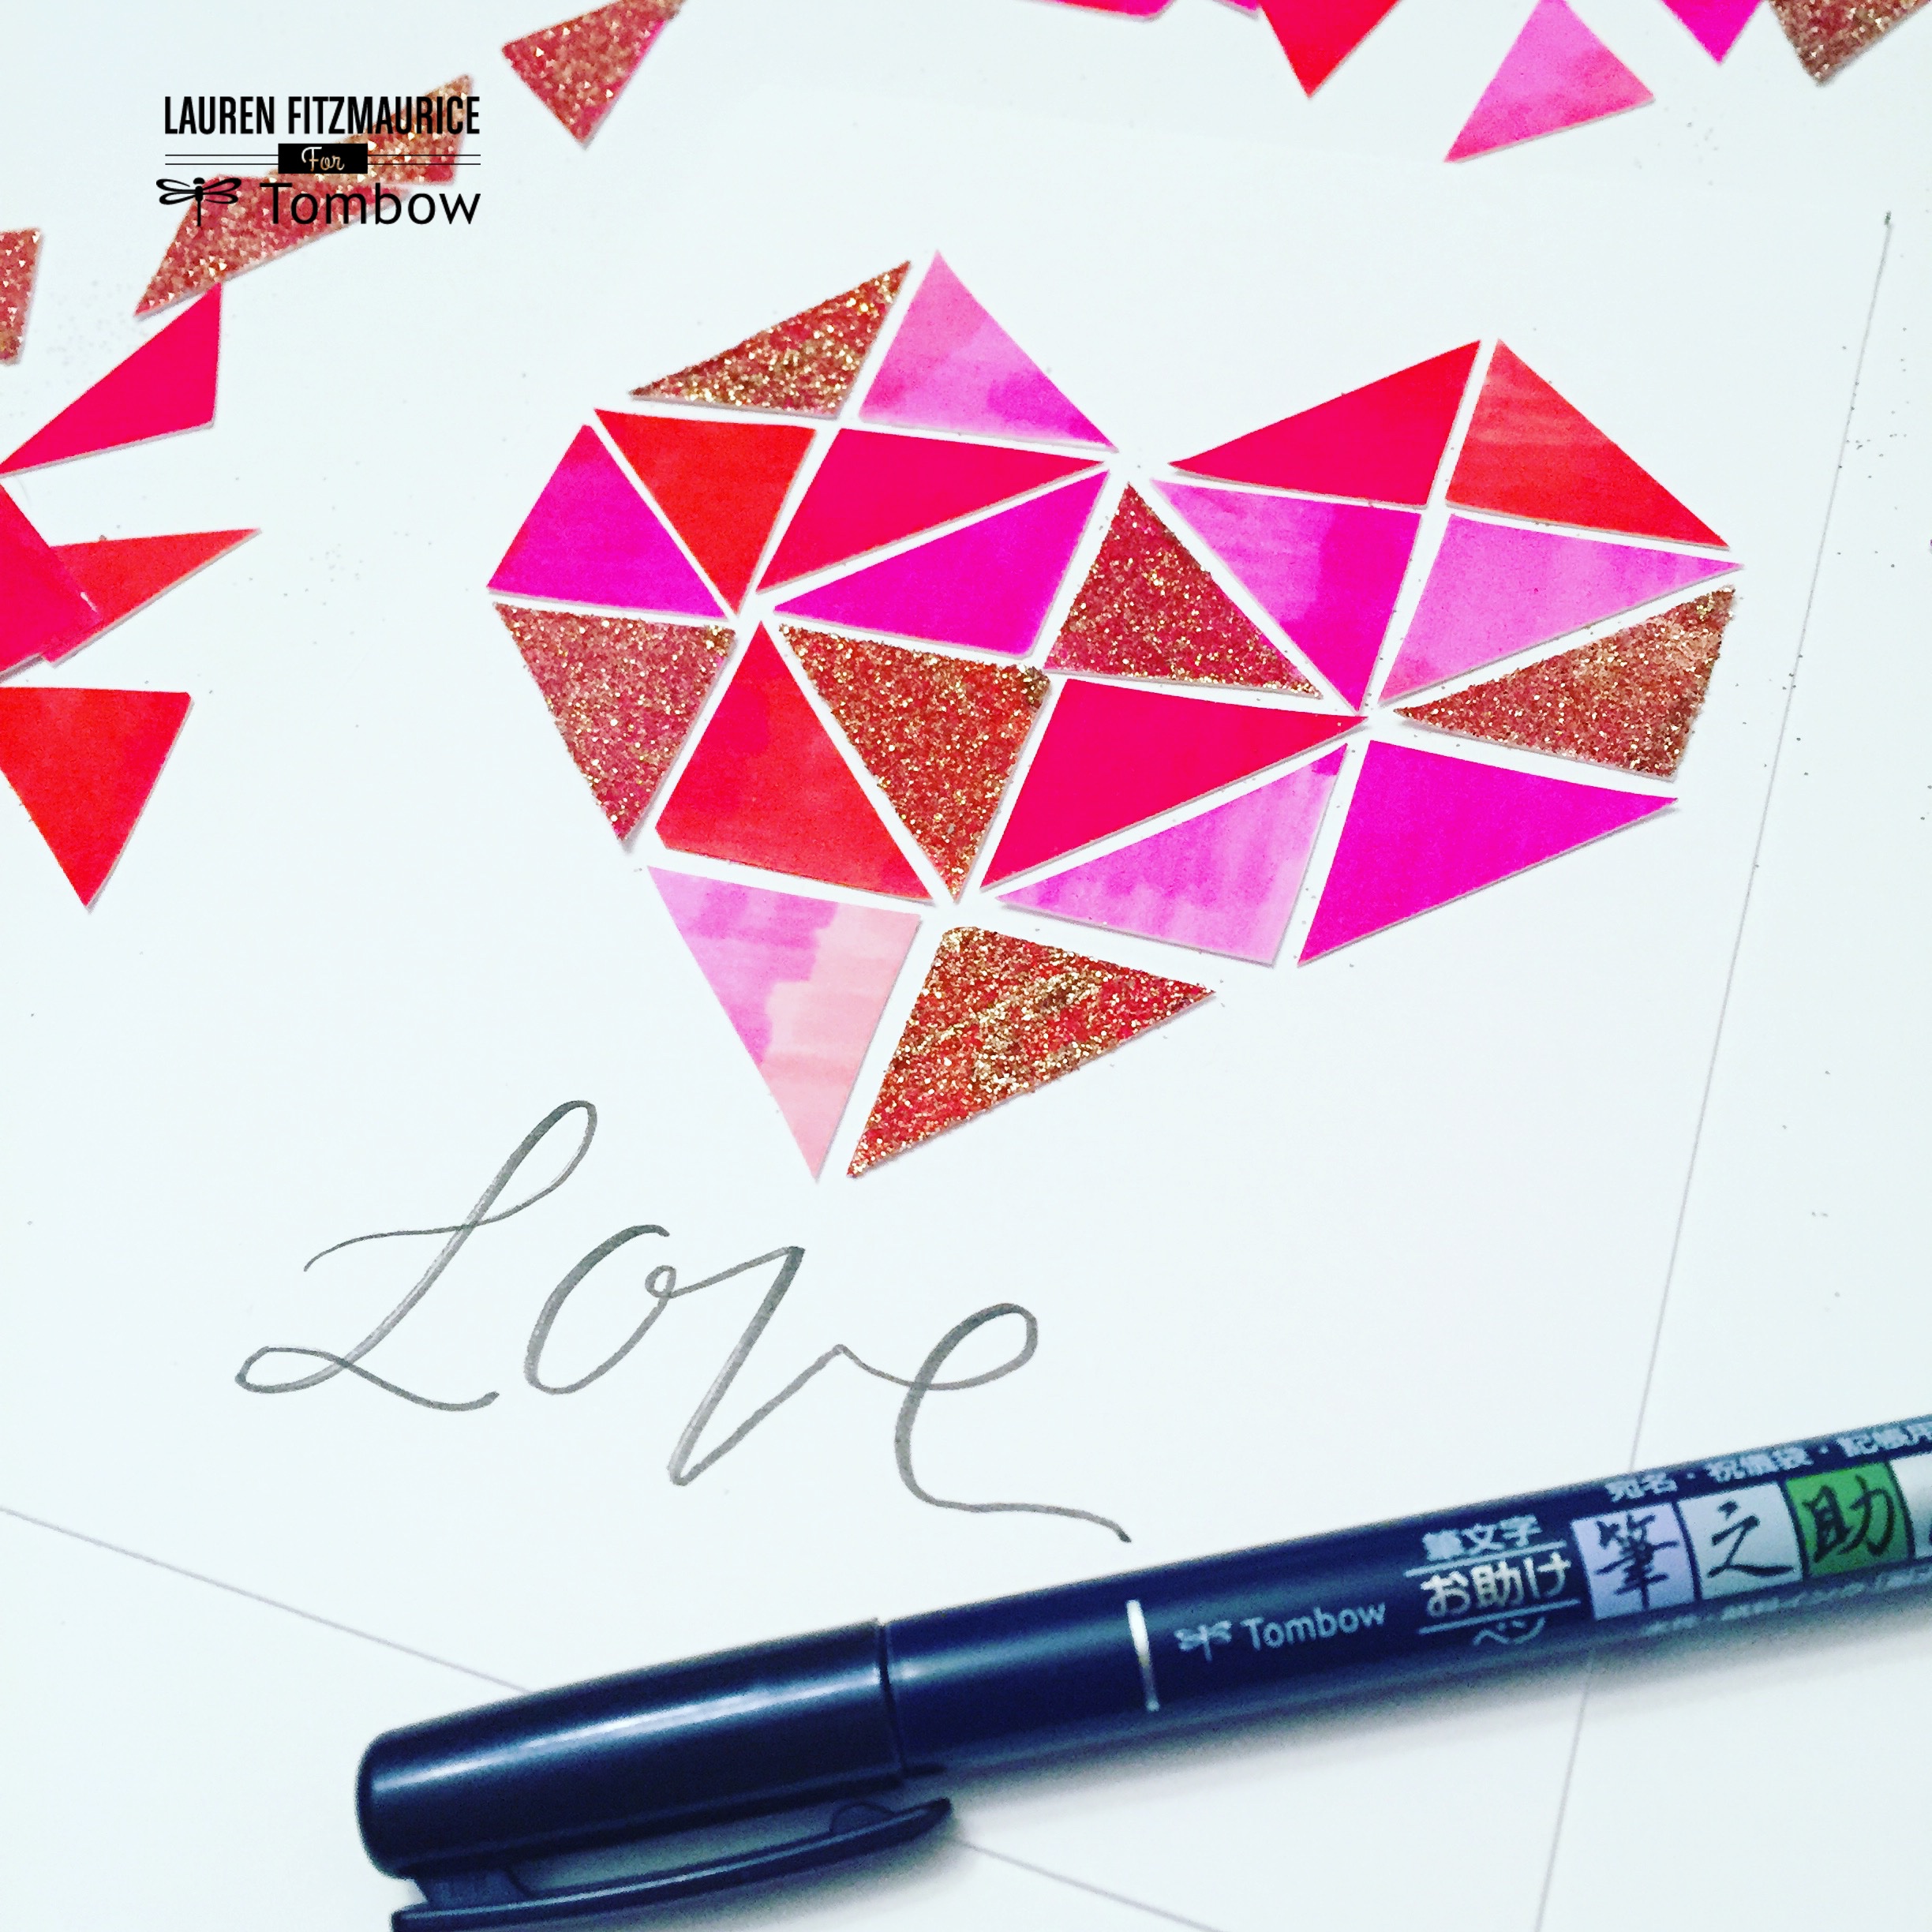
Then, all your valentine will need is a little lettering love! Using the Tombow Fudenosuke Hard Tip Brush Pen, letter the word “Love” below the heart. Your handmade valentine will be ready for a sweet message on the back.
Glittery Heart Valentine Envelope

The perfect wrapping for your sweet geometric valentine, this envelope is bright, glittery, and so easy to make.
To create this project you will need:
- 1 piece of Bella Blvd 1038 Just Add Color Daily Details Paper (heart side)
- Tombow Irojiten Colored Pencils (Pinks and Reds)
- Tombow Dual Brush Blender Pen
- Tombow Xtreme Adhesive
- 1 piece of white vellum
- Tombow Dual Brush Pens (Pink and Red)
- Tombow Fudenosuke Hard Tip Brush Pen
- Tombow MONO Glue Pen
- fine gold glitter
- Tombow Stamp Runner Dot Adhesive
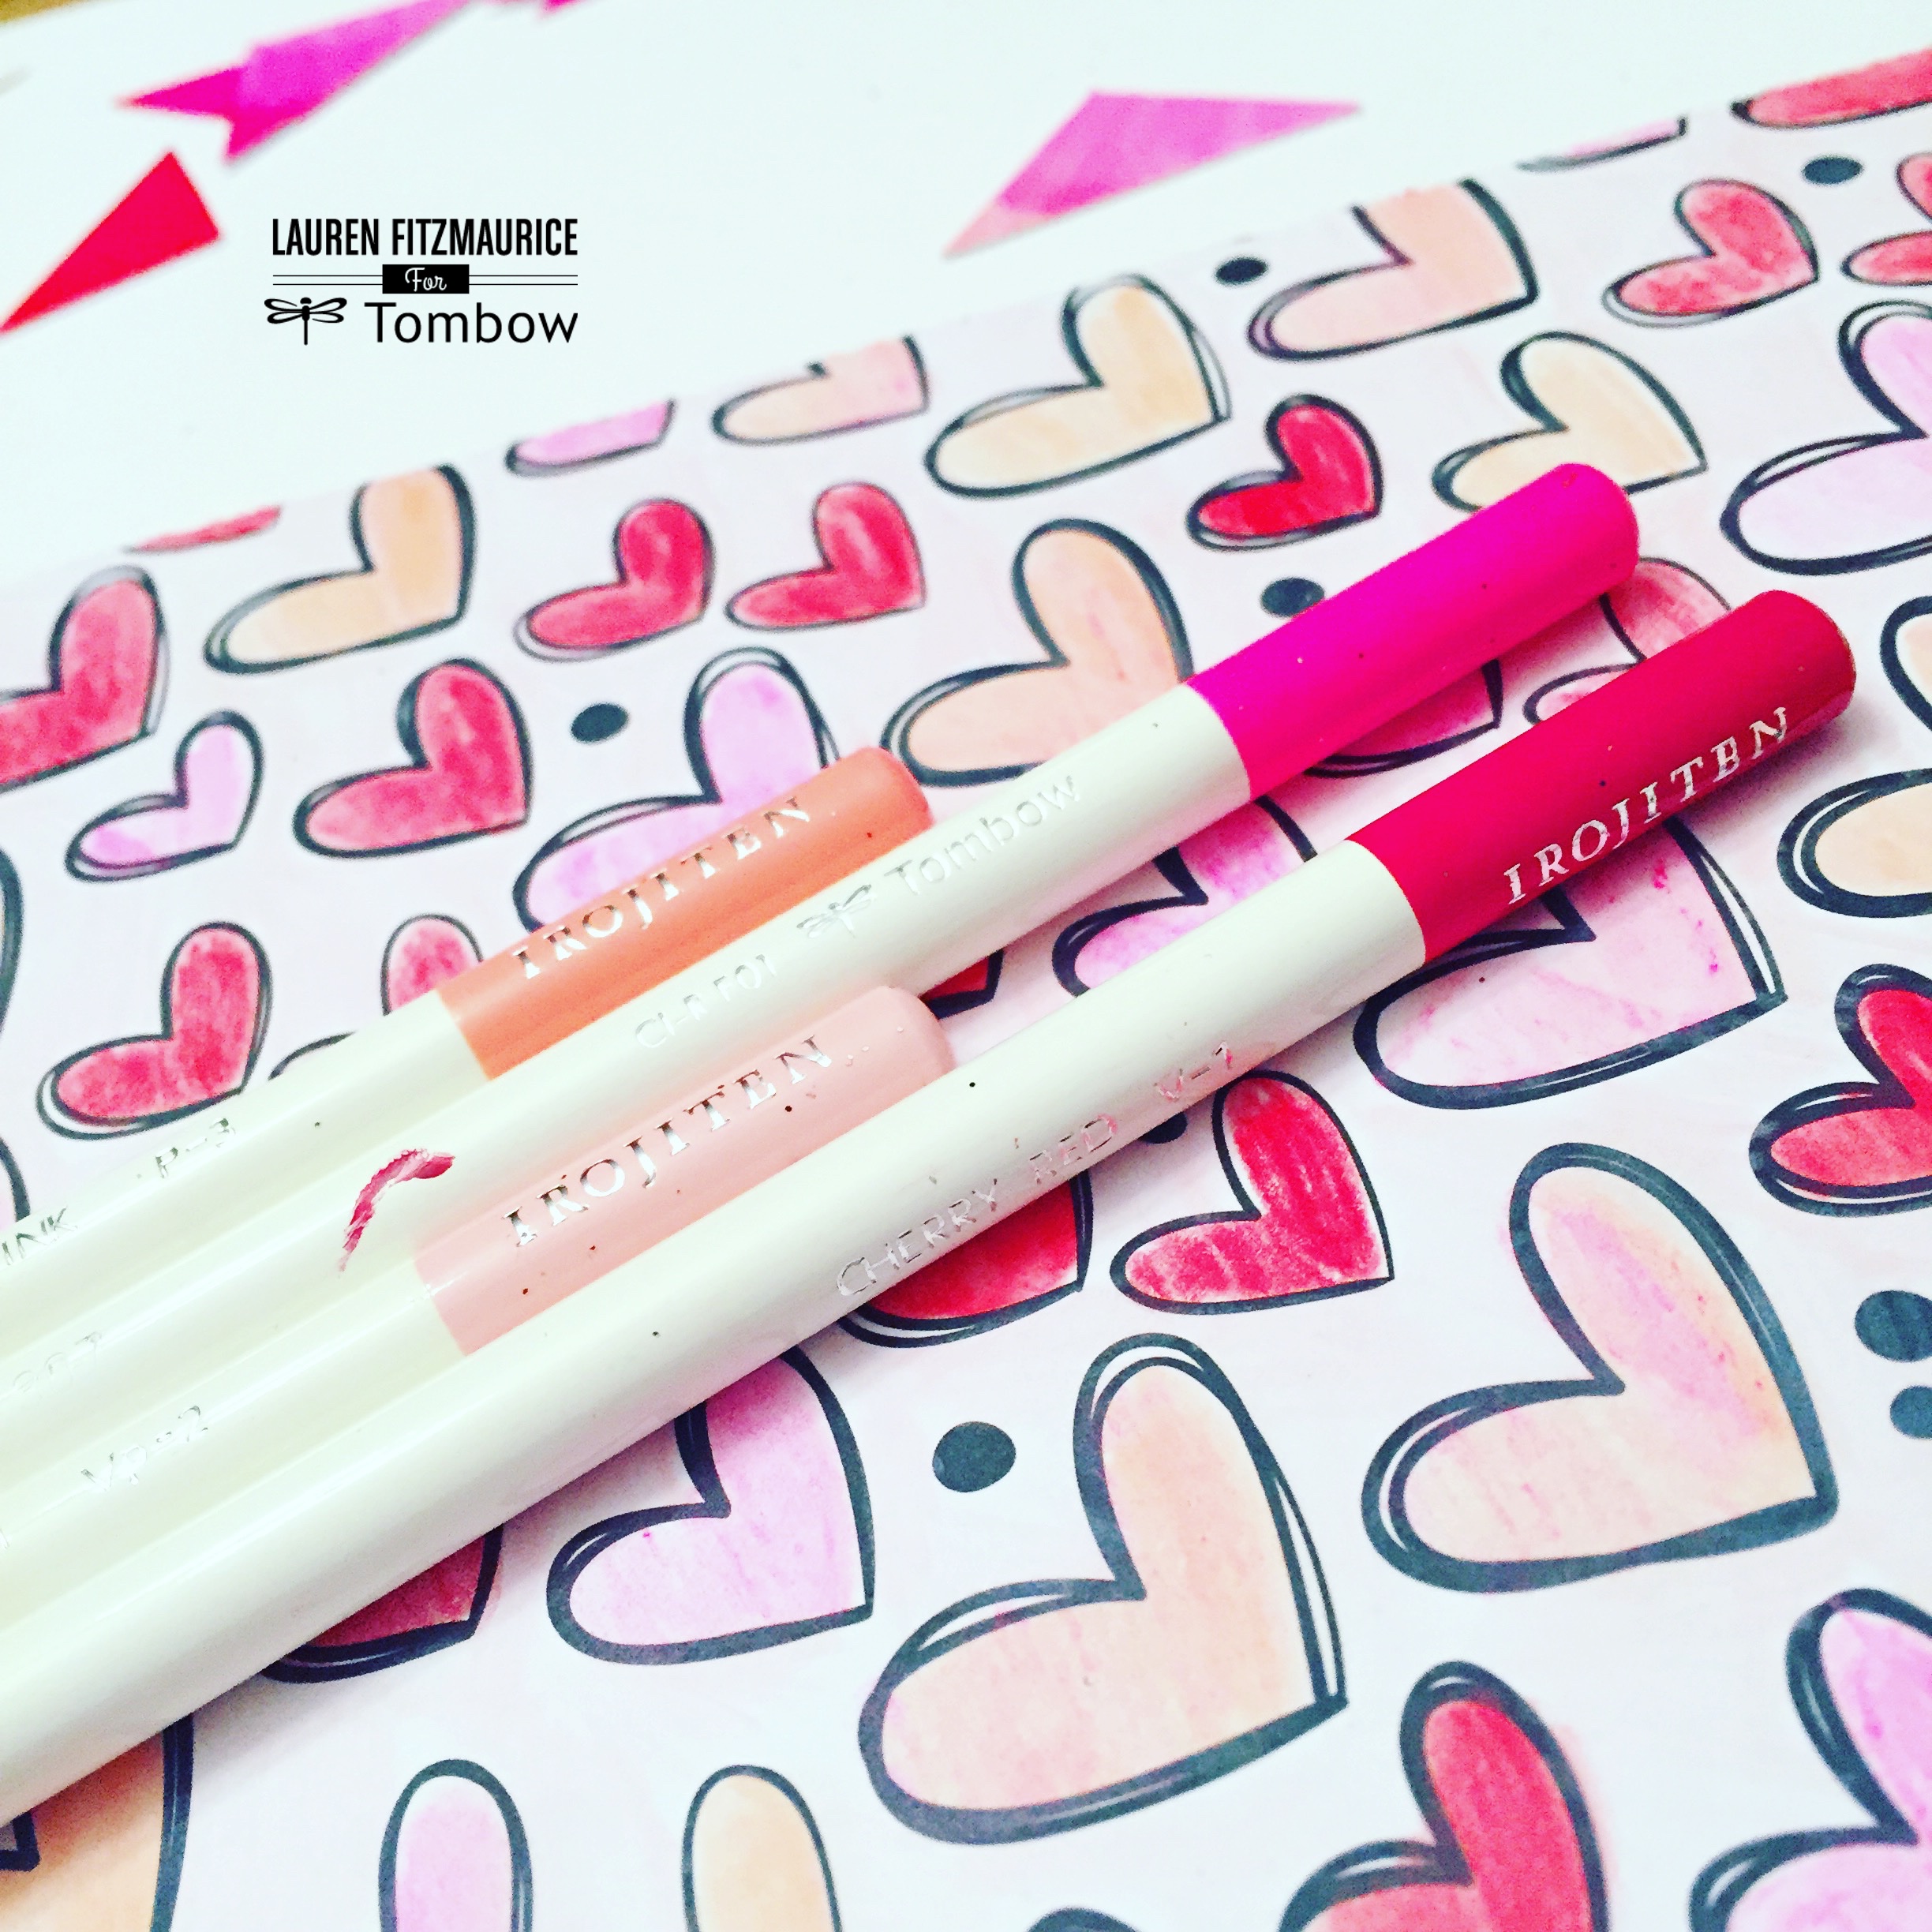
First, I created a 5 by 7 envelope using an envelope punch, a piece the Bella Blvd 1038 Just Add Color Daily Details Paper, and the Tombow Xtreme Adhesive. (For more details about how to create the envelope, look at my post for the Top 10 Tombow Products that Every Letterer Needs Now). Then, color in the heart pattern with the Tombow Irojiten Colored Pencils. Layer different colors on top of one another and spread out the different colors. Use a light shade of pink to color in the background. Smooth out the color with the Tombow Dual Brush Blending Pen.
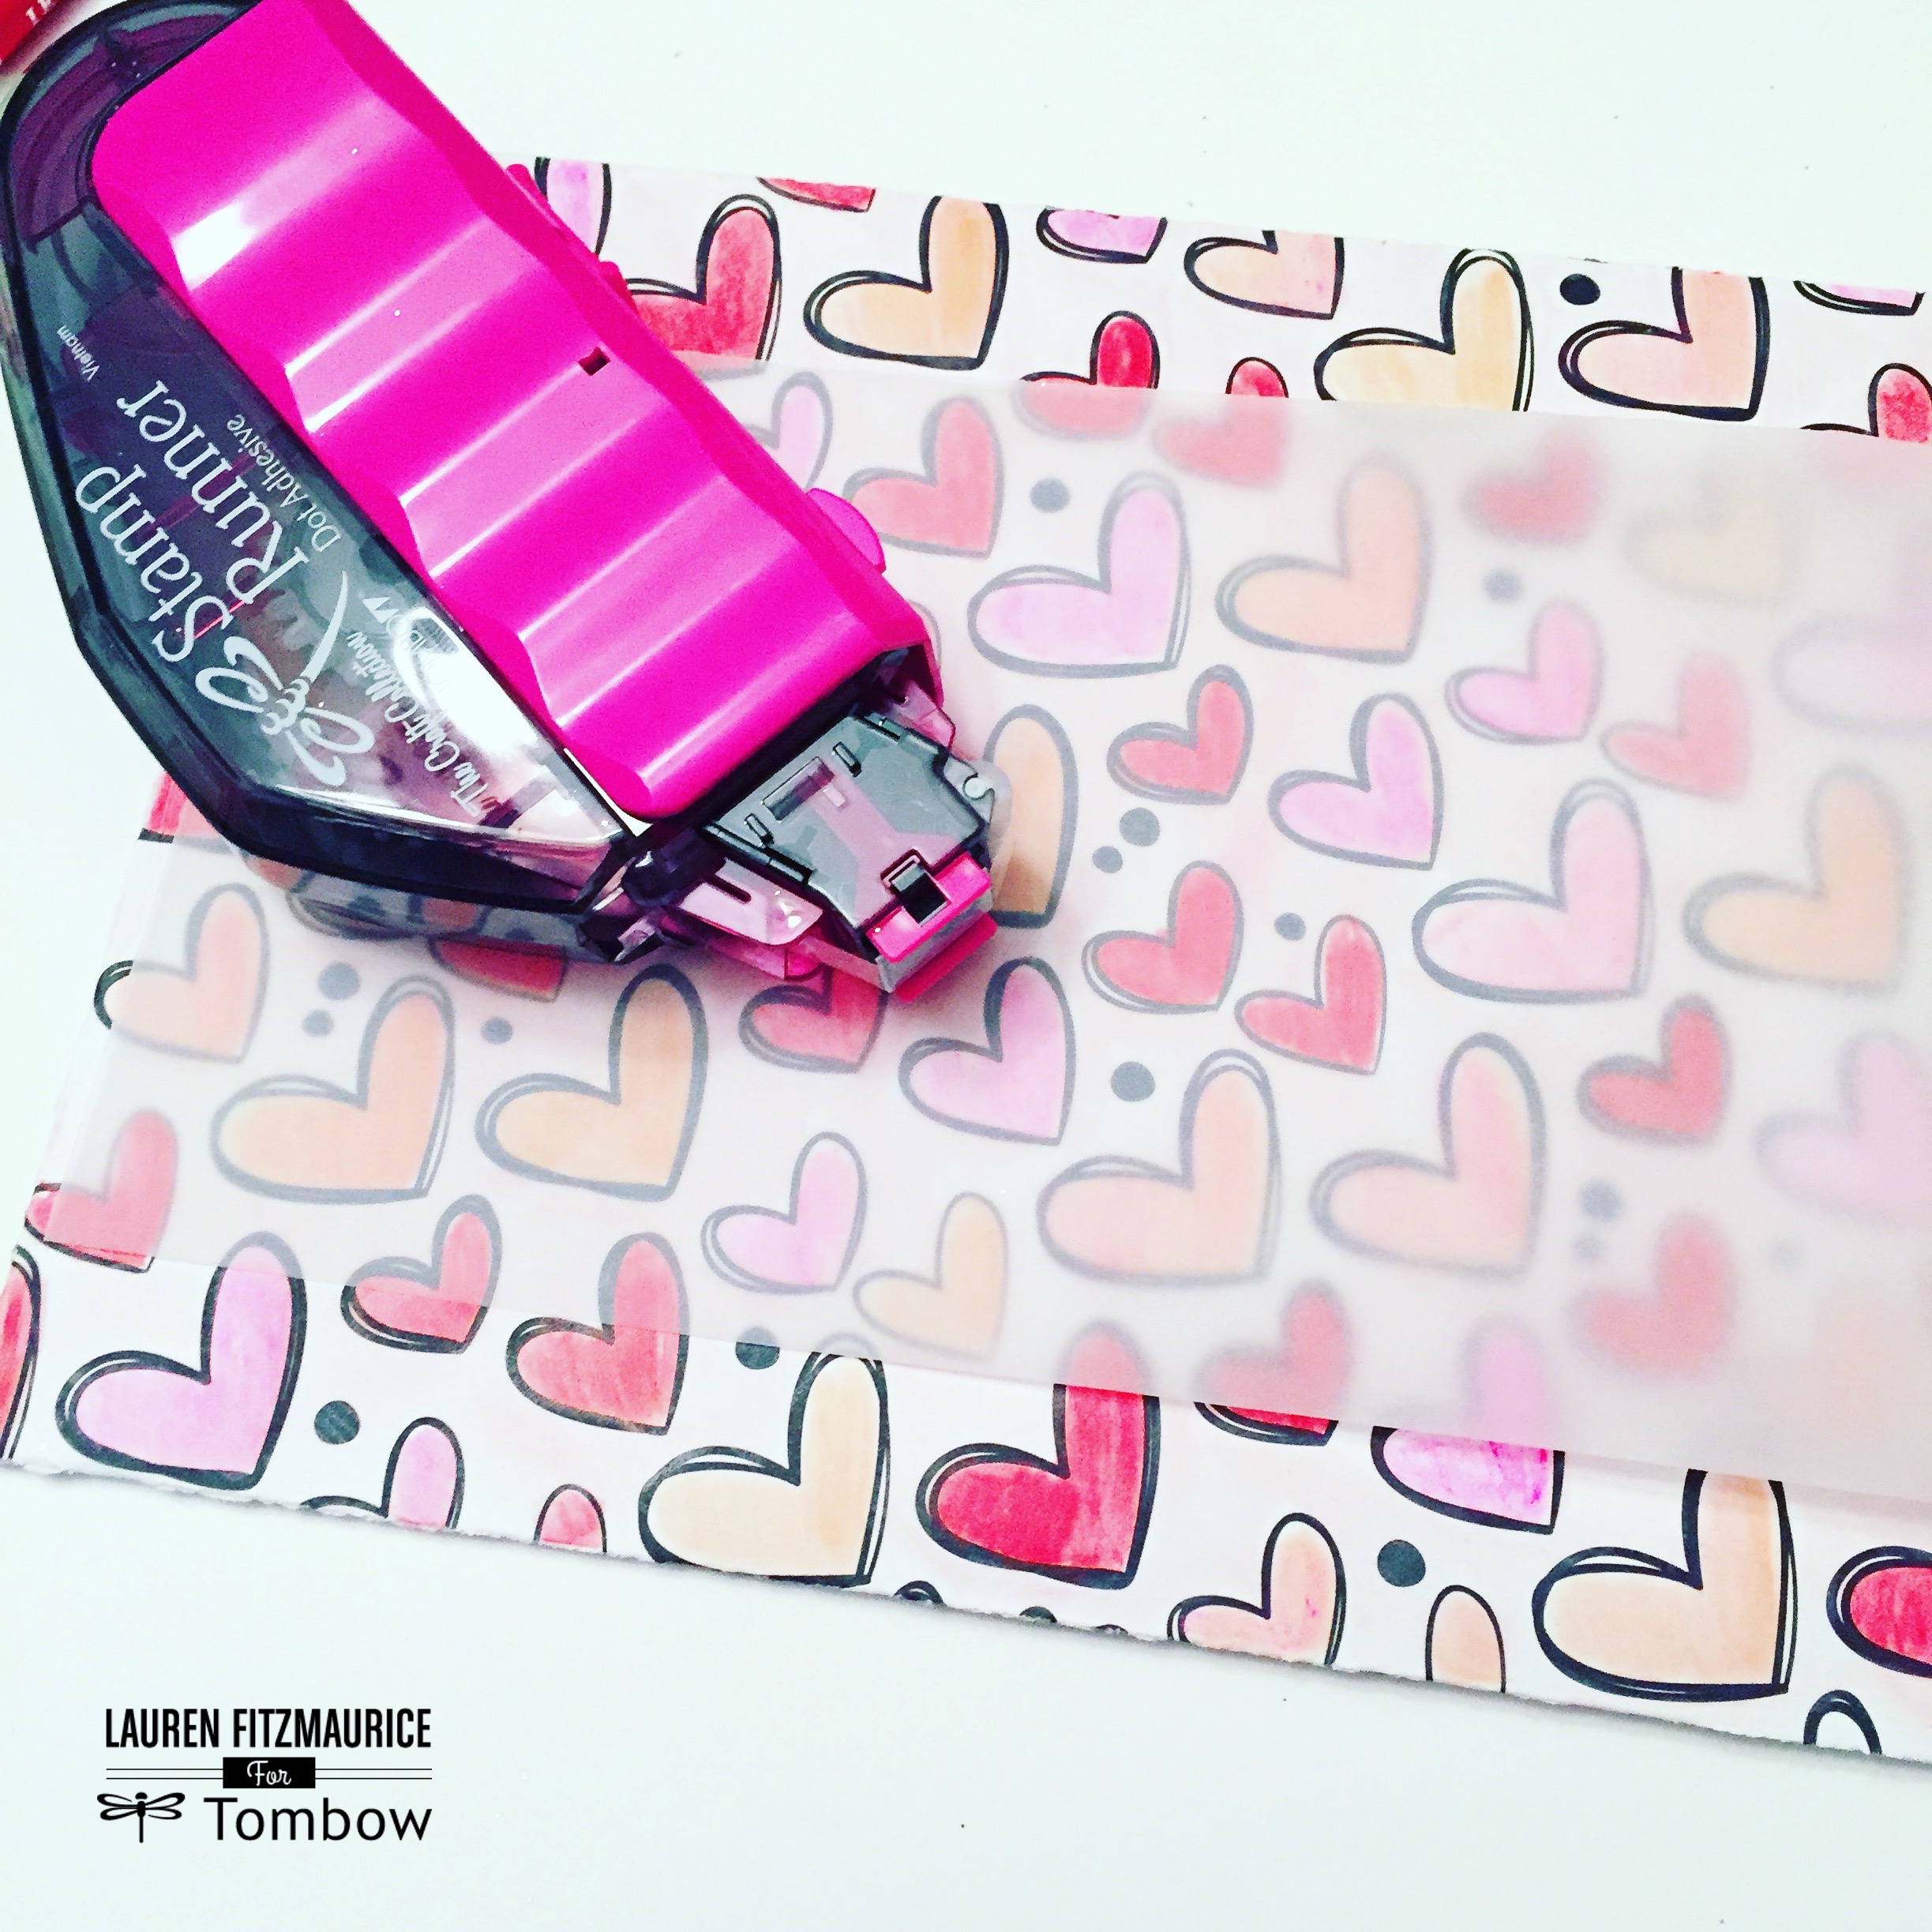
Cut a small piece of vellum and center it in the middle on the front of the envelope. Attach it by using the tape runner feature of the Tombow Stamp Runner Dot Adhesive. Run it around each edge and firmly press down on the front of the envelope.
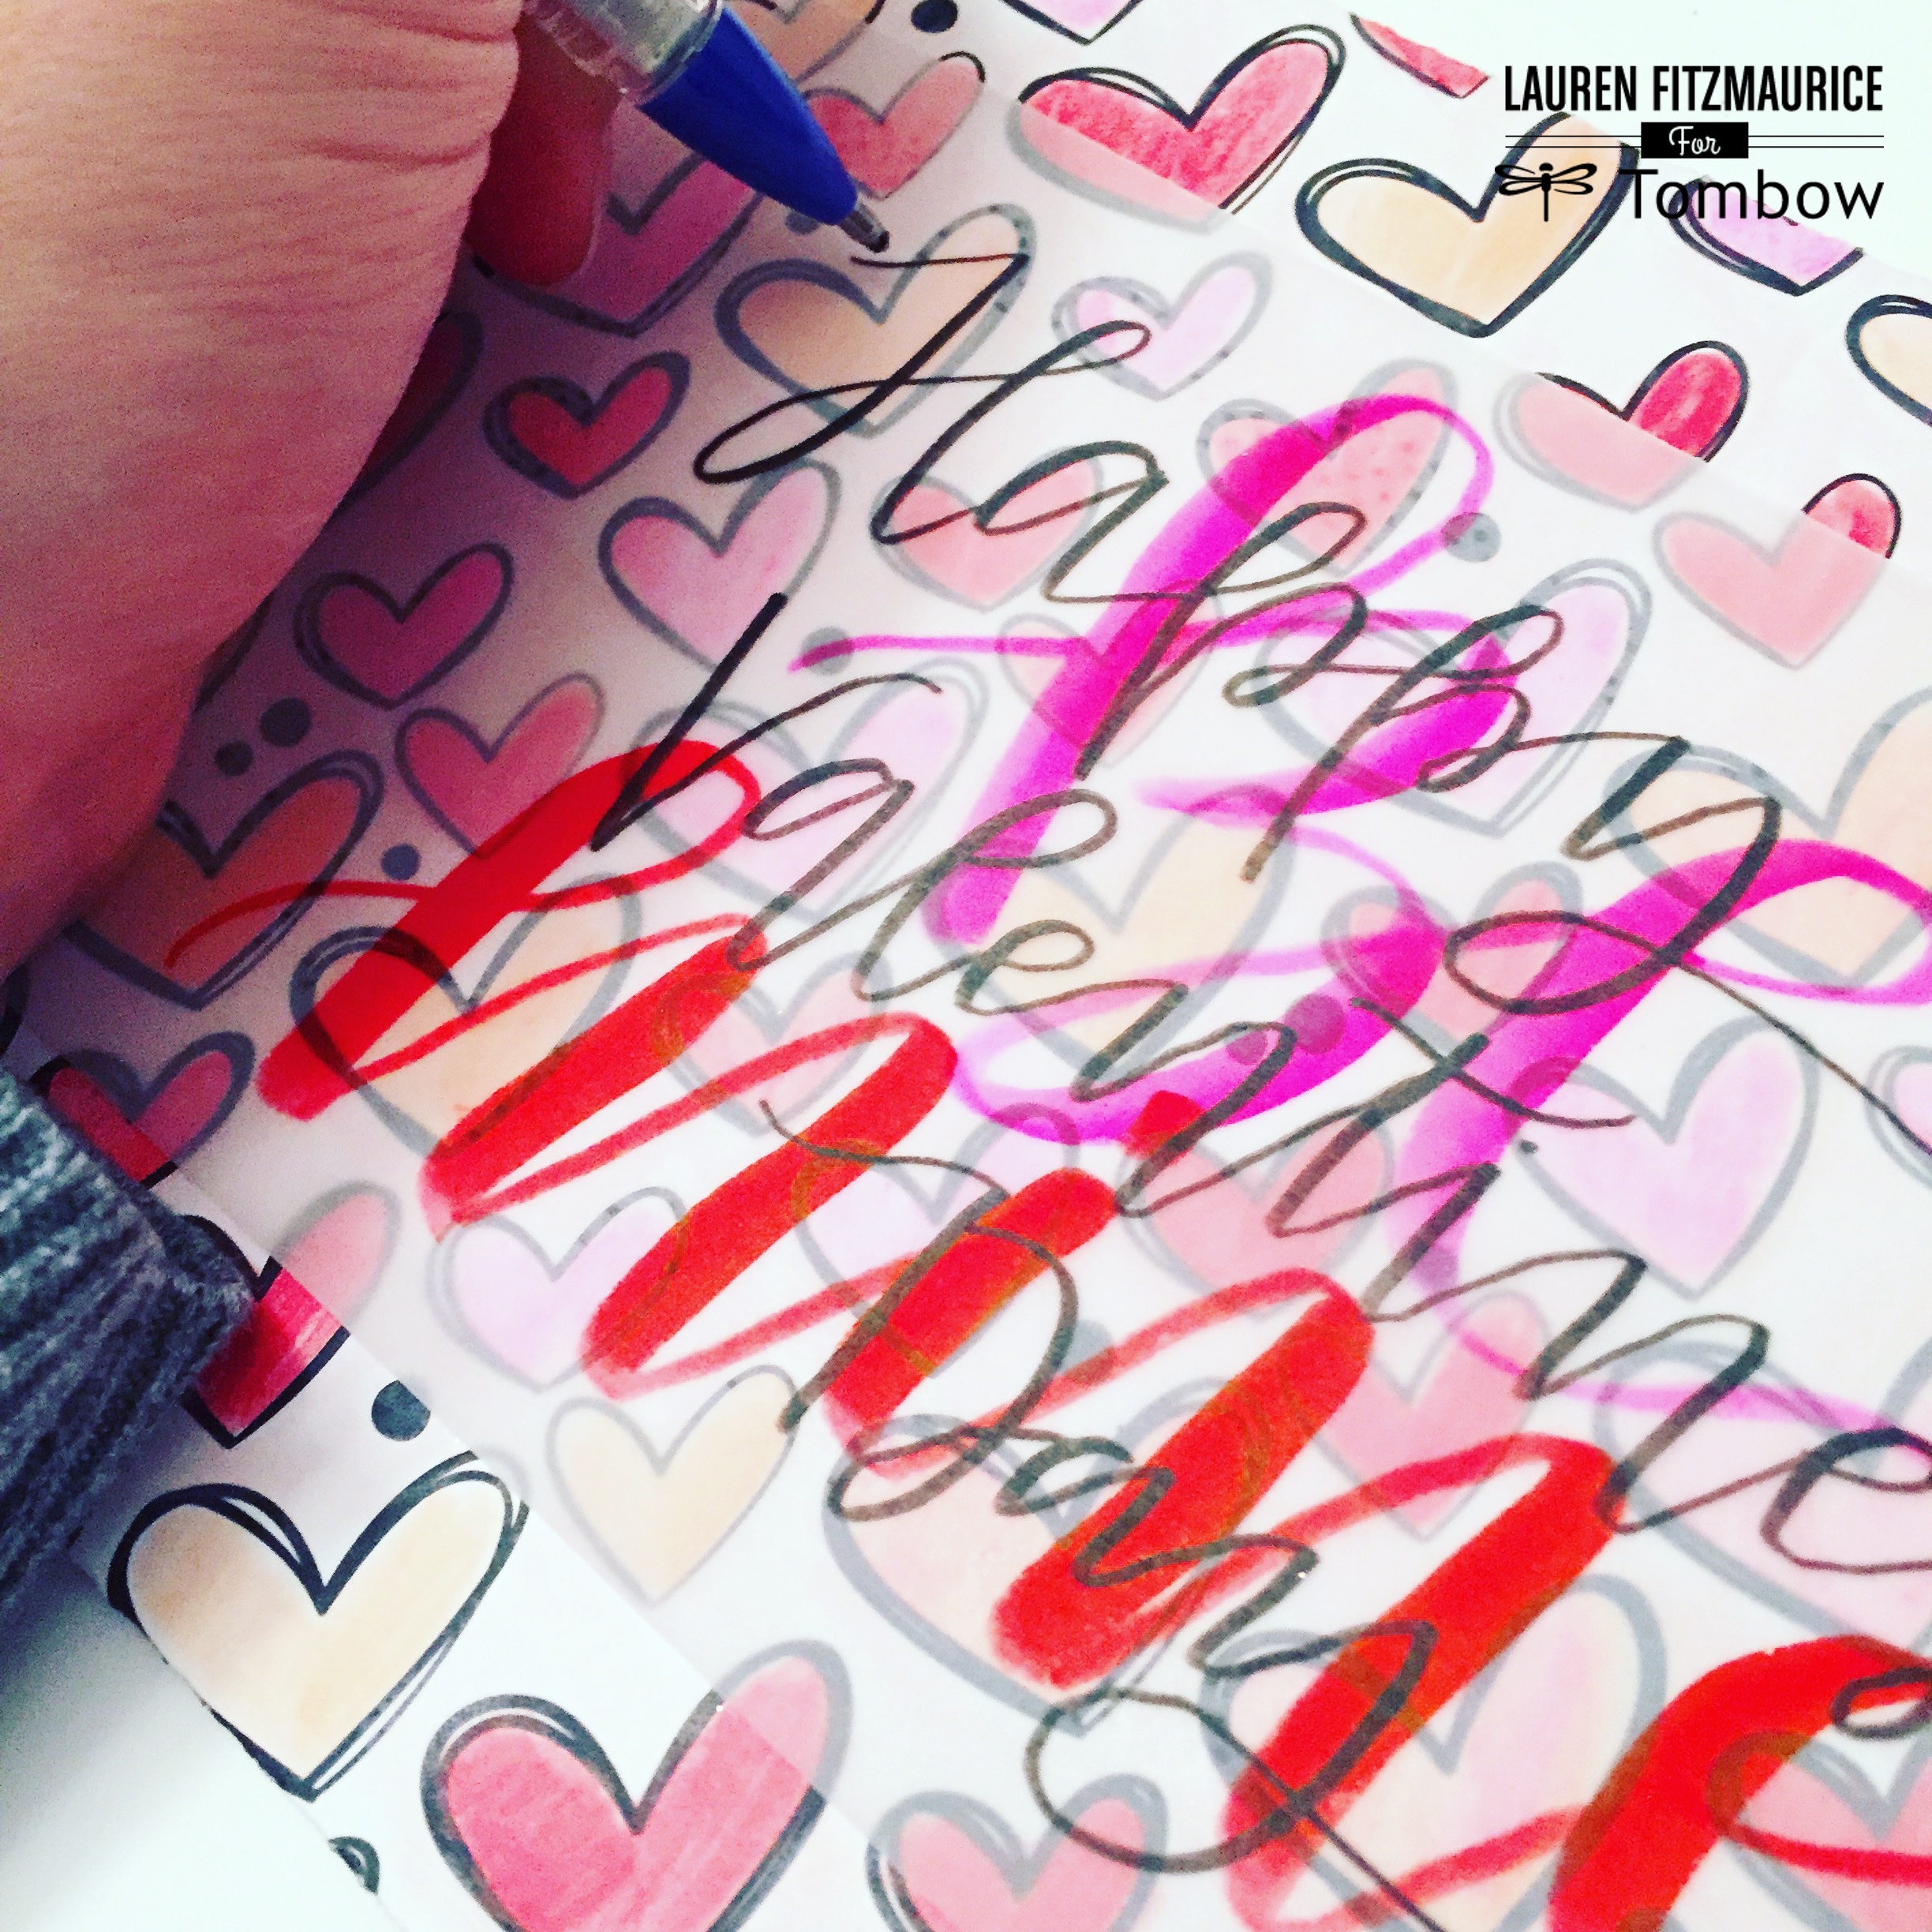
At last, the envelope will be ready for a cute, hand lettered phrase. Layer some phrases tailored toward your valentine. I chose to letter “Be Mine” in Dual Brush Pen and layer “Happy Valentine’s Day” on top with the Fudenosuke Hard Tip Brush Pen. For the final touch, add gold glitter by writing over “Happy Valentine’s Day” with the Tombow MONO Glue Pen. Place the valentine inside this sweet envelope and your sweetie is sure to love it!
Thanks for checking out this post! For more crafty goodness, lettering tips, and #tombowlikealefty inspiration, check out my blog at renmadecalligraphy.com and follow me on instagram at @renmadecalligraphy .
Happy Heart Day,
Lauren
Loving your Geometric Heart! Happy Valentines Lauren! <3
Gorgeous!!!
Thanks, Cynthia and Jennifer!
Pingback: Doodle and Shine Handmade Card By Jennie Garcia