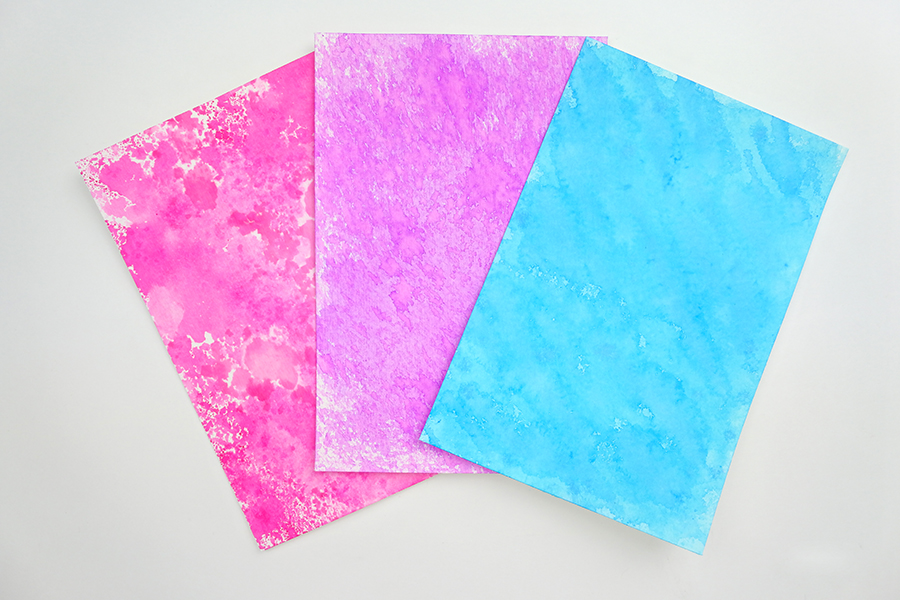
Hi Friends! It’s Renee from @thediyday. Let’s have some watercolor fun as I share three unique tips for creating watercolor backgrounds with Tombow Dual Brush Pens. Each background is simple to make and takes about five minutes. Most importantly, majority of the materials needed are common household items.
Supplies:
- Tombow Dual Brush Pens (755, 665, 493)
- Kitchen Sponge
- Coarse Kosher Salt (or substitute with table salt)
- 140lb. Watercolor Paper (3 – 4″ x 6″ sheets)
- Sheet Protector (or zip sandwich bag)
- Stippling Roller (medium)
- Spray Bottle Filled with Water
- Spray Bottle Filled with Rubbing Alcohol (91%)
Watch the video tutorial for each of these watercolor backgrounds on YouTube.
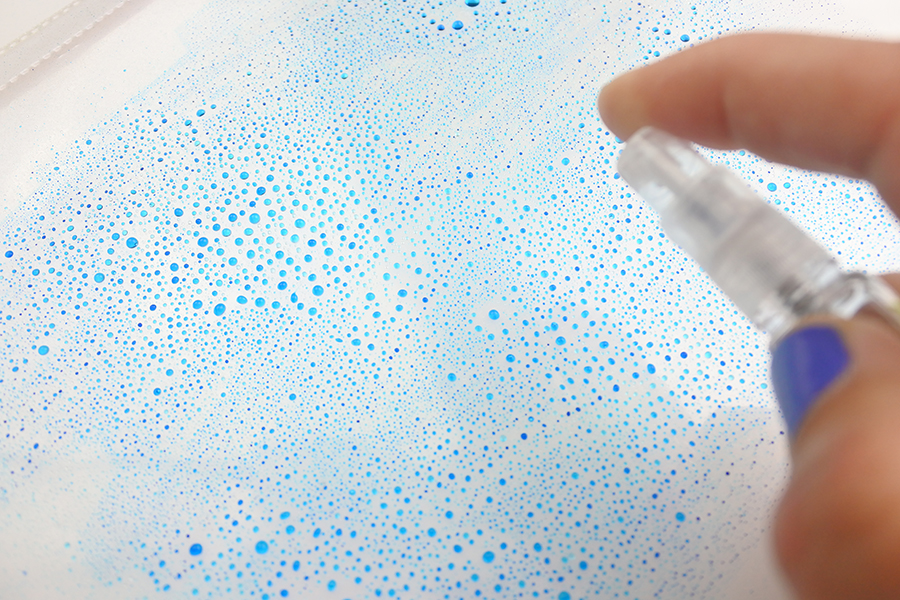
TIP ONE – Pink Watercolor Background with Rubbing Alcohol
Step One:
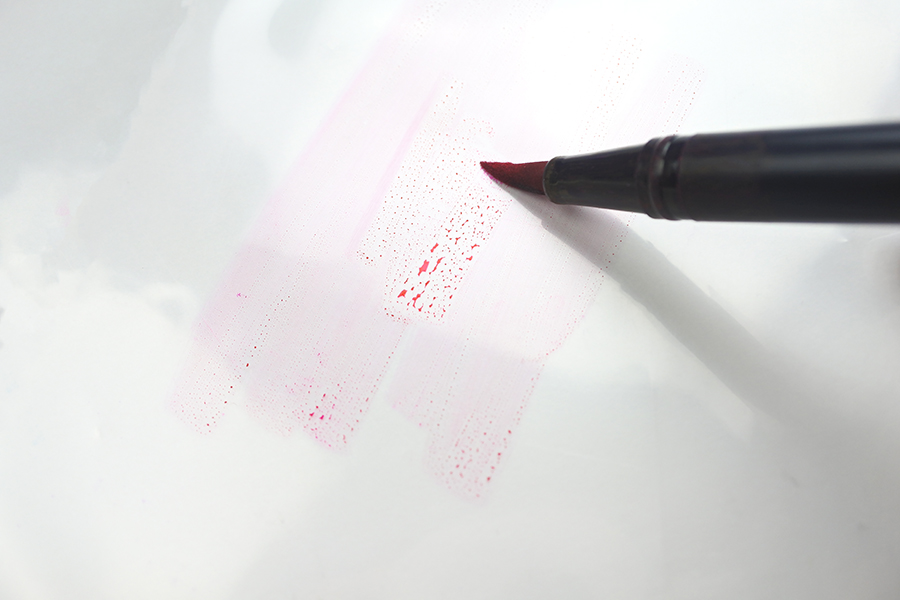
With my Tombow Dual Brush Pen (755) I colored approximately 3/4 of a sheet protector.
Step Two:
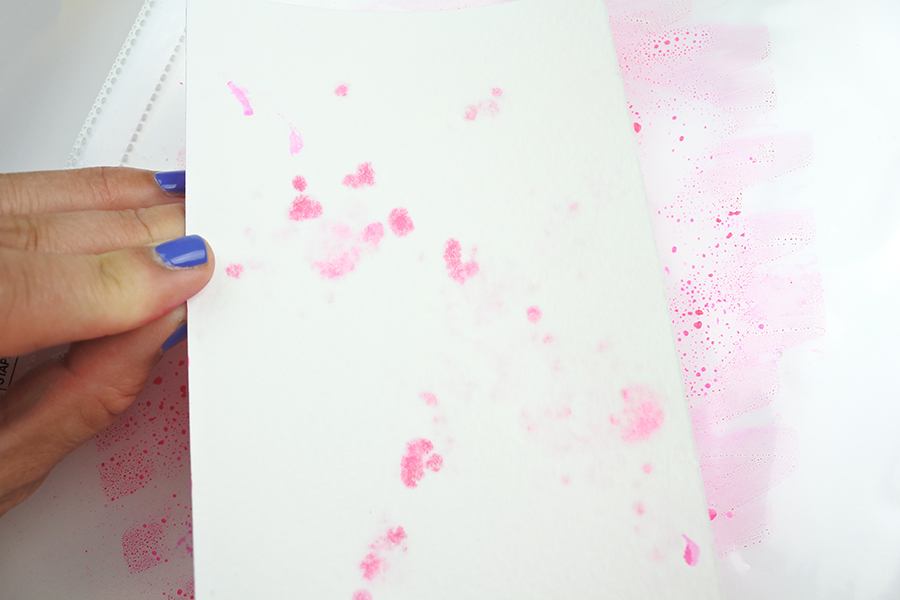
Then, I lightly sprayed the sheet protector with water followed by rubbing alcohol. It’s best to avoid creating large puddles with the liquids as it will dilute the watercolor – causing the background to become less vibrant and more of a blob. Just a FYI, the rubbing alcohol is a resist and it helps create unique abstracts.

Step Three:
Next, I gently placed the watercolor paper into the mix for 5 seconds, allowing the paper to absorb the color. Dip the paper a couple more times to cover the remaining areas.
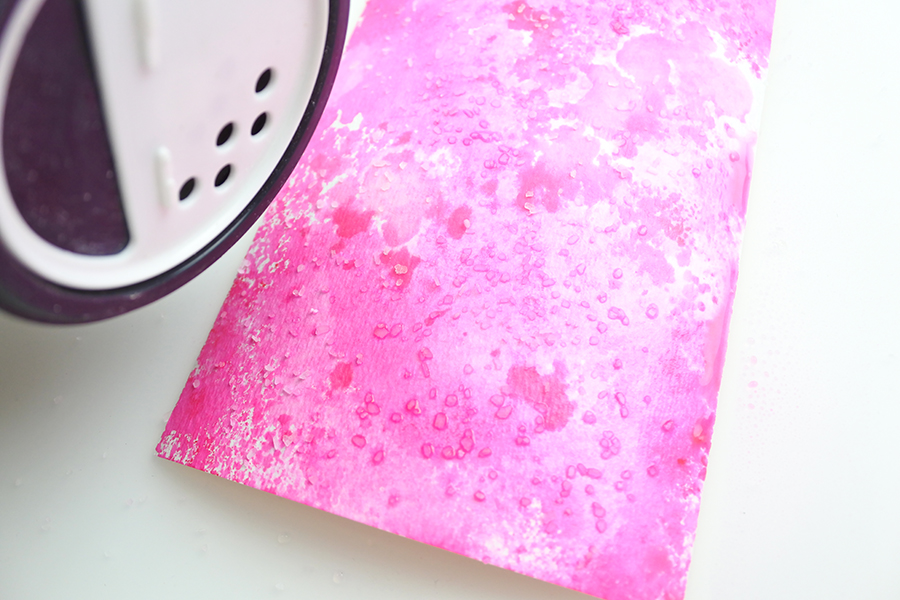
While the paper was wet, I sprinkled the top with Kosher Salt. If the paper is a bit dry, lightly spray some water and then sprinkle the salt. The salt creates a fun texture and pattern to the paper. Table salt works for this too and creates similar results, but at a smaller scale. Once the paper dried, I brushed the salt off with my hand.
TIP TWO – Blue Watercolor Background with a Sponge
Step One:
I did step one again (from above) but this time I used Tombow Dual Brush Pen (493). Gently spray with water only.
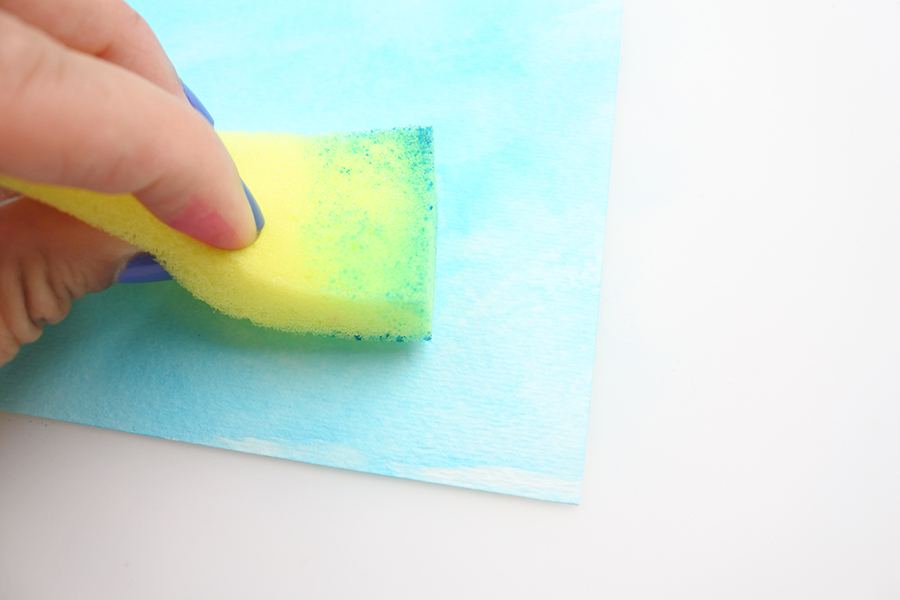
Step Two:
Then, I lightly dampened a kitchen sponge with water followed by dipping it into the watercolor mix.
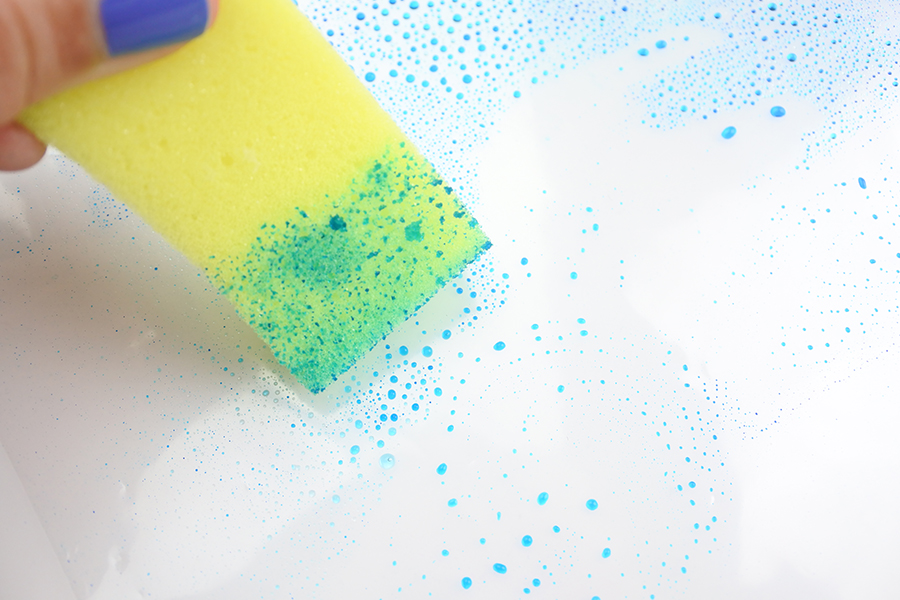
With the sponge in hand, I dabbed the watercolor paper. Once the paper dried, I added two more coats, allowing each coat to dry before the next. It’s important to let the layers dry as it keeps the layers from blending together.
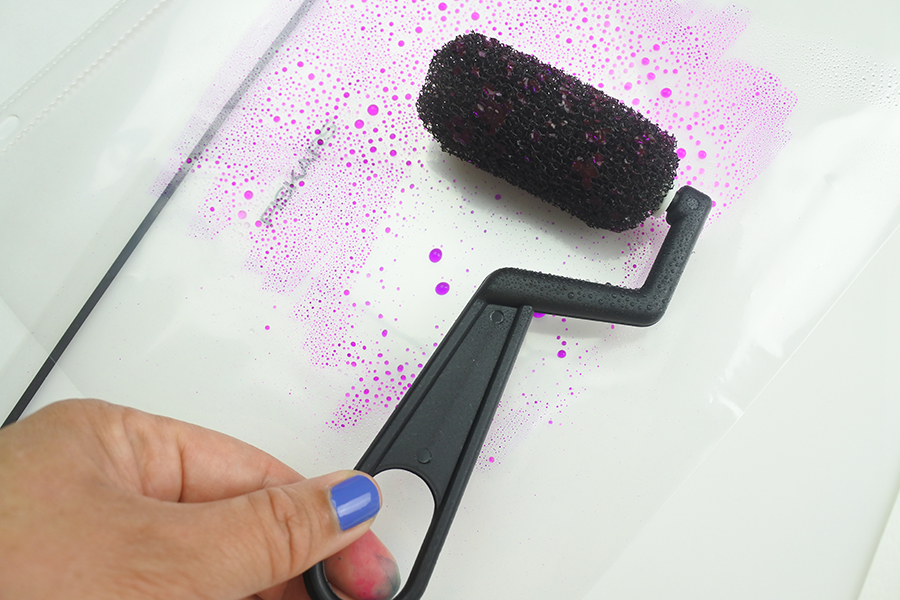
TIP THREE – Purple Watercolor Background with Stippling Roller
Step One:
Again, I repeated step one (from above) and this time around I used Tombow Dual Brush Pen (665). Gently spray with water only.
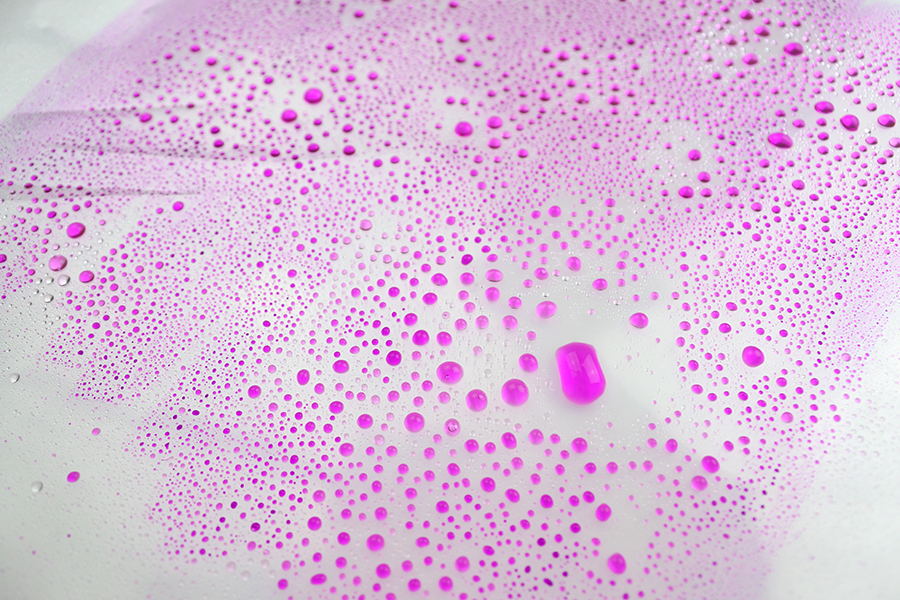
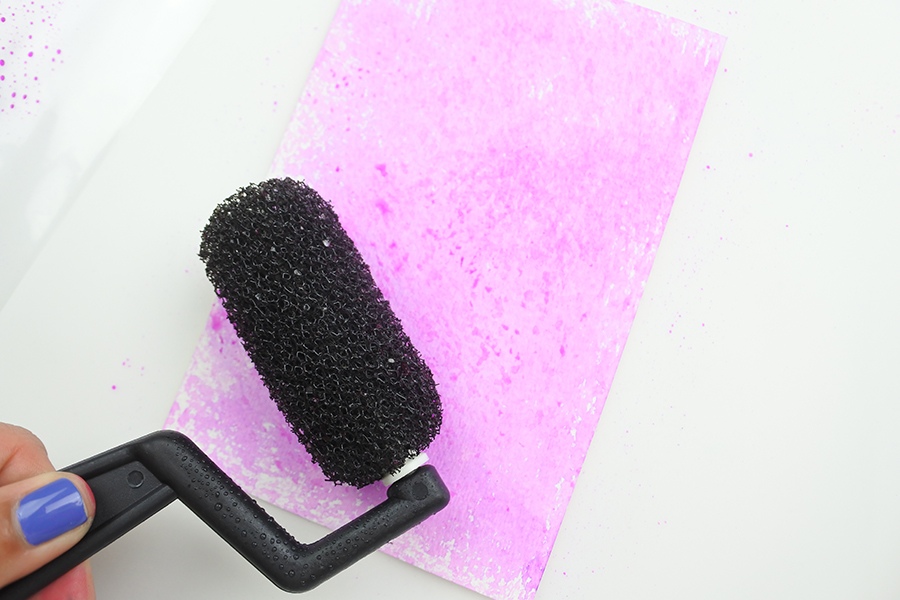
Step Two:
Next, I lightly sprayed the stippling roller with water and rolled it into the mix. Then, with light to medium pressure, I rolled it onto the watercolor paper in various directions. Once I covered the paper with the ink mix, I allowed it to dry before applying a second coat. FYI, a stippling roller creates small dots and spots at random.
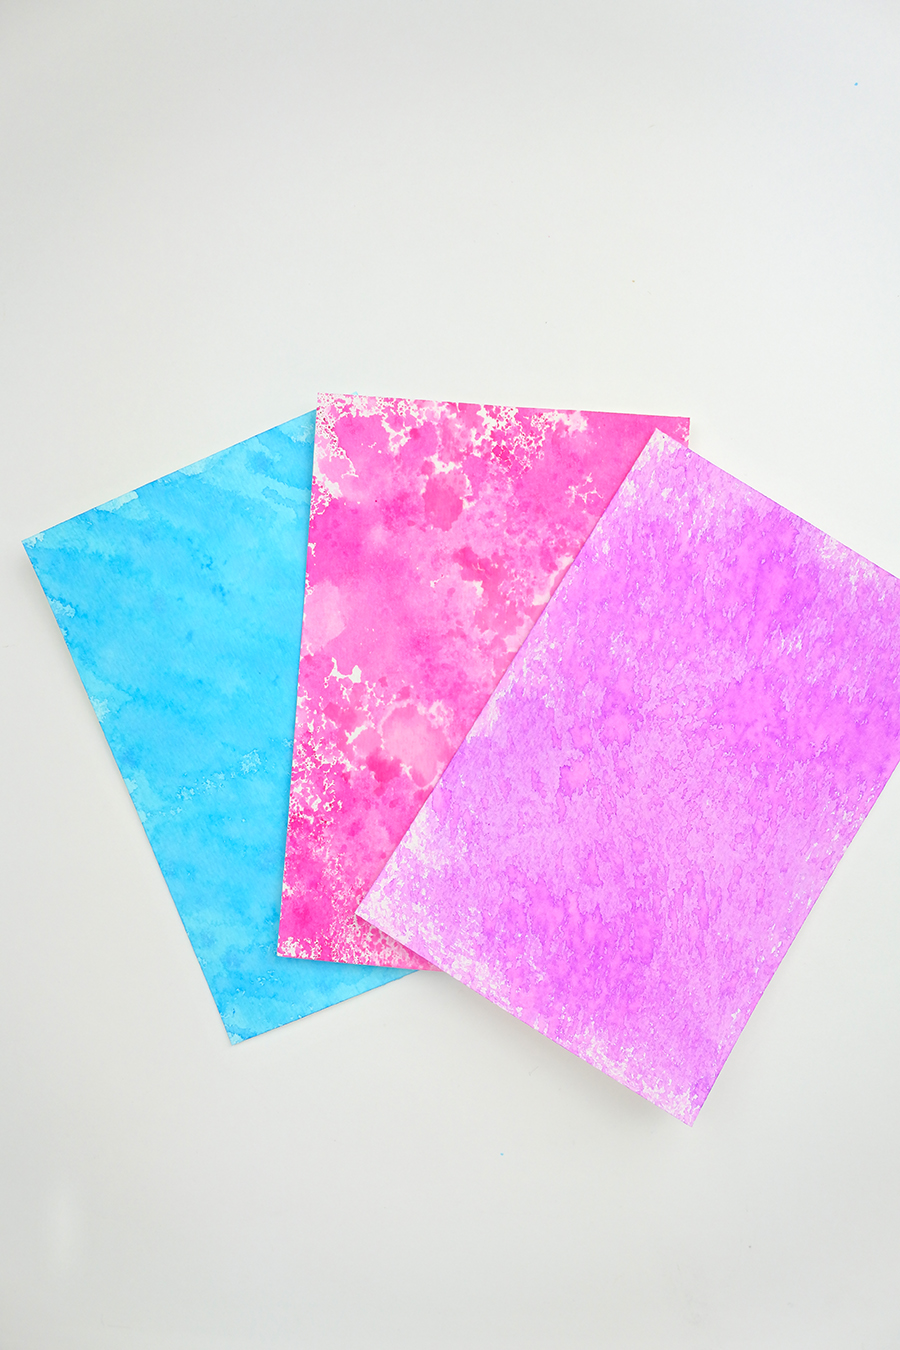
That is it! Now it’s time to decorate these watercolor backgrounds. Maybe add some lettering, stamping or write a little note and send it as a postcard.
Have a fabulous day creating!
Renee Day
Pingback: Cute Colored Pencil Cards for Spring - Tombow USA Blog
Pingback: Creating Galaxies and Zodiac Illustrations - Tombow USA Blog
Pingback: Stamped and Watercolored Canvas Inspired by Renee - Tombow USA Blog