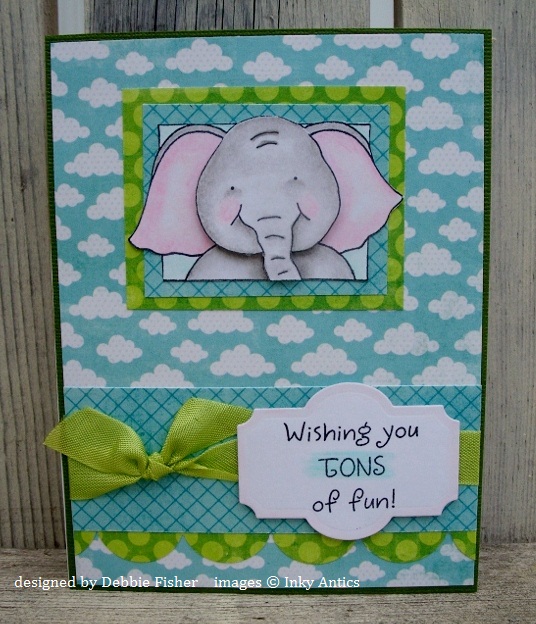
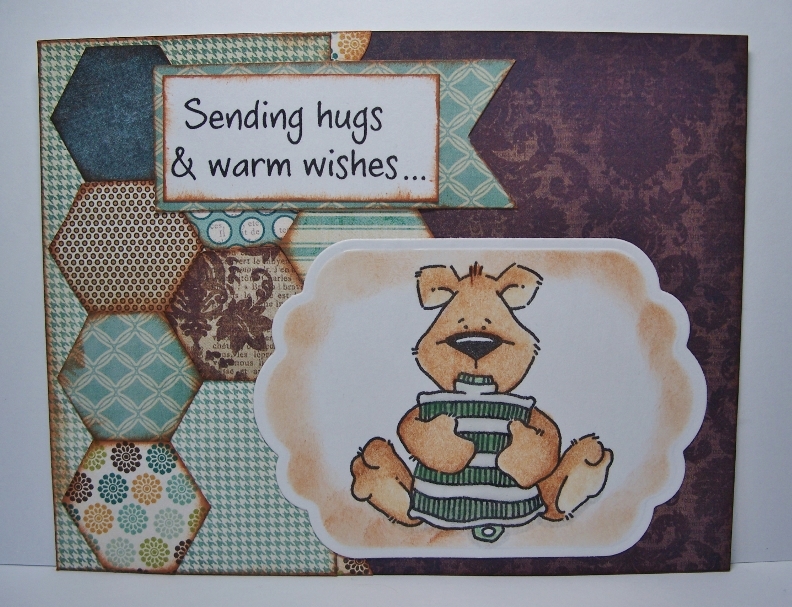
Posts Tagged ‘Debbie Fisher’
Designer’s Choice by Debbie Fisher
This week on Tombow our challenge was Designer’s Choice. These are my favorite challenges. Ü It gives us the creative license to really shine and show what we like to do the most.
I thought I would share one of the most popular make n takes I taught at CHA. This was the first time (of course it was only my second time at CHA and first time teaching what I had designed. LOL) that I had a line of gals waiting to take my classes.
For this make-n-take, we altered a composition notebook. Here is a pee at the front. We also added papers inside the front and back covers as well as covered the back. You can see more details and pictures on my blog.
Here is a close-up of the fabric flower made using Tombow’s Mono Multi and Power Tabs:.jpg)
And a closer view of the tabs using Mono Adhesive Permanent (put them on the first page and every 20 after that:
.jpg)
I hope this project inspired you to try altering a composition notebook or any kind of notebook.
Thank you for stopping by,
How do you like my sentiment? HAHA! I even thought of that myself. This week on Tombow we are focusing on the Irojiten colored pencils. My favorite way to color is using colored pencils and Gamsol, so this is a fun challenge for me.
This is a card I created for CHA and those that took the class loved it. They had alot of fun coloring the image and using the Irojiten pencils for the first time.
The colored pencils I used are:
Rain Forest: D03Autumn Leaf, D02 Chestnut Brown, P06 Ice Green, V06 Peacock Blue
Woodlands: P11 Rose Pink, P18 Celeste Blue, D15 Mustard, Lg02 Cork, D12 Maroon
Seascape: DL05 Verdigris
in addition:
Saddle Brown #977 was used to create the dots and dashes around the stamped image and Mono Adhesive Permanent to adhere all the pieces together.
I found out at CHA that the image from Stampavie is no longer available, but they do have a new owl image out. Patterned papers are by Echo Park.
Thank you for stopping by. I hope you have a wonderful day filled with love and surprises.
If you enjoyed this post follow us on facebook and twitter!
http://www.facebook.com/tombowusa and
http://twitter.com/#!/tombowusa
This week’s theme on Tombow is Love Notes. I created this project for CHA from this idea. I didn’t have the diecut or any of the products Becky used, so created mine with Cutting Cafe’s scallop envelope template and other items I had on hand.
This was a huge hit at CHA. I even had 2 teenage girls ask if they could make one, so that really made my day, when teens love your project!
I just sized the envelope to fit the “sucker”…found out you don’t use the word sucker to an Australian. LOL!! She bust out laughing and then told me it was what they called fools in her country. So I said “lollipop” after that, but to me this is not a lollipop.
I used Tombow’s Mono Multi Glue to adhere the flaps, then cut off the excess flap on both sides. It was also used to adhere the little gem in the center of the flower. Power Tabs were used to adhere the flower layers together and to adhere it to the envelope. To attach the sentiment, I used Mono Adhesive Permanent just on one end and tucked it under the knot.
The “hugs” is from an 8.5″ x 11″ patterned paper I picked up at Hobby Lobby. It was the perfect size and touch for this fun little treat. The paper has all kinds of Valentine sentiments and makes it fun to create personal Valentines.
With Valentine’s Day sneaking up on us, I hope this gave you a fun, quick and easy treat to make for someone special in your life.
Thank you for stopping by,
If you enjoyed this post follow us on facebook and twitter!
http://www.facebook.com/tombowusa and
http://twitter.com/#!/tombowusa
Can you believe it is already the last week of January? Time is flying fast already this year. When you read this I will be in Anaheim, CA for CHA. I am so excited to be there and know I will have lots of fun goodies to share with you when I get back.
But to tide you over until then, we are finishing our Pantone colors of the year this month with Blue Iris. (color of the year for 2008) I am not a huge royal blue color fan, so this was a bit more of a challenge for me.
I made a cover for a package of candy. I wanted to show you a couple of fun things that you could do with Tombow’s Dual Brush Pens. I used #555 to not only color the ink onto the stamp ( by Our Craft Lounge), but also in an air art gun to splatter the ink around the edges.
Do you see how gradual the design fades? That is from first coloring onto the stamp with the marker, then “huffing” on the ink and stamping, huff again and stamp, and repeat until the ink is completely faded. I love to use this technique with markers on stamps and hope you will want to give it a try as well.
I used Mono Adhesive Permanent to attach the sentiment and Foam Tabs to pop up the heart.
Thank you for stopping by,
If you enjoyed this post follow us on facebook and twitter!
http://www.facebook.com/tombowusa and
http://twitter.com/#!/tombowusa
In case you haven’t guessed, this month is all about Pantone’s color of the year, present and past. This week the Design Team is showing off Turquoise, color of the year for 2010. I would say this is still a very “hot” color. I have seen so much of this color in clothing, homes and fashions of all kinds.
Not only do I love this color, but I love ice cream sundaes. My favorite is hot fudge, what is yours?
The card I have to share with you today is using Irojiten colored pencils. I like to use Gamsol to blend the colored pencils to get a soft look.
How fun is the inside? (you can click on the pictures to get a larger view)
When using Honeycomb papers from Inky Antics (all the stamp images are by them as well) I prefer to use Tombow’s Mono Glue Stick. It is perfect for the thin papers and adheres so well to cardstock. The adhesive I used for the rest of the card was Mono Adhesive Permanent.
I hope you are enjoying our color month and will give these “colors of the year” a try in your papercrafting.
Thank you for stopping by,
if you enjoyed this post follow us on facebook and twitter!
http://www.facebook.com/tombowusa and
http://twitter.com/#!/tombowusa
What did you all think of the new Pantone color of the year last week? I love the tangerine color. This week we have another color challenge that was Pantone’s color of the year 2011…Honeysuckle. This color matches Tombow’s Dual Brush Pen 743 (hot pink).
With Valentine’s Day sneaking up on us, I thought this color would be perfect for a candy box. I found this tutorial here. The tutorial shows to use Hershey Nuggets, but I had some raspberry Ghiradelli’s on hand and they fit perfectly! I can get 2 into each little matchbox. The matchboxes were cut with SU!’s die that my friend had and I cut a bunch of them over a year ago. They are now coming in handy as I plan to make more of these boxes for friends and family.
Tip: One of the wonderful things about markers and rubberstamps is that the markers are less expensive and you can have so many more colors. I colored Our Craft Lounge’s new Every Heart Beat stamp set (the zig zag image) with the 743 Dual Brush Pen and stamped it on a label that also was on the die that I cut. I then stamped the sentiment with black ink.
I used Mono Adhesive Power Bond to put the whole box together. I prefer using a stronger adhesive for projects like this.
I hope I inspired you to start working on your Valentine projects. I have a couple more I will be sharing with you this month as well.
Thank you for stopping by,
http://www.facebook.com/tombowusa and
http://twitter.com/#!/tombowusa


I used Tombow’s Mono Adhesive Power Bond to adhere all the papers to the tin and Tombow’s Mono Adhesive Permanent to adhere paper to paper.
Thanks for looking!
Did you all have a Merry Christmas? If you have a large family like I do, you may still be celebrating. We have one more gathering at my cousin’s New Year’s Eve day and my youngest son’s birthday is tomorrow, so we will be having a party then as well.
With all the Christmas projects I’ve made lately, I decided to share with you a non-Christmas looking project, even though I made these as gifts. They are so quick and easy to do…altered mini composition note pads.
**A timesaver tip: I stamp a bunch of images onto cardstock, cut apart and keep in an envelope. I take them to work when I’m going to stay at school over my lunch break and color (we only get 30 minutes for lunch, takes me 5-10 minutes to eat, so I have plenty of time to color Ü). Then when I have time, I just match the colored images to paper and create whatever.
For this particular project, I just covered the notebook with papers using Mono Adhesive Power Bond and colored the images with Irojiten Pencils. These are so handy to have extra on hand so that you have a little something for someone when you need it.
I hope you enjoyed this quick and easy project. I would like to wish you a very Happy New Year! We have some fun things to share with you next year starting just next week. Be sure to come back and invite your friends too!
Thank you for stopping by,
If you enjoyed this post, we would love it if you would follow us on:
http://www.facebook.com/tombowusa
http://twitter.com/#!/tombowusa
Are you ready for Christmas? I can’t believe how fast it is sneaking up on me. Wednesday is the last day of school and then hopefully I can get some stuff done.
This week Tombow is partnering up with Elizabeth Craft Designs. I first learned of this company at CHA and I LOVE their stickers! They are open images that you color in. You can even remove the sticker after coloring in to leave a white border, but I liked the raised image on my card. They make coloring fun and cardmaking quick and easy.
I colored the image with Dual Brush Tip Pens and adhered the layer with Mono Adhesive Permanent. We were sent so many lovely designs. For my card I chose Christmas Ornaments. These come in gold, silver and black.
The colors of pens I used were 847, 098, 993, 452, and blender.
If you enjoyed this post, we would love it if you would follow us on:
http://www.facebook.com/tombowusa
http://twitter.com/#!/tombowusa
This is the other challenge I was telling you about that had me stumped. The only thing I could think of was organ donation and Sharron said “no” to that. Ü So it was back to the drawing board….what to do.
I came across these free printables and thought that this gift “keeps giving” (fresh breath for every mint) LOL! Well, it works doesn’t it? Ü
For the front I wrapped cardstock around the Tic Tacs and used Tombow’s Mono Adhesive Permanent. I colored the image with Dual Brush Tip Pens: 977, 856, 905, & 491. To make the polka dots on the hat and scarf, I made the dots with the Glue Pen and let it dry then colored the images. The glue acts as a resist and is fun to add designs to an otherwise plain image.
Here is the cute saying on the back:
I hope you enjoyed this little treat.
Thanks for stopping by,
If you enjoyed this post, we would love it if you would follow us on:
http://www.facebook.com/tombowusa
http://twitter.com/#!/tombowusa

.jpg)


.jpg)
.jpg)


