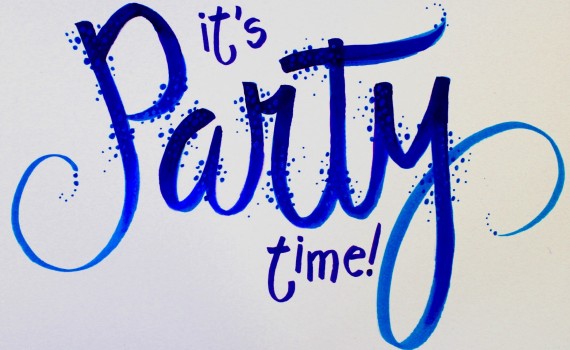
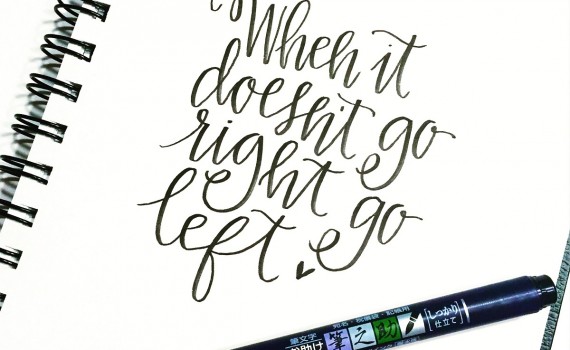
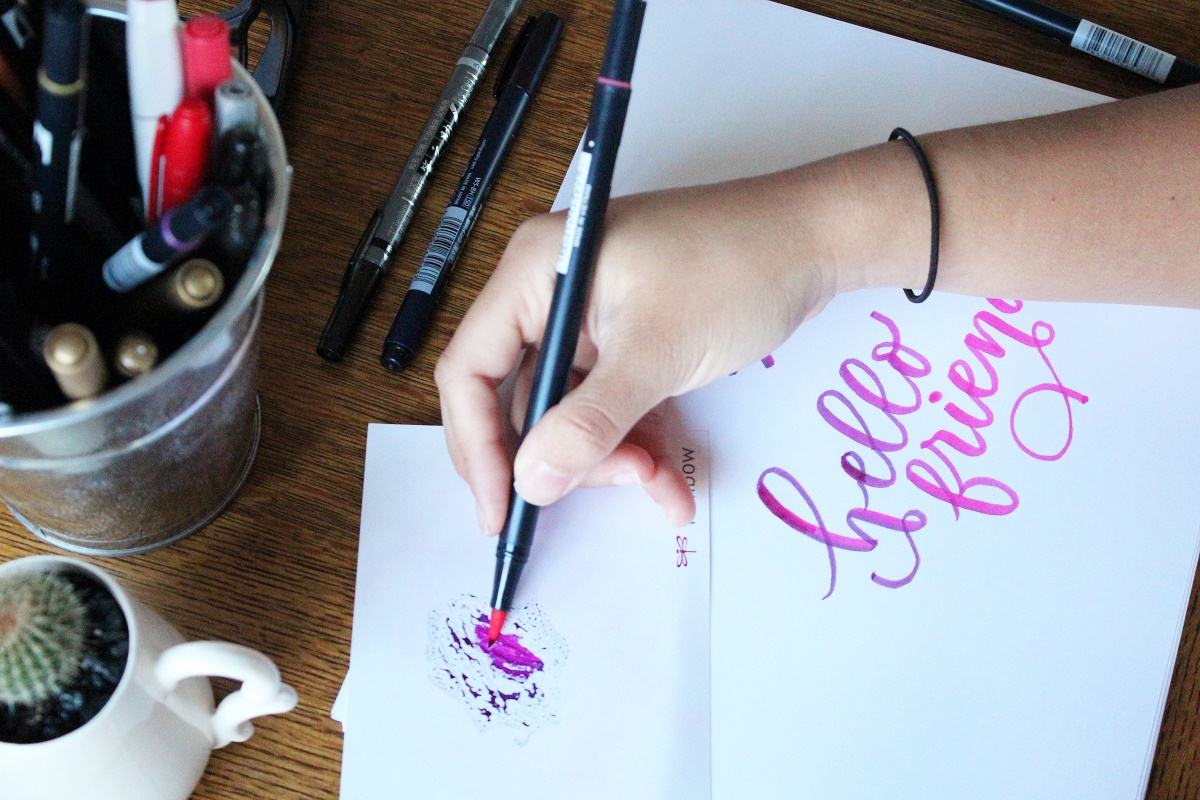
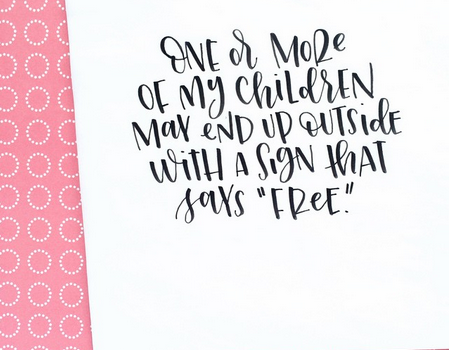
Posts from ‘Guest Designers’
I have always had a fascination with moving cards, creating them whenever I can. Whether it slides, jiggles, swings, teeters or spins the reaction from the recipient is the best part of it all!!
Instructions: Cut green card stock 6”x 8 ½” and score at 4 ¼” to form the card. Emboss the whole card with the CB floral screen embossing folder. Using the large oval nestability I cut a hole in the center of the card approx. ¾” from the bottom in the card front. I cut a large oval from the purple card stock and before removing it from the die I traced around the die with a pencil and hand cut the thin frame. Cut a piece of purple card stock 2 1/8” x 4 1/8”. Lay it on the card where it is to be placed and from the inside draw the part oval and hand cut this piece out.
I stamped and embossed the images with black EP and painted them with Tombow Dual Brush Pens, paintbrush and water and cut them out. I cut a length of bakers twine approx. 7” long. Starting at the tire I adhered the twine to the rope on the image with a very fine line of the liquid glue making sure I have enough twine to wrap around the tire and back behind the dragon and enough to wrap around the branch at the top also. Glue the twine all the way up the rope on the image. Wrap the top of the twine around the branch judging the dragon in the center of the oval and tie around the branch. I used the Tombow small Foam Tabs for the back of the branch and when I had the right positioning of the dragon I adhered the branch to the clouds. Fold the twine around the tire and adhere it to the back of the dragon with tape.
The dragon will now swing from the branch!!
I used 2 pieces of plain white card stock cut at 4” x 6” and 3 x 4 ½” I cut out a large scallop oval nestability for my cloud template. With a sponge dauber and faded jeans distress ink I lightly sponged around the scallops moving the template to different angles to form the clouds. I went back in with the template just slightly off the blue and sponge some dusty concord distress ink to create a shadow.
I trimmed the smaller finished cloud piece down to 2” x 4” and adhered it to the preciously cut purple piece of cardstock with Tombow Mono Aqua Liquid Glue. I trimmed it to the oval of the purple piece. Using Tombow Foam Tabs I adhered it to the top of the card leaving even spacing on top and sides aboe the oval.
With the 4’ x 6” finished cloud piece I moved it around the oval from the inside of the card to get the best look, marked the edges and trimmed it to fit inside the front of the card. I adhered it with Tombow MONO Aqua Liquid Glue. I adhered the thin purple oval frame to the oval cut out on the front of the card with a very thin line of Tombow MONO Aqua Liquid Glue from the fine tip.
Here are a few of my tools:
Here are all the supplies I used for this project:
N65-N75-N25 ….Tire
942-947-977….Branch
076-098….Leaves and dragon body
942-933-946….Body and face
623-636 Purple
Tombow MONO Aqua Liquid Glue, Tombow Foam Tabs, Ranger distress ink- faded jeans and dusty concord, black embossing powder, versa fine black onyx ink, Nestabilities ovals, CB embossing folder floral screen, white Inkssential white gel pen, The Twinery bakers twine, flat backed pearls, Bazzill card stock
High Hopes stamps
Tire Swing Dragon R-151
Never Tire E-255
I feel sure you will enjoy makeing and giving this unique card, I sure loved making it.
Happy crafting,
Karen
Parchment craft….also known as Pergamano is the art of embellishing parchment paper through the techniques such as embossing, perforating, stippling, cutting and coloring.
To start I took a piece of parchment paper and placed it onto a pattern. I used painters tape to tape it to the pattern. With a mapping pen and Tinta ink I traced the pattern onto the parchment paper. I used sections of two different patterns and some of my own patterns for this card. Once the pattern is complete I placed the paper with the good side face up onto a piercing grid. With the arrow tool I pieced the holes in the center of the card. I removed the paper from the grid and with the good side face down I placed it onto an embossing pad and with my embossing tools I embossed sections of the pattern. When you emboss the parchment paper it is actually stretching the parchment and it turns the paper white. You can now see the sections that have been embossed. . To cut the sections out of the parchment paper around the outside edges of the card I perforated all the sections I wanted to remove with a 2 split tool and removed the excess parchment paper. This is a very delicate process as now that the parchment is embossed it becomes very fragile.
I traced the butterfly twice on plain parchment and once on blue parchment. The front butterfly is the only layer of the 3 that has the detail and is embossed and cut out.
The card itself is made with blue parchment paper. I traced the outside of the card with the Tinta ink and then perforated the edge with the 2 split tool to remove the excess parchment paper.
To put the card together I used Tombow Power tabs. I cut 2 tabs into quarters and placed one quarter of a tab behind the embossed section of each design and centered it onto the blue parchment card. I adhered all 3 layers of the butterfly using Tombow MONO Aqua Liquid Glue along the body sections. The butterfly is adhered to the card with Tombow Power Tabs. The flat back pearls are glued with Tombow MONO Aqua Liquid Glue and the bow is attached to the card with the Power Tabs.
Before I was introduced to Tombow adhesive products I had to adhere my parchment cards with silicone from a tube. It took a while for the silicone to set up and using regular glue would crinkle the parchment. I was totally amazed when I used the liquid glue and the Power Tabs on my project. Now my cards go together so quickly and with no gooey mess…. I love it!!!
Here are afew of my tools…
Thanks for stopping by,Karen
The easel card is one of my favorite folds. It is so versatile. I have used it to create cards, photo album cards and gift box easel card combos.
For this project I have designed a Note Card and Tag Set. The box measures 4 ¾” x 4 ¾” I have changed the dimensions from a box by Holly McMillen @ SCS. First I made the box. I wanted it to be strong so I made the box from cream card stock and then covered it with the DP. The easel card base is 4 ½” x 8”. On the long side score @ 2” and 4”. The card back is 4 ½” x 4 ½” .I adhered the card back to the card base onto the 2” fold with the Tombow Permanent adhesive stamp runner. All the DP is adhered with Tombow Mono Aqua Liquid Glue using the brush end.
The tag holder measures 3 3/8” x 2 7/8”. I used my white gel pen to add the dots. I adhered it to the card back with Tombow MONO Adhesive Power Bond Tape Runner. I cut 2 slits into the finished oval pen holder (which is also the stopper to hold the easel up) adding a decorated ½” strip of cardstock through the holes and folding the ends onto the backside of the oval. I put the pen into the strip and pulled the ends through the slits so that it was a perfect fit for the pen. I then adhered it with Tombow MONO Adhesive Power Bond Tape Runner and putting a Tombow Foam Tab over those ends for added security. The scallop oval pen holder, butterfly and flower are adhered with Tombow Foam Tabs. I also used the Tombow Mono Aqua Liquid Glue to adhere the easel card to the box and also the flat backed pearls. I colored and cut out all the images and adhered them all to the finished oval and round frames.
Note Cards:
The note cards measure 4 ¼” x 4 ¼”. I used a CB folder to emboss each card and the first layer of the Nestabilities frames. The layers and flowers are adhered with Tombow Foam Tabs. The bows are adhered with Tombow Power Tabs. I cut the tab into 3 strips.
Tags:
The tags measure 4 ¾” x 2 ½”. I used Tombow MONO Adhesive Power Bond Tape Runner to adhere the ribbon to the tag front center and then adhered the finished ovals over the ribbon onto the front of the tag with Tombow Foam Tabs.
The great thing about the easel card is that the easel top folds down flat. This easel top card set also folds down flat onto the box. The pen stops it from being perfectly flat but it makes it easy to wrap or store. The butterfly’s and flower’s were colored with the following Tombow Dual Brush Pens, N25…Black, 665- 685 …Purple, 946- 985 …Yellow, 723- 743 …Pink, 076- 098 …Green, 873-885-905 Orange.
Happy crafting..
Karen
I painted the wooden frame with white acrylic paint. The first smaller frame is made with adhesive backed cork. I punched the pieces of cork with an EK Success border punch and cut 45 degree angles for the corners. I used Tombow MONO Multi Liquid Glue to adhere the cord to the frame. I laid out the cord to the design I wanted and added small strips of painters tape to hold the cord in place. I lifted small sections (about 2” at a time) of the cord placing glue underneath from the fine tip end. I added the tape pieces back as I went along to keep the cord in place after it was glued which I found out was unnecessary because the glue held the cord in place perfectly! I cut another smaller frame from thin cardboard, rounded the corners and covered it with blue fabric card stock using Tombow Permanent Adhesive Stamprunner. To adhere this frame to the wooden frame I used Tombow MONO Adhesive Power Bond Tape Runner. The buttons are attached with Tombow Power Tabs.
I cut 1 tab into quarters and only used 1 quarter for each button. Since I have been using the amazing Power Tabs for my embellishments I have retired my glue gun!! I colored the images with Tombow markers, paintbrush and water. The images are adhered to the frame with Tombow foam tabs. The flat backed pearls were adhered to the blue frame with Tombow MONO Aqua Liquid Glue.
Enjoy,
Karen
www.elizabethallan-blog.blogspot.com 
Supplies: Tombow Dual Brush Pens: 090, 133, 158, 452, 443, 723, 725, 755, 800, 912, 991, N15, Tombow Foam Tabs, Tombow Mono Aqua Liquid Glue, Tombow Permanent Adhesive Stamp Runner. Rubber Stamps: Penny Black – 4164K A Rose, 30-071 Mimi In Paris, 30-025 Sentiments, Penny Black Mix & Match, Cardstock: Sea Breeze 08-002, Rose Garden 14-002. Other Materials: Spellbinders Scalloped Rectangle Die, American Crafts Ribbon, Watercolor Paper, Black Pigment Ink, Clear Embossing Powder, Paintbrush, Heat Tool
Stamp girl with flowers, “for you” and “mom” with black pigment ink and heat emboss with clear powder on white cardstock. Working DTP (direct-to-paper) add a highlighted rectangle over the sentiment with Tombow Dual Brush Pen #090. Add color to the remaining image, but do not worry about blending or highlights as there will be attachments added on top. Set aside.
Stamp the girl with flowers on watercolor paper with black pigment ink and heat emboss with clear powder. Color and trim the image. Skin tones: 800, 723, Hair: 090, 912, 991, Flower Pot: 133, 158, 912, Roses: 133, 158, 725, 755, Dress: 443, 452.
To create an overlay for the skirt, ink the dress portion of the image with black pigment ink and stamp on vellum. Heat emboss with clear powder. Color the reverse side of the stamped image with Tombow Dual Brush Pen 443. Trim the skirt as shown.
Using the stamped image on the white cardstock as a guide, align and attach the trimmed watercolor image on top. Use Tombow Mono Aqua Liquid Glue under all parts except the flower pot and roses. Under these two portions place a Tombow Foam Tab. Hint: For a slightly less elevated look, cut the thickness of one tab in half, attach to the image and then “stamp” adhesive on the exposed cut portion with the Tombow Permanent Adhesive Stamp Runner. The vellum skirt was attached with a small portion of Tombow Mono Liquid Adhesive placed at the waist of the dress.
The fine-tip ends of Tombow’s Dual Brush Pens are great for adding tiny doodle dots. To hide the raw ends of the ribbon, adhere the decorative loop with Tombow’s Permanent Adhesive Stamp Runner before attaching the remaining artwork.
Mat the artwork with colored cardstock and attach to the scalloped base with Tombow Foam Tabs.
A fun gift tag to attach to flowers or a perennial plant given to mom on Mother’s Day.
Au revoir -
Elizabeth
www.elizabethallan-blog.blogspot.com
Supplies: Tombow Dual Brush Pens: 055, 133, 173, 228, 685, 703, 755, Tombow Foam Tabs, Tombow Power Tabs, Tombow Mono Adhesive Removable, Tombow Dot Adhesive Stamp Runner
Rubber Stamps: Penny Black – 4154K Lace-Edged, 30-067 To You, 30-048 Illuminations, Penny Black Mix & Match Cardstock: Olive Grove 04-001, Periwinkle 11-003, Fuchsia Fantasies 13-003Other Materials: Craft Fun Foam, Black Dye Ink, Crystal Glitter, Paintbrush, Decorative Trimming Scissors
To create a background stamp, cut a piece of Fun Foam to the desired size and attach it to an acrylic block with Tombow Removable Adhesive.
Color the foam with a Dual Brush Pen and slightly blend the ink with your finger tip leaving a bit of the foam uncolored in the center. “Huff” on the ink and stamp. To blend the image, lightly smooth the impression with a damp paintbrush.
Stamp the flower and sentiment with black dye ink. Color the flower with a combination of DTP (direct-to-paper) and Transfer methods.
For the background pattern, ink the image with Tombow Marker #228 and stamp on olive cardstock. Repeat the same steps for a second impression. If a slightly softer second impression is desired, do not re-apply the marker color, but simply “huff” on the stamp after the first impression has been completed to re-activate the remaining ink. Trim the stamped cardstock with decorative scissors and adhere to a white, top-folded card with Tombow Dot Adhesive Stamp Runner. Layer the stamped image with colored cardstocks and attach to the front of the prepared card with Tombow Foam Tabs.
To create a fun embellishment, attach a Tombow Power Adhesive Tab to the card and remove the protective backing. Dust the exposed “sticky” portion of the tab with crystal glitter. Rub the glitter into the sides and top of the tab. Tap off the excess glitter and dust with a soft brush.
Au revoir -
Elizabeth
www.elizabethallan-blog.blogspot.com
Supplies: Tombow Dual Brush Pens: 026, 055, 685, 725, 835, 985, N15, Tombow Glue Pen, Tombow Foam Tabs, Tombow Power Adhesive Tabs, Tombow Dot Adhesive Stamp Runner, Rubber Stamps: Penny Black – 4183K Sparkle, 40-049 Majestic Composition, Penny Black Mix & Match Cardstock: Fuchsia Fantasies 13-003. Other Materials: Watercolor Paper, Black Pigment Ink, Clear Embossing Powder, Crystal Glitter, Magnet, Heat Tool, Paintbrush, Scissors
Stamp flower twice with black pigment ink on watercolor paper and heat emboss with clear powder. Trim one complete flower and the center of the second flower.
Color images by applying marker ink to a plastic palette and transferring with a damp paintbrush. After the coloring has been completed, run a black (N15) Tombow Dual Brush Pen along the cut edges.
Stamp the flower on the white side of the fuchsia cardstock and trim.
Turn the flower over and stamp the decorative background by applying ink from the Dual Brush Pen (685) directly to the rubber stamp. Lightly “huff” on the ink, stamp the image and trim. Lay the trimmed flower fuchsia side down and use the stamped image facing up as a guide to align the water colored flower on top. Apply adhesive from the Stamp Runner and adhere the two images together. Apply Foam Tabs to the center embellishment and attach to the flower. Add dots of adhesive from the Tombow Glue Pen to the center of the flower and sprinkle with crystal glitter. Tap off excess glitter.
Attach a Power Adhesive Tab to a magnet.
Attach the magnet to the back of the flower.
Elizabeth
www.elizabethallan-blog.blogspot.com
Supplies: Tombow Dual Brush Pens: 055, 452, 535, 703, 743, 856, 899, 912, 947, 985, Tombow Foam Tabs, Tombow Mono Aqua Liquid Glue, Tombow Permanent Adhesive Stamp Runner, Rubber Stamps/Cardstocks: Penny Black – 30-069 Hello Friend, Penny Black. My Other Materials: Watercolor Paper, Black Pigment Ink, Clear Embossing Powder, Paintbrush, Heat Tool, “Scissors x & Match” Cardstock: Fall Festival 16-003, Clear Skies 10-002.
Stamp the image with black pigment ink on watercolor paper and heat emboss with clear powder. Apply Tombow Dual Pen #912 using the direct-to-paper method.
Scribble color from Tombow Dual Brush Pens 055, 947 and 985 on a plastic palette. Lift the colors from the palette with a damp paintbrush and begin transferring the colors to the image.
When applying color, blend some areas and leave others uncolored. This will allow room for future blending as well as additional contrast to the overall image.
Add dots of Tombow Dual Brush Penn #899 (DTP/direct-to-paper) to the perimeter of the cat’s fur and areas where dark contrast is desired. Blend just enough to combine the color into the image, but do not blend and cover the softer, lighter colored areas.
Build the color of the image by using the plastic palette transfer method and add Tombow Dual Brush Pen colors 899 and 985.
When the image is dry, add Tombow Dual Brush Pen colors #703 and #743 to the cat’s ears, nose and cheeks. If you find the cheeks appear too dark, you can soften the color by lightly transferring a small amount of Tombow Dual Brush Pen #712 over the top.
Trim the image and set aside.
Stamp two additional sets of balloons on watercolor paper and heat emboss with clear powder. For a subtle polka dot texture, apply Tombow Mono Aqua Liquid Glue to the balloons on the left and right of one full image and to the center balloon on the second image.
Let the glue dry. Color the balloons with Tombow Dual Brush Pens 856, 055, 985 and 535. When dry, cut around one full set of balloons and the middle balloon from the second stamped impression.
Stamp cat and sentiment on white cardstock with black pigment ink and heat emboss with clear powder. To create a sky halo around the cat, use both DTP and Plastic Transfer methods to apply Tombow Dual Brush Pen #452.
Using the stamped image on the white cardstock as a guide, adhere the trimmed images with Tombow Mono Aqua Liquid Glue.
Cut a Tombow Foam Tab in half to decrease the thickness and apply to the back of the individual trimmed balloon. Using the “tab” application feature on the Tombow Permanent Stamp Runner.
“Stamp” adhesive on the exposed cut sides of the Foam Tabs. Adhere the balloon as shown. To enhance the dimensional dots on the balloons, apply a second coat of Tombow Mono Aqua Liquid Adhesive over the dots. Layering the colored cardstocks is quick and easy with the Tombow Permanent Adhesive Stamp Runner.
Au revoir -
Elizabeth
http://ascrappykathyday.blogspot.com/


