This month’s DT challenge was to show how we celebrate Memorial Day. To be honest, we don’t really do very much. I do reflect and give thanks for those who gave their lives serving our country and for those still serving. One thing we do now is take the wreaths that […]
Monthly Archives: May 2011
 3
3 I have always had a fascination with moving cards, creating them whenever I can. Whether it slides, jiggles, swings, teeters or spins the reaction from the recipient is the best part of it all!! Instructions: Cut green card stock 6”x 8 ½” and score at 4 ¼” to form the […]
“Tire Swing Dragon” by Guest Designer Karen Goguen
 4
4 Parchment craft….also known as Pergamano is the art of embellishing parchment paper through the techniques such as embossing, perforating, stippling, cutting and coloring. To start I took a piece of parchment paper and placed it onto a pattern. I used painters tape to tape it to the pattern. With a […]
“Parchment Butterfly” By Guest Designer Karen Goguen
 4
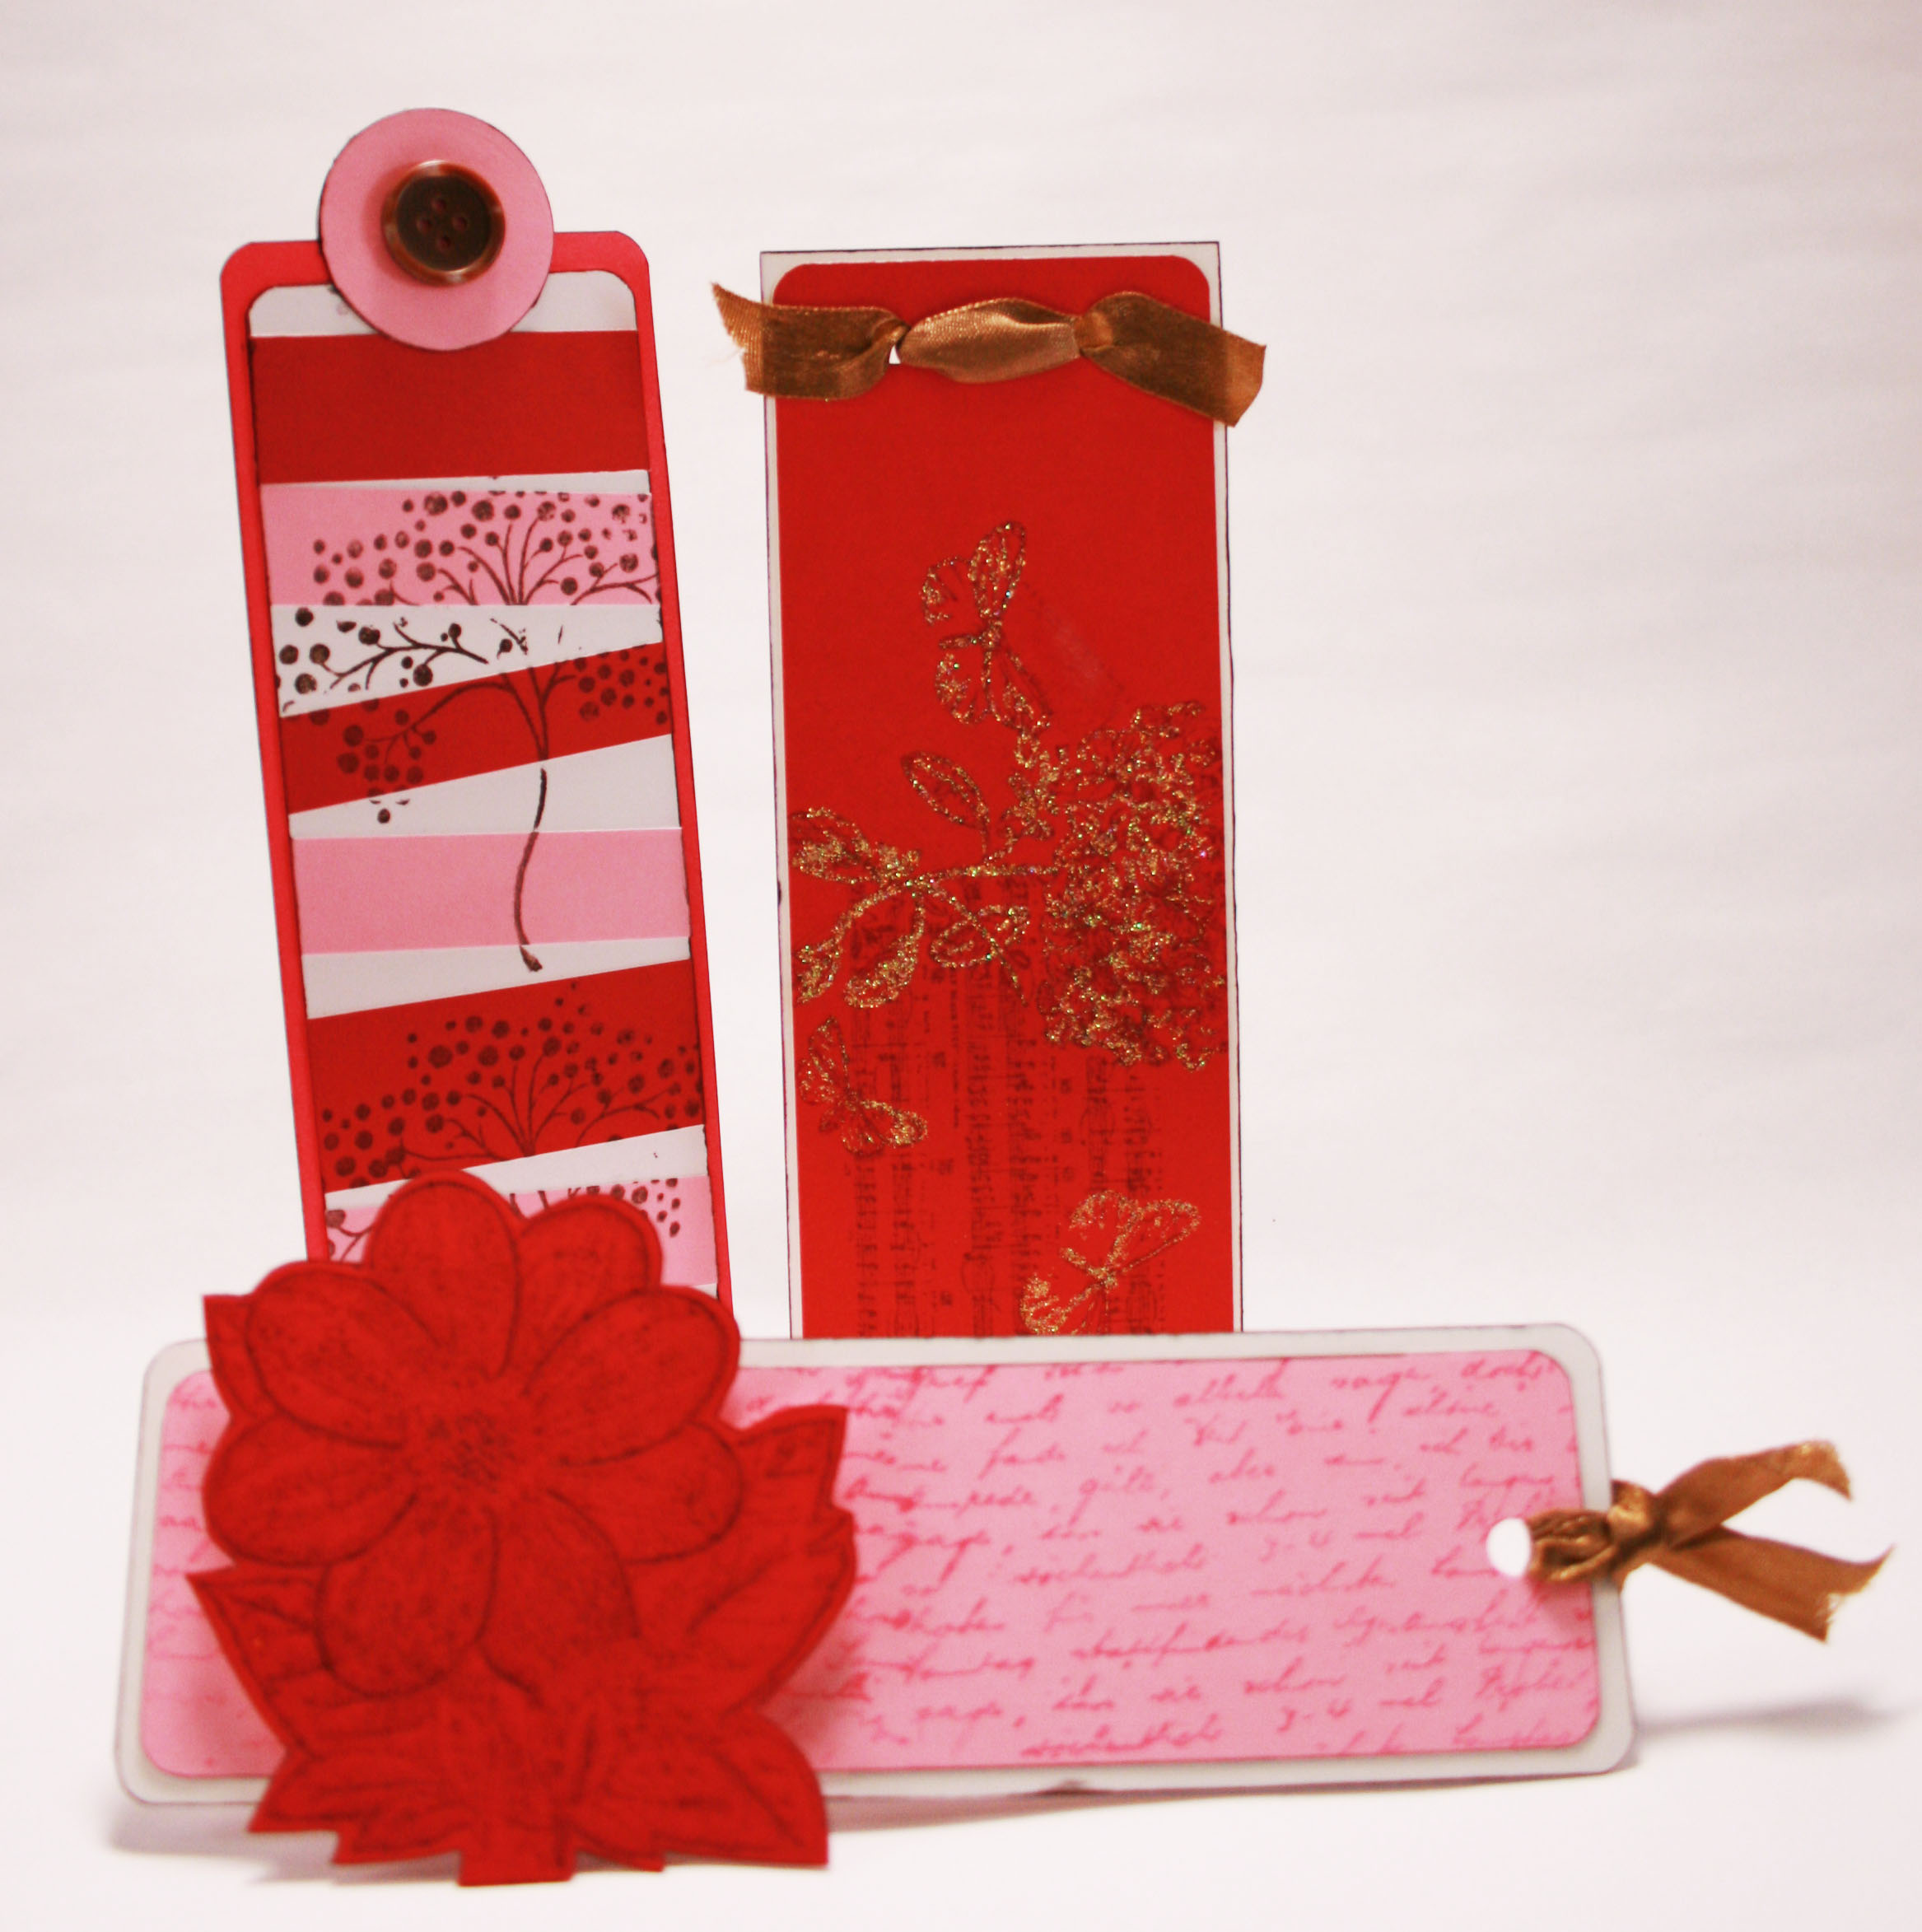
4 The easel card is one of my favorite folds. It is so versatile. I have used it to create cards, photo album cards and gift box easel card combos. For this project I have designed a Note Card and Tag Set. The box measures 4 ¾” x 4 […]
“Easel Note Card and Tag Set” by Guest Designer Karen ...
 4
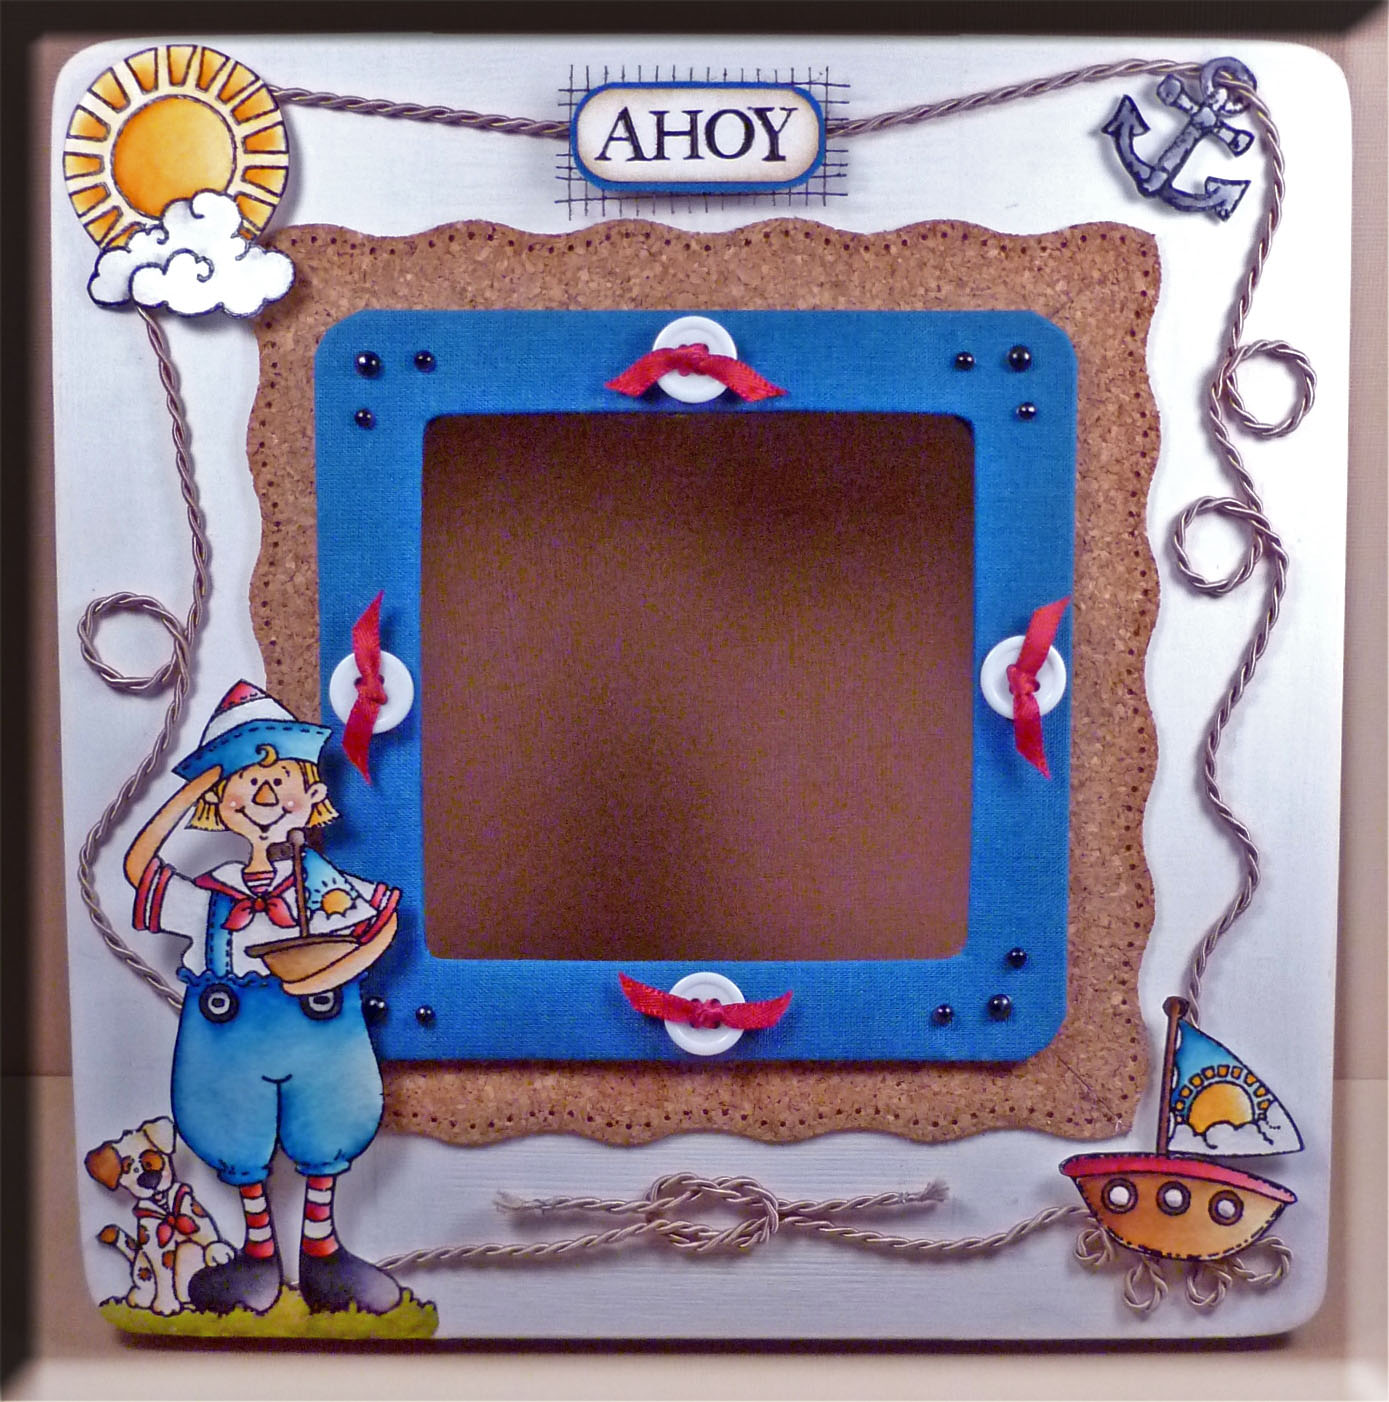
4 I painted the wooden frame with white acrylic paint. The first smaller frame is made with adhesive backed cork. I punched the pieces of cork with an EK Success border punch and cut 45 degree angles for the corners. I used Tombow MONO Multi Liquid Glue to adhere the cord to the […]
“Ahoy” by Guest Designer Karen Goguen
 3
3 We’ve had a wonderful week with Penny Black and both Tombow’s and Penny Black’s Design Teams … and I want to take this opportunity to share all of their creativity with you one last time. Here we go…. Debbie’s, eye popping, “Just For You” card… Elizabeth’s beautiful, “Just A Note” box… Marie’s […]
Penny Black and Tombow having fun…
 8
8 from the time i got my box filled with penny black stamps and “eye-popping” cardstock i knew what i wanted to do…. so i grabbed my Tombow Dual Brush Pens and set out to see if i could get the image from my mind onto paper. i am not a […]
penny black & monochromatic by Sarah
 8
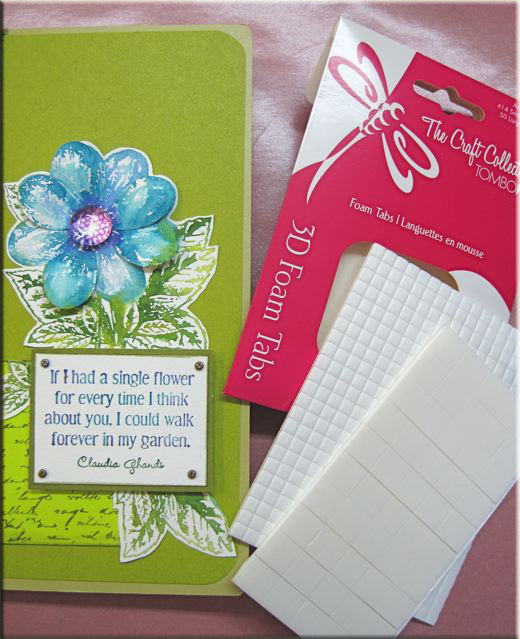
8 I was inspired by Penny Black’s ‘Sparkle’ stamp of a single flower. Perfect for a quick inking with the Tombow Dual Brush Pens and layering for a dimensional look with the Foam Tabs. I also used Penny Black’s new ‘Mix and Match’ papers to easily coordinate the look all together. […]
“Floral Sketchbook” by Marie Browning
It is time for another Tombow Blog Hop. This month we are pairing up with Penny Black. I received some fun goodies from Penny Black to play with! Did you know they have paper? The DT rec’d some fun bright colors of paper as well as several fun stamps. This […]
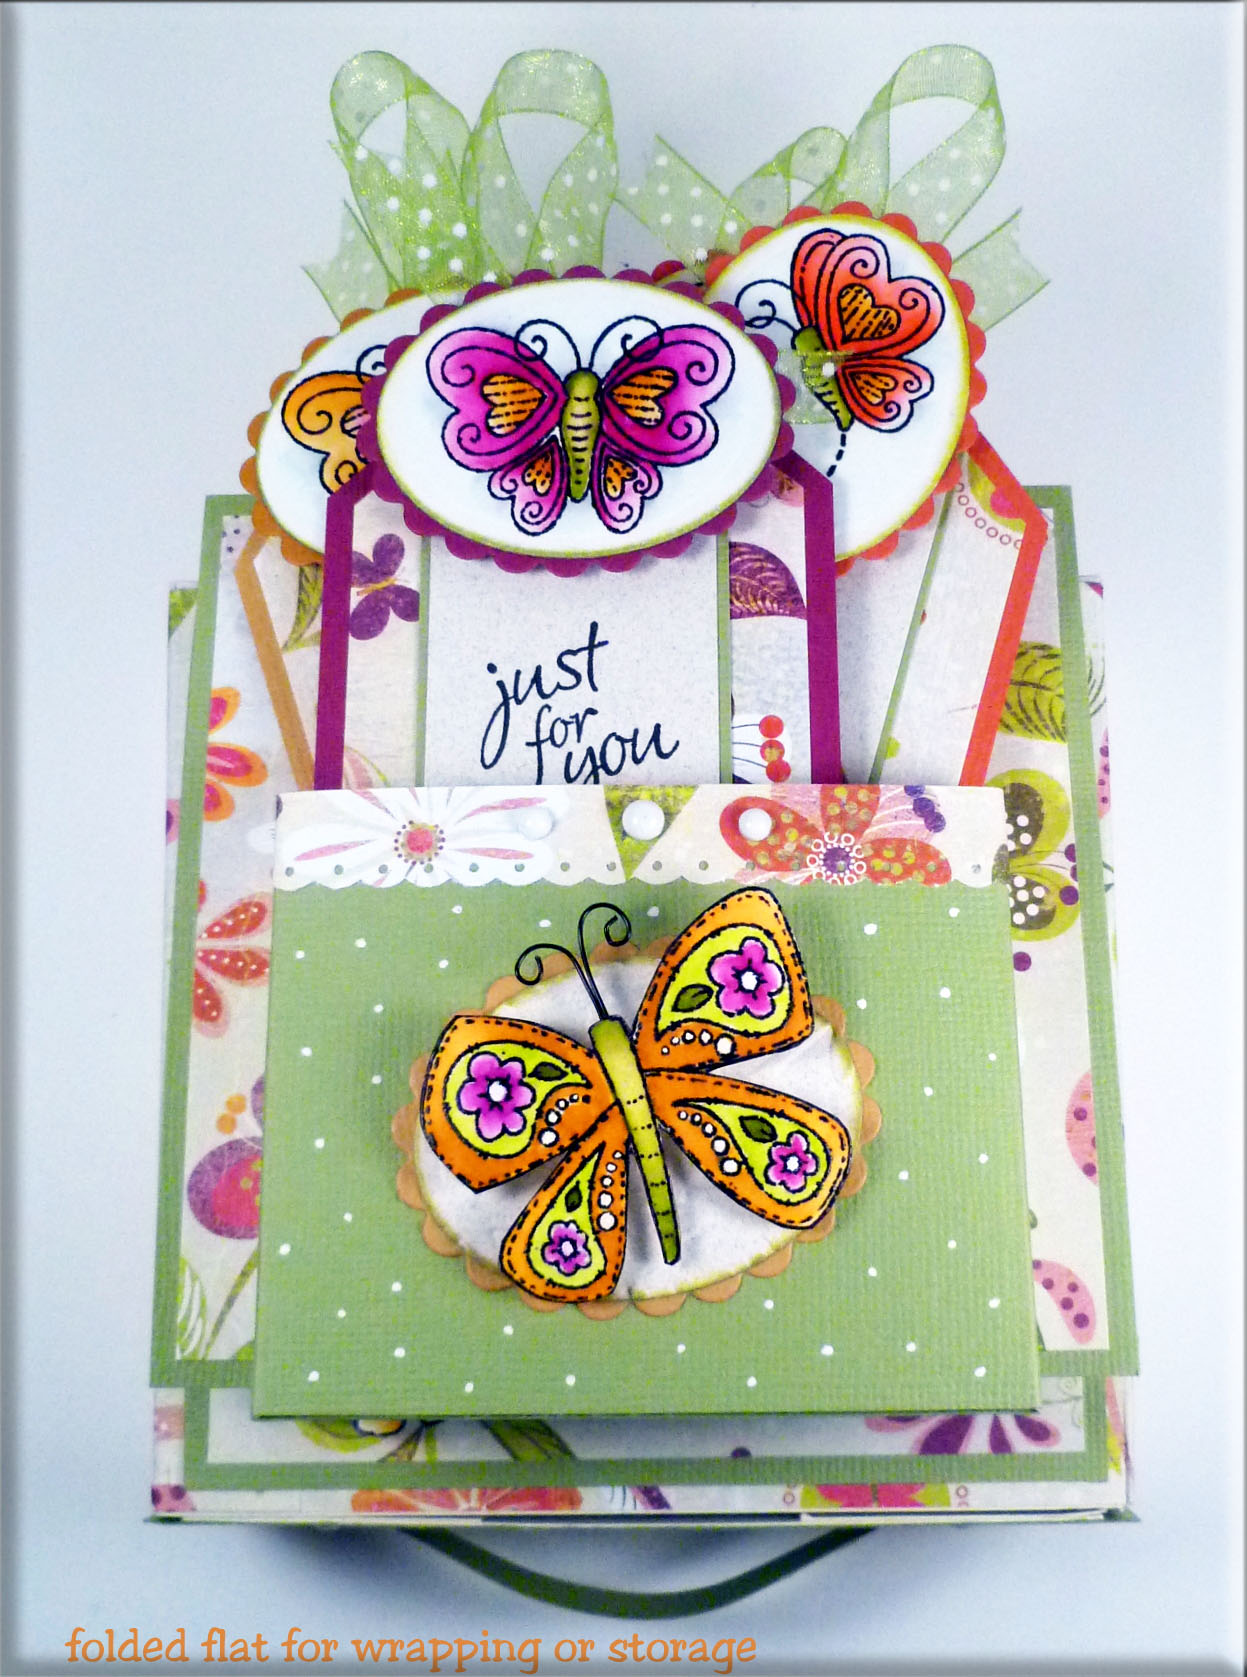
“Just for You” by Debbie Fisher
 4
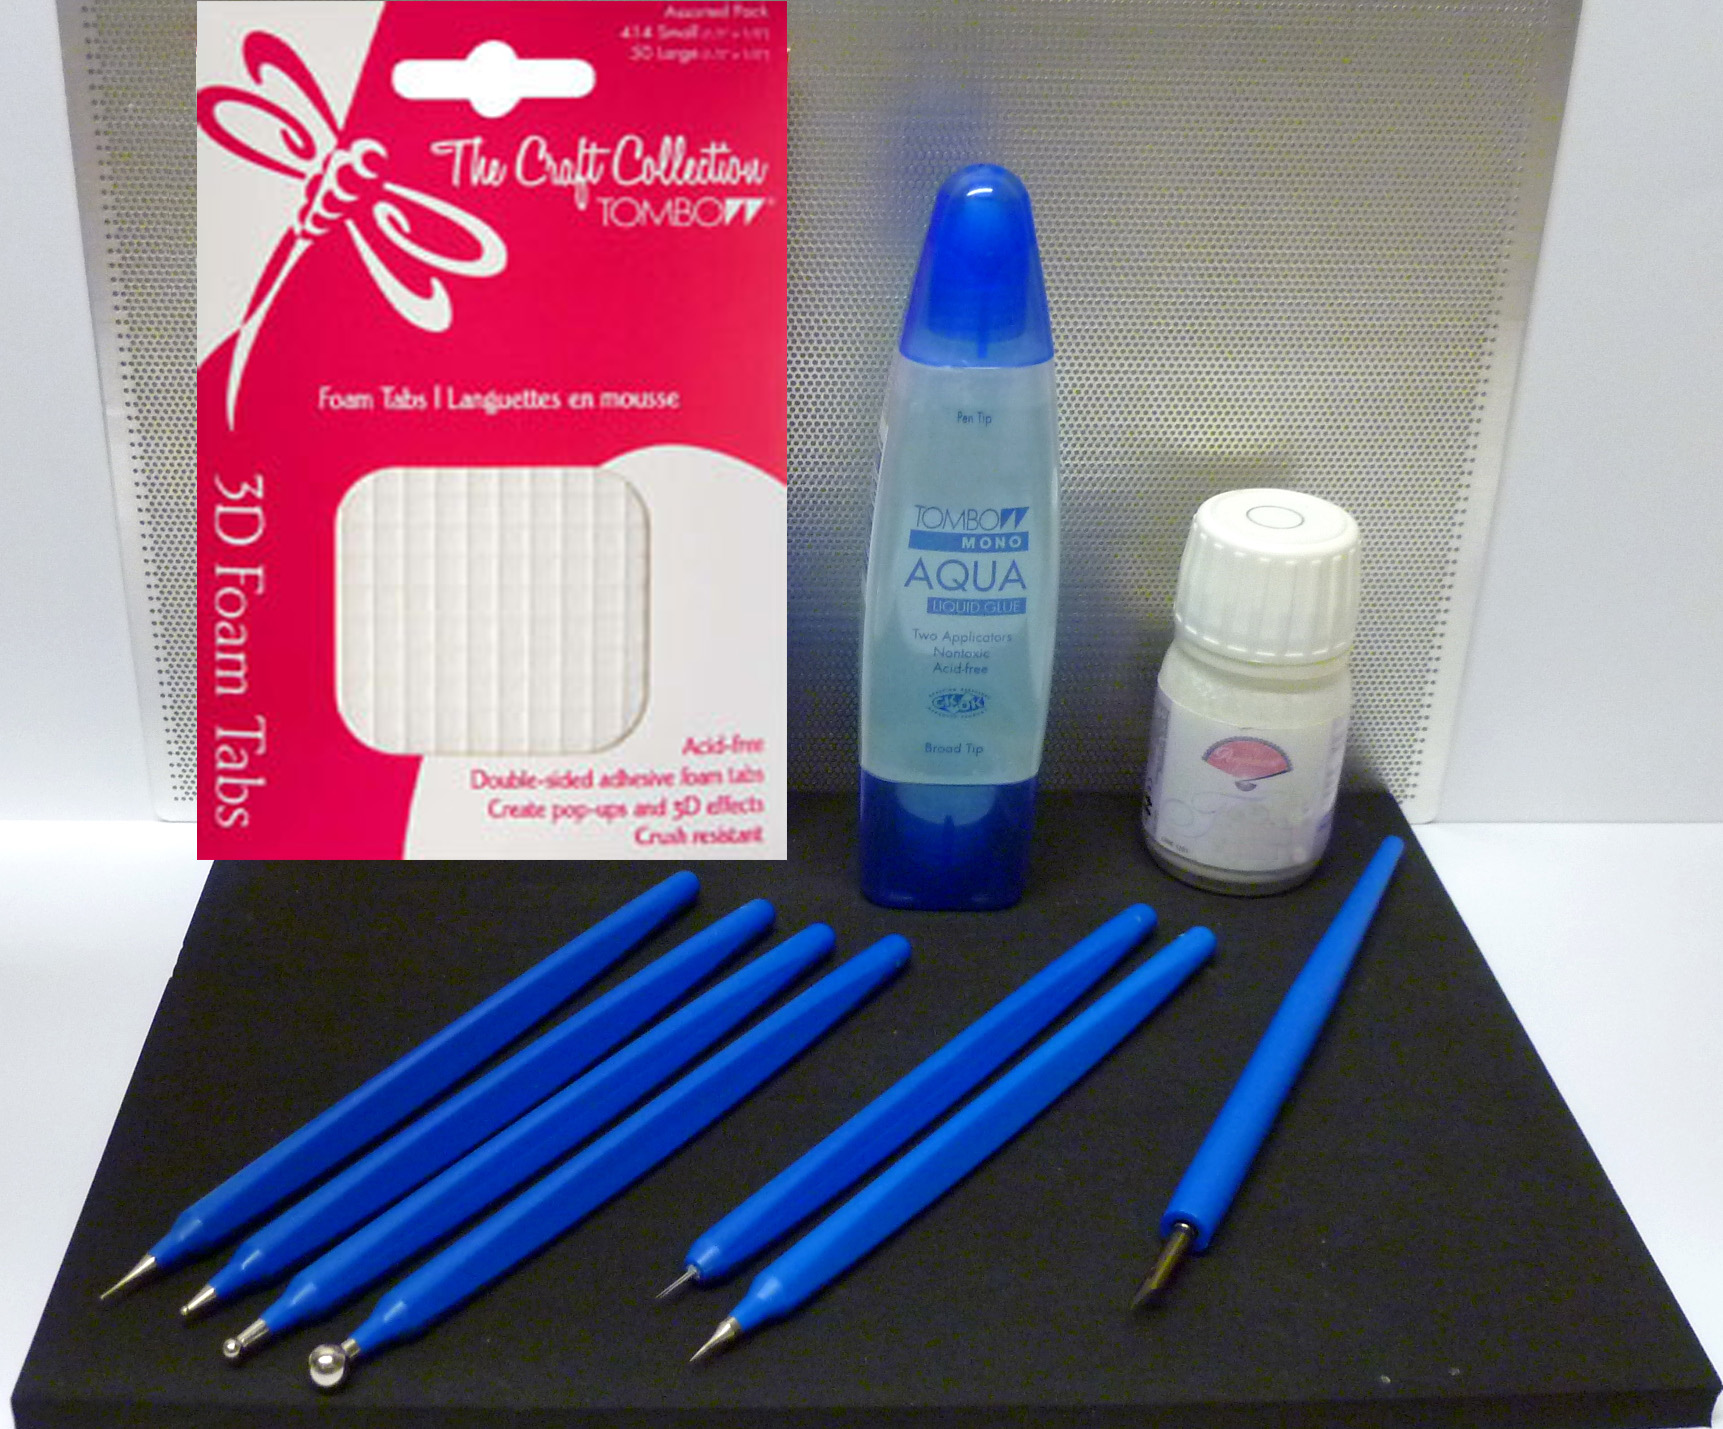
4 Stamp Runner, Foam Tabs
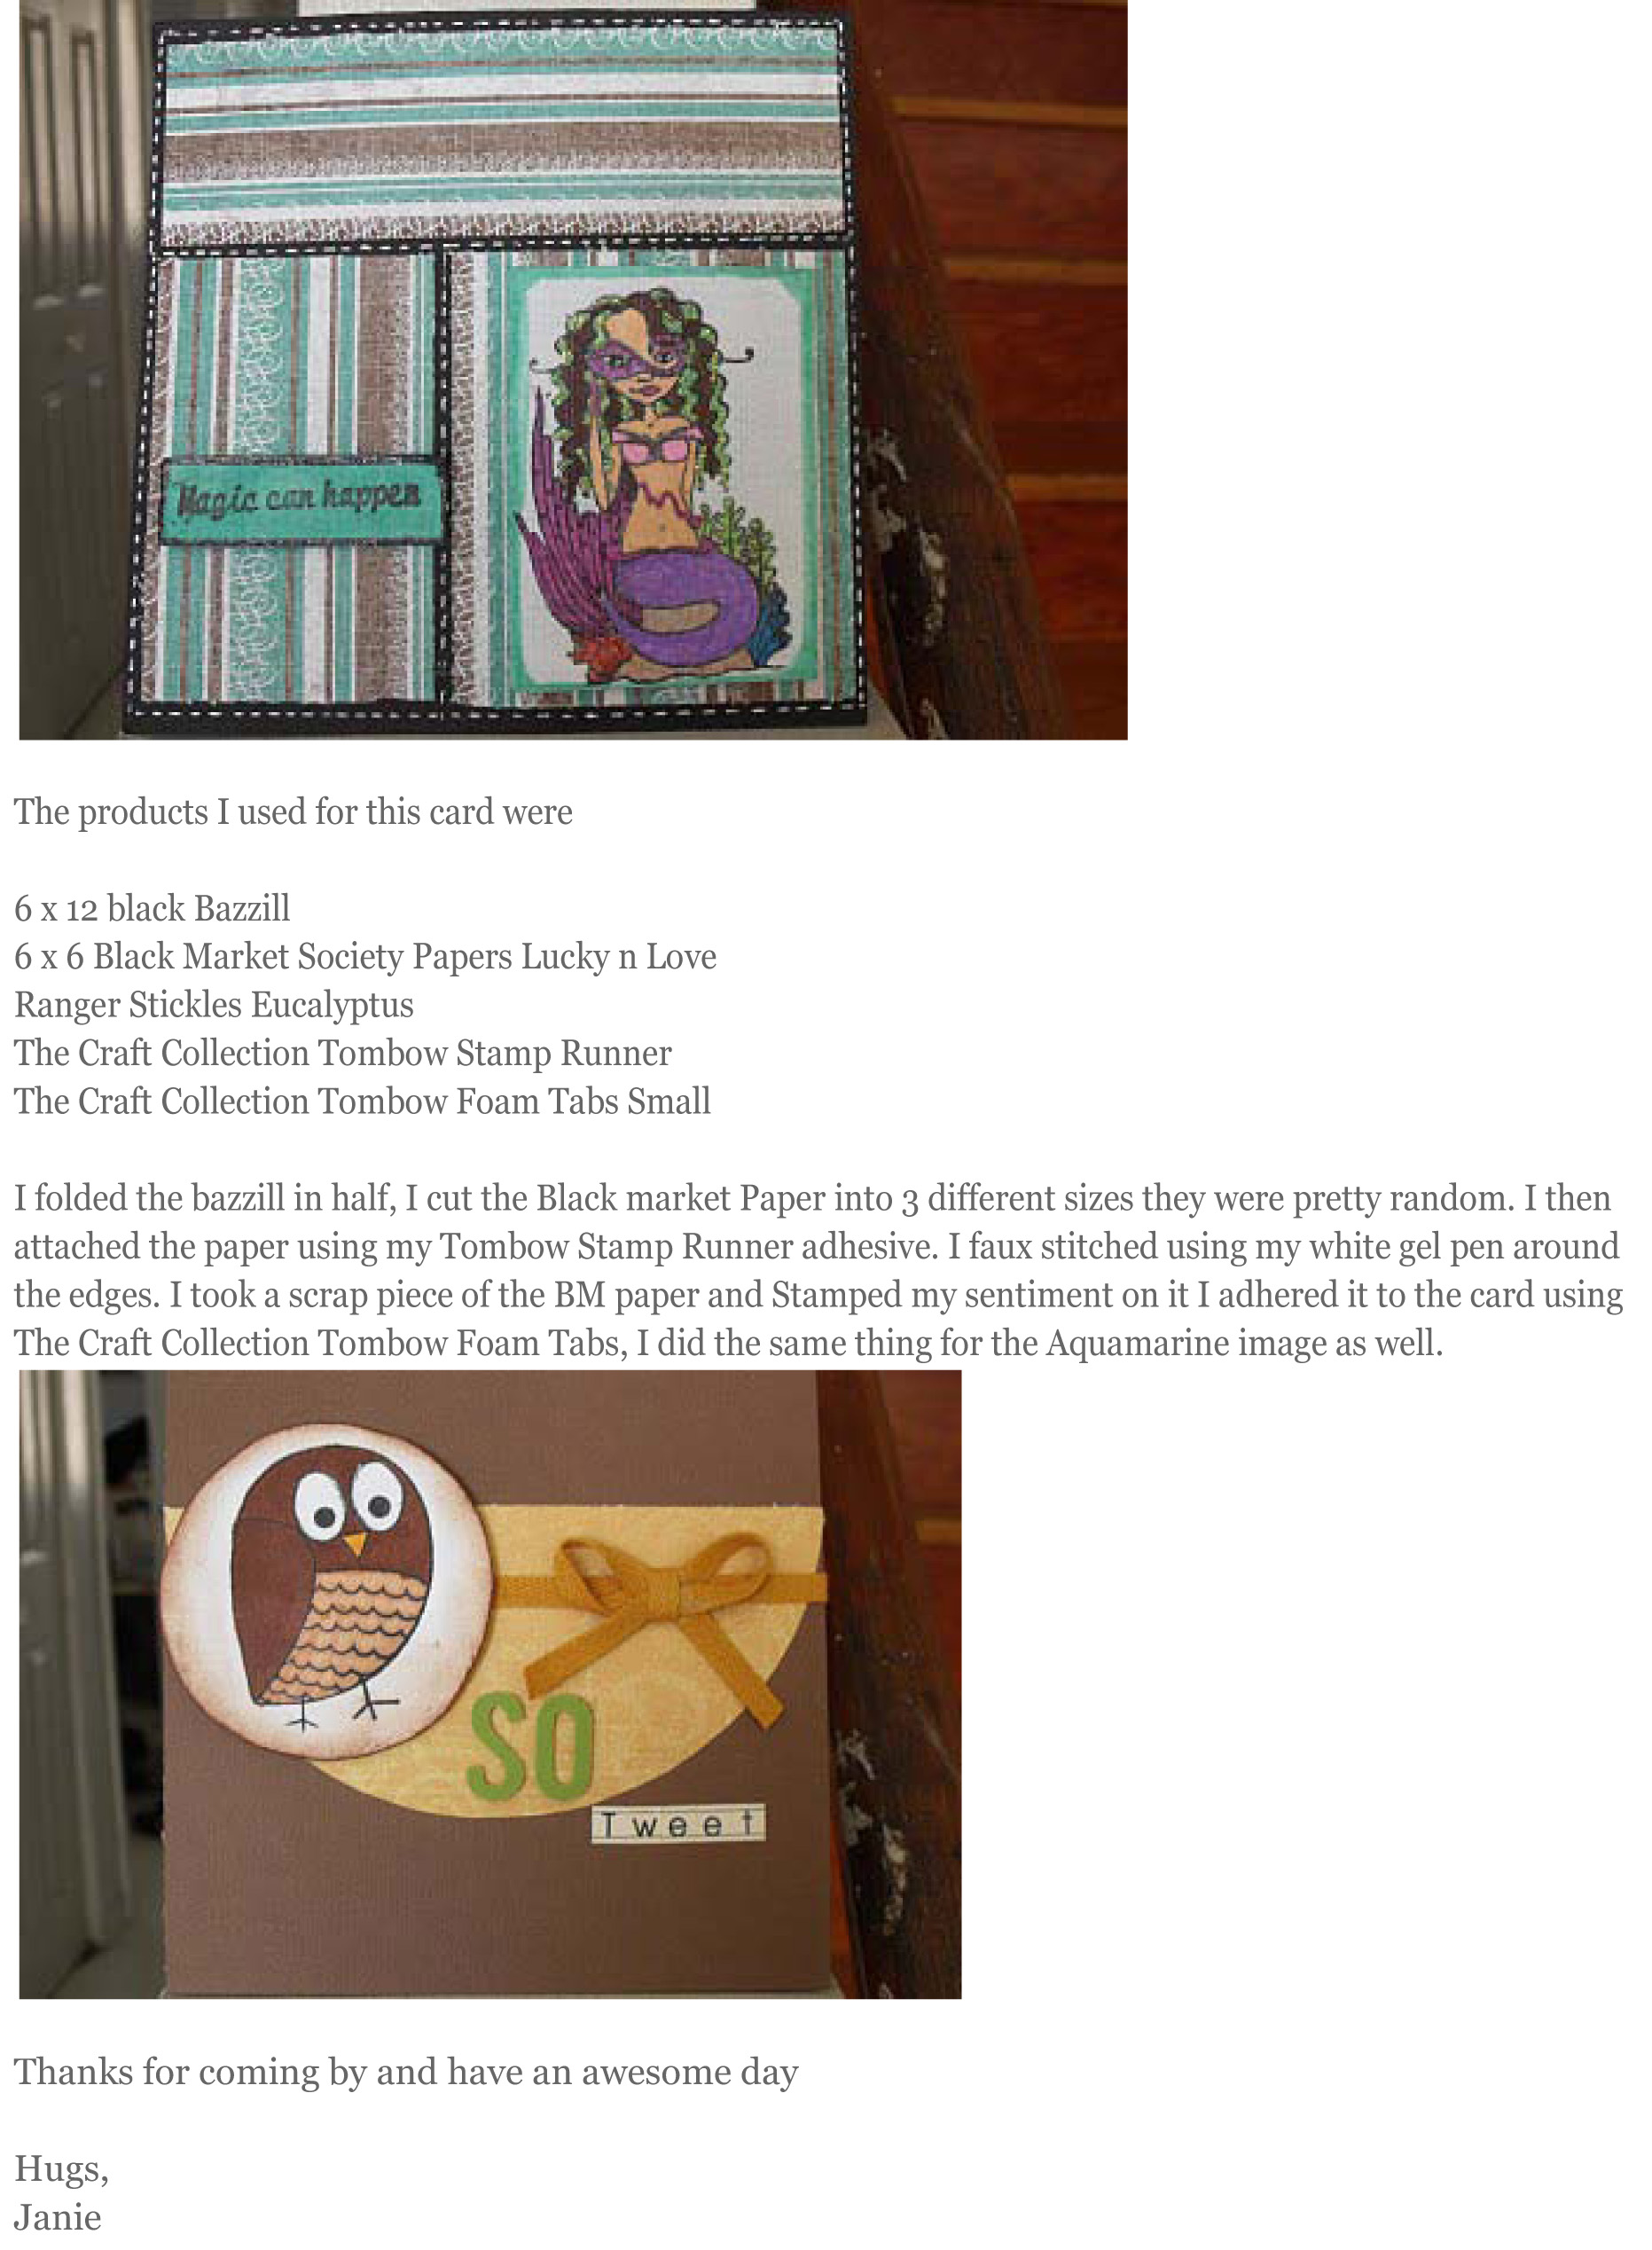
“Janie’s Crazy World” by Guest Designer~Janie Boots
 3
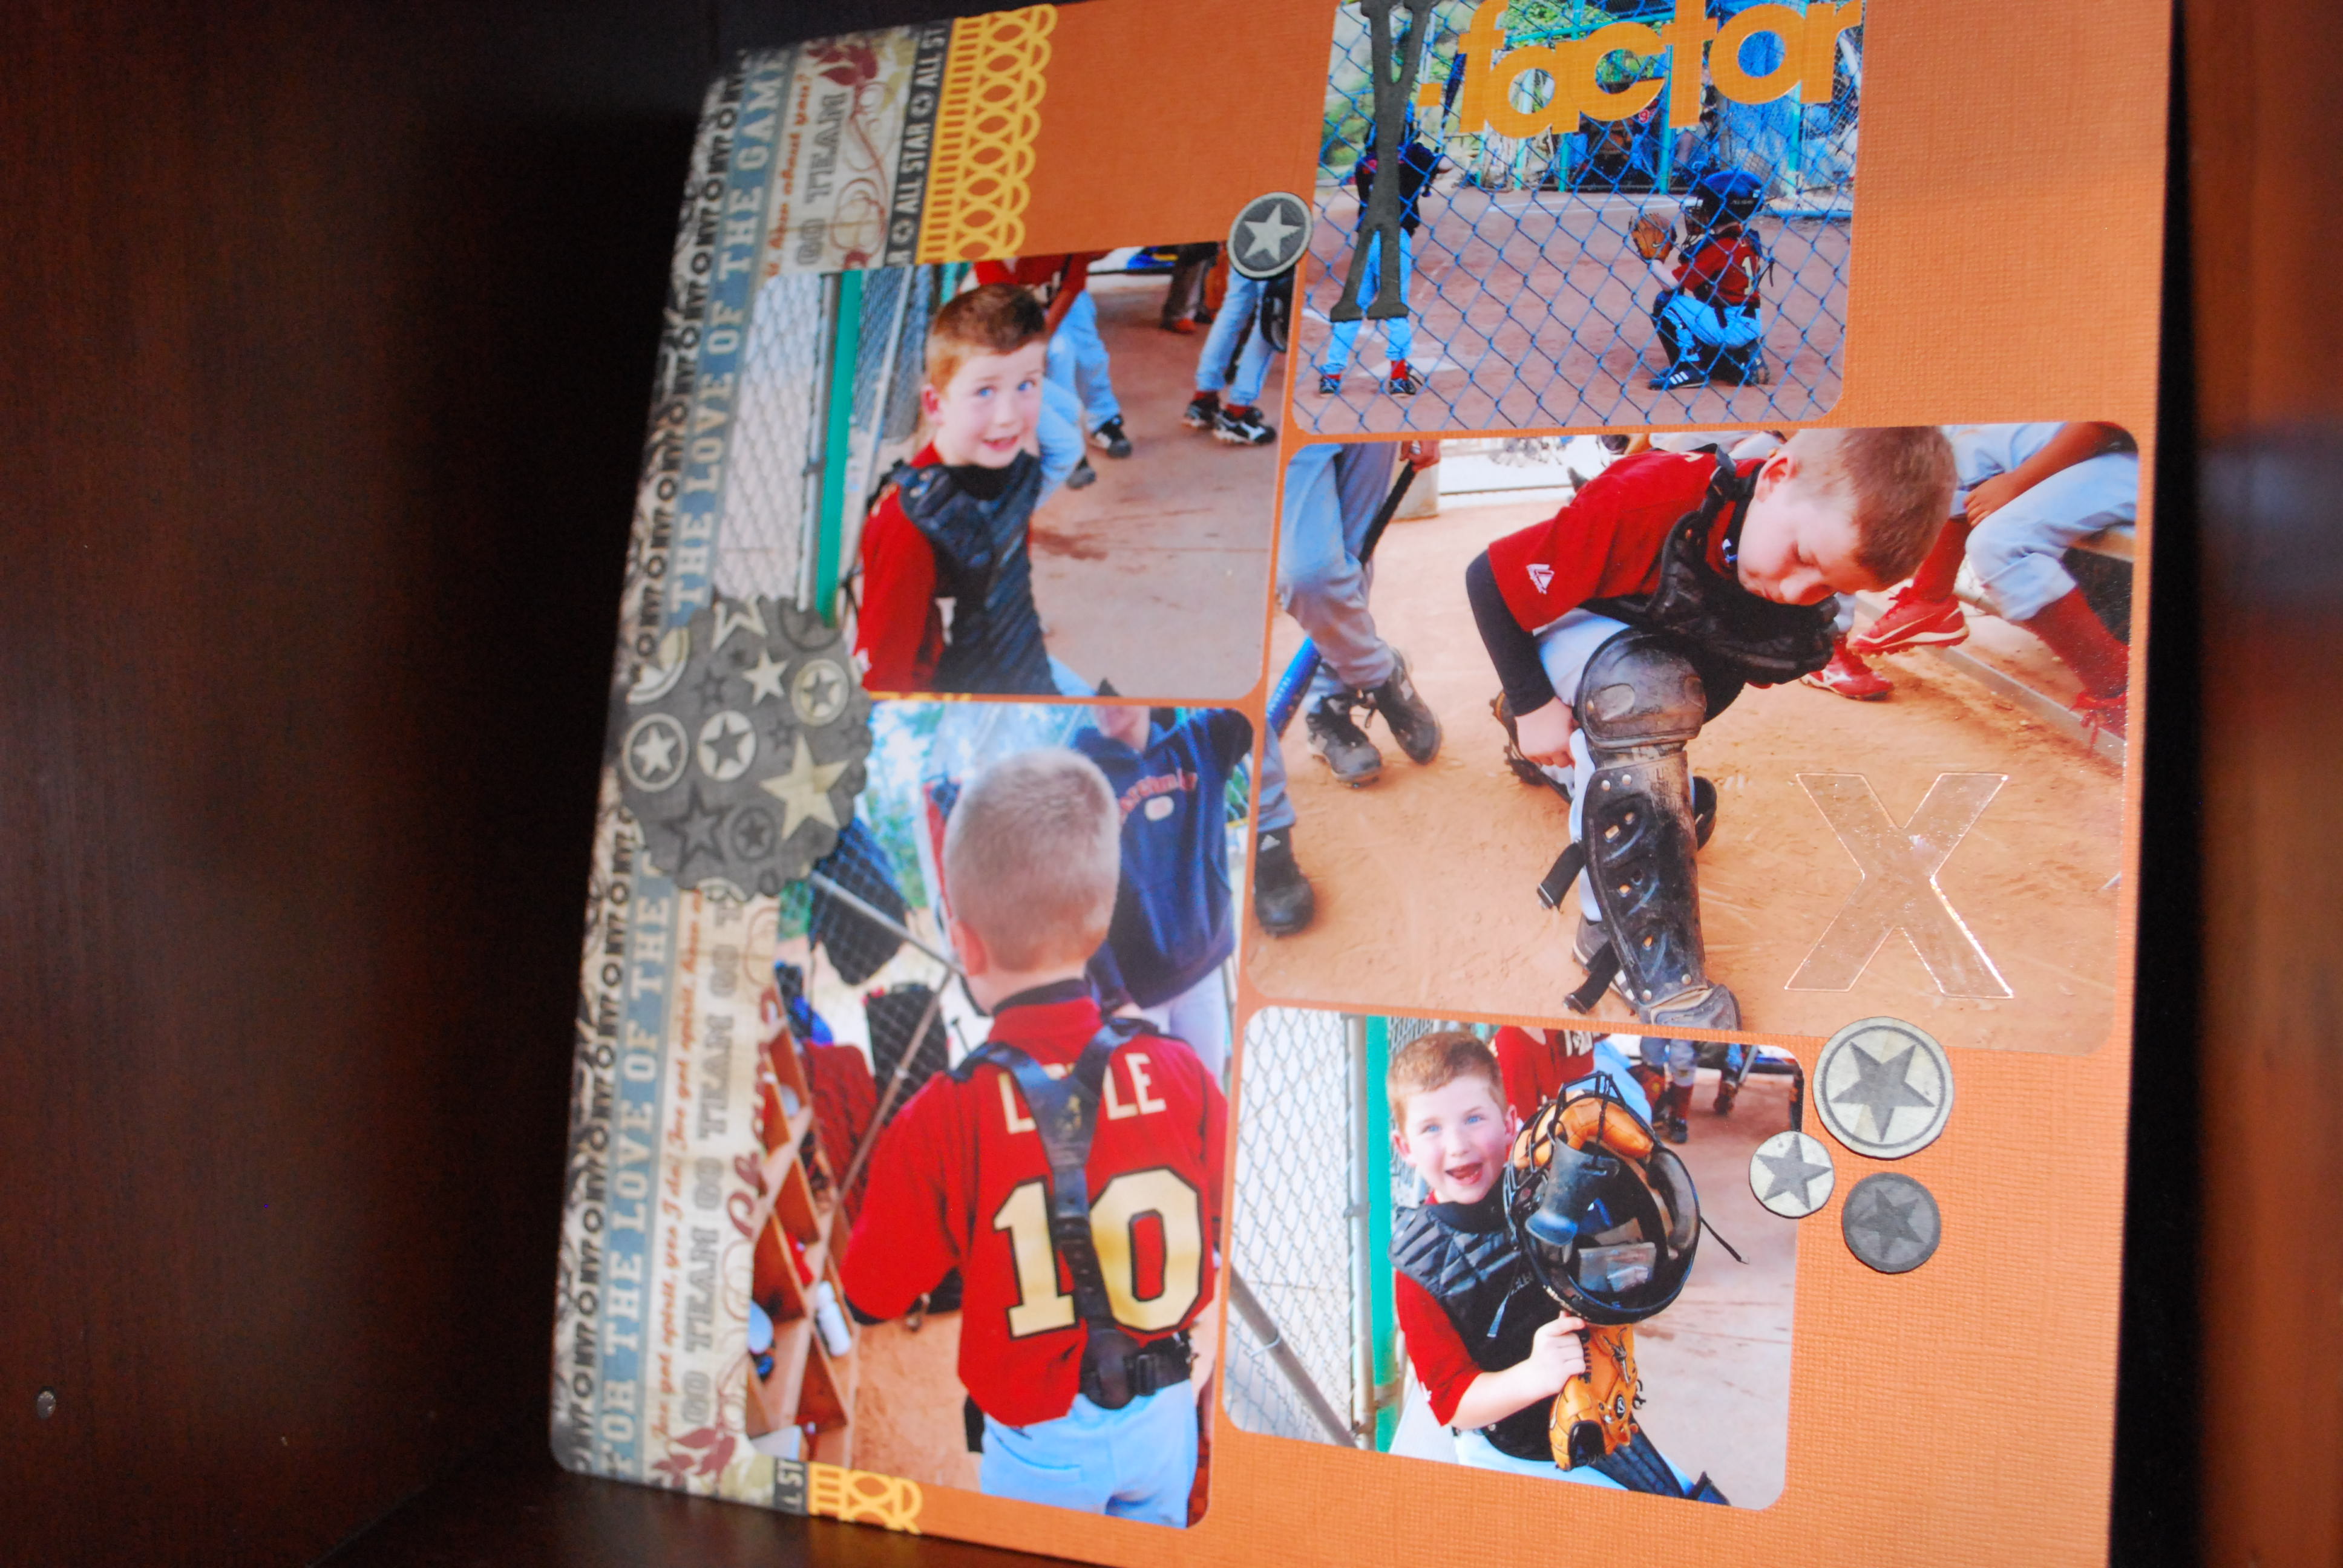
3 i have been busy at the ballpark. well, truthfully, my son has been busy, i’ve been sitting and cheering. and while i am sitting i am taking pictures. i have so very many! i picked this set of pictures out immediately…maybe because of the expression on my son’s face, maybe […]
spring ball by Sarah
 5
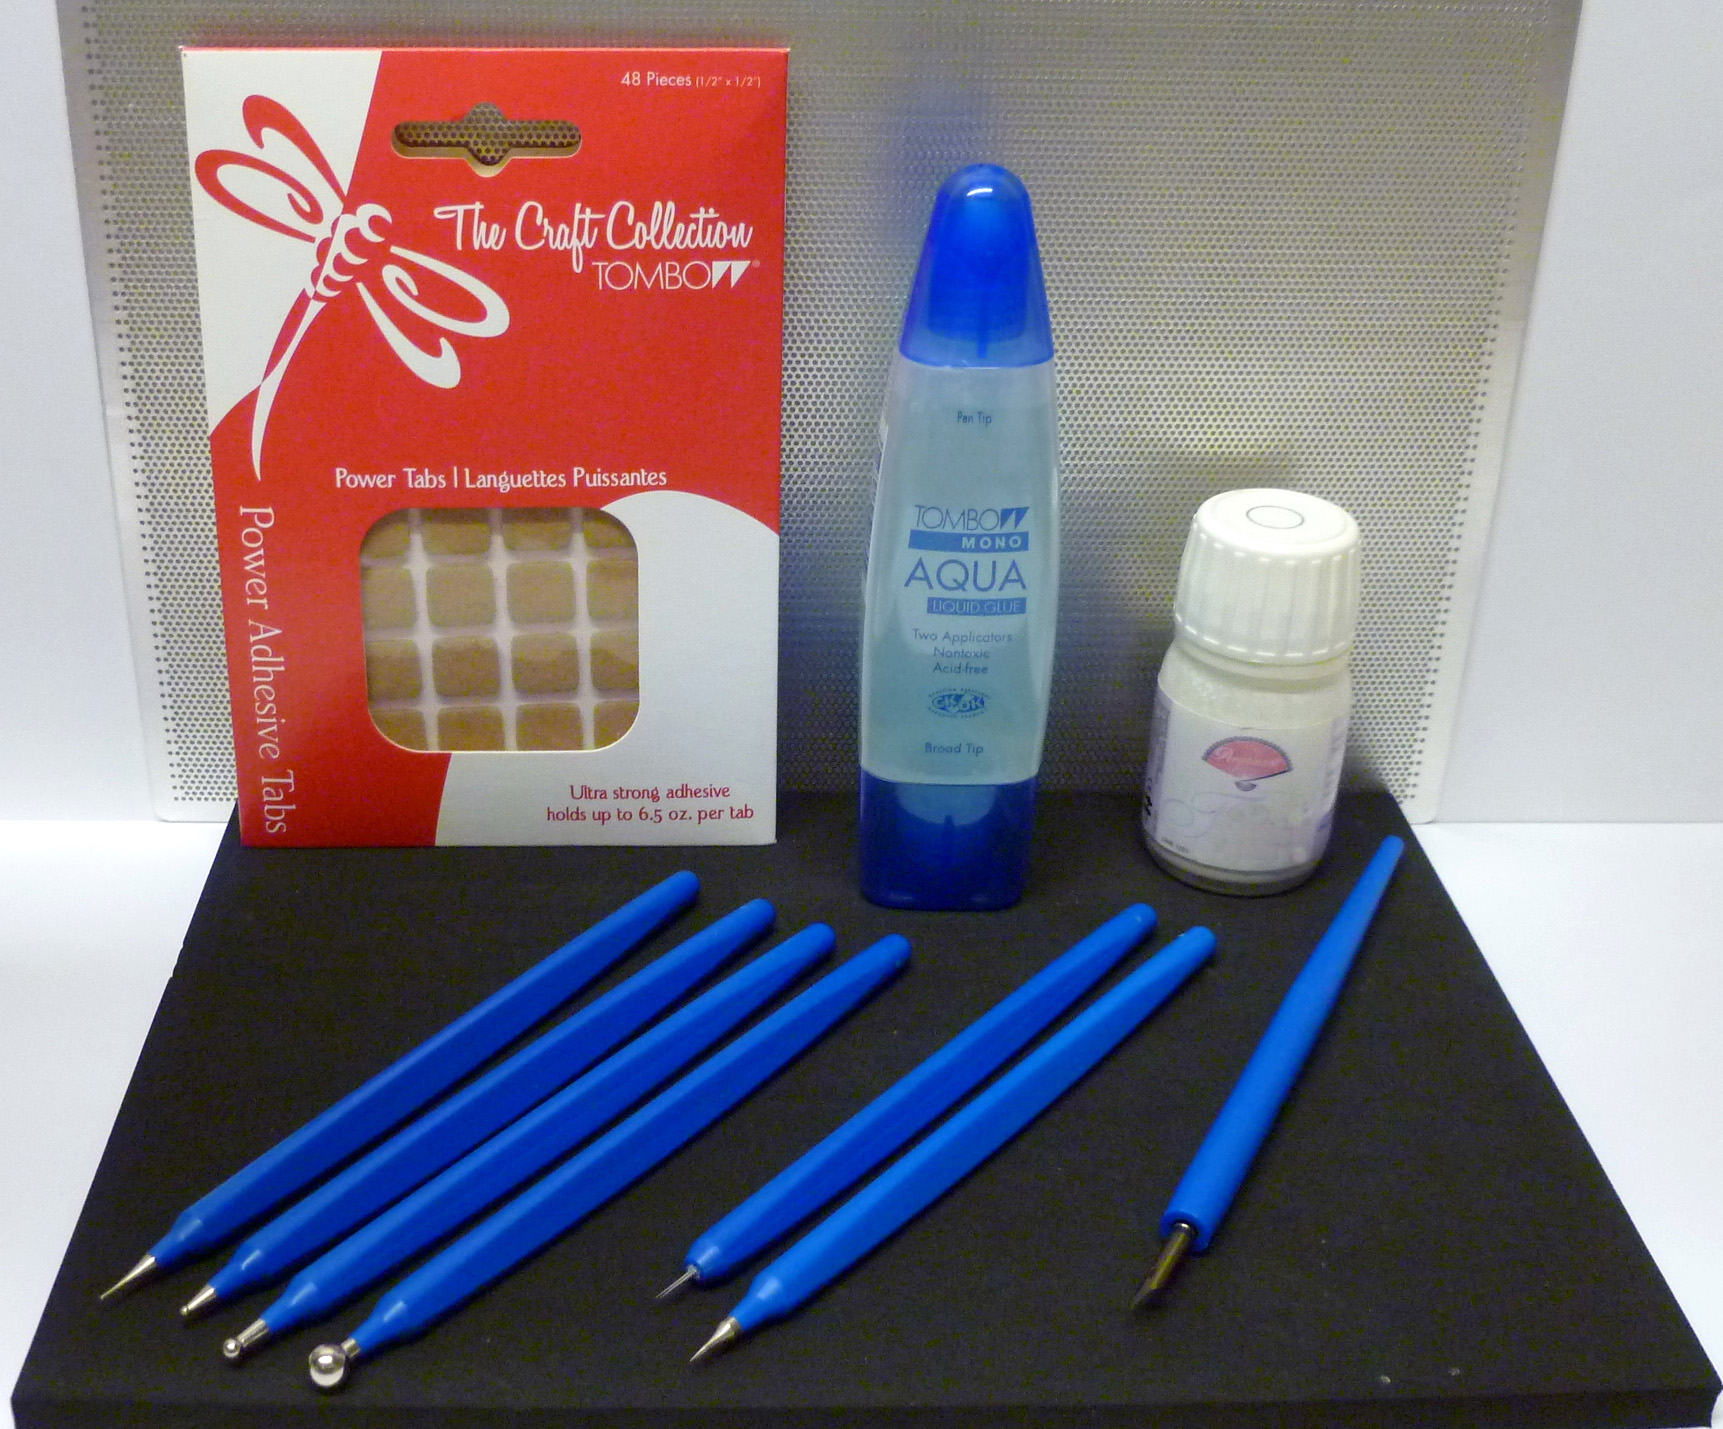
5 MONO Aqua Liquid Glue, MONO Multi Liquid Glue, Dual Brush Pens, Fastner Tabs, Power Tabs, Stamp Runner Permenant Adhesive