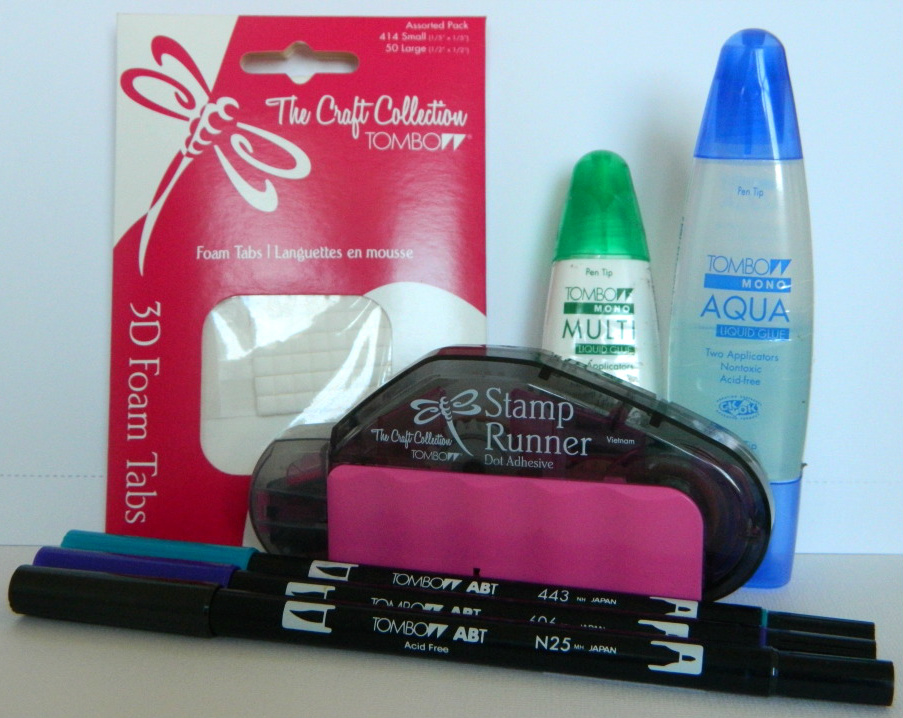
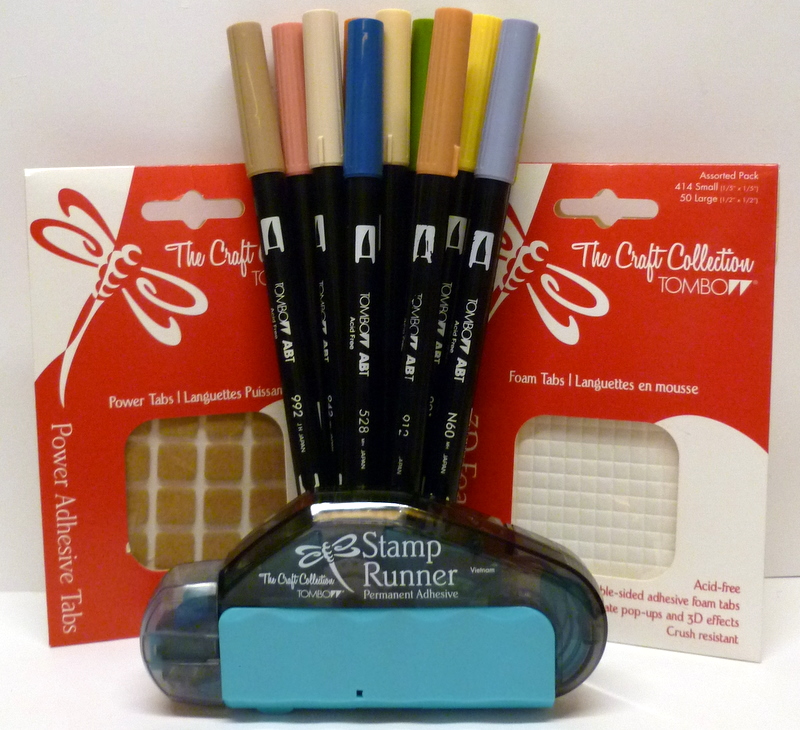
Posts Tagged ‘Stamp Runner Permanent Adhesive’

Apr
16

In my large family nobody gets a birthday party by themselves! It also means I have to be ready with lots of cards and gifts when we have a party. I was a little behind in getting ready this month, so I was happy to pull out my Dual Brush Pens and quickly make plant signs and bag toppers. Lettering is a GREAT technique to have for these ‘emergency’ creating sessions!

Would you like to learn the art of Fun Lettering with Tombow Dual Brush Pens in an easy and fun way in the comfort of your own home and in your own time? I am teaching a 4 week course at My Creative Classroom starting April 19th.

 Here is my basket all packed up ready to take to the party – nine, yes nine gifts to prepare in one day!

These bag toppers have simple brush lettering with ant and centipede DoodleDab accents. The little centipede is shouting hooray! Depending on the recipient, the bags had chocolates, lottery tickets and money!

These Miniature Rose plants were beautiful – and perfect as gifts! I made simple plant signs using brush lettering and a Heart wing butterfly DoodleDab. The sign also used Stamp Runner Permanent Adhesive to put both the signs and bag toppers together.

They all look happy with their gifts!

See you in the classroom!


Apr
05

This week we are playing with our Tab Fasteners and I want to share this cute mini backpack. Is really easy to make, I promise :0)

Sometimes we shy away from projects like this because we think is too hard but this was really easy to make, take it from me, probably the slowest scrapbooker ever!! It will take you only a 8 1/2 x 11 cardstock sheet for the base and for the decorations you can use scraps like I did. I took a 10 1/4 x 5 1/4 and I scored the wide part at 3 1/2 then I turned it around and I scored at 3, 4 3/4, 7 3/4 and 9 1/2. Cut the score lines of the bottom part, below the score line. To make the backpack flap I used a 3 x 2 1/2 cardstock  and score at 1/2. To make it round I used a plate since I don’t have the tool for making circles. For the pocket you need a piece of  3 x 2 cardstock and you should score it at 1 1/4 and 1 1/2 on the sides and at the bottom. Cut out the squares in the bottom corners to make the folding easier. To make the little flap for the pocket use a 1 1/2 x 2 piece of cardstock  and score at 1/4 and 1/2 on the top long side. As I did with the backpack flap to make it round you can use a tool, a plate or anything round. Don’t glue anything yet!! Just have all your pieces.

After all the scoring you turn the page around and you are going to have a little flap to put the backpack together, one of the sides, the front of the backpack, another side and the back. You are going to see a little rectangle in the left bottom, cut it out. Using the Stamp Runner Dot Adhesive I covered the front of the backpack with a less busy patterned paper. Glue the backpack flap to the back of the backpack with the little flap on the inside. Cover the visible part of the flap with a busier or darker patterned paper, do the same with the pocket flap. On the exact score line punch two holes 3/4 from the border, this is for the ribbon on top. In the back make four holes, the two in the top are going to be on the center, close to each other but remember that you need space for eyelets (these are optional but they reinforce the holes, avoiding ripping). The two on the bottom should be close to the corners. For the top ribbon I used 6 inch ribbon and for the ones in the back I used two 8 inch ribbon. You can tie the ribbon or you can use your Power Tabs or Mono Multi Liquid Glue to glue the ribbon inside. Remember to keep the same distance in both ribbons. Now you can put it together, Glue the bottom with the Mono Multi Liquid Glue and the little flap to close the sides. Is super easy to make the little pocket just fold the sides and glue the corners where they touch in the back bottom on the top add the flap, there you will have a frame. You will glue this frame to the backpack using the Mono Multi Liquid Glue. And now the star of the show!! The Fastener Tabs!! Since they come with adhesive on both sides I placed the tab, without separating the velcro, on the flap and I closed it. It worked AMAZING!! For the little pocket I used a little less of half of a tab, same method. Just added a little stack of buttons and Ta-Da!!

I made this A2 card (4 1/4 x 5 1/2) so you can understand how tiny this backpack will be. For the card I used the Stamp Runner Dot Adhesive and the Foam Tabs for the sentiment and the chipboard sticker.

Do you think you will give this a try?? Show us at the Tombow Facebook Page!!

Take Care!!

If you enjoyed this post please follow us on

Mar
22

This week we are hopping with My Mind’s Eye and I have to say that they spoiled us rotten!! Getting a box of their products made my day!!  I received products of Miss Caroline and Bright and On The Bright Side Collections and I was blown away by all the colors and patterns!!

Since these photos don’t have much color, my palette was inspired in the third picture and the color of the stamps.  I kept using the woods with the crackled paint and the chevrons. I started by choosing the patterned paper for the big rectangles. I didn’t use the same arrangement in both pages because the blue would be too predominant. In the left the blue goes in front of the gray stripe and the yellow goes behind the gray, in the right page is the opposite. This technique helps to keep a balanced layout so your eye flows through both pages. I layered all the pieces with black to make them stand out. For the  photo mats I used the 6×6 pads and I also layered them with black using my Stamp Runner Dot Adhesive . The pennants connected by the My Mind’s Eye  Twine are from the Accessory Sheets and I used the Tombow Foam Tabs with them. I also used other punch out from the accessory sheet, with some stickers, brads and pins.

For the tiny pennants I used scraps and the Epiphany Crafts Tool and I used the Mono Multi Liquid Glue to attach them to the page. For attaching buttons I used Tombow Power Tabs, I learned this trick from Design Team Member Melissa. I outlined some elements to make them stand out, including the photos and the pages.

Thanks So Much to My Mind’s Eye!! Their products work in perfect harmony with Tombow!! I can’t wait to use both again!!

I hope you liked my double page!!

Take Care!!

If you enjoyed this post please follow us on
Mar
19

These containers – I call them ‘Column Twist Containers’ are so easy to make and they don’t require a template – just a rectangle piece of decorative paper! The paper is the ‘Miss Caroline’ collection from My Mind’s Eye. Embellishing is a breeze using the new Tombow Tags and matching brads and stickers from the ‘Miss Caroline’ collection.

Cut the paper into a 6″ x 8″ panel (container), a 2″ x 4″ panel (bottom flap), and 3″ x 4″ panel (top flap). Fold the flap pieces in half lengthwise and trim the bottom corners round.

Create the container by applying the Permanent Adhesive Stamp Runner to the 6″ edge. I used a very tiny amount of the MONO Multi Liquid Glue along the edge to make sure it holds down firmly – this is important if using heavier paper to make these containers. Roll the paper into a cylinder and press down with a bone folder.

Pinch the bottom of the cylinder and adhere on the bottom flap. Pinch the top of the container and adhere the back of the remaining flap to the top of the container. Add the Fastener Tab to the front flap to hold the container closed. Use Power Tabs and Foam Tabs to add the embellishments.

Here are the dimensions for the larger container and tall container:          Large Column Twist Container: 6″ x 12″ panel (container), 2″ x 6″ panel (bottom flap) and a 3″ x 6″ panel (top flap)

Tall Column Twist Container: 7″ x 9″ panel (container), 3.25″ x 2″ panel (bottom flap) and a 3.25″ x 3″ panel (top flap)

Have fun with these – make lots! Visit us again for lots more Tipniques with Tombow products! Now, hop on over to My Mind Eye and see what they’re doing. http://mymindseye.typepad.com/

if you enjoyed this post follow us on facebook and twitter!   http://www.facebook.com/tombowusa         and http://twitter.com/#!/tombowusa

Feb
02

Is ABC Week at Tombow so this week cards are on vacation. We are also working with the color Blue Iris so I wanted to make a really blue layout and I found this picture of my husband and what is more blue than an Aquarium.

The original base is just white cardstock that I misted with homemade mist and on the right I stamped Georgia Aquarium. On the corner I used a brad, a piece of fabric, ticket stub, paper clip, and bling. The staples are just decorative because I used my Mono Multi Liquid Glue to glue everything together. I used my Tombow Dual Brush Pen to draw a line around the page. In the mat of the picture I left a little bit extra to use a border punch. Then with my Tombow Dual Brush Pen I outlined the mat and then did the same with a white pen. Lately I am really into banners and I just used the scraps of my black, white and blue section. I also doodled them all.  On the top of the banners I used tape and some rope that I glued with my Mono Aqua Liquid Glue which I love because you can’t see where the glue is at all. For my handmade embellishments I used the Mono Multi Liquid Glue. Felt could be tricky to glue you can’t use any glue because the embellishment might come off but the Mono Multi Liquid Glue works perfect. This kind of creepy mouth sheet is from a pad but I cut of the blank part around the image and did some matting with blue and black. For all the matting I always use my Stamp Runner Dot Adhesive. No project of mine is complete without Tombow Foam Tabs so the whole journaling piece has some dimension.

Working with Blue Iris this week was fun. I can’t get enough of the Mono Multi Liquid Glue for my embellishments.

I hope you like my blue project!!

Take Care!!

If you enjoyed this post please follow us on

Jan
24

So cute, it just calls to you to run into your studio and make this adorable card for that “Un-froggetable” person  in your life…

I created a card with the adorable “Froggy Gift” from High Hopes Rubber Stamps. I made the card base 4 ¾ x 5 ½. I cut the green cardstock 4 ½ x 5 ¼ and embossed it with a heart embossing folder.

I adhered the blue, brown and designer paper, after punching the borders, with my Tombow Stamp Runner and colored the image with Tombow Dual Brush Markers

I cut out the image and blue with my nesties labels and adhered them with my Tombow Stamp Runner and layered all the pieces with Tombow Foam Tabs. After threading bakers twine through the buttons, I adhered them with Tombow Power Tabs.


Here are the Tombow Markers I used… 942-912 …Flesh, N89-N60 …Background 076-098…Green, 990-991…yellow, 947…brown, 772…Pink, N89-528… Blue


 I hope you enjoy making this card as much as I did, I’m sure you will find

someoneone ” Un-froggetable” to send it to…

Enjoy your day,

Karen

If you enjoyed this post follow us
       http://www.facebook.com/tombowusa  and http://twitter.com/#!/tombowusa


Jan
03

Hi there!  This week our theme is “What’s New”.  Each year Pantone comes out with the new “in” color for the year and for 2012 it is Tangerine Tango.    Today I am going to share a card with you that I created using a monochromatic color scheme and a pretty little  flower.  I used the Tombow Stamp Runner-Permanent Adhesive , Tombow Power Tabs and Dual Brush Pen #885 (Warm Red).


I inked up the sentiment with the Warm Red #885 Dual Brush Pen and stamped it onto some cream cardstock.  I  assembled the card layers using the Tombow Stamp Runner, leaving the top right corners adhesive free.  You will roll these down for a little added dimension to your card.  Next, you will use the stamp runner to apply adhesive to the backside of your ribbon/trims and lay them across the card.  I didn’t have the right color of pearls, but no worries.  I used the Dual Brush Pen (#885) to color them for a perfect match.  Give it a try, you will be amazed at how easy it is to color match using the Dual Brush Pens.

Please join us on:
  http://www.facebook.com/tombowusa  and  http://twitter.com/#!/tombowusa

Dec
28

Is the last ABC Week of the year!! I hope you enjoyed this year with us as much as I enjoyed being on this awesome team!!  For this project I felt like doing something a little more free and for me instead of making something that needed to be perfect for my daughter or someone else. I just came across a list call 33 Ways To Stay Creative and I just loved it!! This is a must project for every craftroom or crafty friend and I think we all need to take a little something of this awesome list. It helped me a lot!!

For this project I went simple green, meaning that I used Toilet Paper Rolls for the base of this mini and then used 6×6 patterned paper and Mono Multi Liquid Glue to cover the rolls. The Mono Multi Liquid Glue also work for embellishments like the felt flower I made, the feather and of course the paper butterfly. The great thing about a mini like this is that you don’t need to buy extra stuff to make it, so if your New Year’s Resolution is to hoard less paper or embellishments this is a great project. I just used whatever I had laying around my craftroom. I used 5 toilet paper rolls and on the inside I took a 2×8 piece of cardstock and fold it in half, that way each piece had 4 pages. That was a total of 20 spaces to write the 33 ways to stay creative. I picked my favorite ten and used them for the outside of the paper rolls and the rest were displayed on the cards. Instead of printing the list or using my handwriting I used lots of alpha stickers, punch outs and my label maker. I used my Tombow Dual Brush Pens to doodle, color stamps and stamp some of my images.

Click to see larger image

I used a lot of alphas and mixed some of them up because for some reason there are never enough vowels, r or s. I also used decorative tapes, border punches and paper scraps. I used my Stamp Runner for the scraps, the stamp feature of the Stamp Runner is great for those tiny pieces of paper. I also used some free downloads to print.

Click to see larger image

I loved making this kind of inspirational project, without a doubt I’ll be making a few of these in 2012. Well, I think this project takes care of #33. Do you think you are in the mood to try some of the things of this list?

I know some Tombow Products that can help you…

I hope you liked this project!!

Take Care and See Ya Next Year!!

If you enjoyed this post please follow us on
Dec
08

 This week, the girls of Tombow have been giving you ideas for that cooking fan in your life. I made a mini with pockets that way, that special person can put their own recipe cards there.  My main inspiration was the traditional kitchen style with the housewife in the apron and the tablecloths inspired papers. I also used a doily which apparently are for cakes, I wouldn’t know, since I am an amateur chef.

I started with a plain chipboard mini album and covered it with paper using my go to glue, the Tombow Mono Multi Glue. *The amazing thing about the Tombow Mono Multi Glue is that it has a fine tip for those small details and embellishments, but it also has a broad tip for covering big spaces like the chipboard mini. The way the tip is made allows you to spread the glue across the surface. For my die cuts I used Tombow Foam Tabs which are crush resistant that way you’ll never lose the dimension. I made some pockets for the recipe cards and I used a technique that gives it a little bit of wiggle room for at least 4 recipe cards. I just used a one inch wide strip of paper folded in half and used my Stamp Runner Dot Adhesive to glue one part to the mini and the other part to the inside of the pocket. 

 This is a perfect gift idea! I don’t know if you know it but, Christmas is only 17 days away, so you better get started on your gifts!! You better stock up on your Tombow products because you will need them!!

 I hope you enjoyed my project as much as I enjoyed making it!! Happy Thursday and come back tomorrow for Melissa’s project!!

If you enjoyed this post please follow us on


Sep
14

I enjoyed this challenge; it reminded me of my love of Fairy Tales so I created my own little story booklet.

Some lucky little child will receive this and enjoy many hours of bedtime stories  from their family! I love the new ‘Once upon a Springtime’ paper collection from Graphic 45 and wanted to do something extra special with it and this  project is definitely the start of many…what’s your favorite Fairy Tale?

The pages are cut from the cardstock with my Bog Shot and the Accordion Album die. Using Stamp Runner Permanent Adhesive, I put the booklet together forming ten pages. I printed the story
from the Internet (lots of sites to find classic fairy tales!) onto cream colored cardstock, trimmed them and then adhered to the pages with the Permanent Adhesive. Being able to print your own tales also gives you the opportunity to personalize the characters with the names of the children who will receive the booklet.


Then came the fun of embellishing the pages! Tiny paper flowers, rhinestones, stamped images softly colored with Irojiten Colored Pencils and glitter makes the booklet extra special. The glitter wings of the fairies and rhinestones in crowns are added using the Glue Pen and larger embellishments added with the MONO Multi Liquid Glue, Foam Tabs and the stamping feature of the Permanent Adhesive Stamp Runner.
 
    The ribbon bellyband uses a Fastener Tab for a decorative touch that also holds the book together.


..and they all lived happily ever after….

If you enjoyed this post please follow us on   http://www.facebook.com/tombowusa  and   http://twitter.com/#tombowusa