Posts Tagged ‘Basic Grey’
“Get Ready For Halloween” By Jennie Garcia
To follow the Halloween theme of the week I made a cute Halloween card perfect for a kid. I used mostly Basic Grey patterned paper. For the purple card I actually used white cardstock with Dusty Concord Distress Ink.
This cute little monster is from the Mini Monsters Cricut Cartridge and I also used Glossy Accents and googly eyes to make him extra cute.
I made a bow with Black and Orange Twine and I also wrapped it around the mat. The orange tag behind it is from the Once Upon A Princess Cartridge.
This old little fence was cut from the Paper Dolls Dress Up Cricut Cartridge and I embossed it with a Tim Holtz embossing folder. I also inked it with brown ink to show the embossing detail.
I stamped an inchie from InkaDinkaDoo stamp set and I punched out with my one inch circle punch and then I punched a little scalloped circle and I layered the sentiment. I also used Glossy Accents on the stamp.
Tombow products used:
I hope you enjoyed my post!!
Take Care!!
Jennie
If you enjoyed this post please follow us on
in my short lifetime I have held over 18 jobs…not counting daughter, sister, wife and mother. i have been working since i was 11 years old, when my first job was a “page” in the public library. since then i have been a babysitter/nanny, telephone operator, sandwich maker, a retailer of clothes, books, vidoes and scrapbook supplies, and a teacher to children and adults. quite a variety.
when i first got this “suitcase” mini-album from clear scraps i immediately knew that the subject i wanted for the book had to be something other than travel. trying to think of other ideas i used my best sounding boards….and with their help we came up with an album about all my jobs.
over the last year the companies we have teamed up with have been incredibly generous with what they have sent. i was able to go back through my stash and pull out papers and embellishments that pulled this album together…..basic grey, graphic 45, maya road, cosmo cricket, and hambly screen prints
the best thing about this album is that i am using random pictures that i’ve been holding onto for years. none of my jobs have been documented with pictures, not even my scrapbooking jobs. so a random picture here or there, or a company logo is all i have taken with me. this book will be a place to write the memories and experiences i had while at those jobs. could be a good laugh years from now.
while working with this clear album i have come up with some tips to keep in mind, because there are challenges as well as rewards to working with clear.
1. definitely use Tombow MONO Vellum Adhesive. the most you’ll see is a shimmer…but it really is invisible.
2. apply the adhesive to the picture, paper or embellishment instead of the clear pages. easier to apply…and go slow, the more even the coverage, the less “goobers” will occur.
3. take care when placing your pictures and paper…once it is down, it is down!
4. Tombow MONO Glue Pen will adhere embellishments to the clear acrylic
5. take advantage of layers
6. clear album pages are a double sided paper’s best friend…you get to show off both sides! no choosing or leaving one side out!
Joanna challenged the DT to a different kind of inspiration challenge. She sent a picture to one member and they made an item from it using it as their inspiration. Then sent that project picture to the next member and she created a project from it and etc. Go to Tombow’s blog to see all the inspriation.
Here is the project created by April that I was sent for my inspiration project. 
The inspiration I pulled from her bookmark, was the Basic Grey paper, the long shape of the project (I altered a toilet paper tube), I used a lacy scallop punch for inspiration from the fringe and a flower for the oval. 


I hope you all were inspired.
i have been on a frame kick lately. i love frames, and i keep buying them, but i don’t always fill them right away. this frame i’ve had for quite sometime, and because of the odd sizes and the number of pictures it needed i never felt like i found what i wanted to use it for.
so fast forward to last week, when i got a fun box filled with basic grey’s max and whiskers line! i don’t have animals, but i immediately was impressed with how masculine the papers looked. then the ideas started flowing…pictures of my husband, with the kids, in the frame, just in time for Father’s Day. so i used some of the pattern paper as the background, letter stickers, the paper ribbon and some embellishments. because i wanted to use the lumpy embellishments i took out the glass and made sure it would last with Tombow MONO POWER BOND Adhesive. the end result was totally unique and very quick to come together. once i had the idea it was put together in 15 minutes. thank you basic grey for having a paper for every occasion. happy father’s day!
-sarah
I love this new Cappella paper by Basic Grey. I received this lovely package with papers, stickers and brads from this line. To me it is very vintage.
Tombow is highlighting their Mono White Gel Pen this month. I used this on both of my cards today.
For this first card, I stamped with a versamark ink pad on a Basic Grey black paper then pierced around the image and then “connected” the dots with the white gel pen. I love how it looks like chalk on a chalkboard. The brads are from another Basic Grey line.
The stamp set is a retired one by Stepping Stones. I used the two smallest flowers and a sentiment.
For this next card I went totally vintage! All the papers are from the Cappella line. The ribbon is from my vintage stash and the lace was white. I rubbed peach ink on it and then spritzed it and rubbed the ink into it more evenly. I love how it turned out!
The mini tag is from SU! from long ago that I still had. I stamped the “for you” with my Karen Foster snap stamps. The pin is from last month’s Maya Road pkg. I wondered what I was going to do with those pins. They match the Cappella paper perfectly!
I used Tombow’s Mono White Gel Pen to make “eyelet” dots along the peach scallop border.
Both cards were put together with Tombow’s Mono Adhesive Dots.
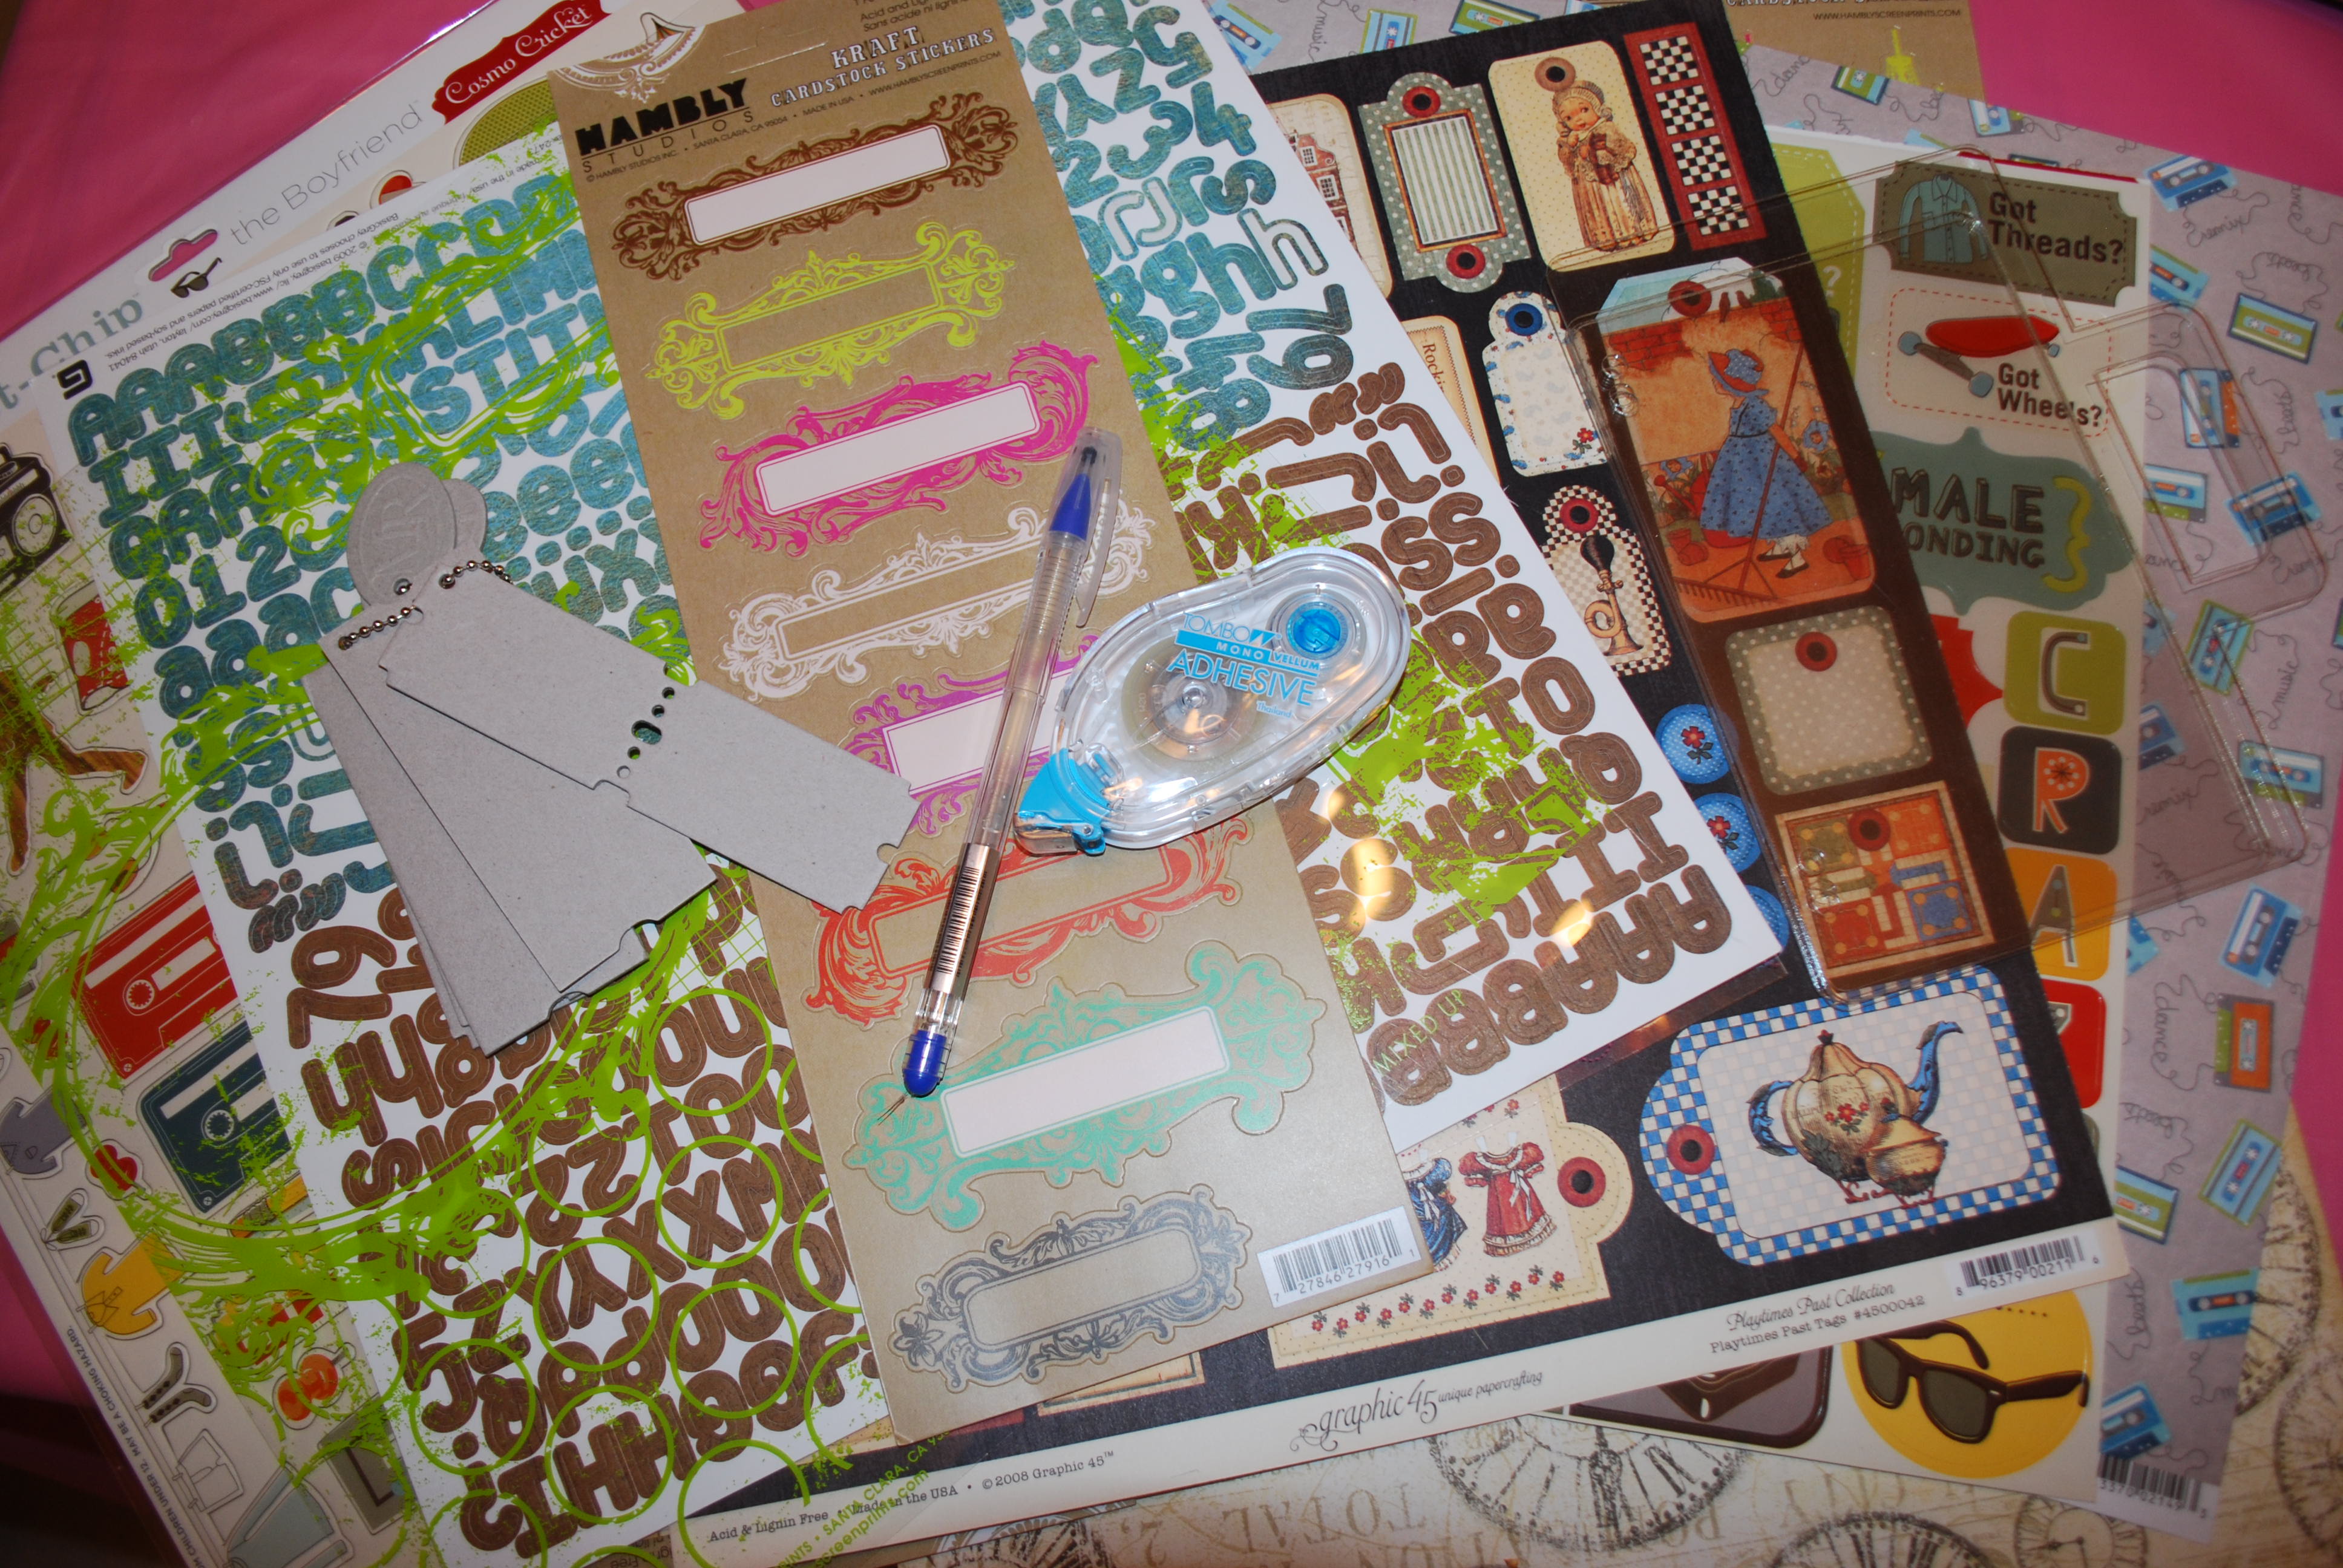
This week Tombow is partnering with Graphic 45. Be sure to visit both the Tombow blog and the Graphic 45 one for chances to win product. There are some super fun ideas on both blogs too!
Do you ever make anything and love it so much you have a hard time giving it away? This is one such project. I had so much fun making this. The idea actually started out as a baby basket using this paper, but didn’t have any baby items to fill the box AND I didn’t know anyone expecting. LOL!
1. The box. This is a 2-drink carrier from McDonald’s. (seriously!) We went to McDonald’s drive thru asked for 2 waters (we did order their 3 chocolate chip cookies for a dollar…okay getting off the subject here) in the 2-drink carrier. As soon as we pulled away, I had my son get the cups of water out of the carrier and put it in the back so I could use it later. I brushed all the edges of the box with tan ink.
4. For the scallop edge, I used my new favorite EK Success punch.
5. I adhered all the pieces with Tombow’s Mono Adhesive Power Bond.
6. Several elements of this box is inspired are inspired by my friend Michelle Wooderson (you SERIOUSLY have to check out her blog if you aren’t familiar with her work!) First element is using old pattern tissue for tissue paper. I found some old patterns at a shop for 5 cents each. Pretty inexpensive tissue paper! On one side of the carrier is a bottle of Coke and a Twin Bing candy.
7. On the other side of the carrier is this cup that I found at a local store for $1. How cool is this???!
The colors match my paper perfectly. I was looking all over for a Coke glass and found this AFTER my box was made. I was tickled pink…I know, doesn’t take much for this farm girl to get excited. I included a cello bag of chocolate covered cherries (if I would have had the time I would have made homemade candy, like Black Forest Fudge)
8. Another inspired item on the second side is a recipe card. Mish decorates her recipe cards so cool. I can just imagine how cool her recipe book looks! You can buy Cherry Coke, but I thought I’d Google a recipe for making your own and found this simple recipe and what fun that it uses cherry Kool-Aid…another decorating element I can use for my gift box. (hey did you know that Kool-Aid got it’s start in Hastings, Nebraska? I live some place famous. Ü You can read about it here.)


