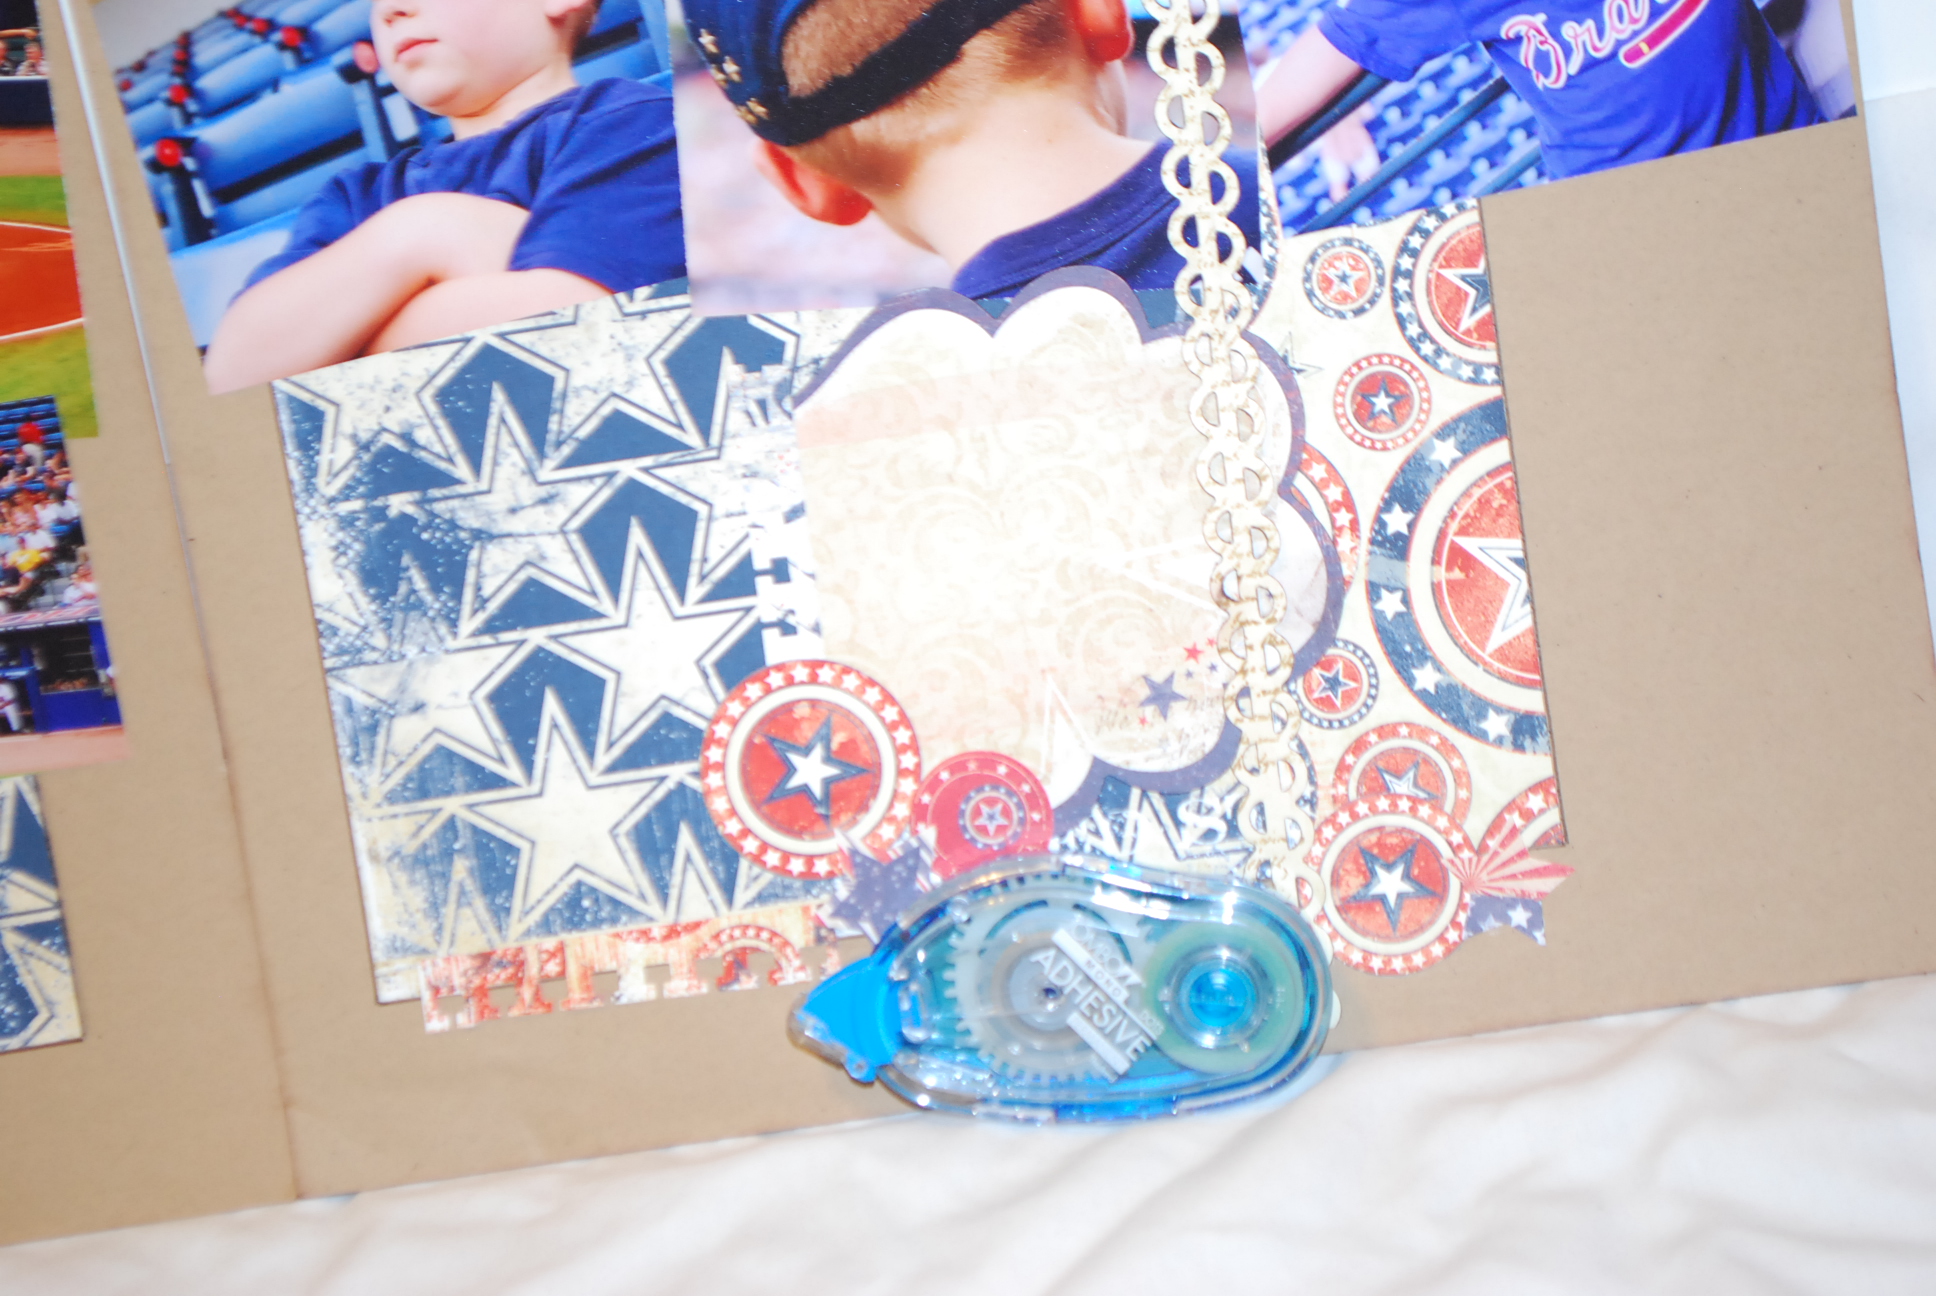
Archive for September, 2011
“a.b.c.” challenge…by sarah little
it’s always good to give yourself a challenge. in my “anything but a card” challenge i created a layout. yup. love the feeling of completing a layout. i have so many pictures that i want to scrapbook, but sometimes i just need a PUSH to get them done. give yourself a challenge, see what you can accomplish.
this layout has pictures from a Braves game my son and i went to last september. i was the “coolest mom”! it was a date, and he was spoiled…i admit it. with the pattern papers it ended up busier than i normally do, but that was part of my challenge too.
the “paper ribbon” looking strips were punched with border punches and then adhered down with Tombow MONO Adhesive Dots. this is the best adhesive for this kind of embellishment, because you can always rub off the excess adhesive. love my dots!
If you enjoyed this post please follow us on
http://www.facebook.com/tombowusa and
http://twitter.com/#!/tombowusa
Here are some easy no-sew fabric
embellishments that can be made with Tombow’s MONO Multi and MONO Aqua liquid glues.
Chipboard Flower - Start with a simple shape, like this large blossom chipboard tag from Bazzill, and use MONO Aqua Liquid Glue to glue on the fabric. Cut the fabric around the edge leaving a ¼” overhang of fabric. Let dry a few minutes and fray the excess fabric by pulling out threads with your fingers. Covering a 1” cardstock circle with the MONO Multi Liquid Glue makes the center ruffle. Let the glue dry completely and then finger ruche the fabric strip around the edge. Attach the ruffle and center with Power Tabs and add decorative pins and a cord to finish.
Fabric Rosette – Punch out a 1” cardstock circle and cover with MONO Multi Liquid Glue. Let the glue dry completely and then finger ruche the fabric strip around the edge. The center is a flattened bottle cap and clear cabochon from The Bottle Cap Company. They are all glued together with MONO Multi and Power Tabs. Decorate with a decorative pin and stamped paper strips edged with Dual Brush Pens.
Ruffled Edge – This ruffled edge on cardstock is created with the MONO Multi Liquid Glue. Simply apply the glue onto the page in a ½” thick strip and let dry completely. The fabric is then ‘messy pleated down the dry but sticky glue. I then add a little MONO Multi to both ends to make sure the ruffle does not come off the page.
Wrinkled Fabric Panels – You can also create wrinkled fabric panels that are not glued to the paper. This allows you to create interesting panels that keep the wrinkled shape and attached anywhere on your page or card design.
Wrinkled Panel Step 1
Work on a silicon mat, like the Splat
Mat from Bazzill. Apply a thin coating of MONO Liquid Glue onto the mat using the broad applicator.
Wrinkled Panel Step 2
Place the fabric panel into the glue and apply a top layer of glue. Use your finger to smooth out the glue. You can choose to leave the fabric panel
smooth, let it dry and then peel of the mat and glue to your surface, or follow the next step for a wrinkled panel.
Wrinkled Panel Step 3
You can also wrinkle the fabric up and then let it dry. The photo shows what it looks like before the glue has dried. Peel
it off the mat and you now have a matte finish, wrinkled piece of fabric that will keep its shape. Use Tombow Aqua, Multi or Permanent Adhesive to attach to your cardstock.
Stay
tuned to the blog for more fabric embellishments
If you enjoyed this post please follow us on
http://www.facebook.com/tombowusa and
http://twitter.com/#tombowusa
Today I have a fun Baby Boy Paper Bag album that I created for my cousin’s precious baby James David Prouty. My cousin has decorated his baby room in green, burnt orange and chocolate. It was so much fun to make an album in these colors. I just went thru all my stash of papers, stickers and embellishments and picked out everything that matched and then started cutting papers to fit my paper bag album.
I used Tombow’s Mono Adhesive Power Bond to put the album together. I like the extra strength of this adhesive and use it on my albums. For the ribbons, I used Mono Adhesive Dots, Roller. There are lots of pages and photos. I hope you enjoy viewing them all.
I typed his name on cardstock, then punched with an oval word punch, then ribbon cut the ends.
Here is an angle view of the whole album: 
And here are the inside pages:
right inside the front cover:
tab pulls out and more info can be put on the back:
opposite inside cover:
pull out side one:
other side of pullout:
there are two pockets as two bags are adhered together so here are the sides to the next pullout:
next page:
opposite of the above:
next pull out side 1 
side 2 
2nd pull out side 1 
side 2
next page I created a pocket for the ribboned piece and stapled a bunch of folded ribbons
close up of vellum sticker
ribbon pullout:
other side:
opposite page side (note: the little flaps you see are made with the bottom of the paper bag, 2 adhered together)
next set of pullouts:
Next pages
Pull outs:
Last 2 pages:
WHEW! I told you it was a long post. LOL!! I hope you enjoyed this paper bag album and drew some inspiration from it to maybe even make one of your own or as a gift. Ü
Thank you for stopping by,
If you enjoyed this post please follow us on
Many thanks to our partners
for all the wonderful products.
If you enjoyed this post please follow us on
http://www.facebook.com/tombowusa and
http://twitter.com/#tombowusa
This month’s team up is with Purple Onion Designs. I love the fun and sketchy images I received. Today I am going to show you one of those images (Heart Flower) with different looks. Hopefully this will show you how you can take one stamp and different looks to make it seem as though it’s a completely different stamp.
I used Tombow’s Dual Brush Pens to watercolor the flower on this card. The image is popped up with Foam Tabs and I used Mono Adhesive Permanent to glue the pieces together.
Here is a look at the markers I used
My next project is a paper pieced tag. I covered a manilla tag with patterned paper, then stamped the image in the center. Then I stamped the flower image onto different patterned papers, cut out and layered onto my stamped image that I had stamped on the tag.
I used Mono Adhesive Dots Roller for adhering this tag together and these markers.
Here I created another paper pieced project, this time a mini notepad.
My last card is a clean and simple just stamping in black and then using a pink Dual Brush Pen to add a little color to the flower.
Thank you for stopping by,
If you enjoyed this post please follow us on
http://www.facebook.com/tombowusa and
http://twitter.com/#tombowusanie
Onion Designs worked famously for this Bouquet Thank You. The rubber takes the
color from the Dual Brush Markers so well that you get a perfect stamping
each and every time!
I hope you enjoyed this post, please stop by again soon.
If you enjoyed this post please follow us on
It’s a blog hop with Purple Onion!
This summer I became a little more domestic. A friend taught me how to make scones. I have to admit, I’m actually proud of myself…scones sound so classy and hard to bake. Really they weren’t…classy, yes, but hard, not at all. So I’ve made them several times since then.
When I got my stamps from Purple Onion I was tickled that one of the stamps was the wording for yummy homemade goodies, including scones, as well as a “sweet treats” label.
I began thinking about the upcoming fall and winter holidays and the baking I could do and the yummy domestic homemade goodies I might be able to whip up.
I wanted some tags to tie onto said goodies, but the “sweet treats” stamp had a solid middle.
Now, I admit, I don’t normally do this, but I grabbed an exacto knife and cut out the center. Now I can take the wording stamps for the homemade treats and place it in the center opening of the “sweet treats” stamp directly on an acrylic block together.
The result are several super easy totally cute tags…just waiting for all the baking I’m going to be doing.
Purple Onion stamps are unmounted rubber stamps. The images stamp clear with crisp lines and they are easy to store, as they lay flat. I found to attach them to the acrylic block for stamping I could use the Tombow MONO Adhesive Removable to hold it down. While I was stamping the adhesive held strong. And when I was done I was able to peel the stamp from the block and rub off the adhesive, leaving the stamp clean and free of residue.
If you enjoyed this post please follow us on
http://www.facebook.com/tombowusa and
http://twitter.com/#!/tombowusa
I love this week’s challenge. We were to create a project that depicts a book we’ve read or like to read. I was having a hard time thinking of something for the books I read now, so decided to go back to my childhood and created some cards that have princesses on them. I loved stories with princesses in them. Two of my favorites were the Princess and the Pea (DH swears I can feel a “bump” in a bed that no one else can see or feel LOL) and Rapunzel. Love those stories still. (side note…have you seen the movie Tangled? Oh my goodness, you’ve got to see it if you haven’t. Wonderful movie based somewhat off of Rapunzel story)
Okay, back to my Princess’ cards. I used Princess images from Inky Antics to create these 3 cards.
I used Tombow’s Mono Adhesive Permanent to put the card pieces together and Mono Multi Liquid Glue for the gems. The images are colored with Irojiten Colored Pencils.
Thanks for stopping by and may you have a “happily ever after…”
If you enjoyed this post please follow us on
http://www.facebook.com/tombowusa and
http://twitter.com/#tombowusa
i have read this book so many times…
to my kids, to my pre-kindergarten class…
children need to know they are loved, and this book gives so many wonderful examples of personalities, quirks and traits that parents love about their children.
each time i read it I knew that i had to make a scrapbook project based on this book. our challenge this week to create something based on a book pushed me to get it started.
i created a microsoft word document with the words from the book. there are two quotes to a page in two columns, and can easily be printed and cut in half vertically and/or horizontally to create the pages of the book. be sure to print a test page and adjust the wording once you choose what font you want.
(my book came out to be 4 ¼ x 4 ¾ because I didn’t print a test page. i’m making the mistakes so you don’t have too : } )
i wanted a gated album, so i used a piece of chipboard for the back and punched holes on either sides of the quote pages. i used my “cinch” binding tool from We R Memory Keepers to punch the holes and add the wire binding.)
then came the fun task of decorating it. this was a perfect project to use the wide array of Tombow adhesives available. I used Tombow MONO Multi to add pattern paper to the back cover, and Tombow MONO Adhesive Clear to add the “S” and “C” to the Hambly Screen Print/Transparency front cover. I used Tombow Power Bond to add the pictures and Tombow MONO Aqua for the embellishments. i used the strongest stuff, as i anticipate these albums will be looked at a lot. (Paper is from October Afternoon’s “Cherry Hill” and “Fly A Kite” collections)
here is the front cover before i put it together. i used the Dual Brush Pen to ink the edges of the letters, then attached them to the back side of the transparency.
a trick to using the MONO Adhesive Clear is to keep the application of the adhesive smooth. i use a surface i know i can rub the adhesive off of…and i’ll run the adhesive off the edge of the paper. that way it stays smooth and virtually invisible when it is used on the transparency.
i also like to do that when i have a tiny piece to add. take a look at this cherry stem. used the permanent adhesive runner on it and purposefully went off the edge. then i have full coverage and i’m not worried about the shape not sticking.
here are some of the other pages from the album.
did I mention i got a little ambitious and made one for each of my kids, that way it is personal and they don’t fight over it. i divided up the quotes from the story, about half for each book. however I made sure that when the quotes were divided i kept the rhyming ones together (it will make more sense when you read through the quotes listed on the microsoft word document). i also made sure the first two and the last two quotes appeared in each book.
i managed to use lots of my favorite “random” pictures from the last few months.
what book has moved you to create a project about it? let us know! we’d love to see your work!
if you read through to the end…. your reward is the word document (i hope…fingers crossed it links! email me at dolizah at hotmail dot com with “you are my i love you” in the subject line and i’ll send you the document).
If you enjoyed this post please follow us on
http://www.facebook.com/tombowusa and
http://twitter.com/#!/tombowusa
I enjoyed this challenge; it reminded me of my love of Fairy Tales so I created my own little story booklet.
Some lucky little child will receive this and enjoy many hours of bedtime stories from their family! I love the new ‘Once upon a Springtime’ paper collection from Graphic 45 and wanted to do something extra special with it and this project is definitely the start of many…what’s your favorite Fairy Tale?
from the Internet (lots of sites to find classic fairy tales!) onto cream colored cardstock, trimmed them and then adhered to the pages with the Permanent Adhesive. Being able to print your own tales also gives you the opportunity to personalize the characters with the names of the children who will receive the booklet.
Then came the fun of embellishing the pages! Tiny paper flowers, rhinestones, stamped images softly colored with Irojiten Colored Pencils and glitter makes the booklet extra special. The glitter wings of the fairies and rhinestones in crowns are added using the Glue Pen and larger embellishments added with the MONO Multi Liquid Glue, Foam Tabs and the stamping feature of the Permanent Adhesive Stamp Runner.
The ribbon bellyband uses a Fastener Tab for a decorative touch that also holds the book together.
..and they all lived happily ever after….


